Crafting for Mother’s Day becomes extra special with this cheerful flower pot card full of colourful blooms. This easy DIY is a lovely way to make a personal gift and surprise someone you love.
1
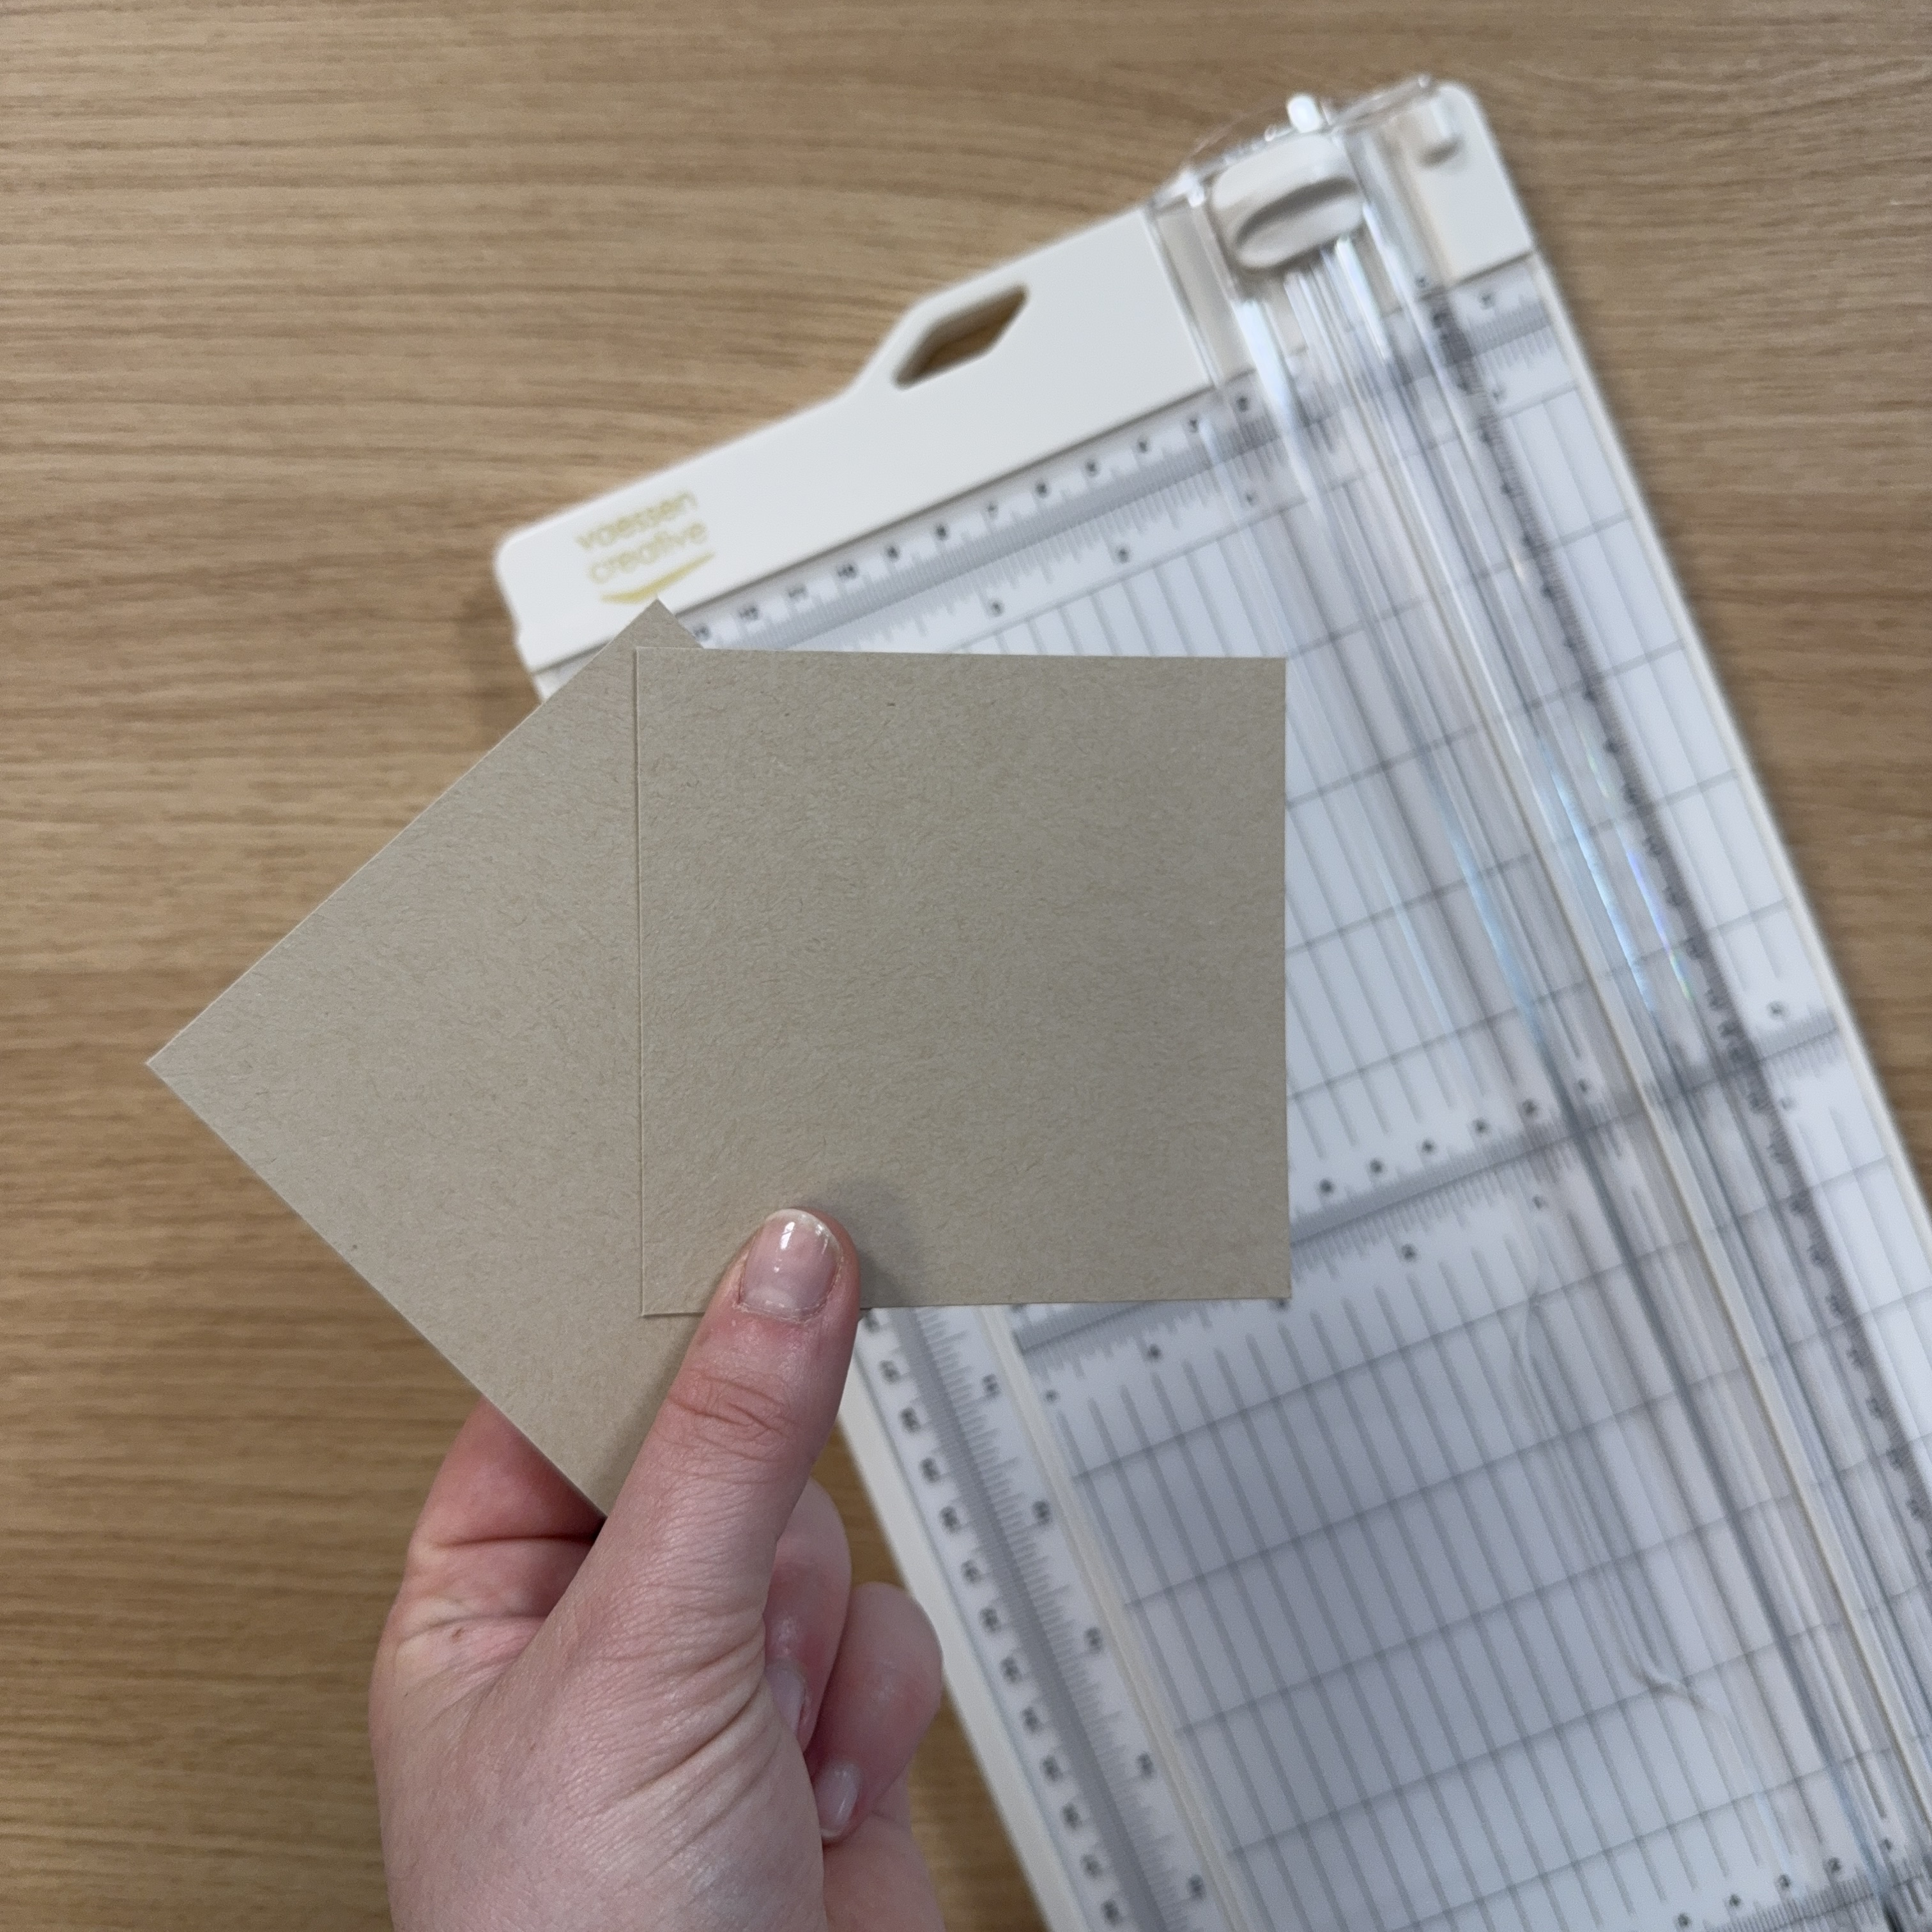
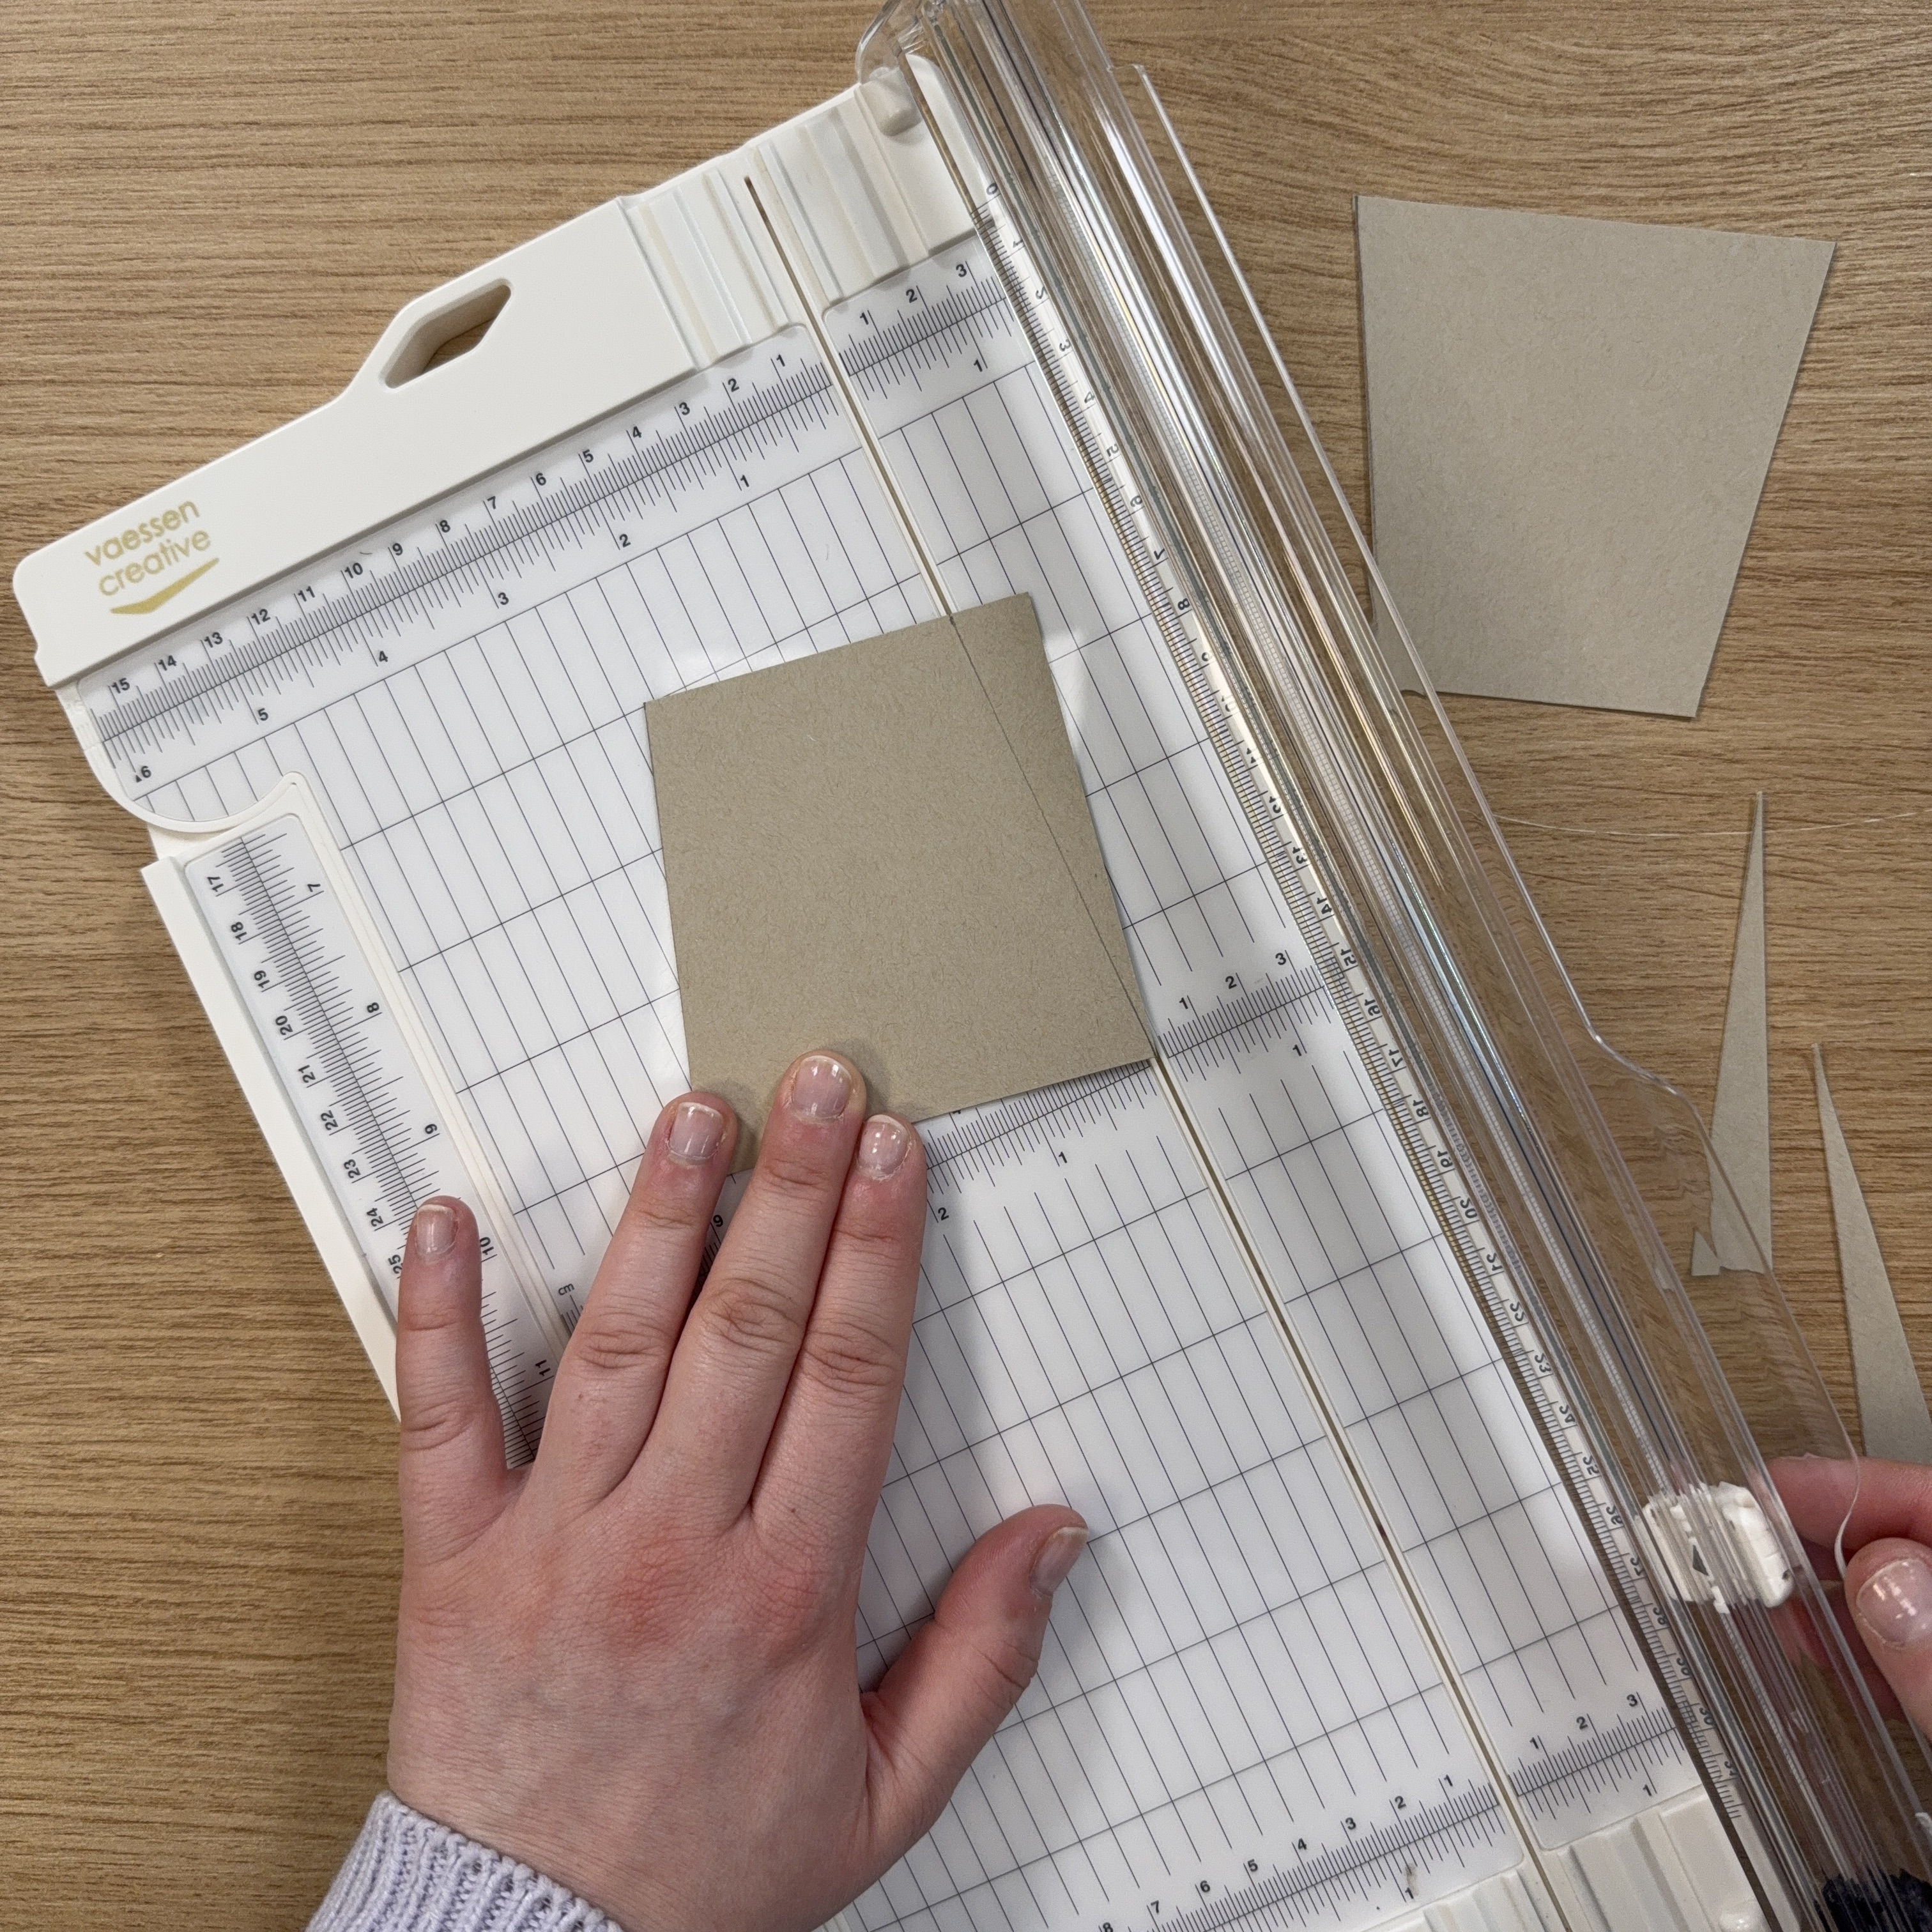
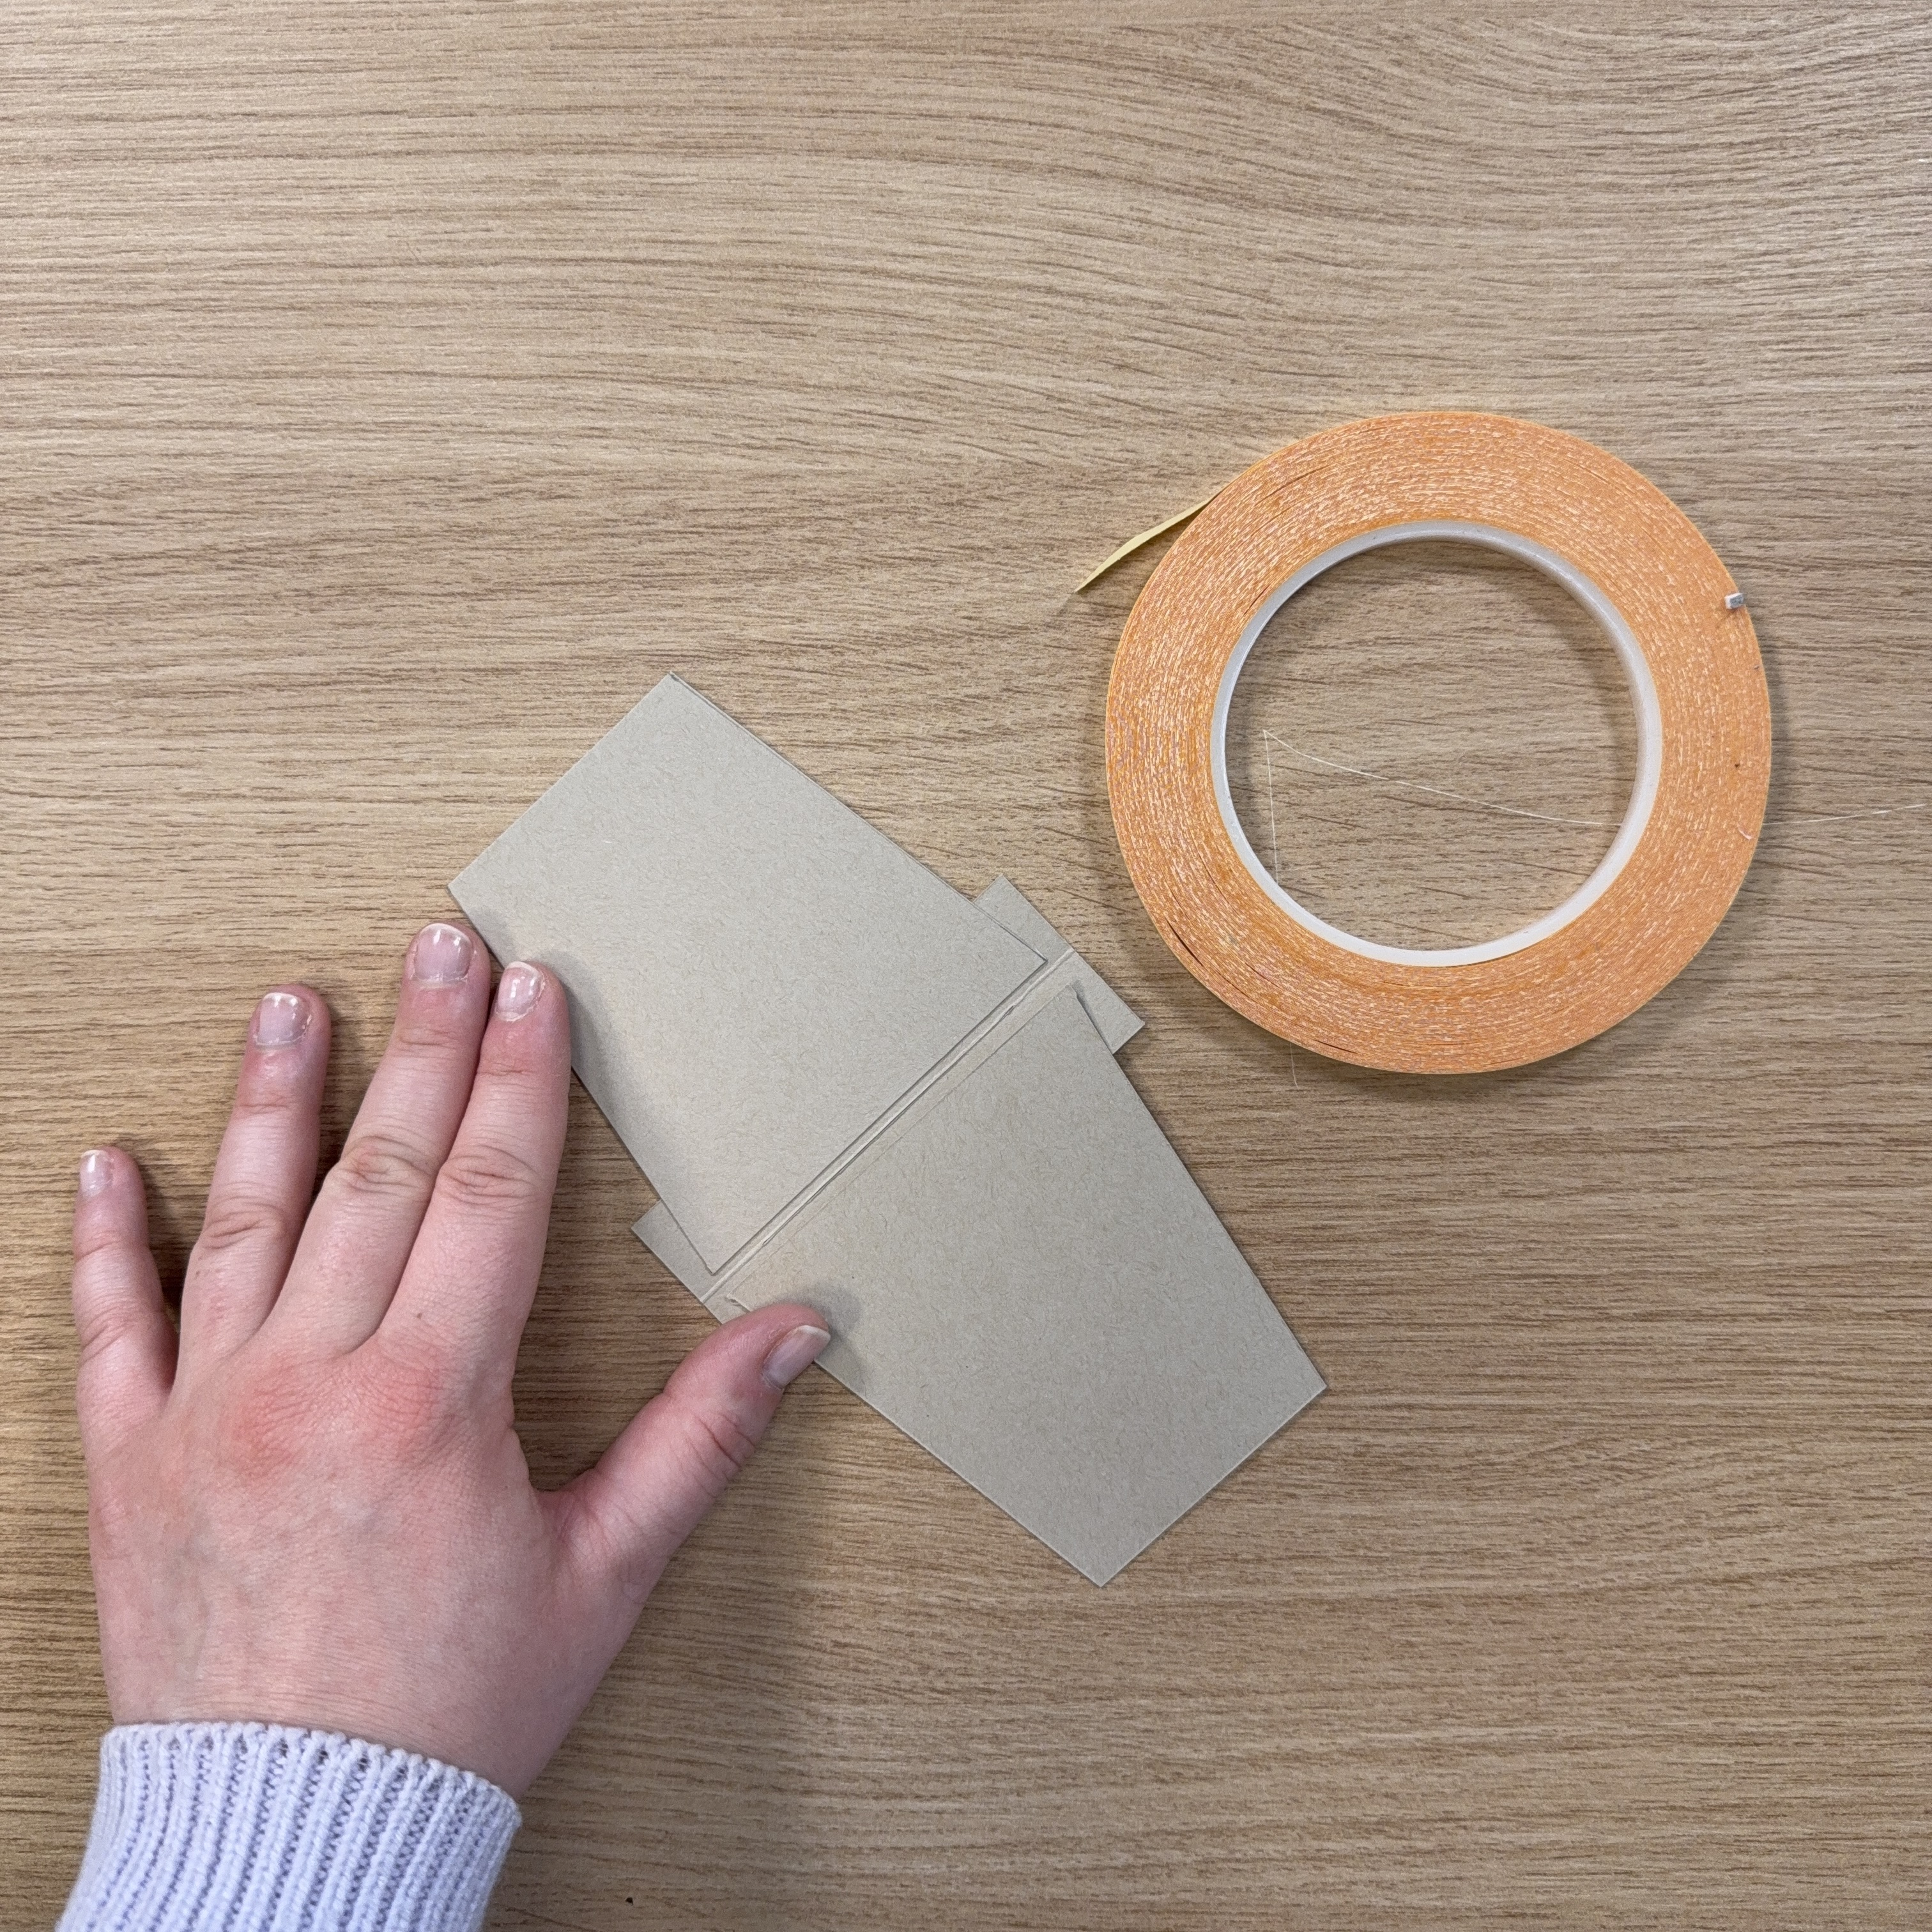
Cut two squares of 3.5 x 3.5 inches (9 x 9 cm) from kraft paper.
2
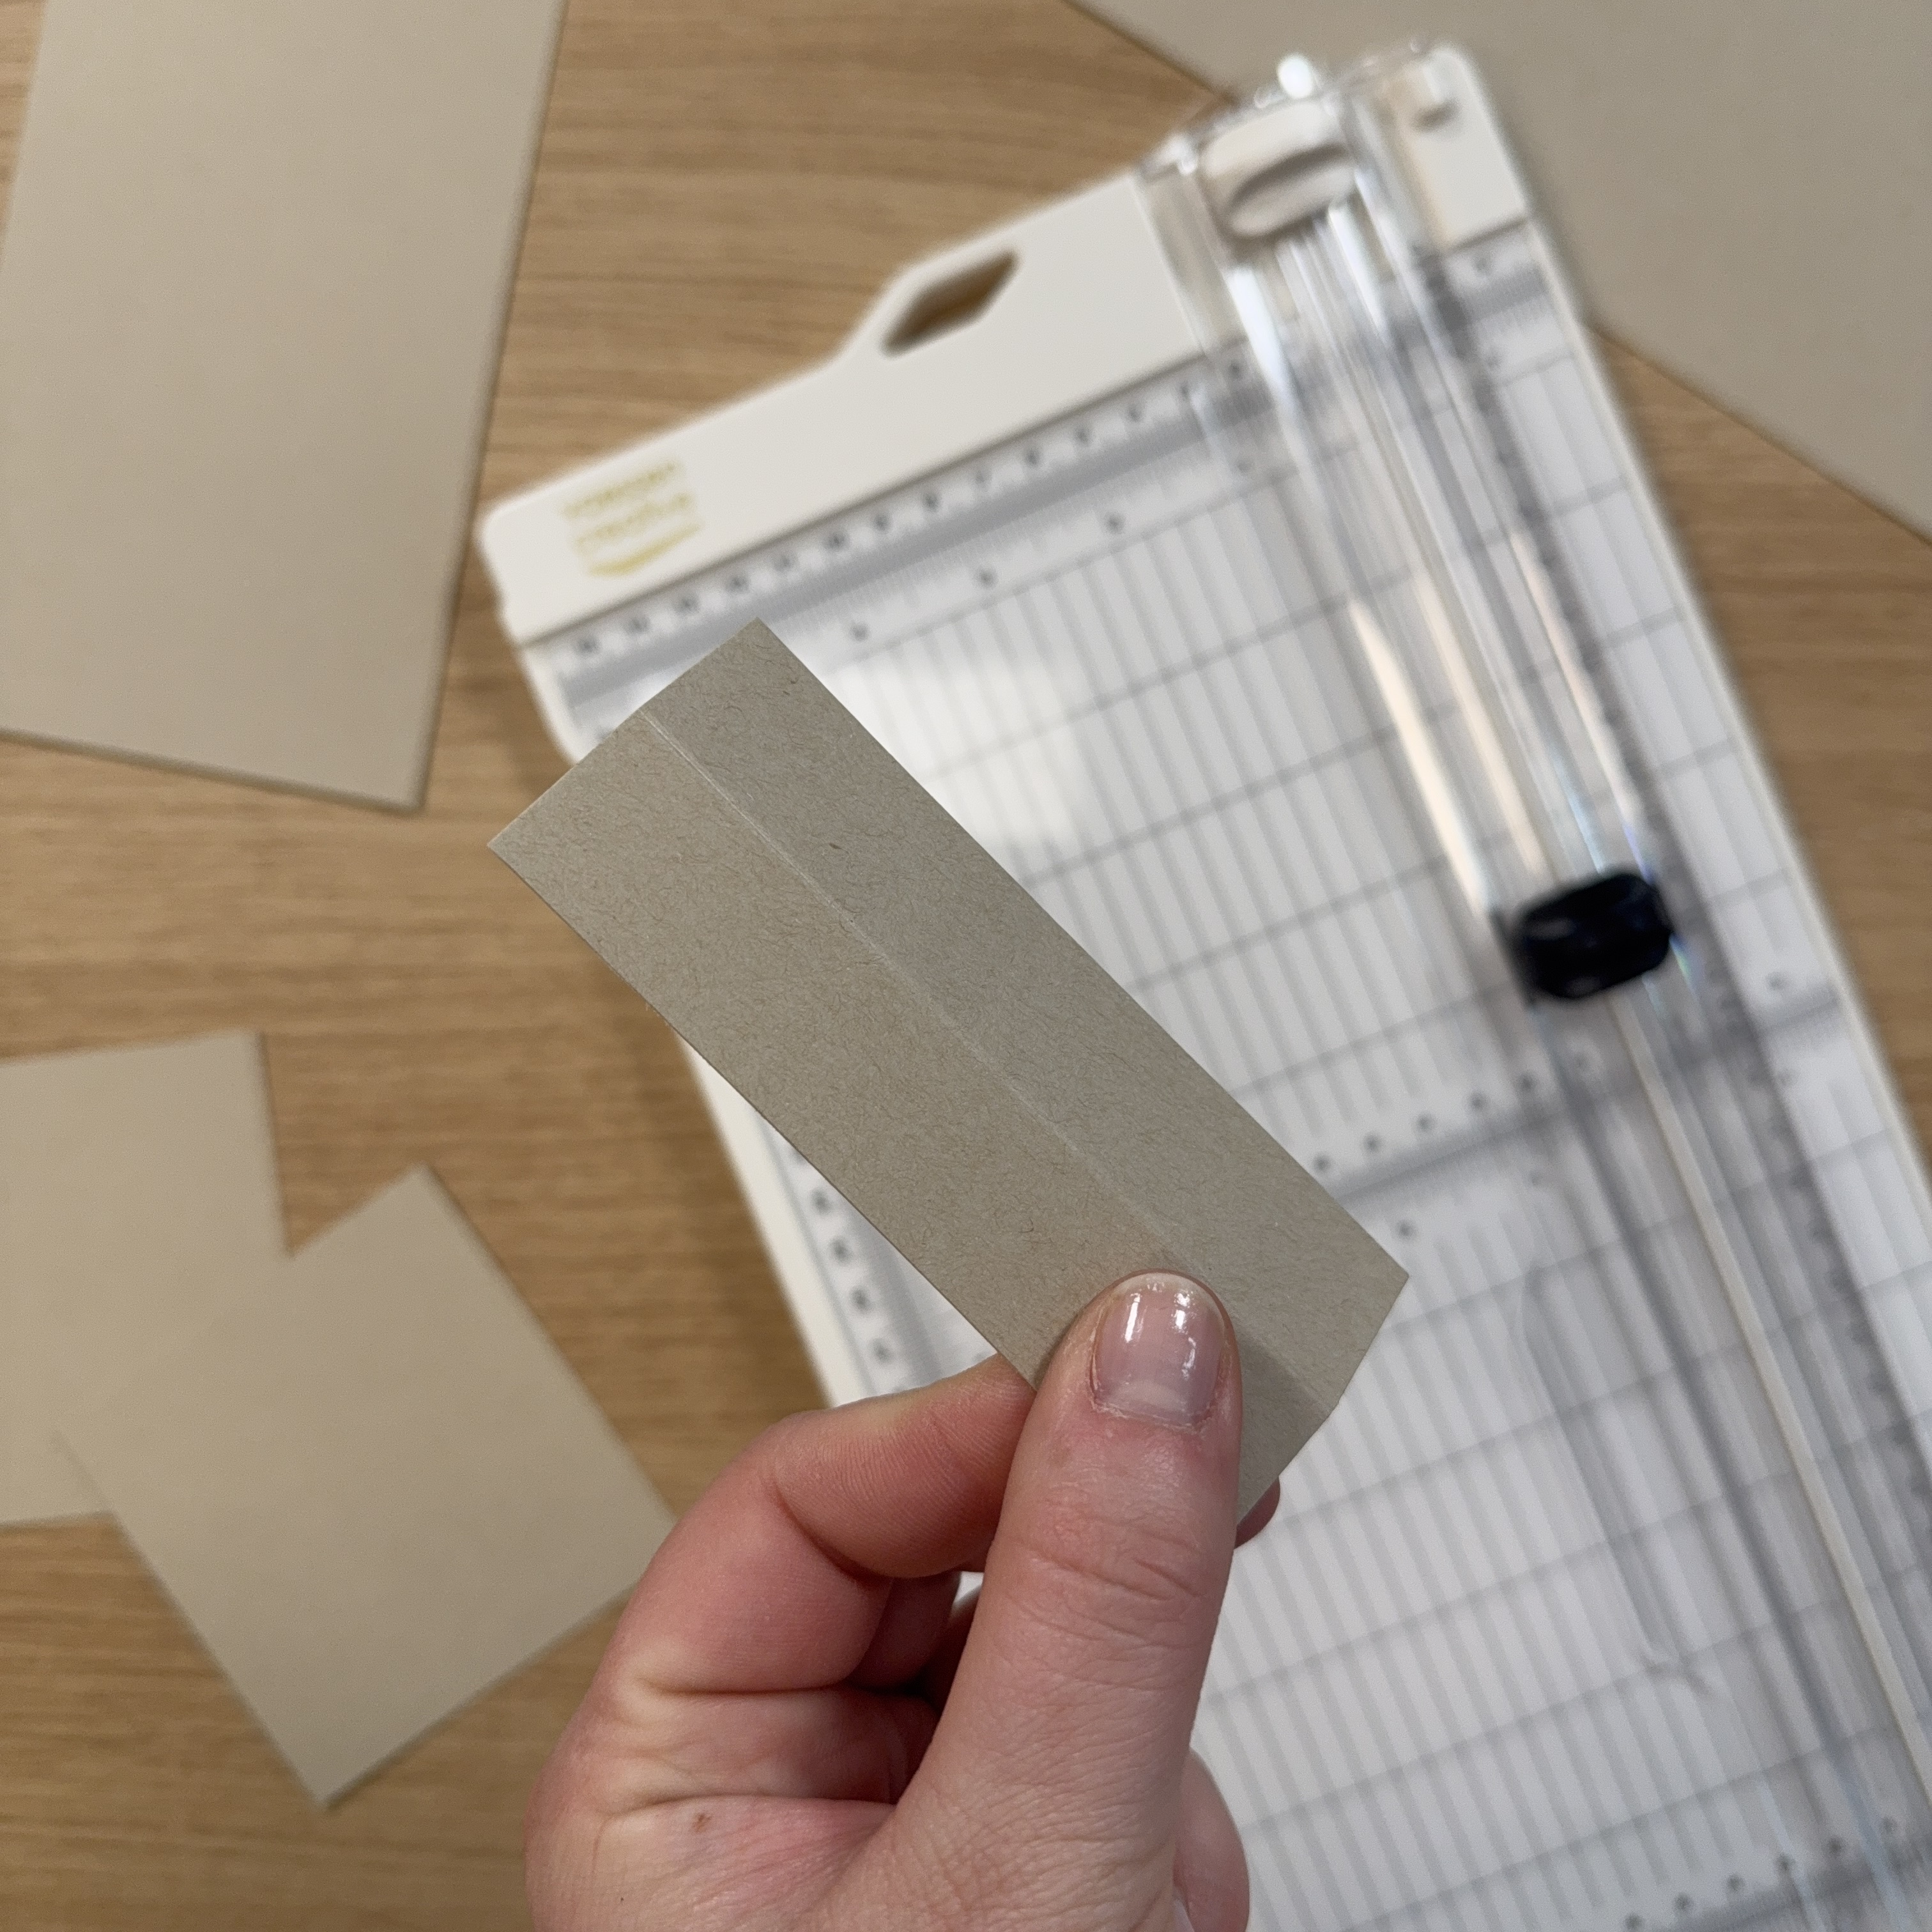
Cut a strip of 3.9 x 1.5 inches (10 x 4 cm) and score it in the middle at 0.7 inches (2 cm).
3
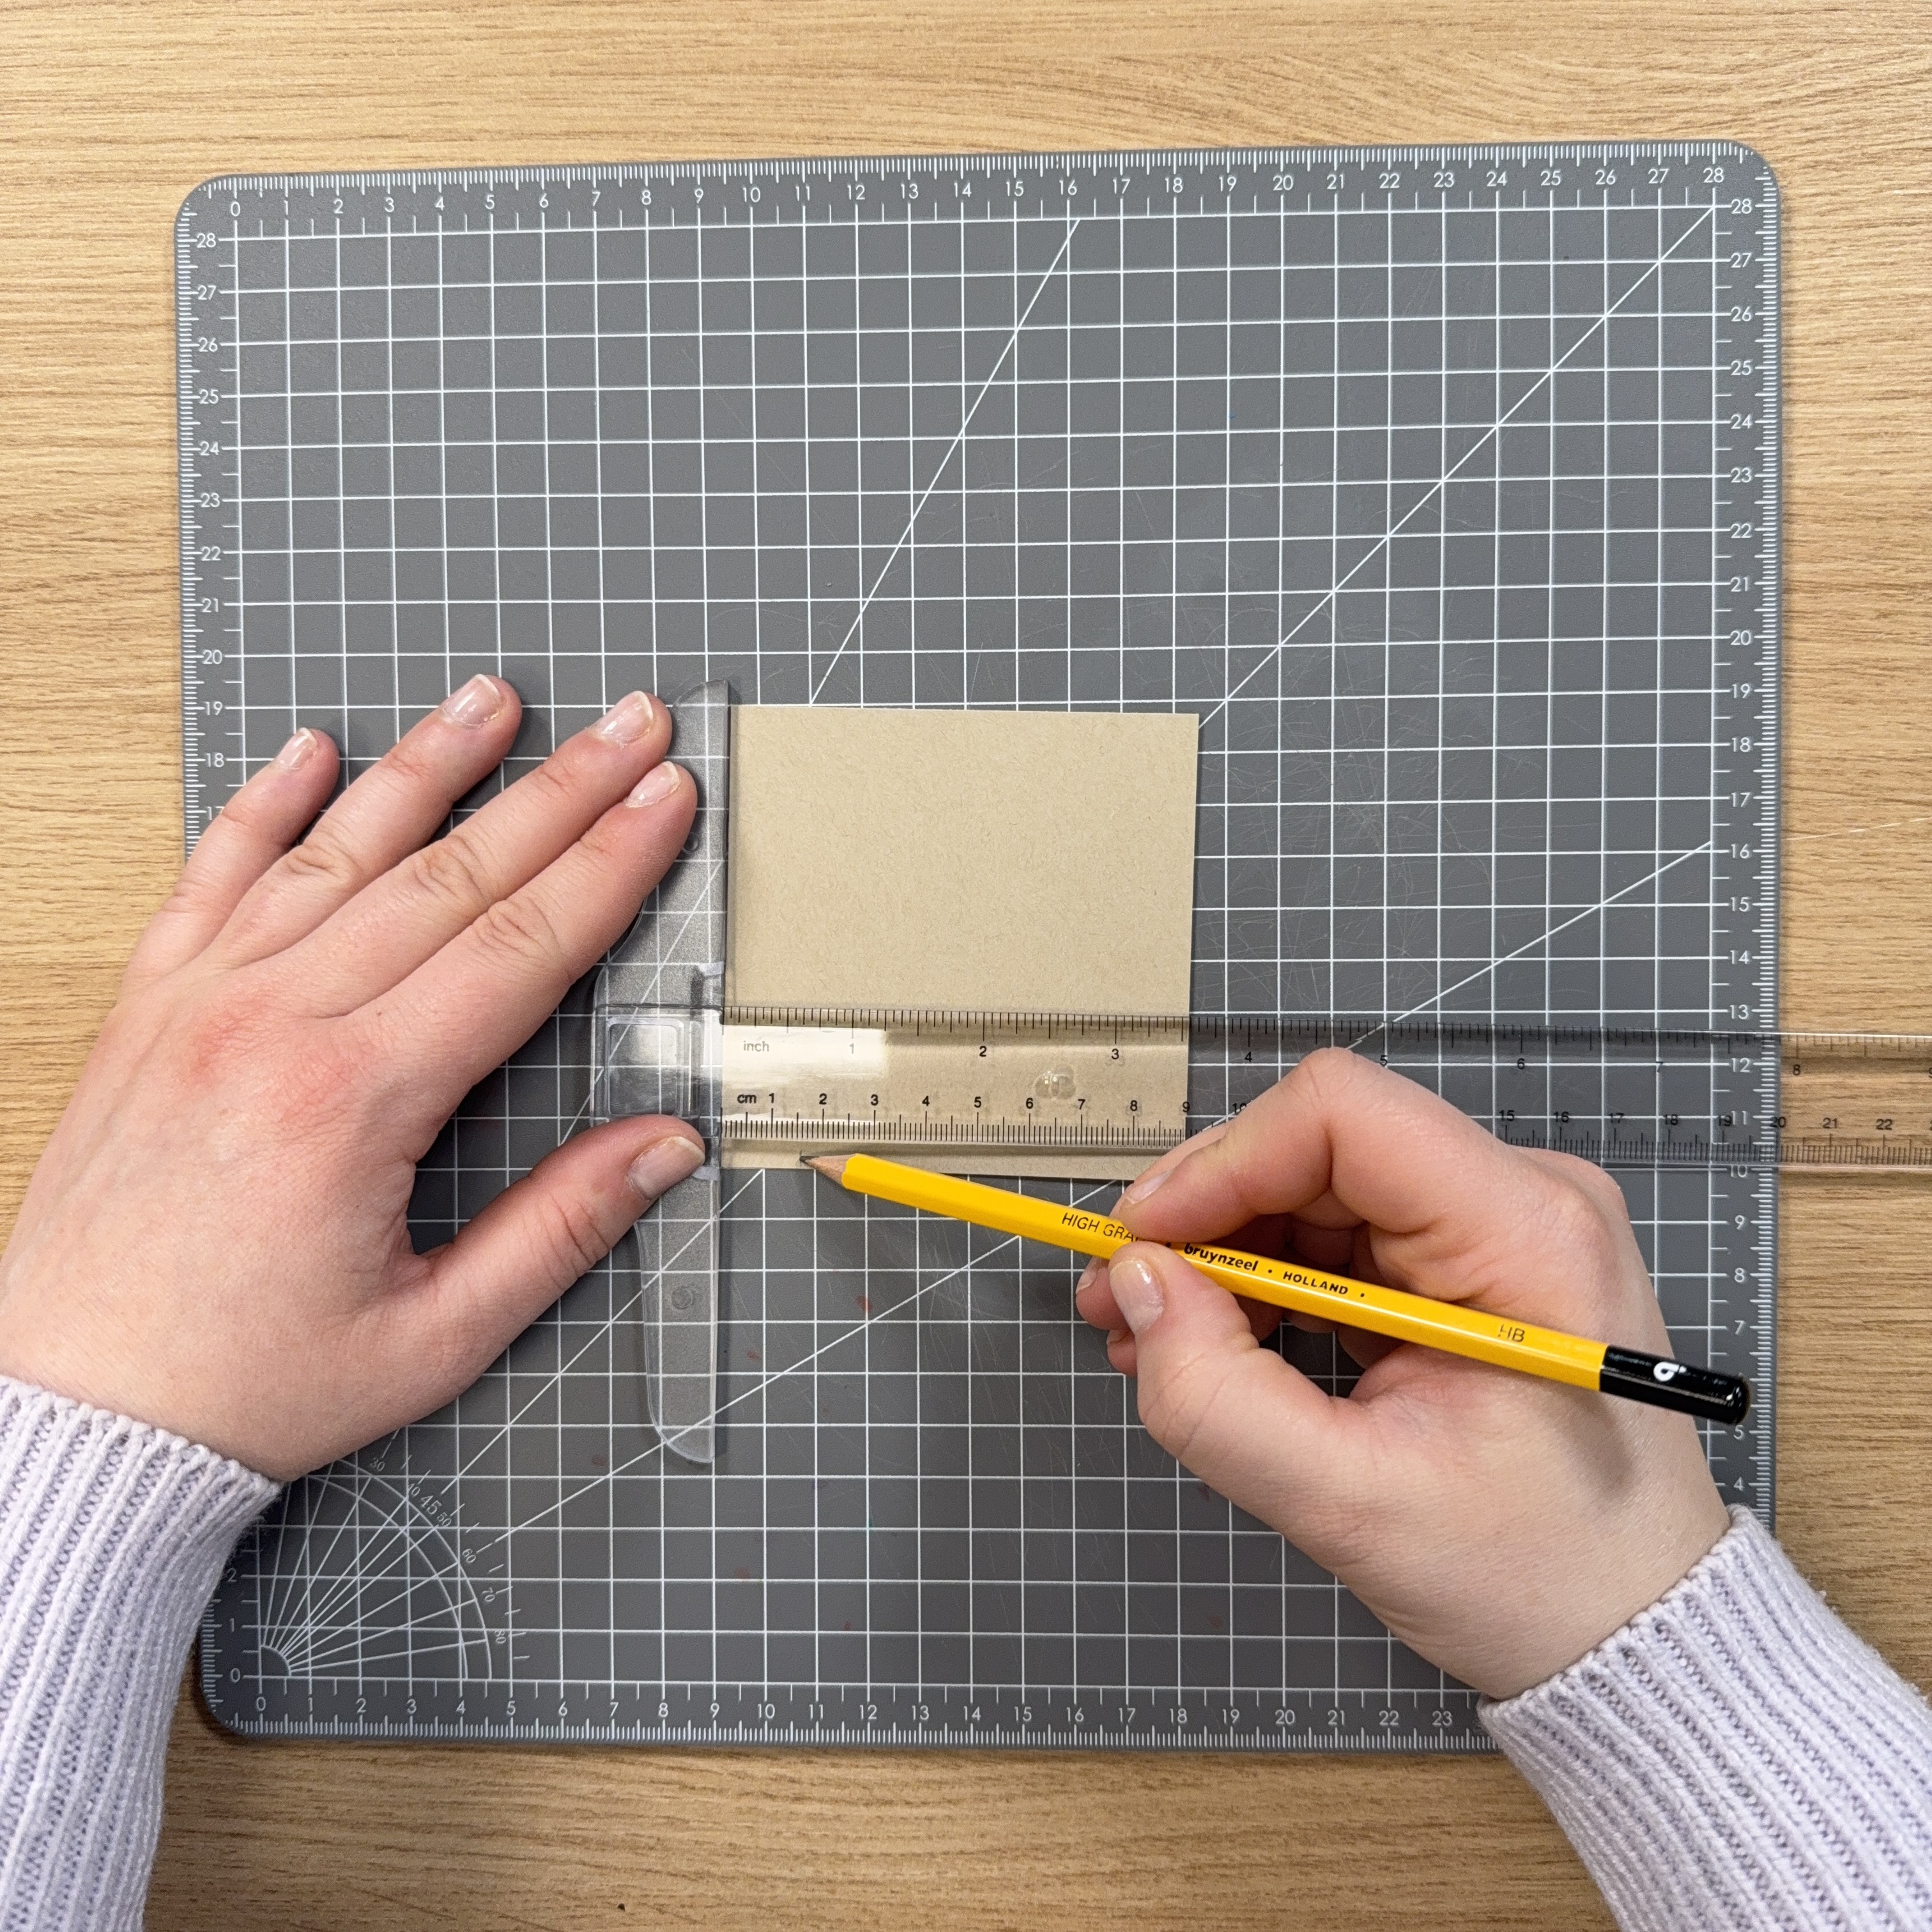
Using a T-ruler, measure 0.6 and 2.9 inches (1.5 cm and 7.5 cm) along the bottom edge and mark these points.
4
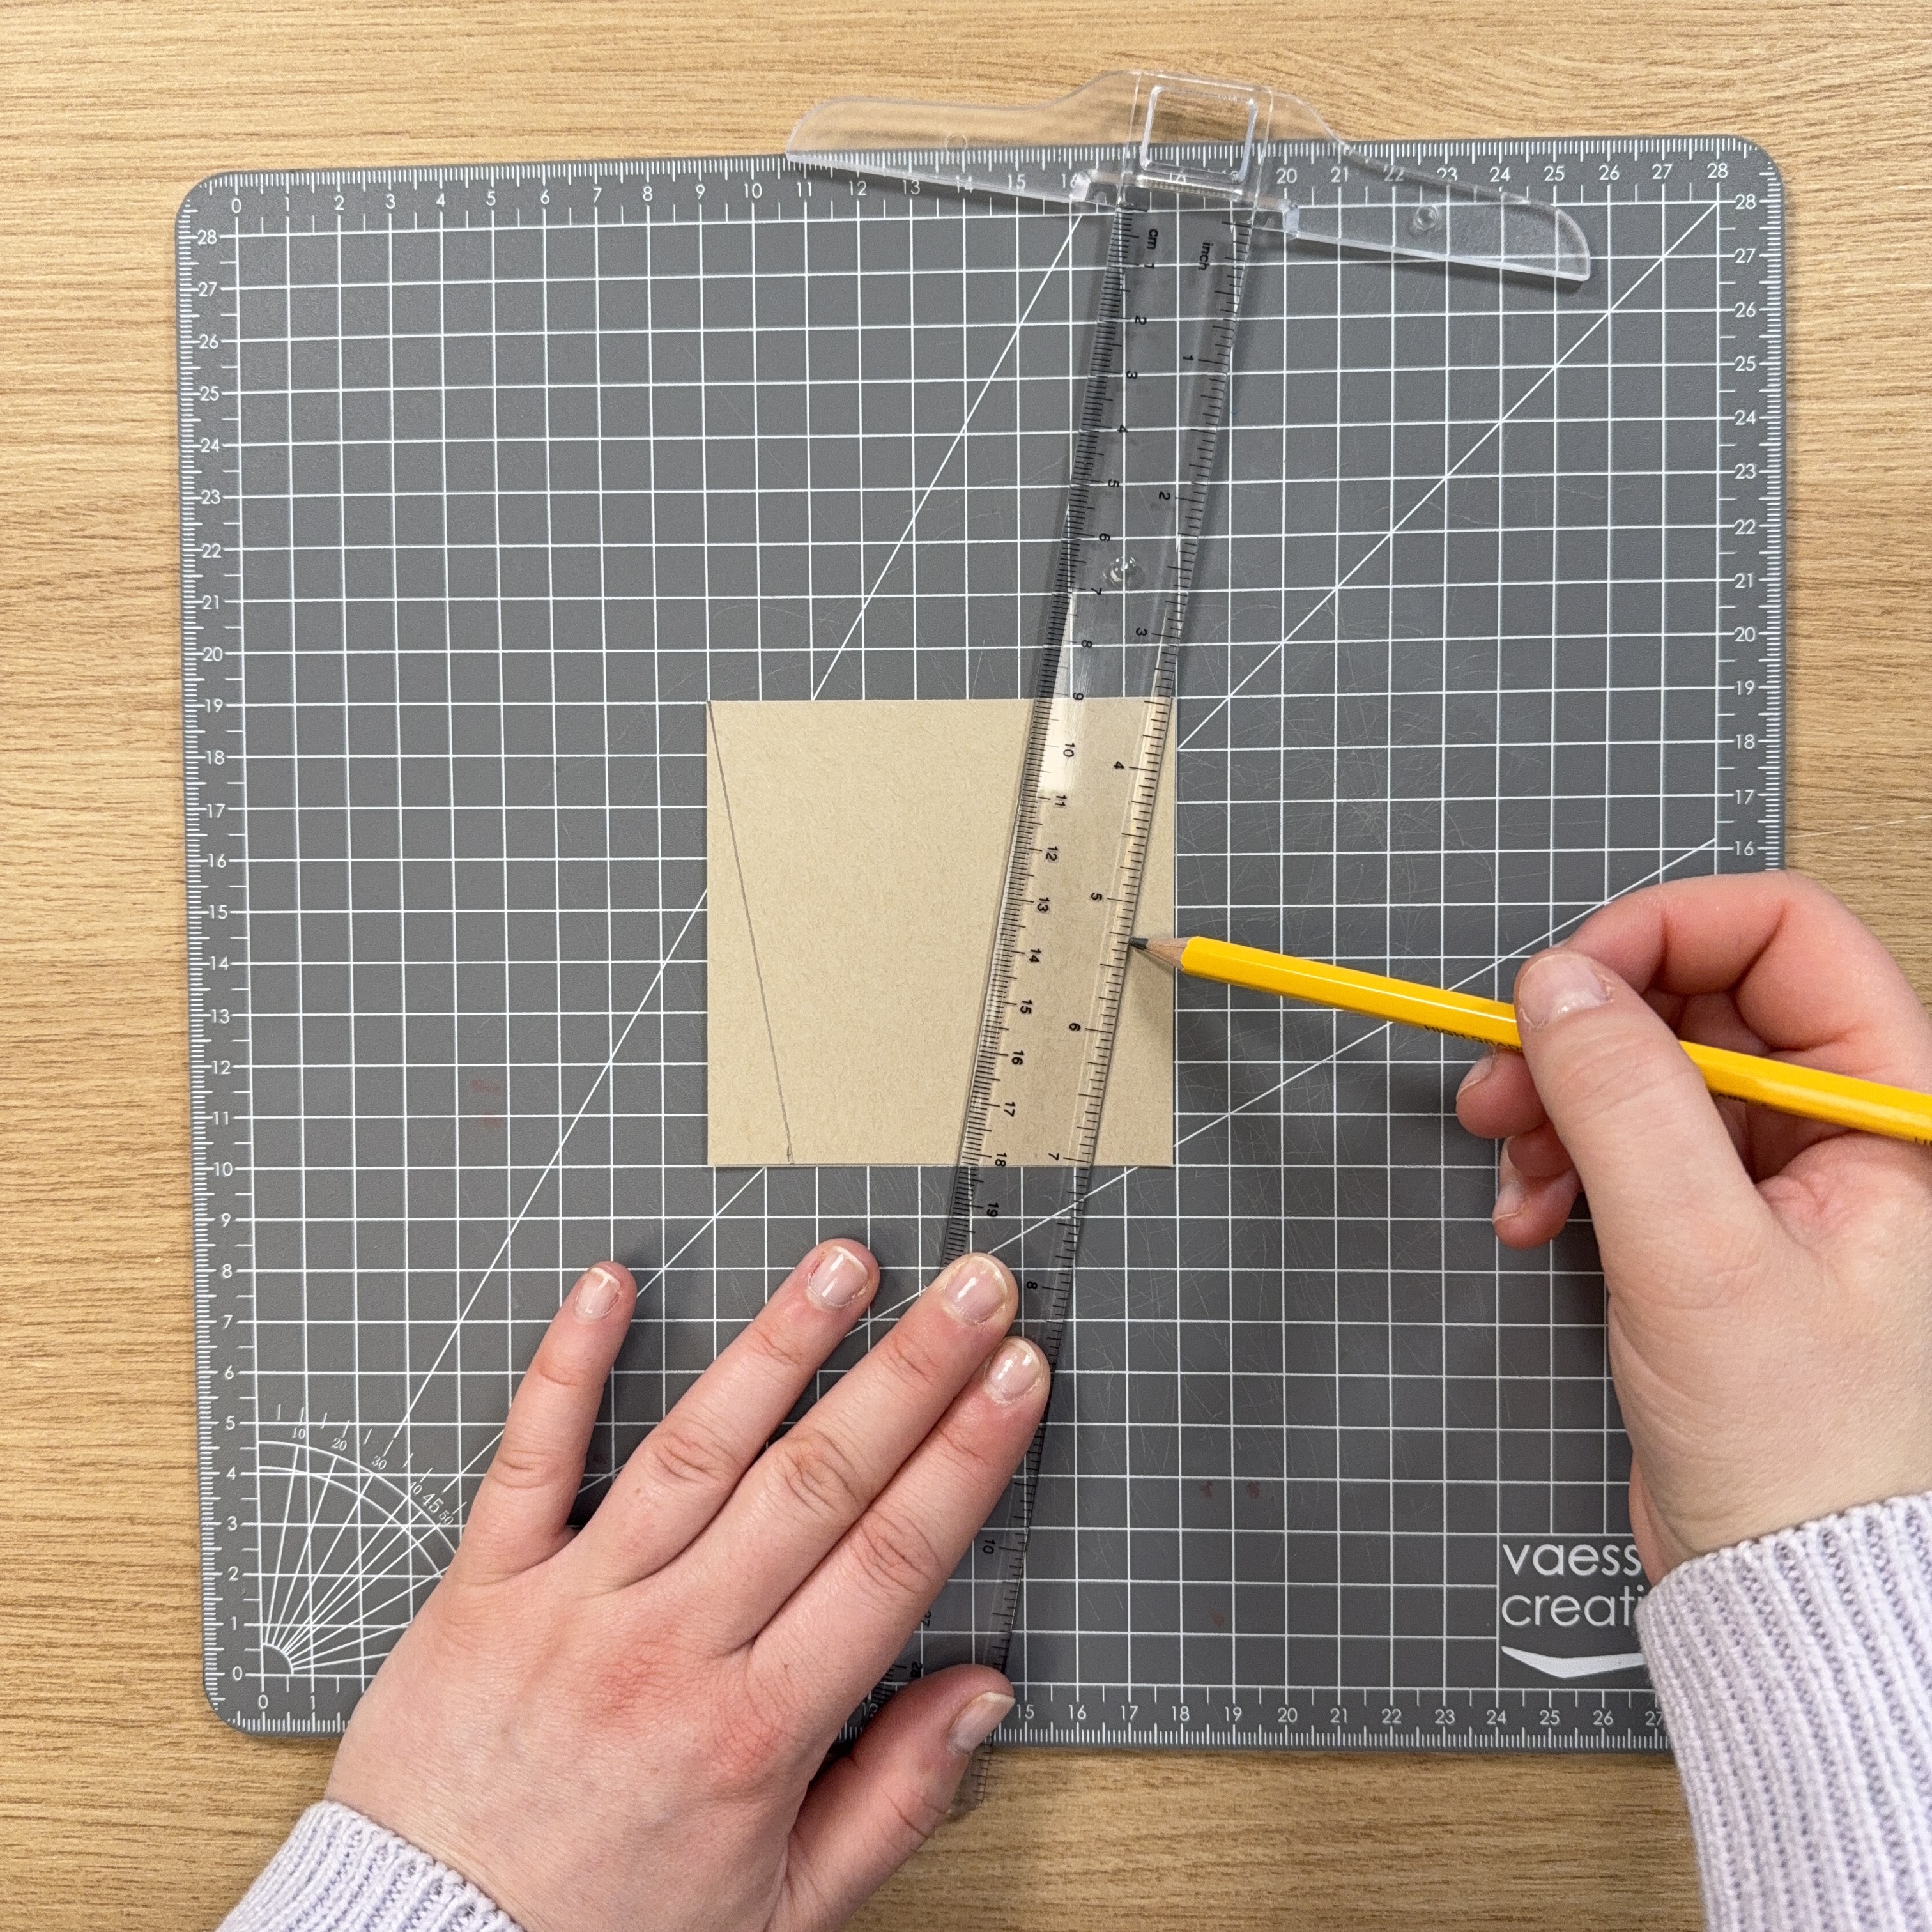
Draw lines from the top corners to the marked points at the bottom (on both pieces).
5
Cut along these lines.
6
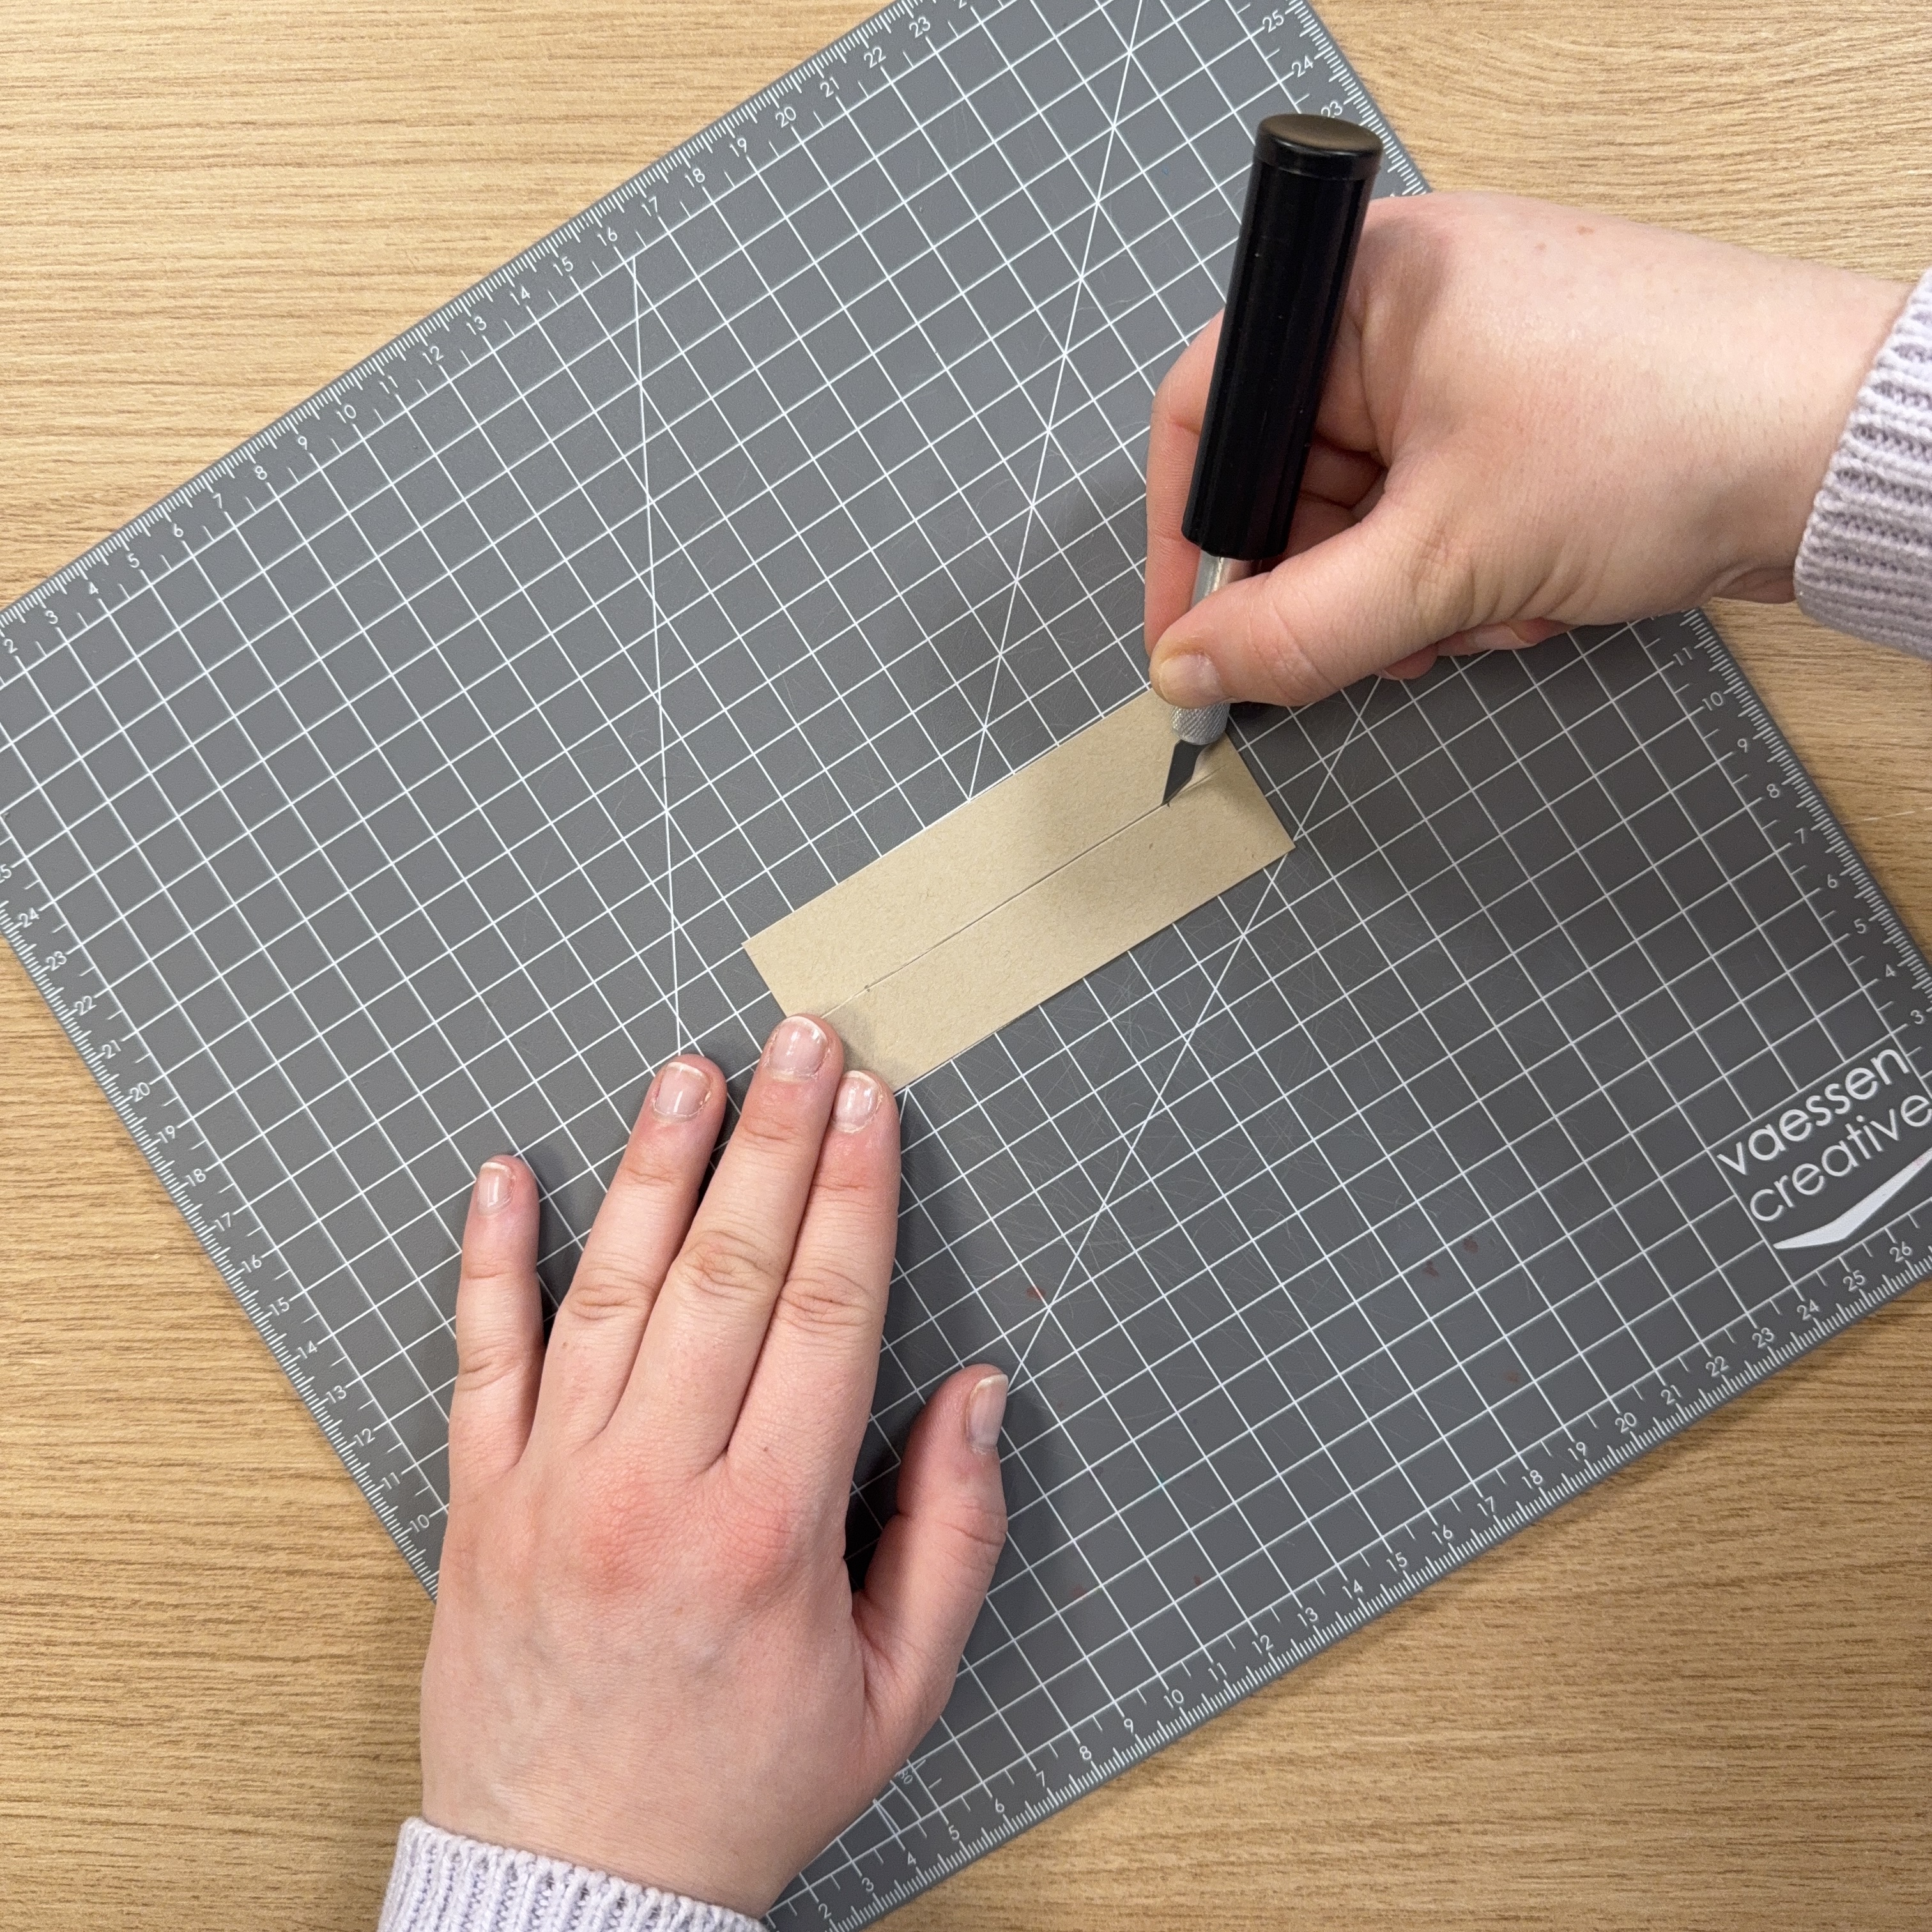
Use a craft knife to make a small slit along the score line, not too close to the edges.
7
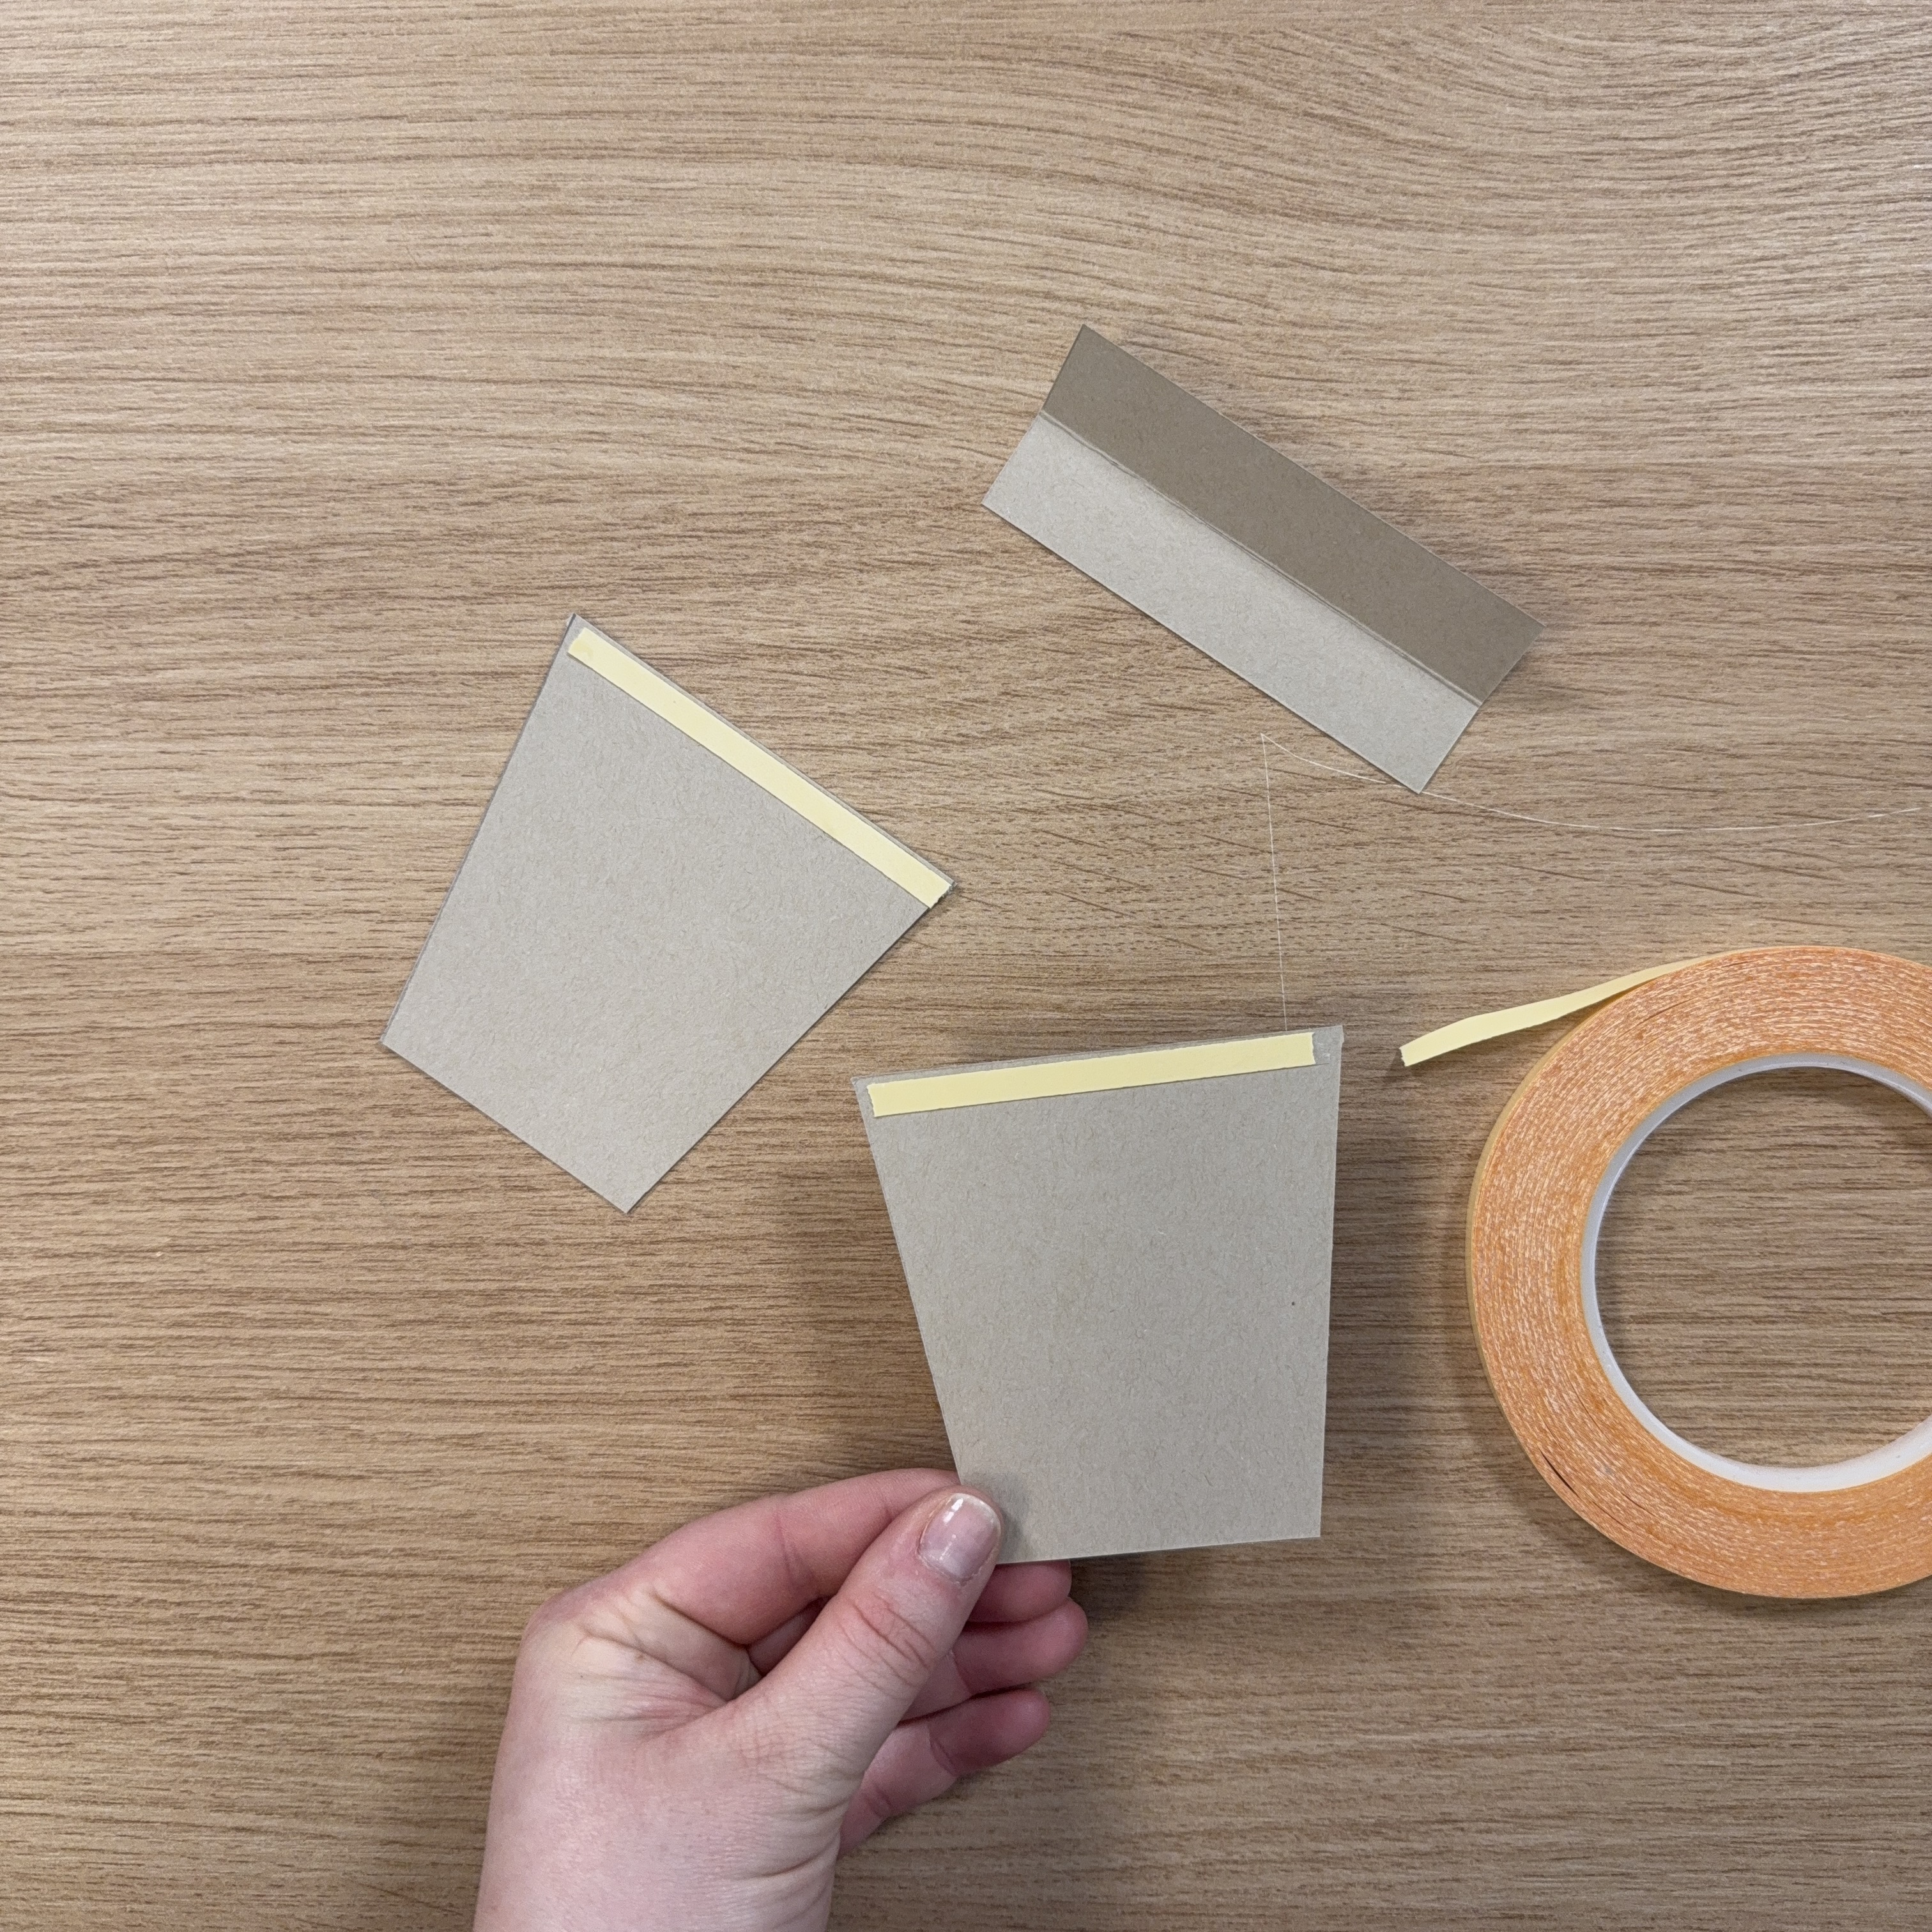
Apply double-sided tape to both flower pot pieces.
8
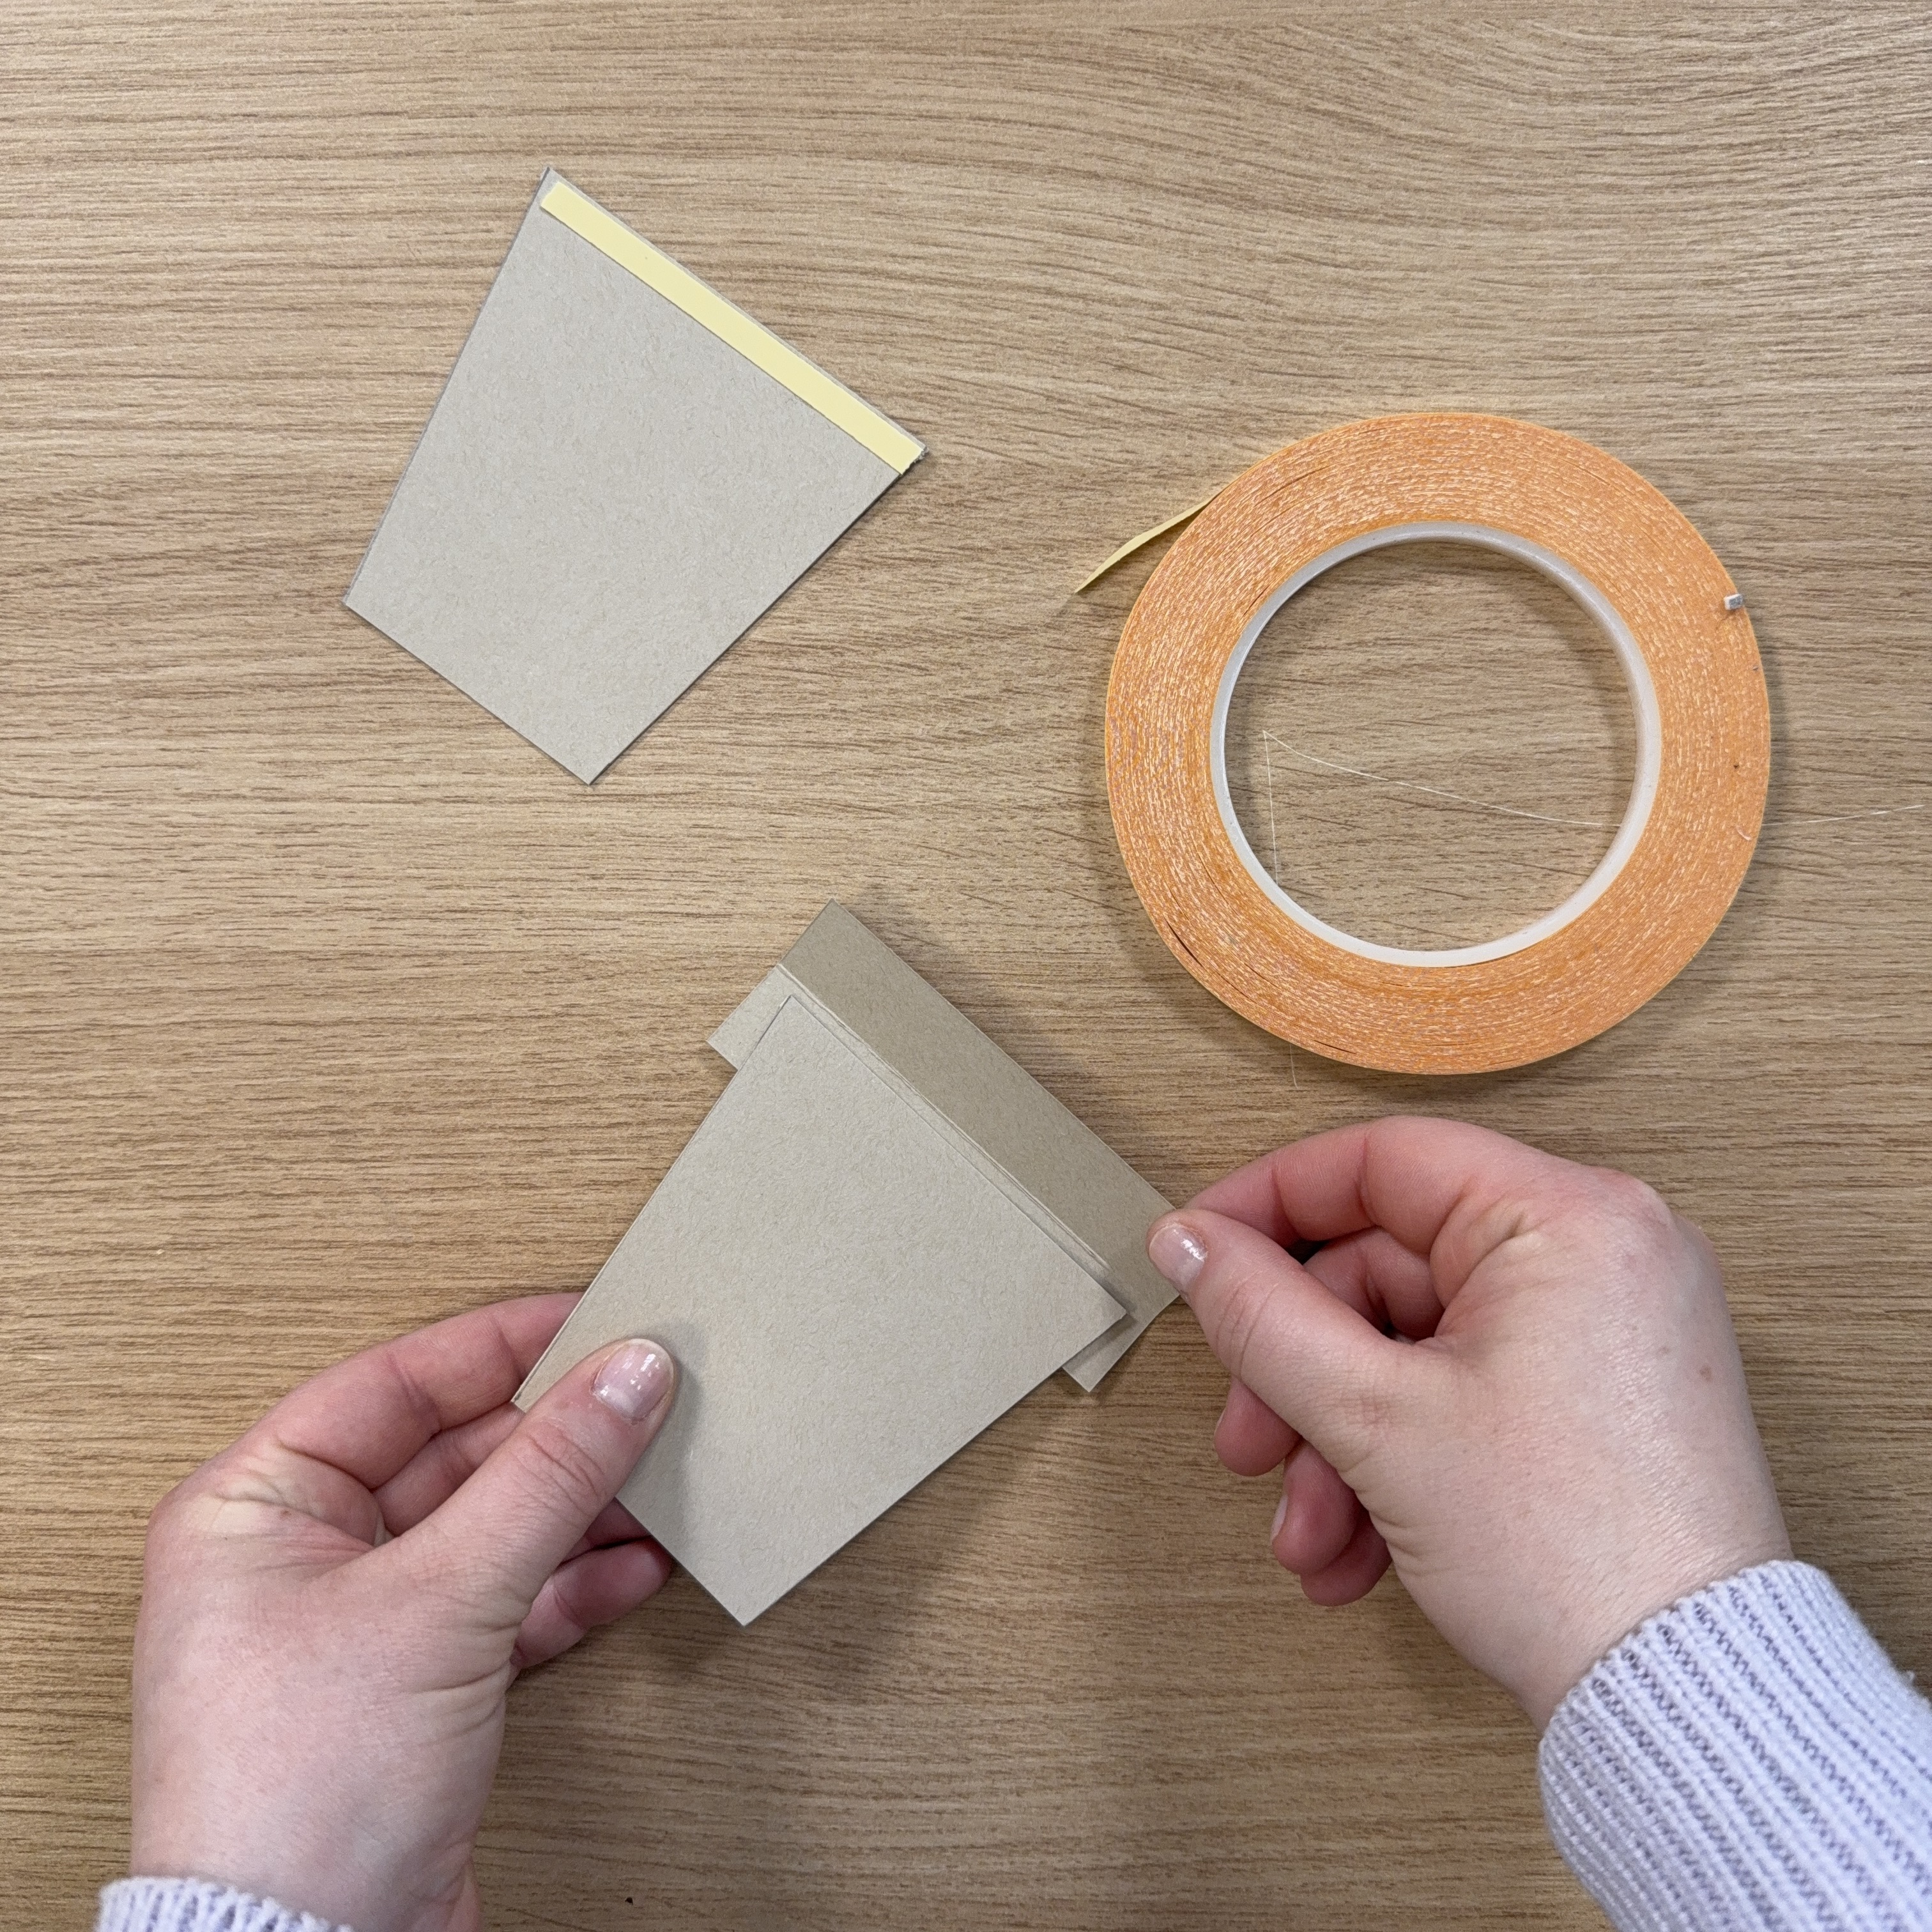
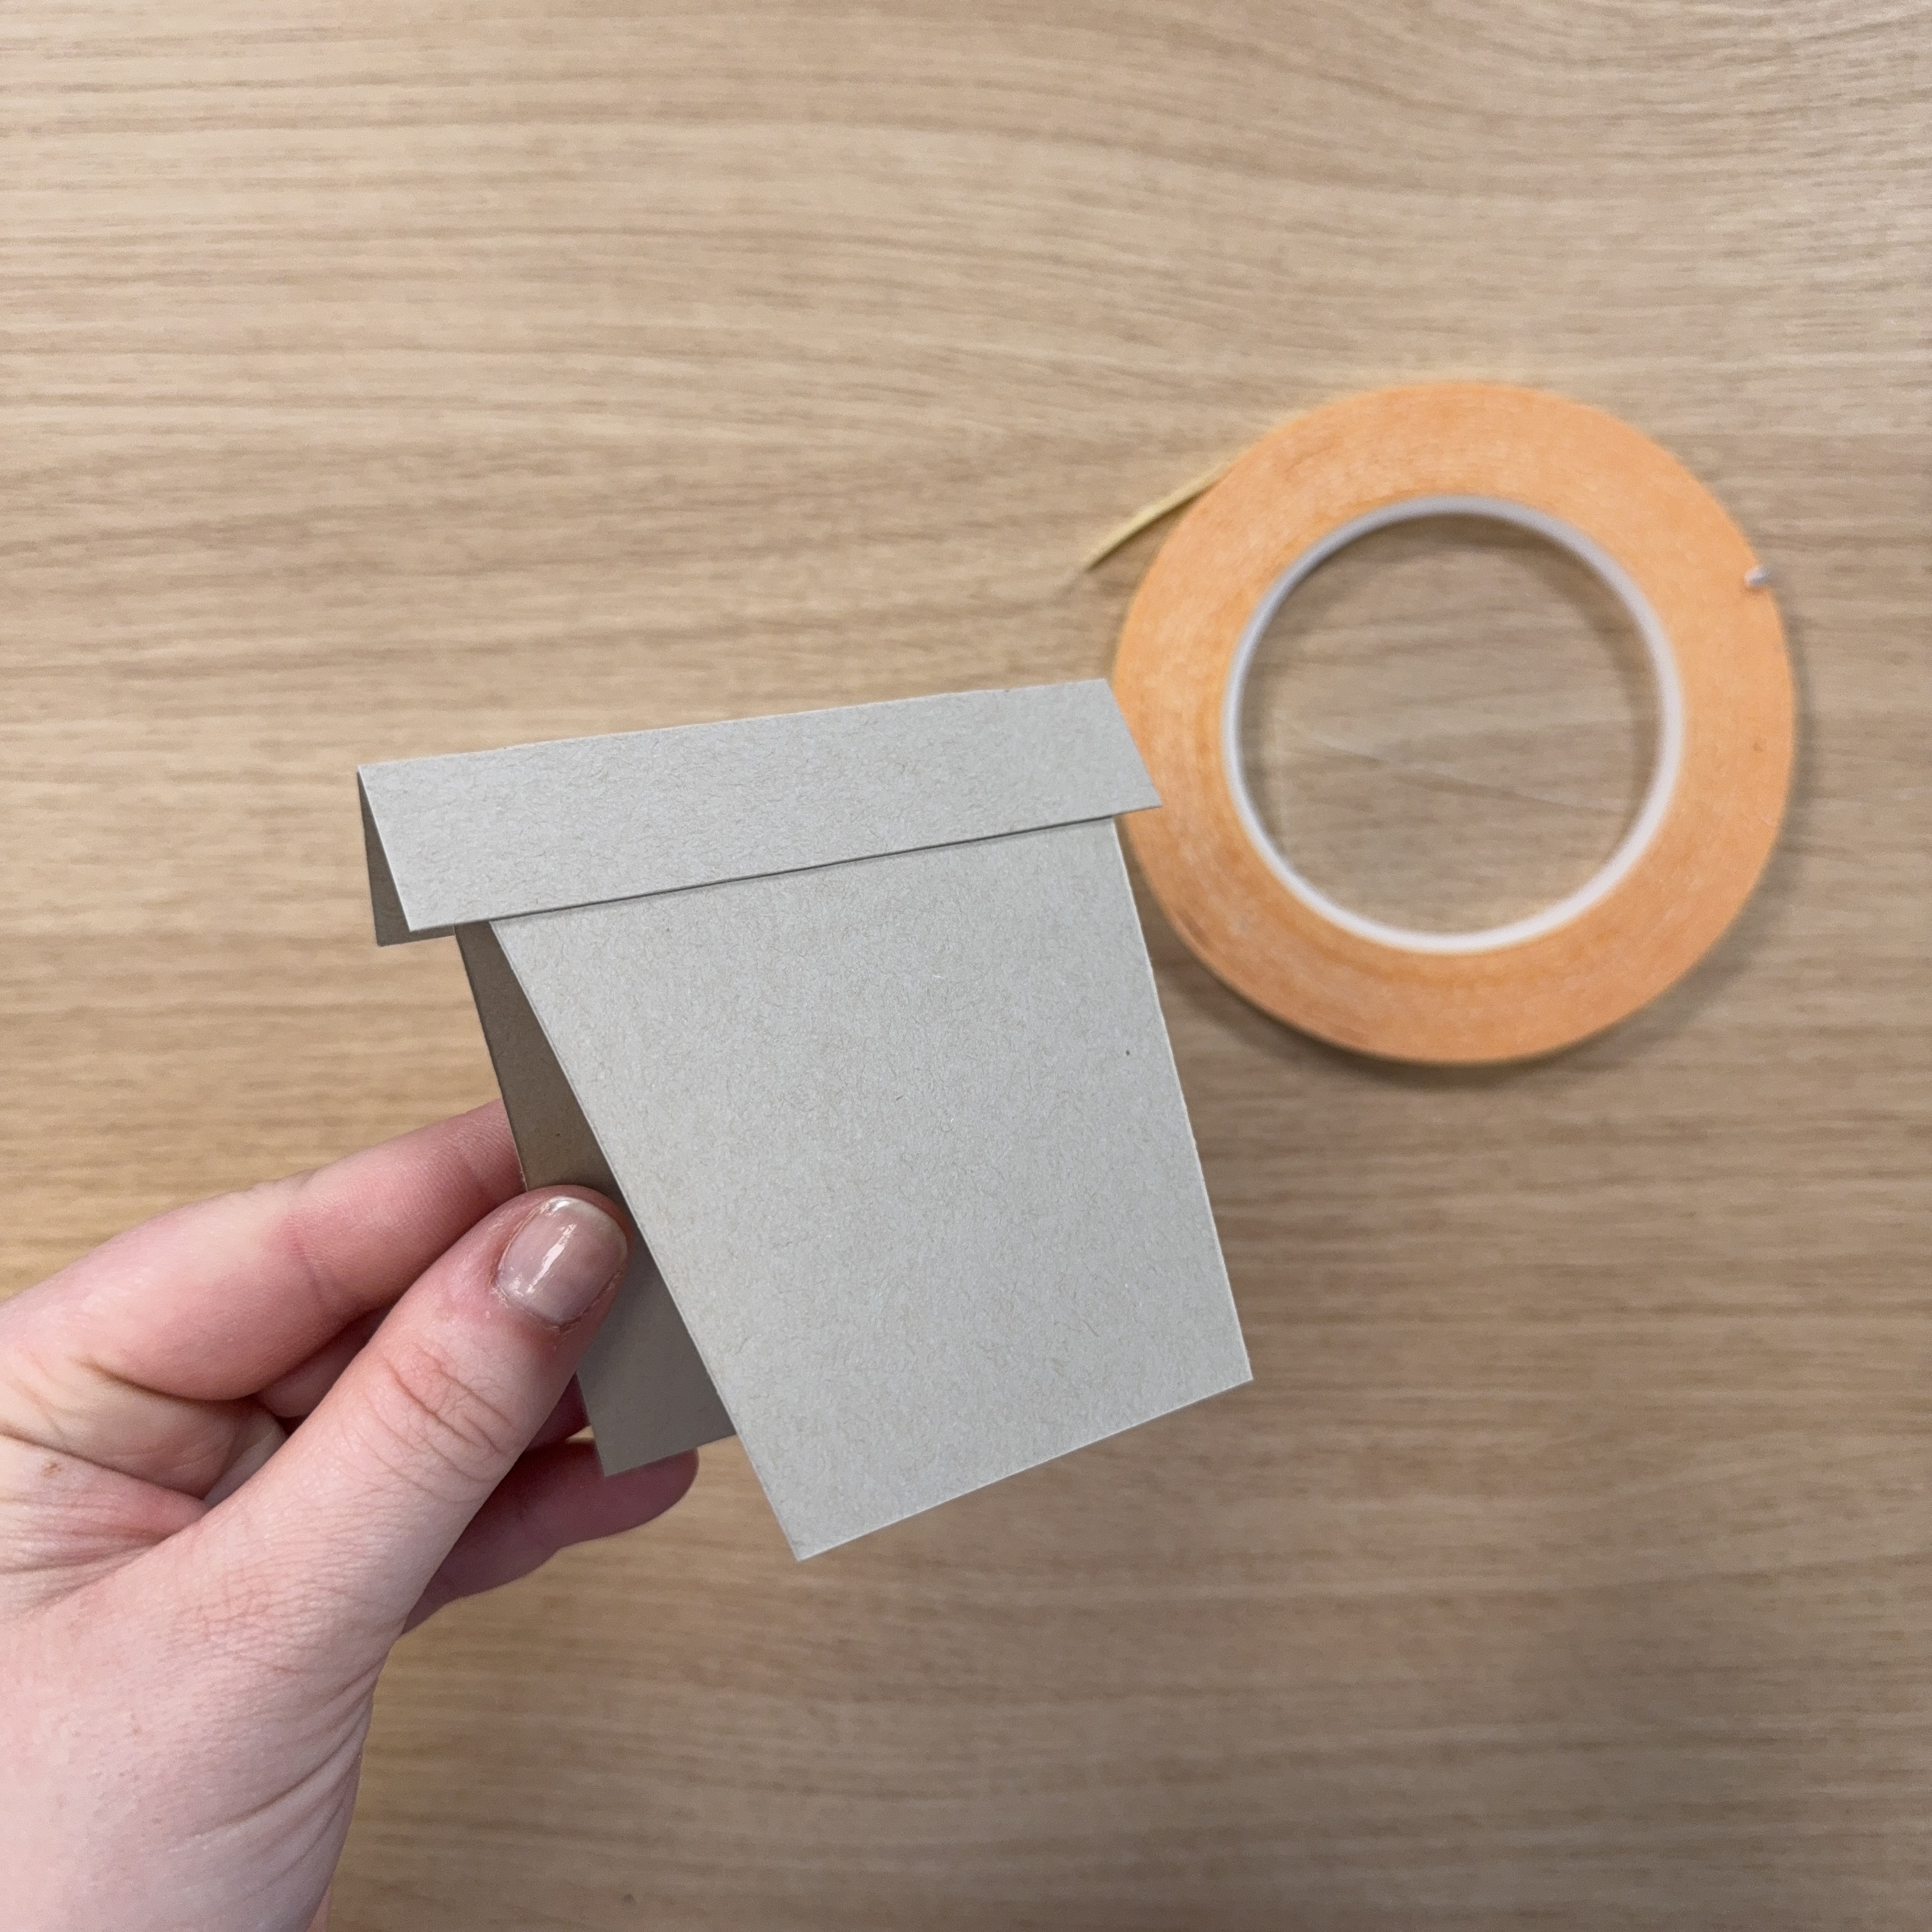
Remove the backing and stick one piece to the inside of the strip.
9
Repeat with the other piece.
10
The base is now ready and should look like this.
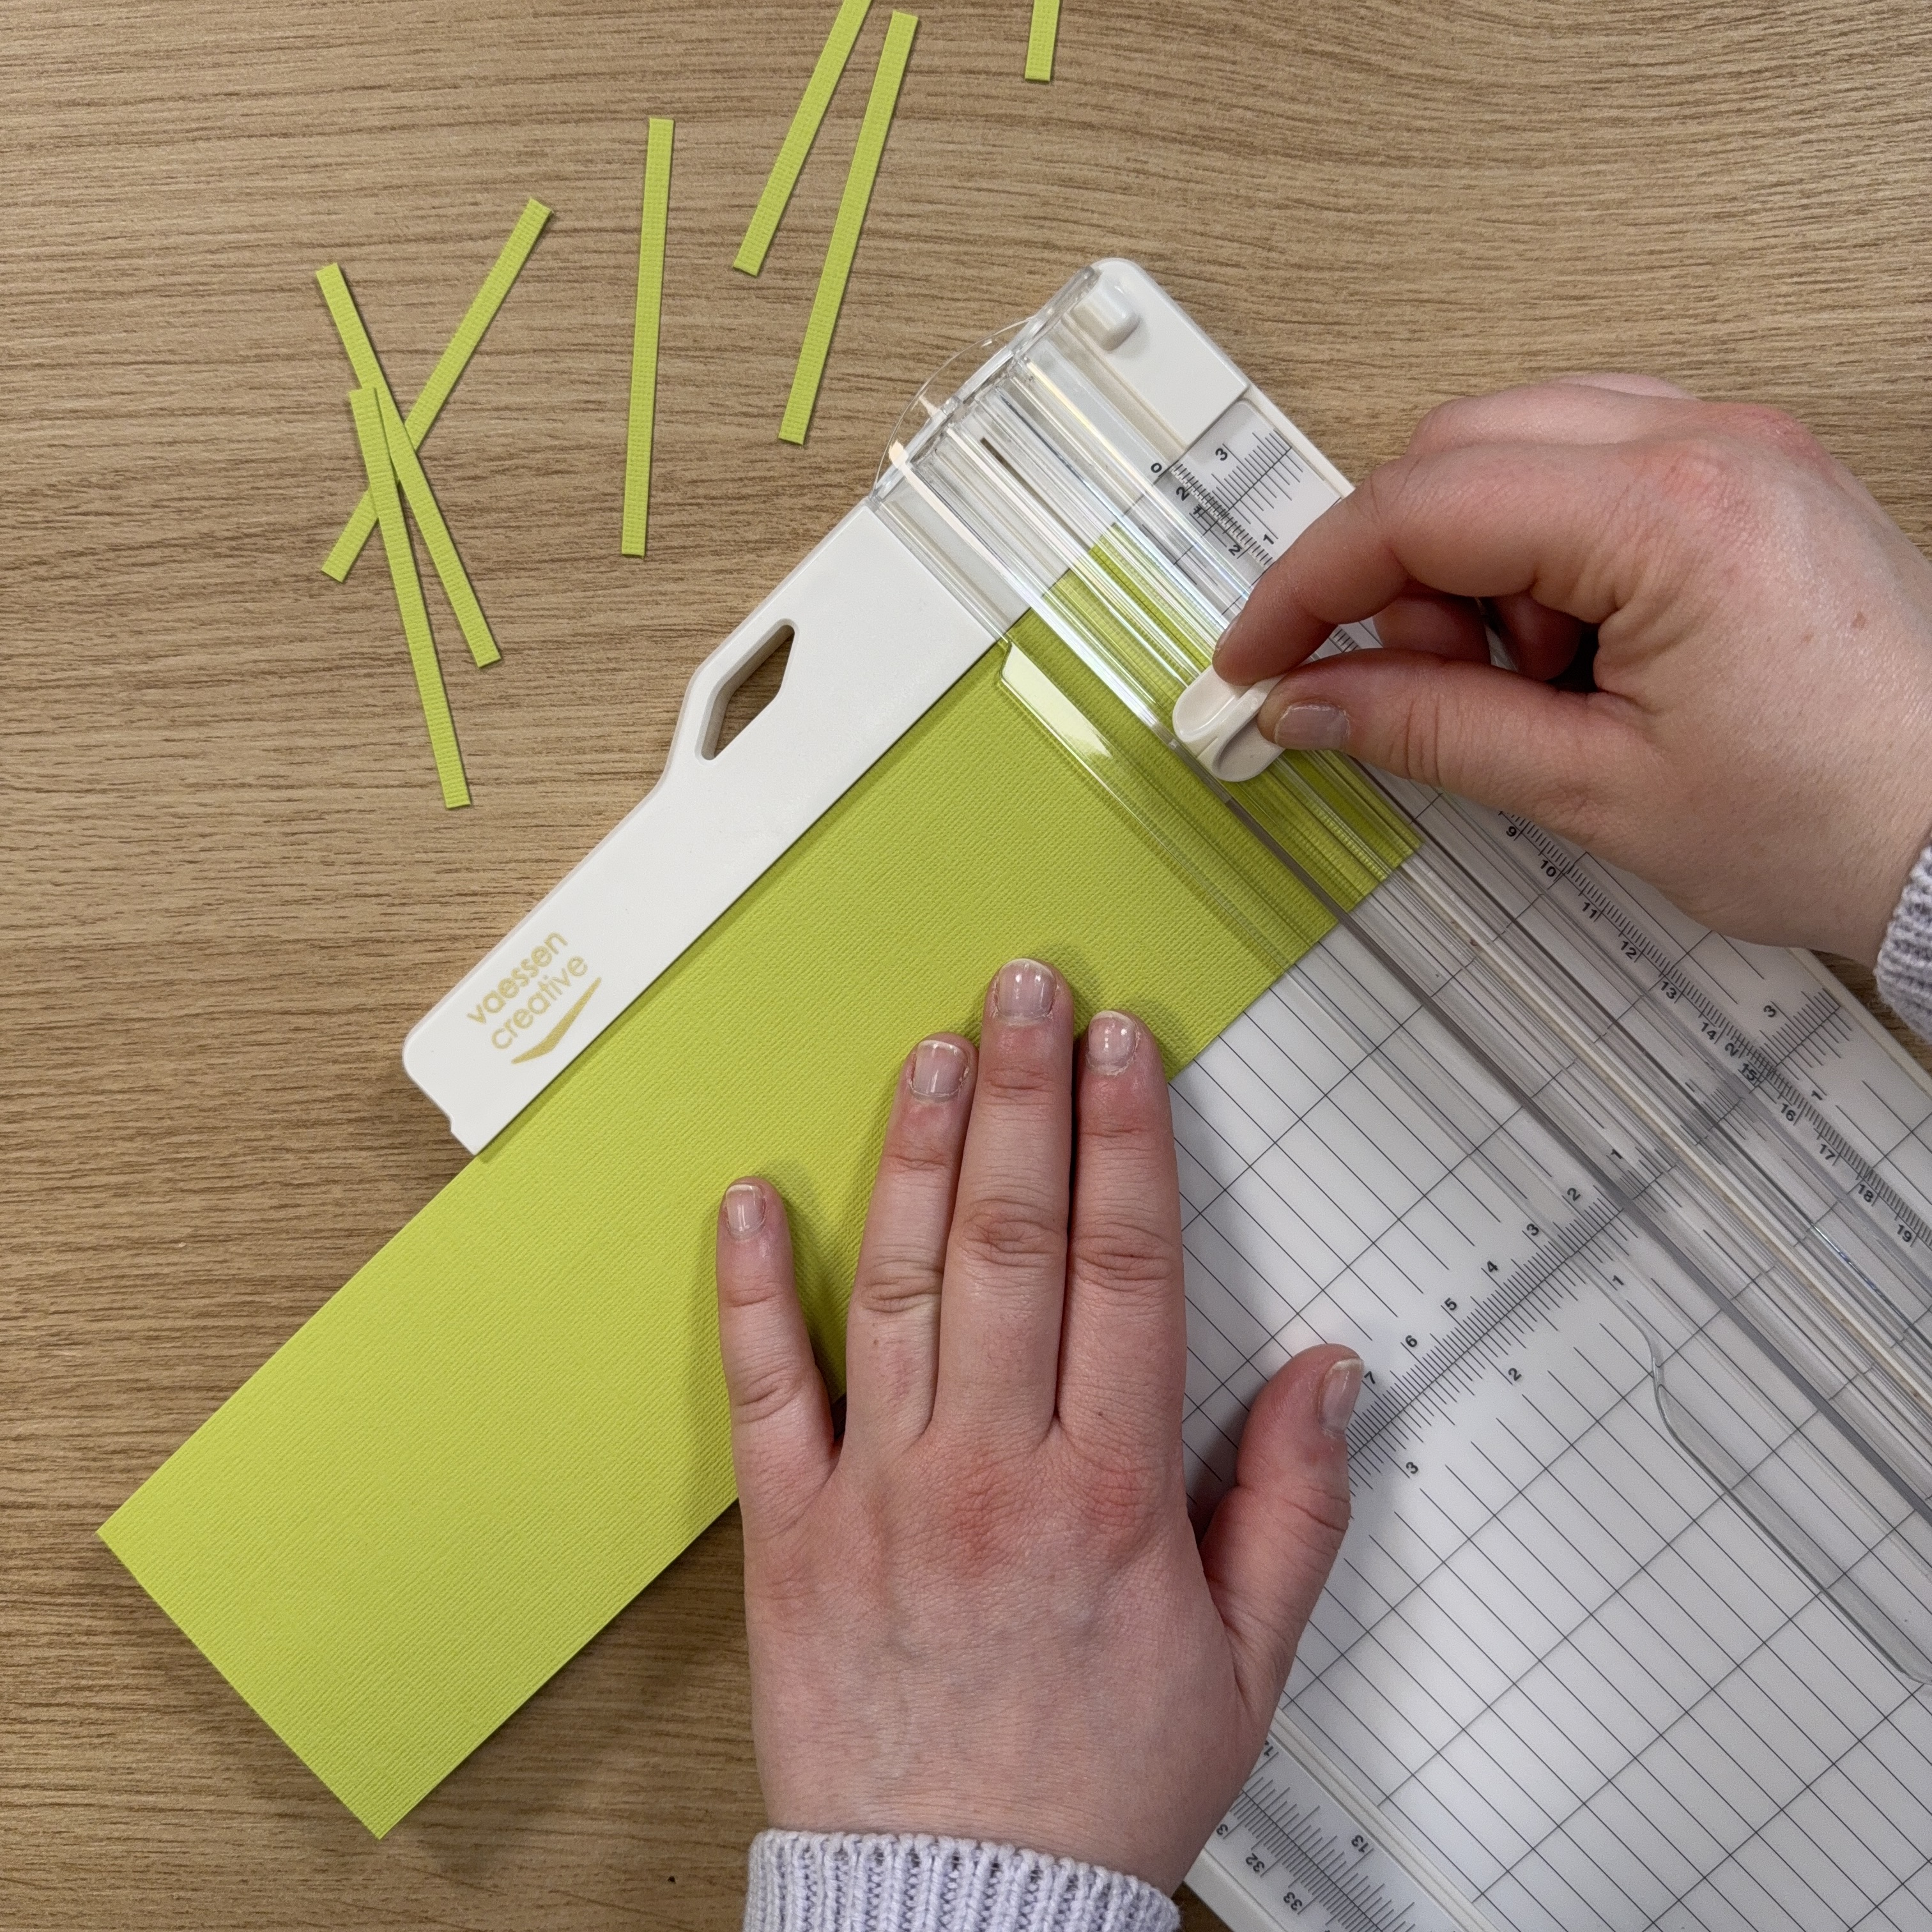
11
Cut green strips of 0.2 x 3.1 inches (0.5 x 8 cm).
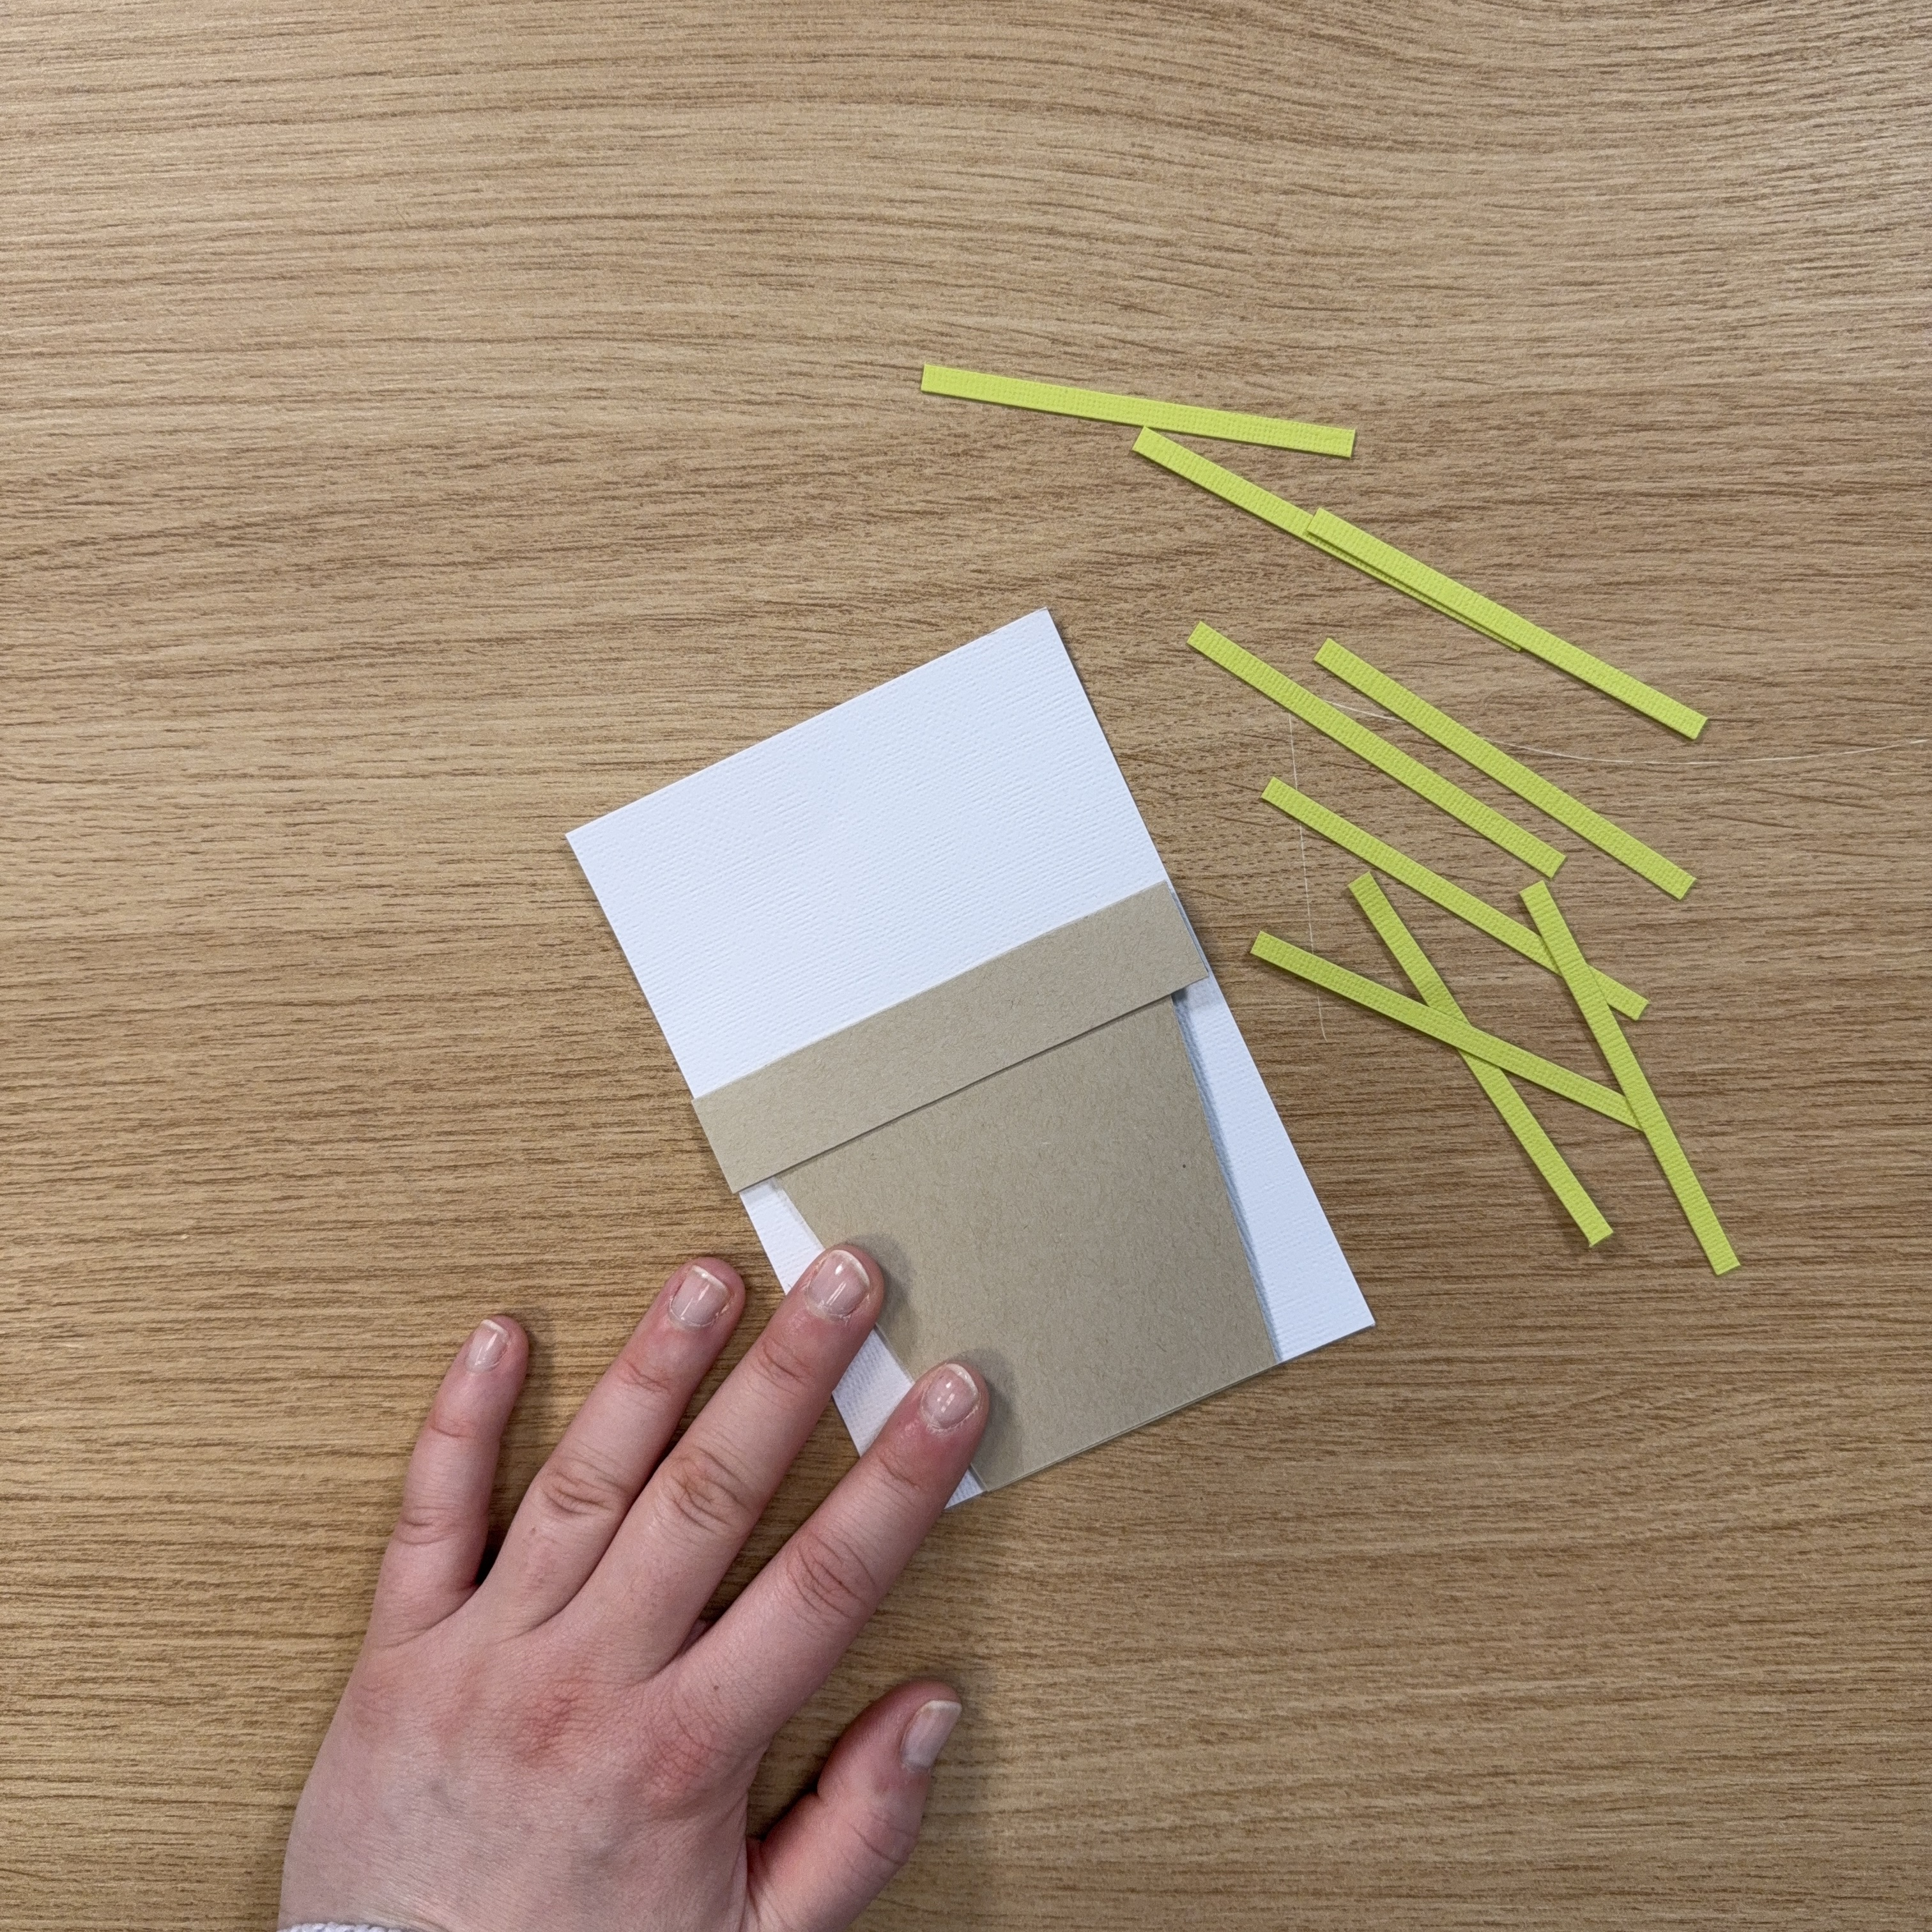
12
Cut a sheet of 3.9 x 5.8 inches (10 x 14.8 cm) and place it under the flower pot as a guide for the correct size.
13
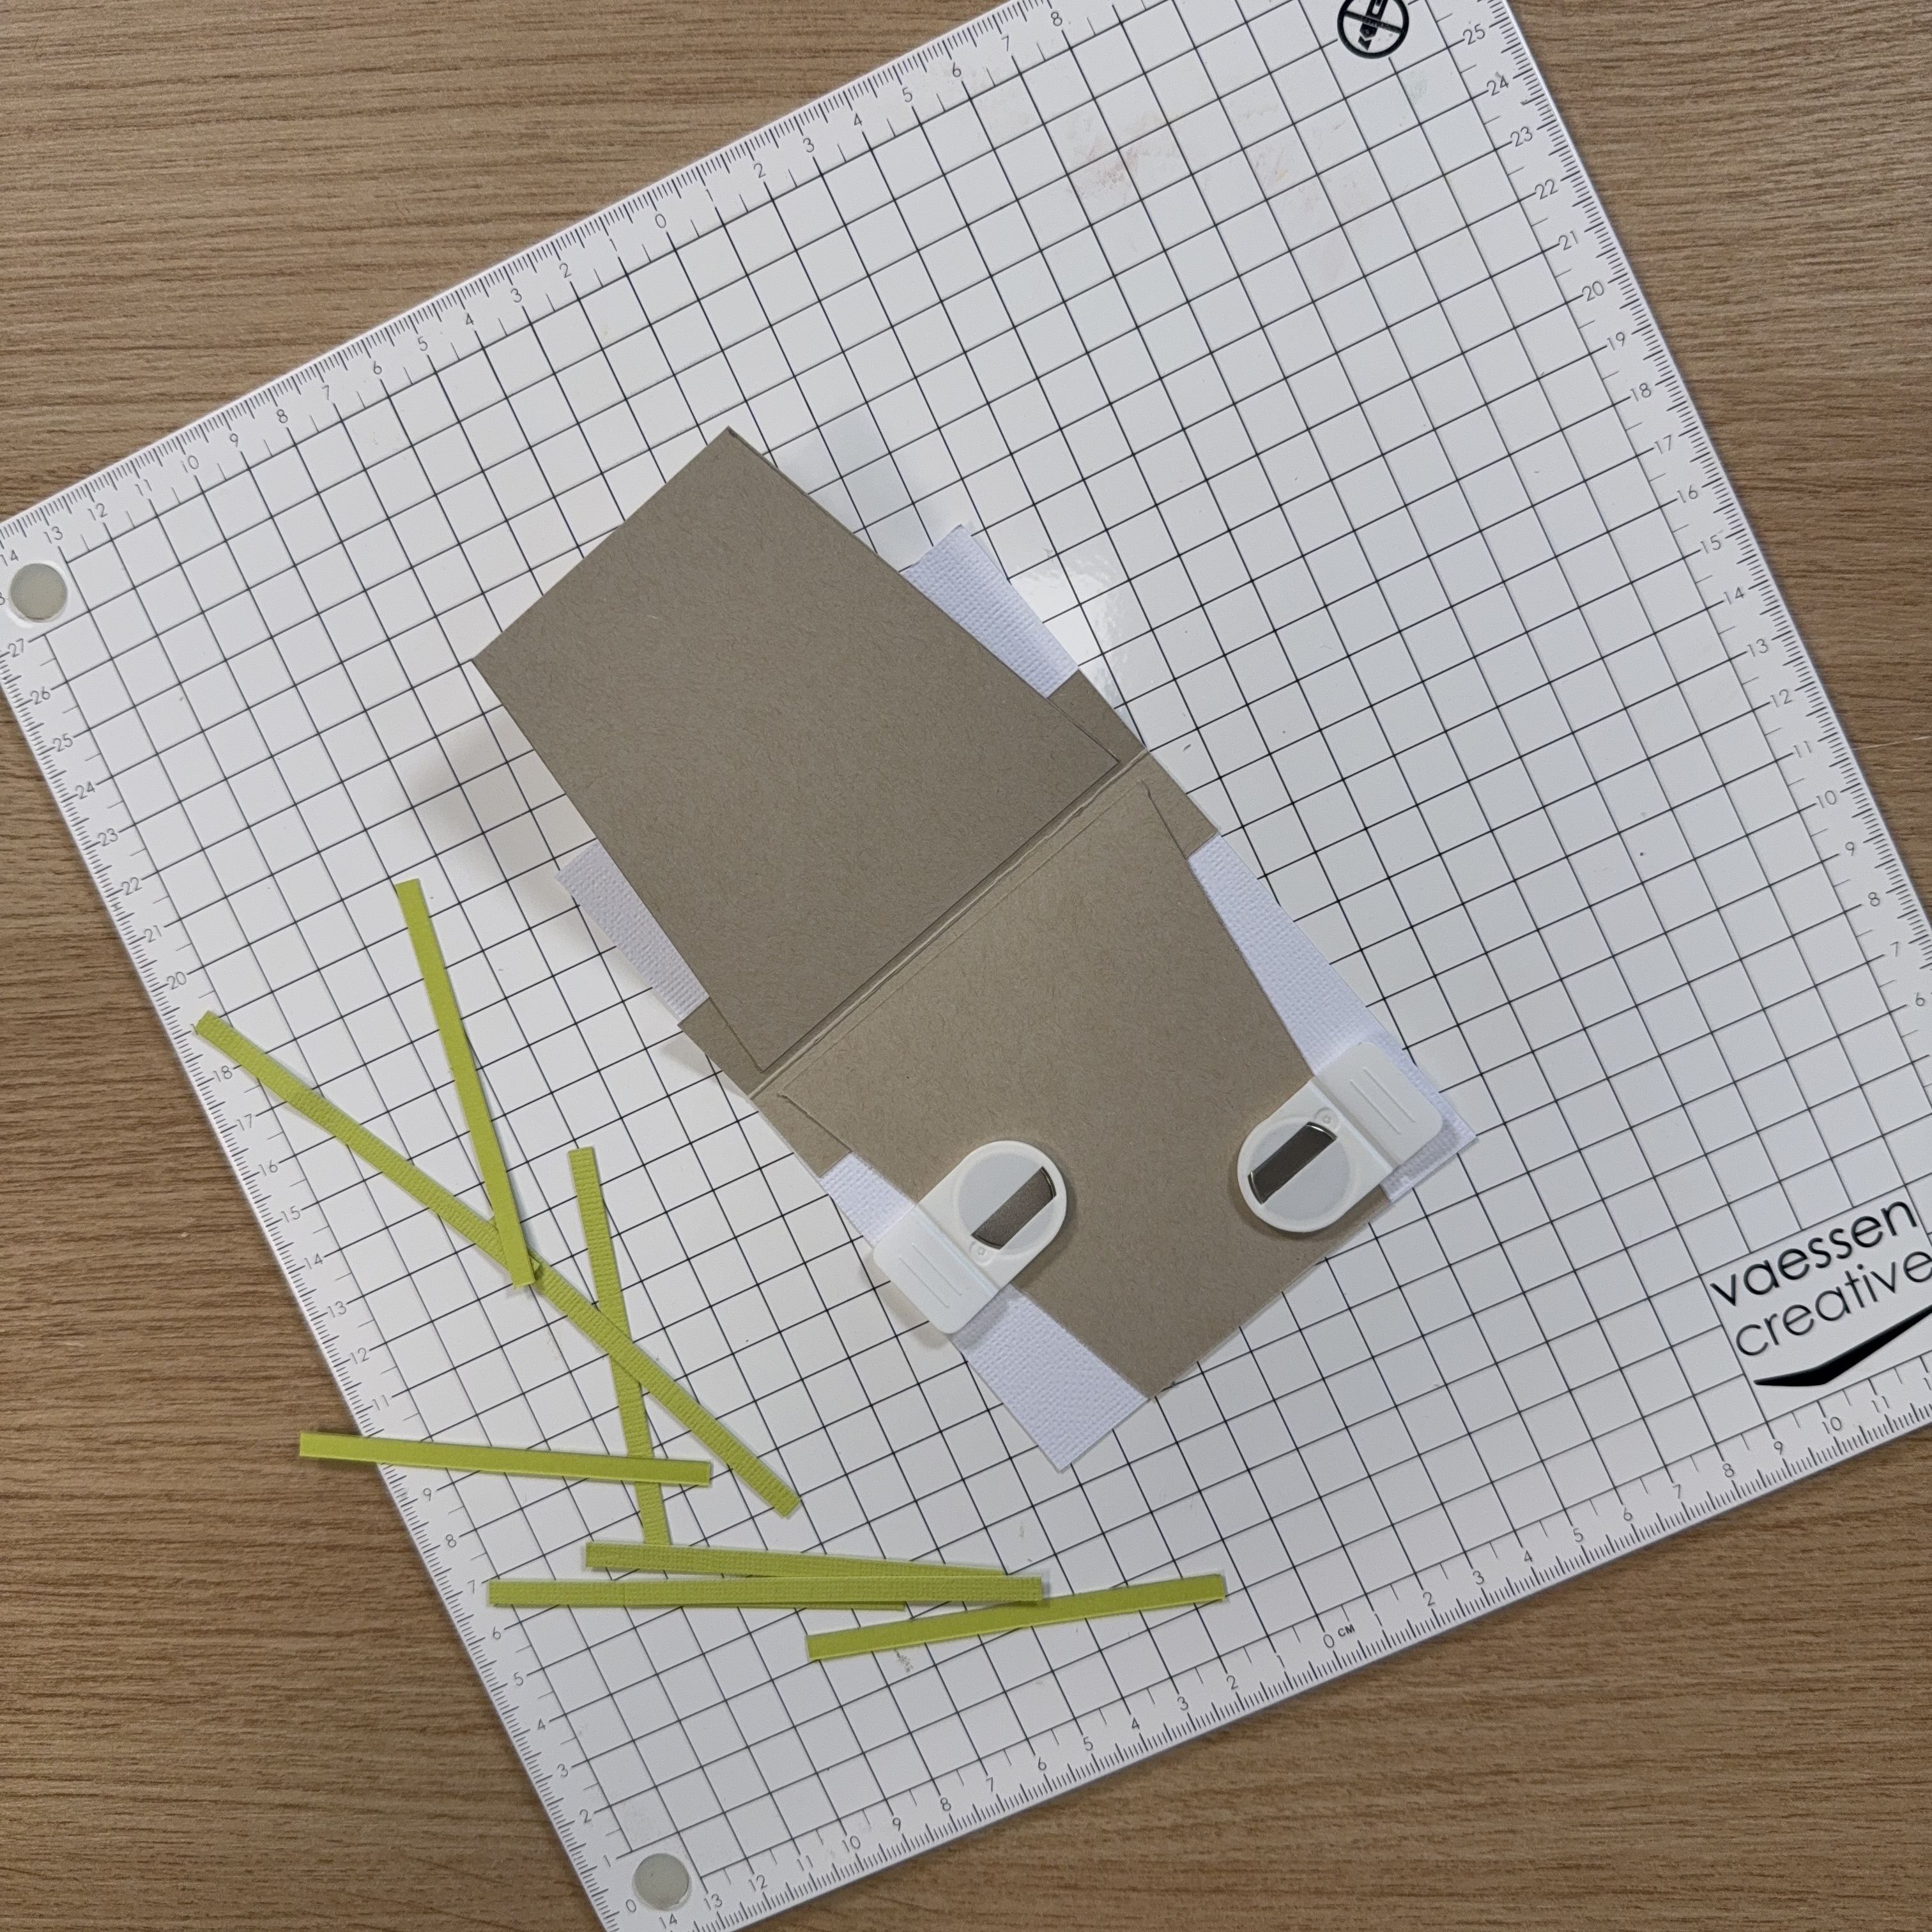
Secure the white sheet and the flower pot with magnets on a magnetic work surface.
14
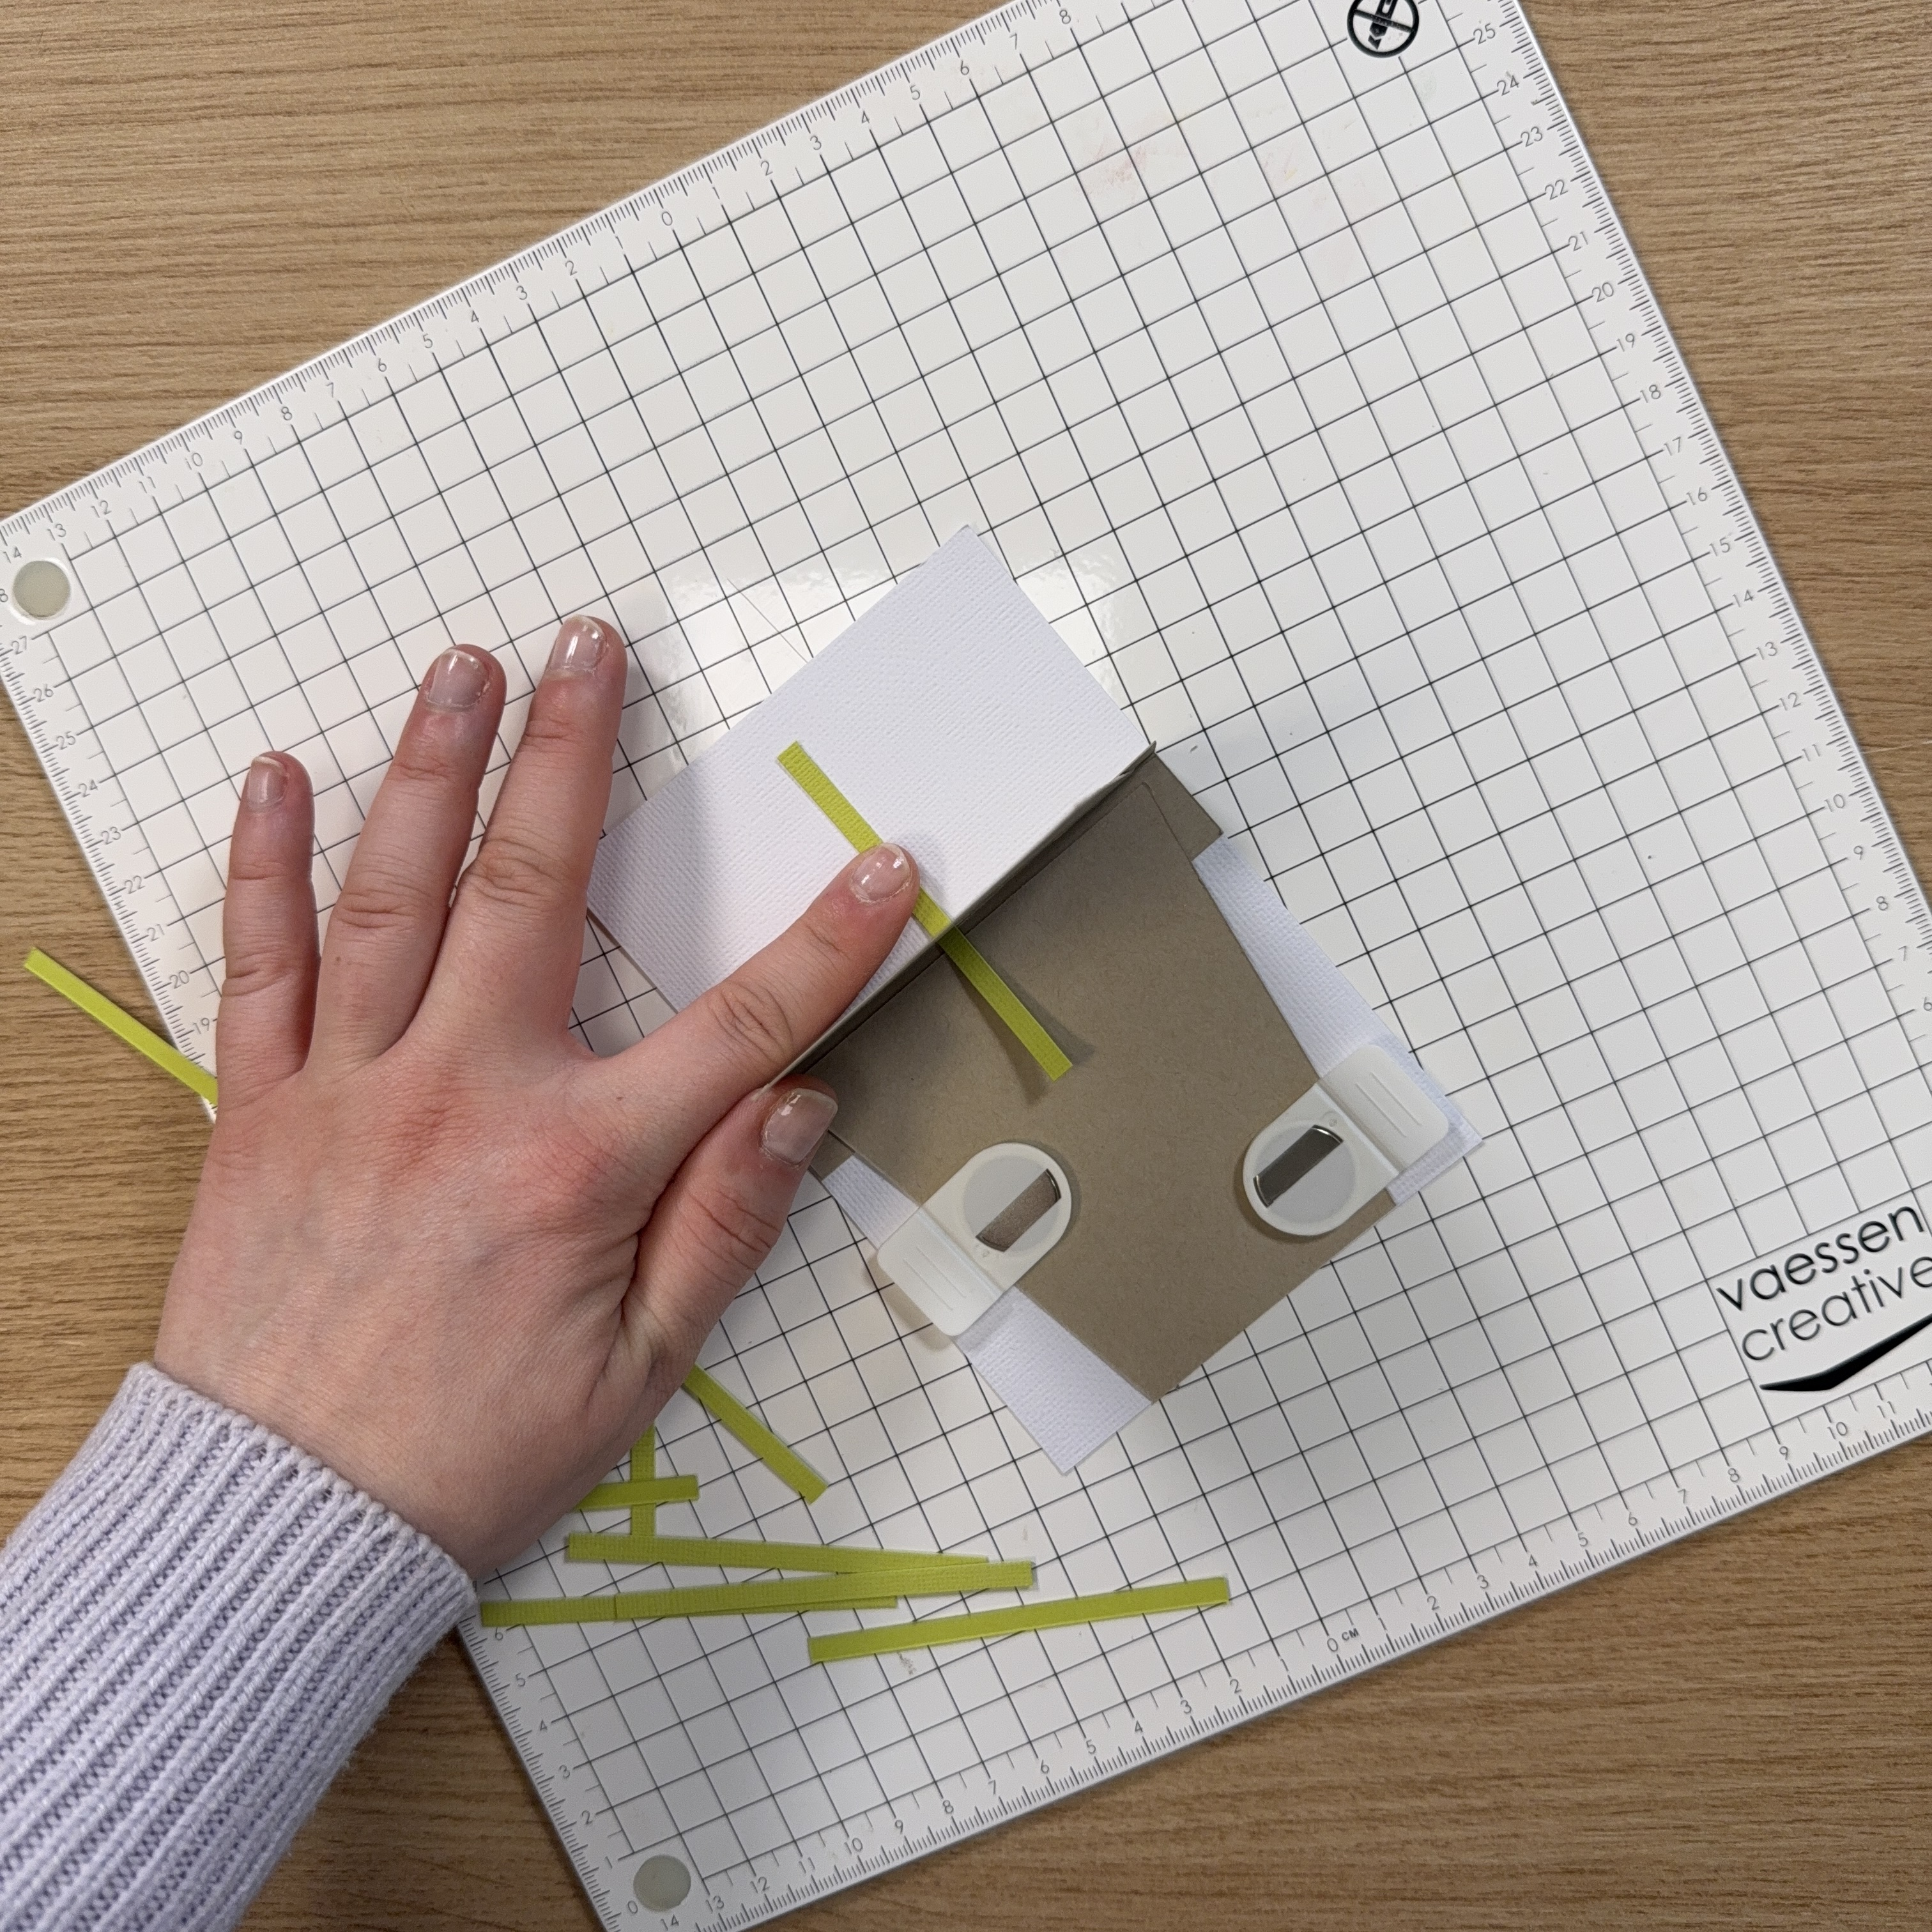
Thread a green strip through the opening and position it where you want it on the card.
15
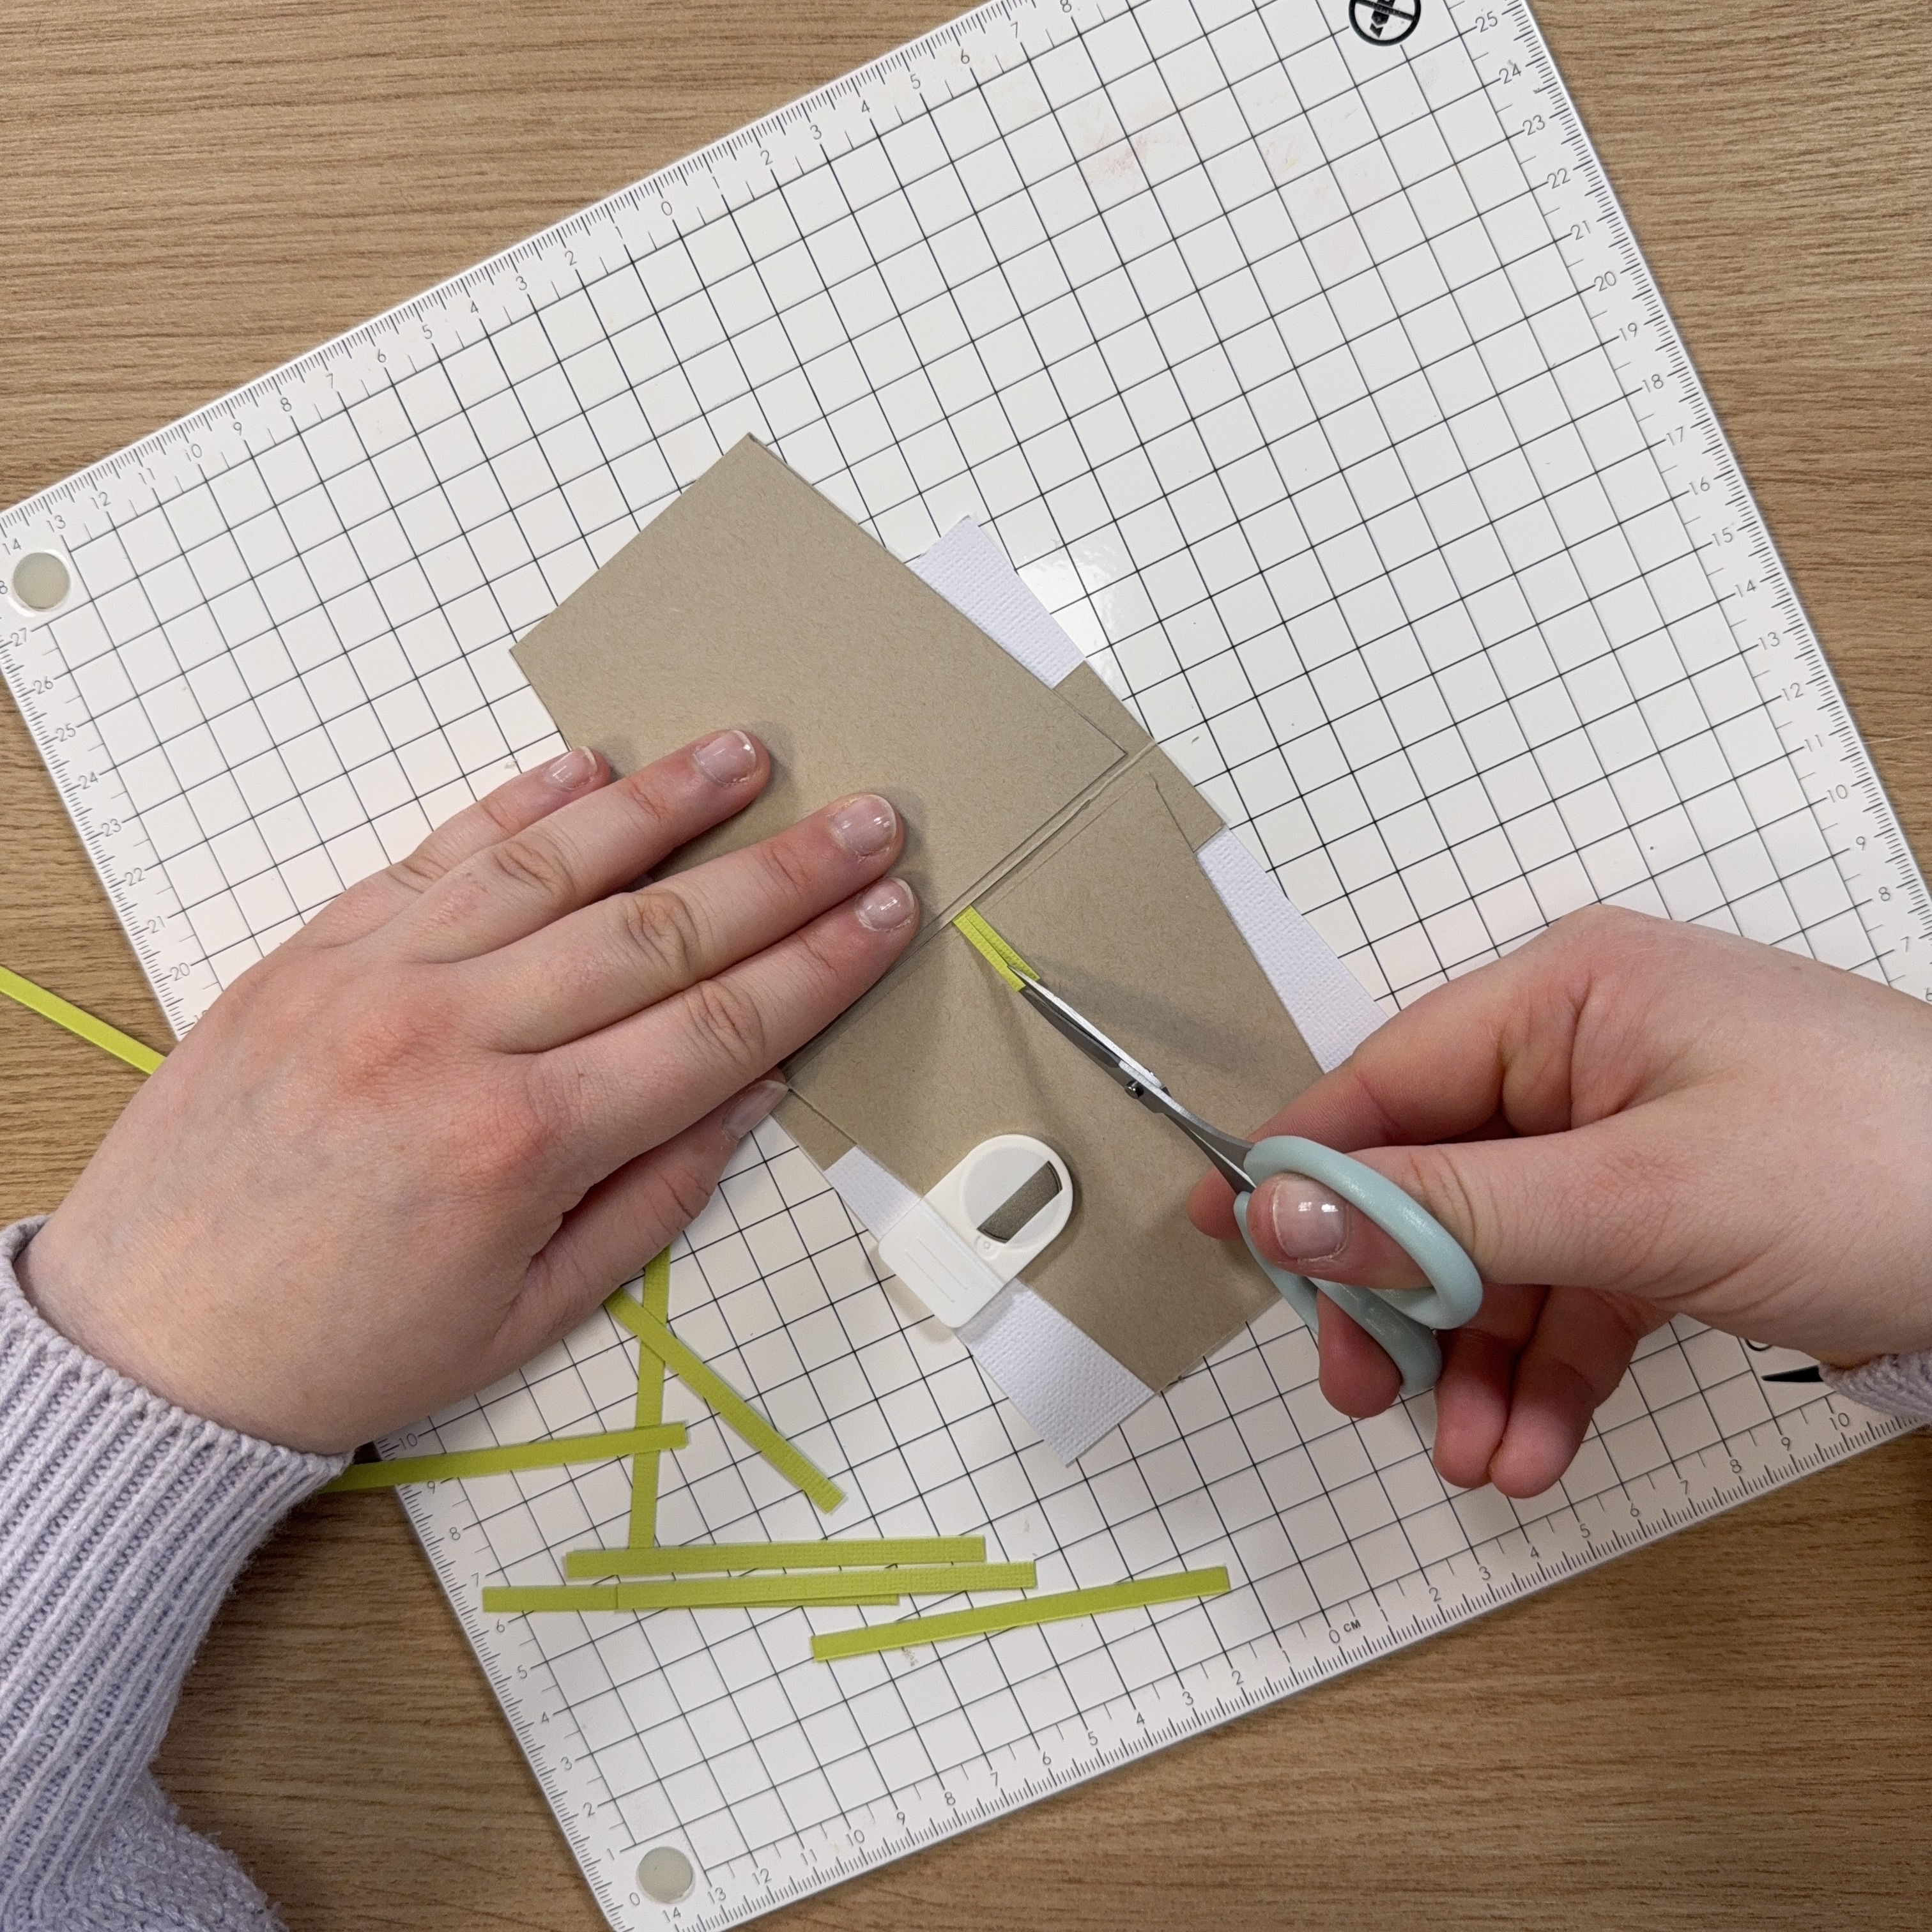
Trim any excess length and cut the end of the strip vertically.
16
Glue one part upwards and one part downwards. Repeat steps 14–16 until all stems are attached inside the pot.
17
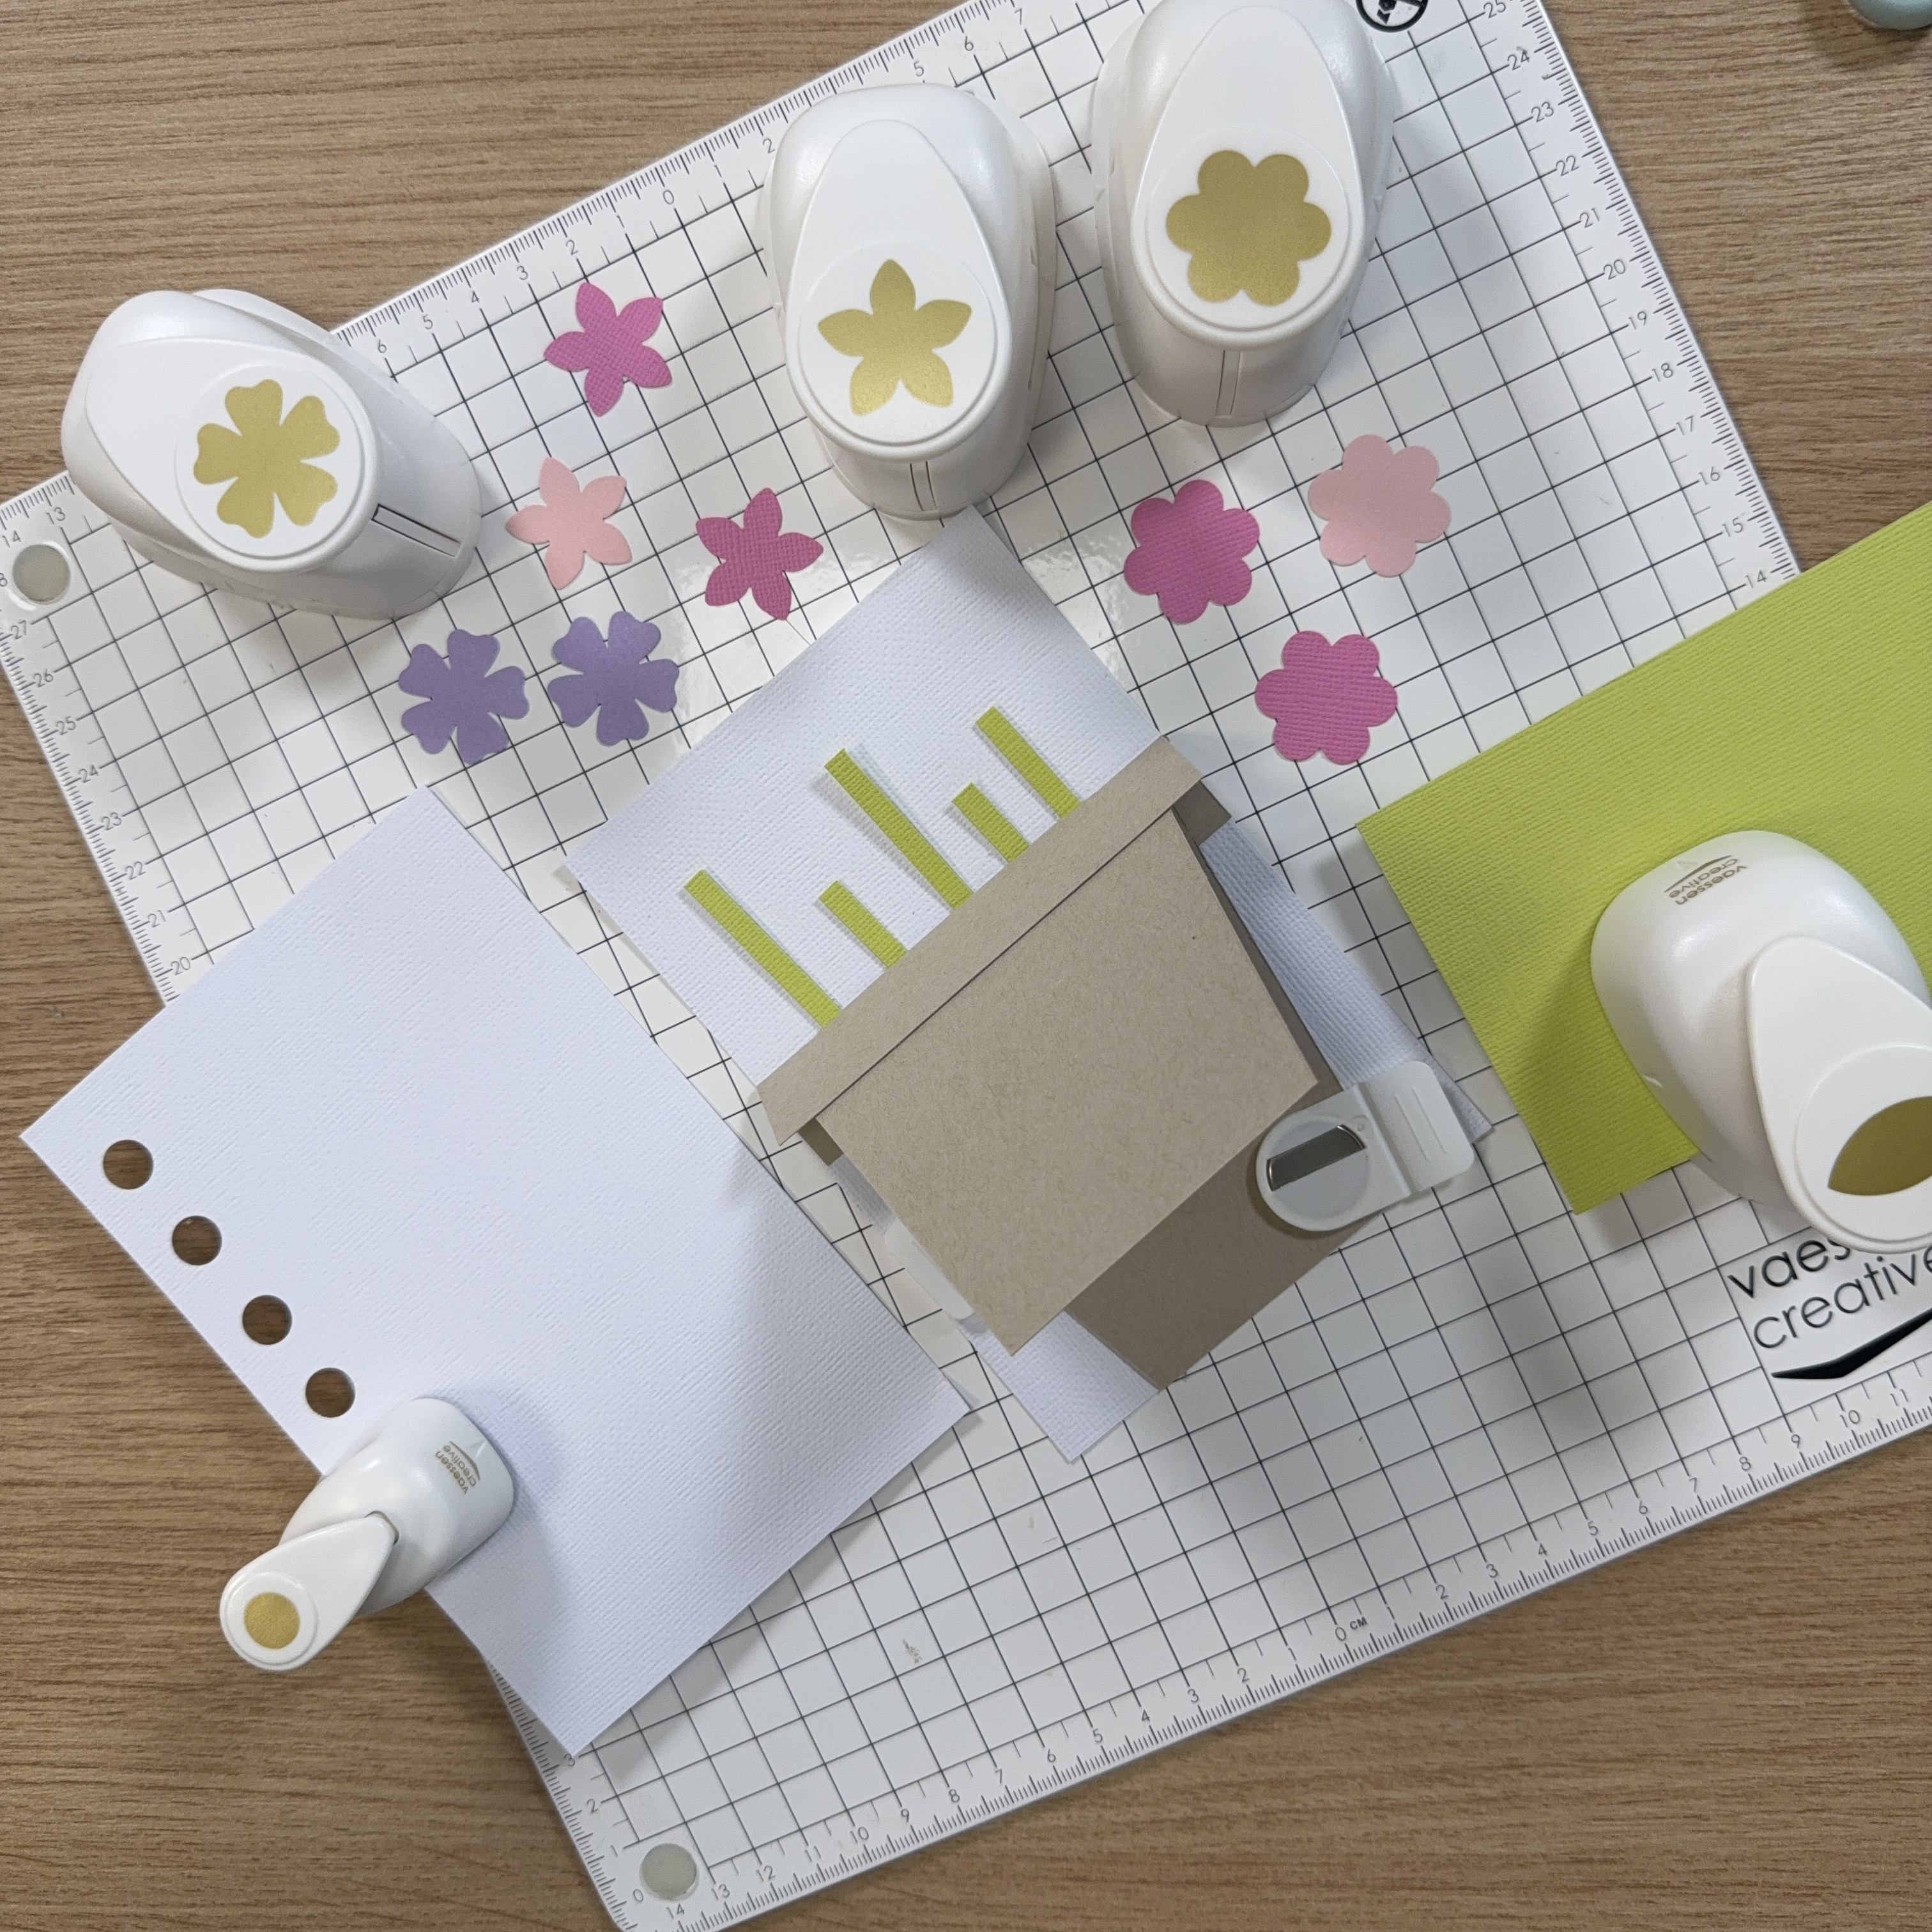
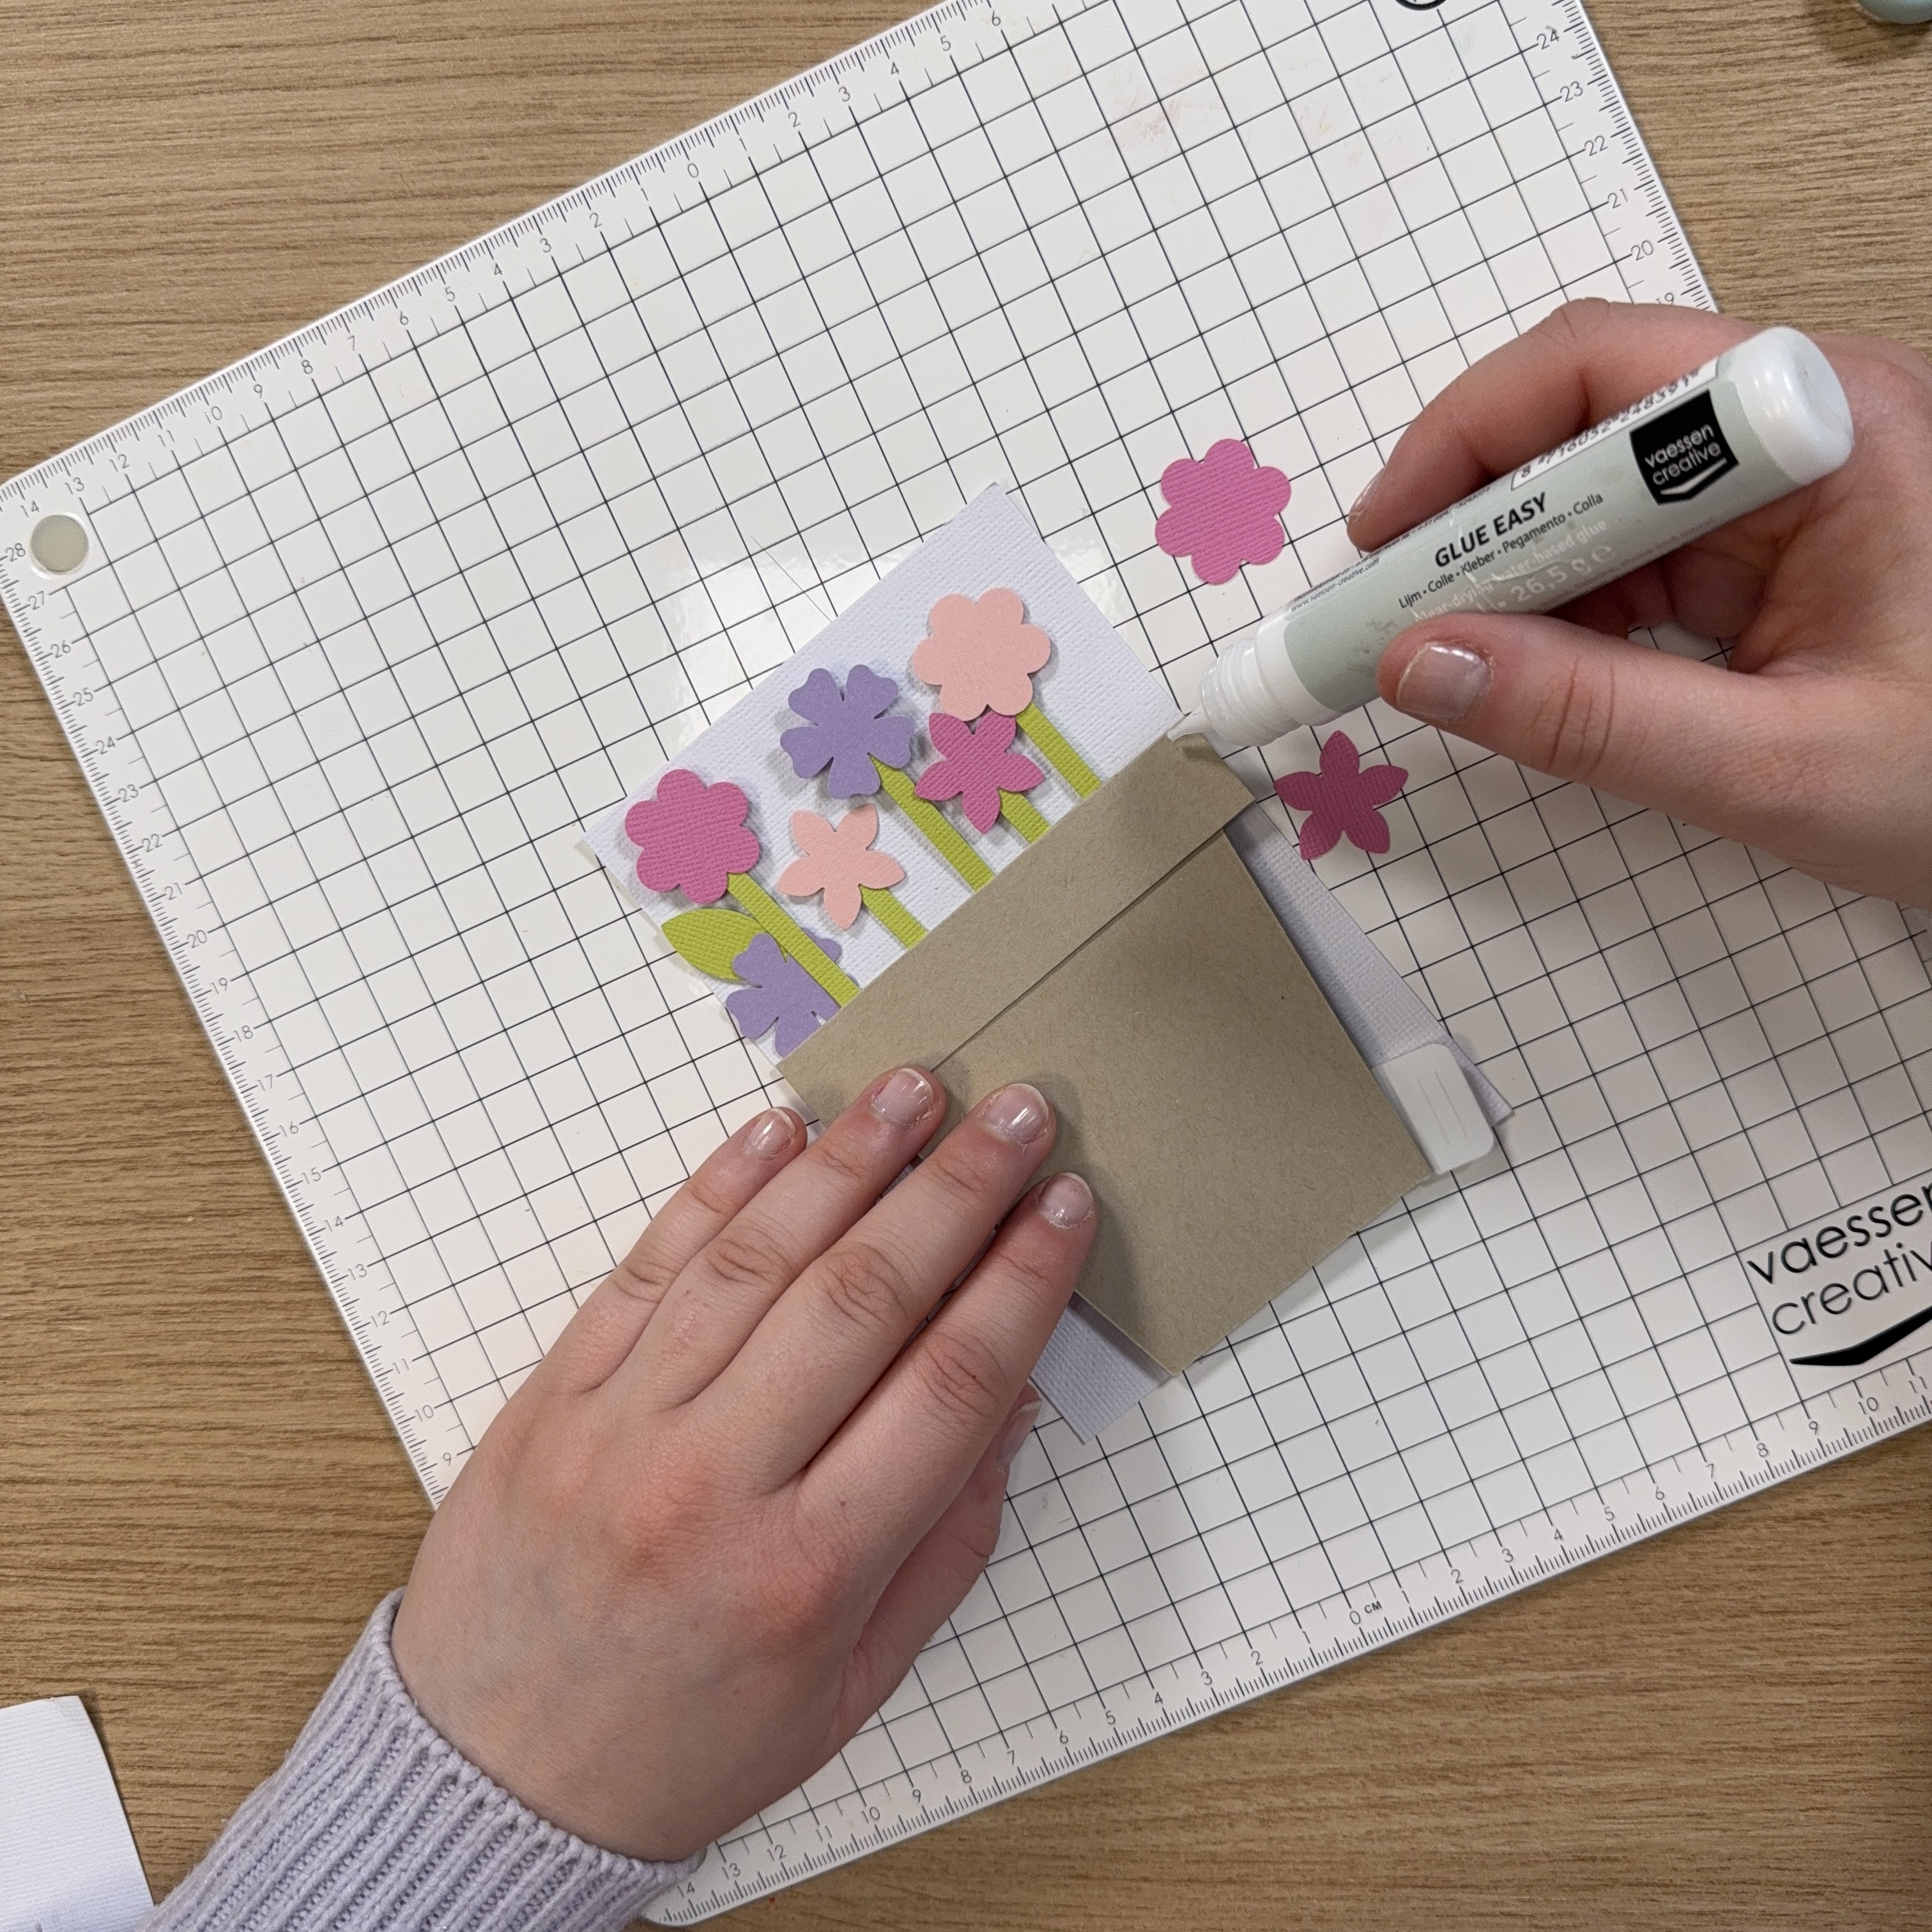
Punch flowers from pink and purple cardstock. Also punch leaves from green cardstock and circles from white cardstock.
18
Glue the flowers and leaves onto the stems.
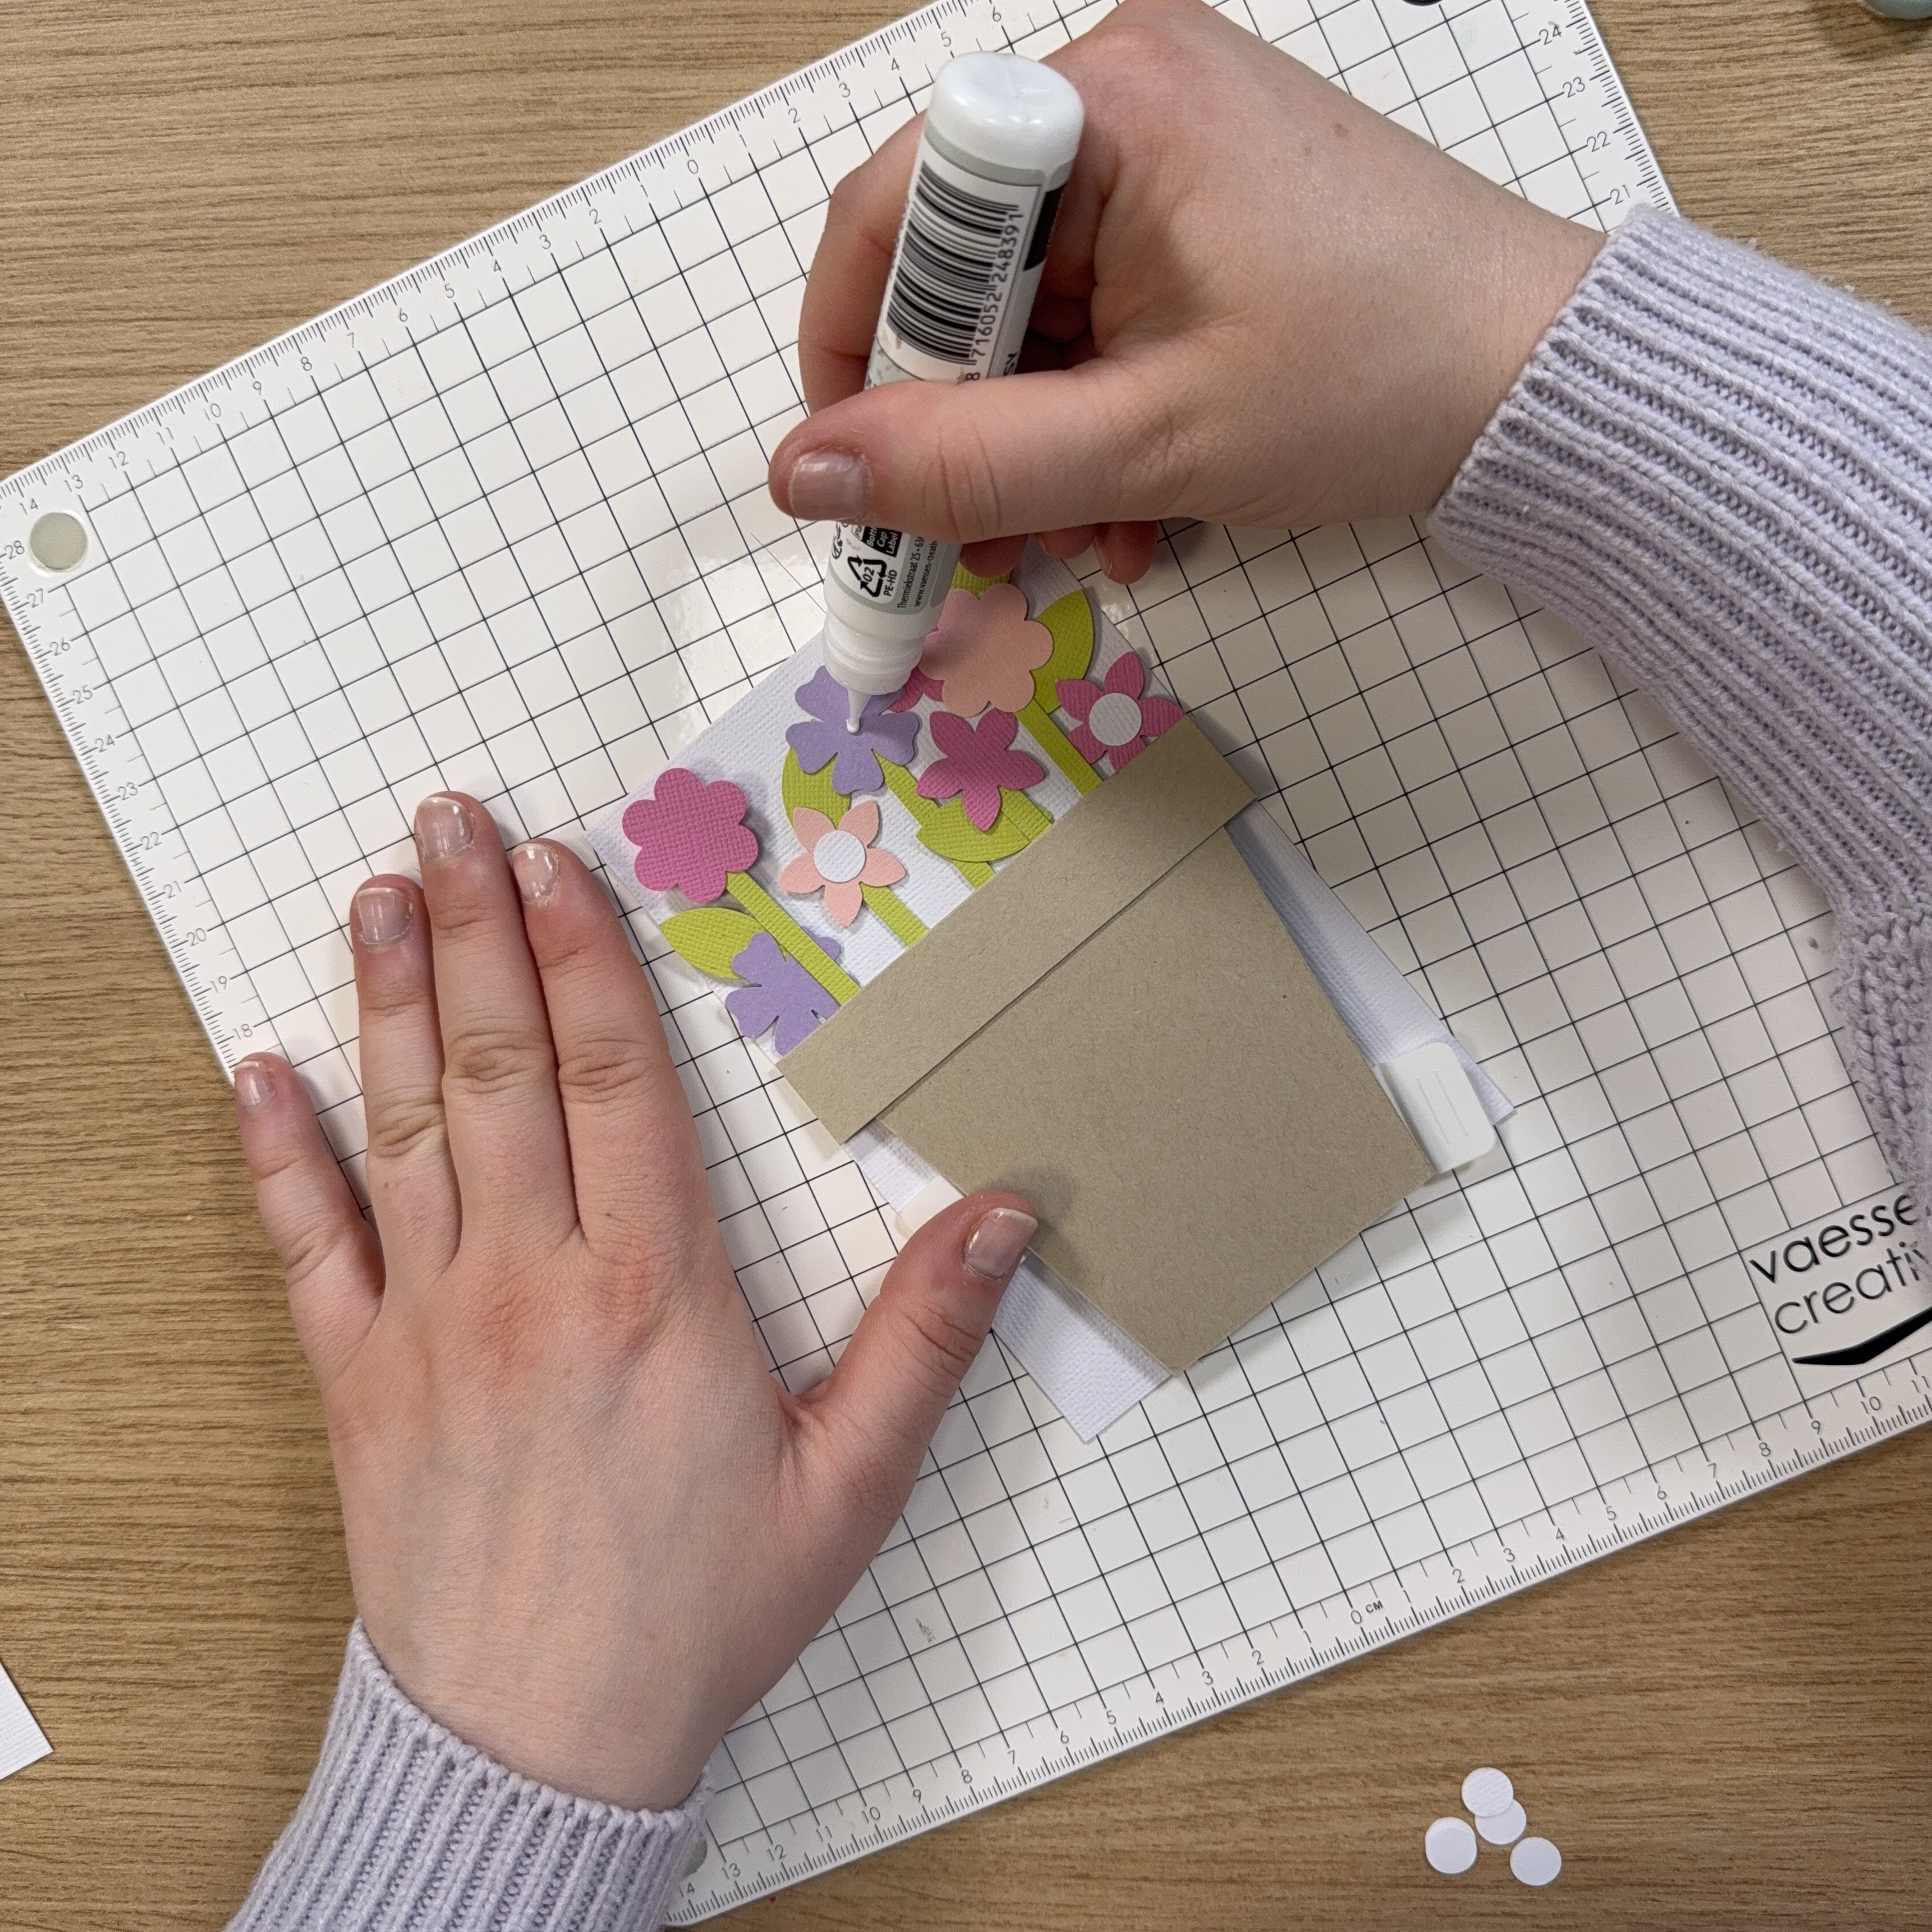
19
Stick the white circles in the centre of the flowers.
20
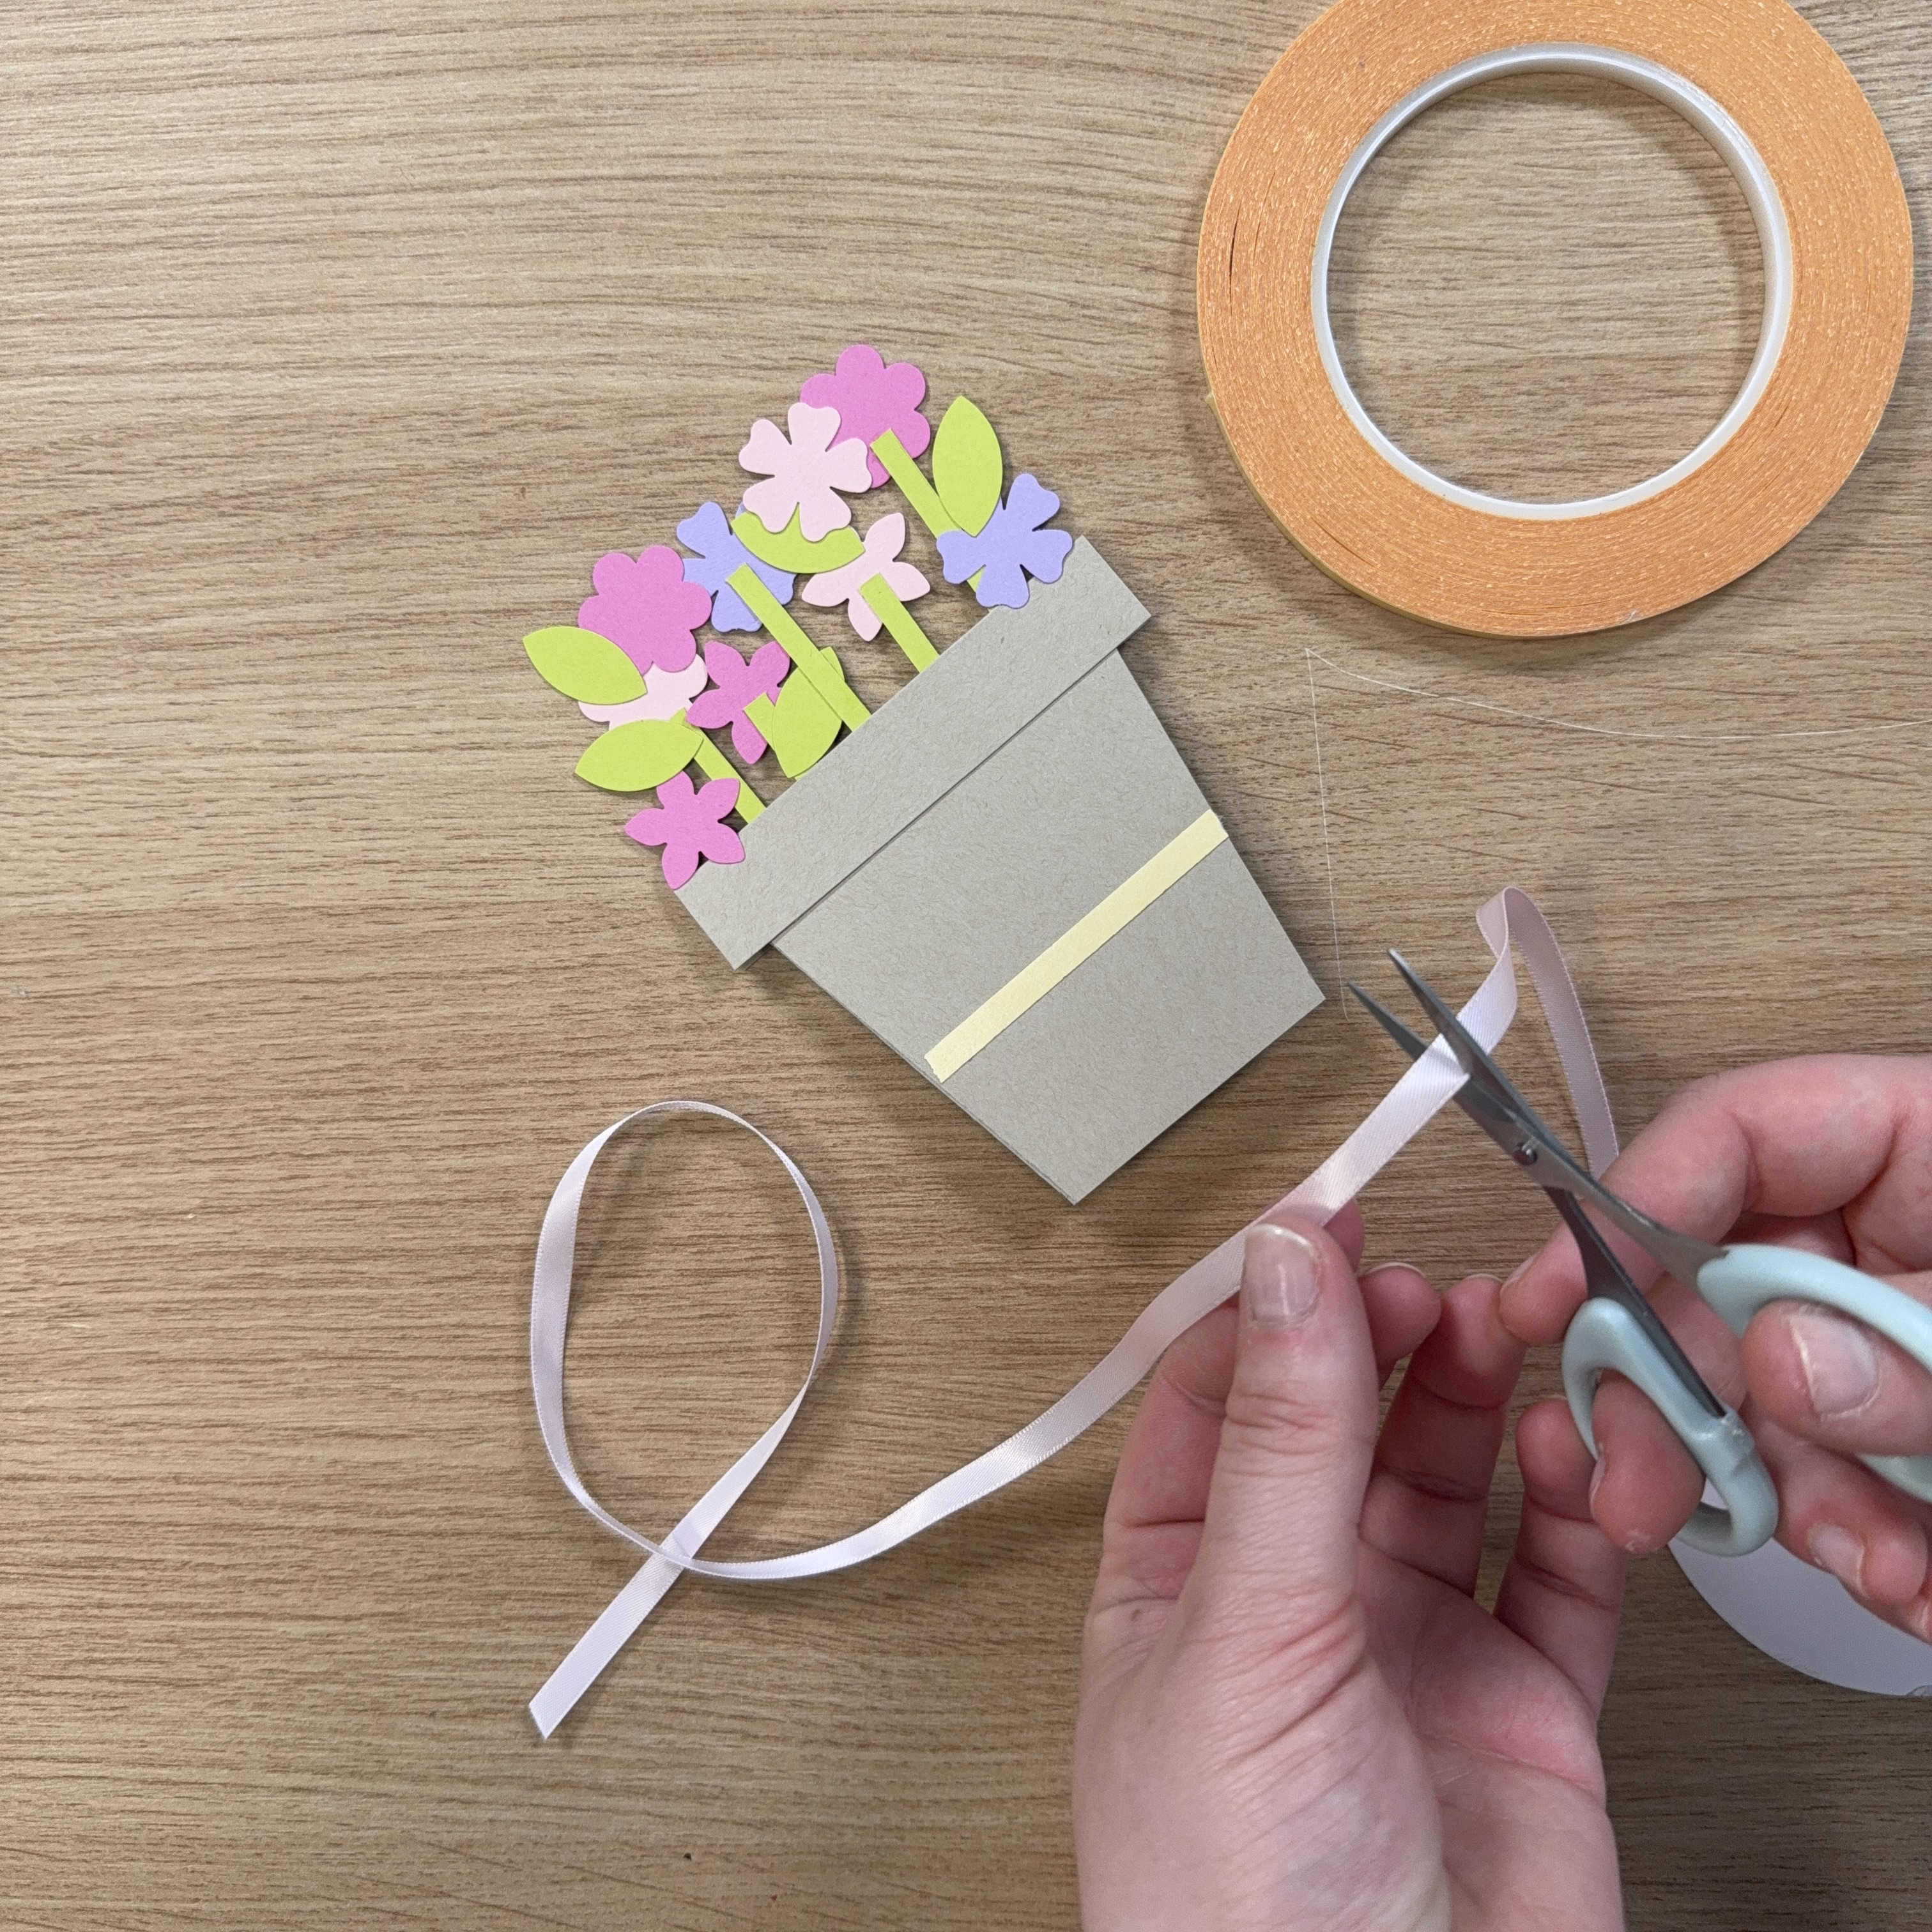
Apply double-sided tape to the back of the card and attach satin ribbon.