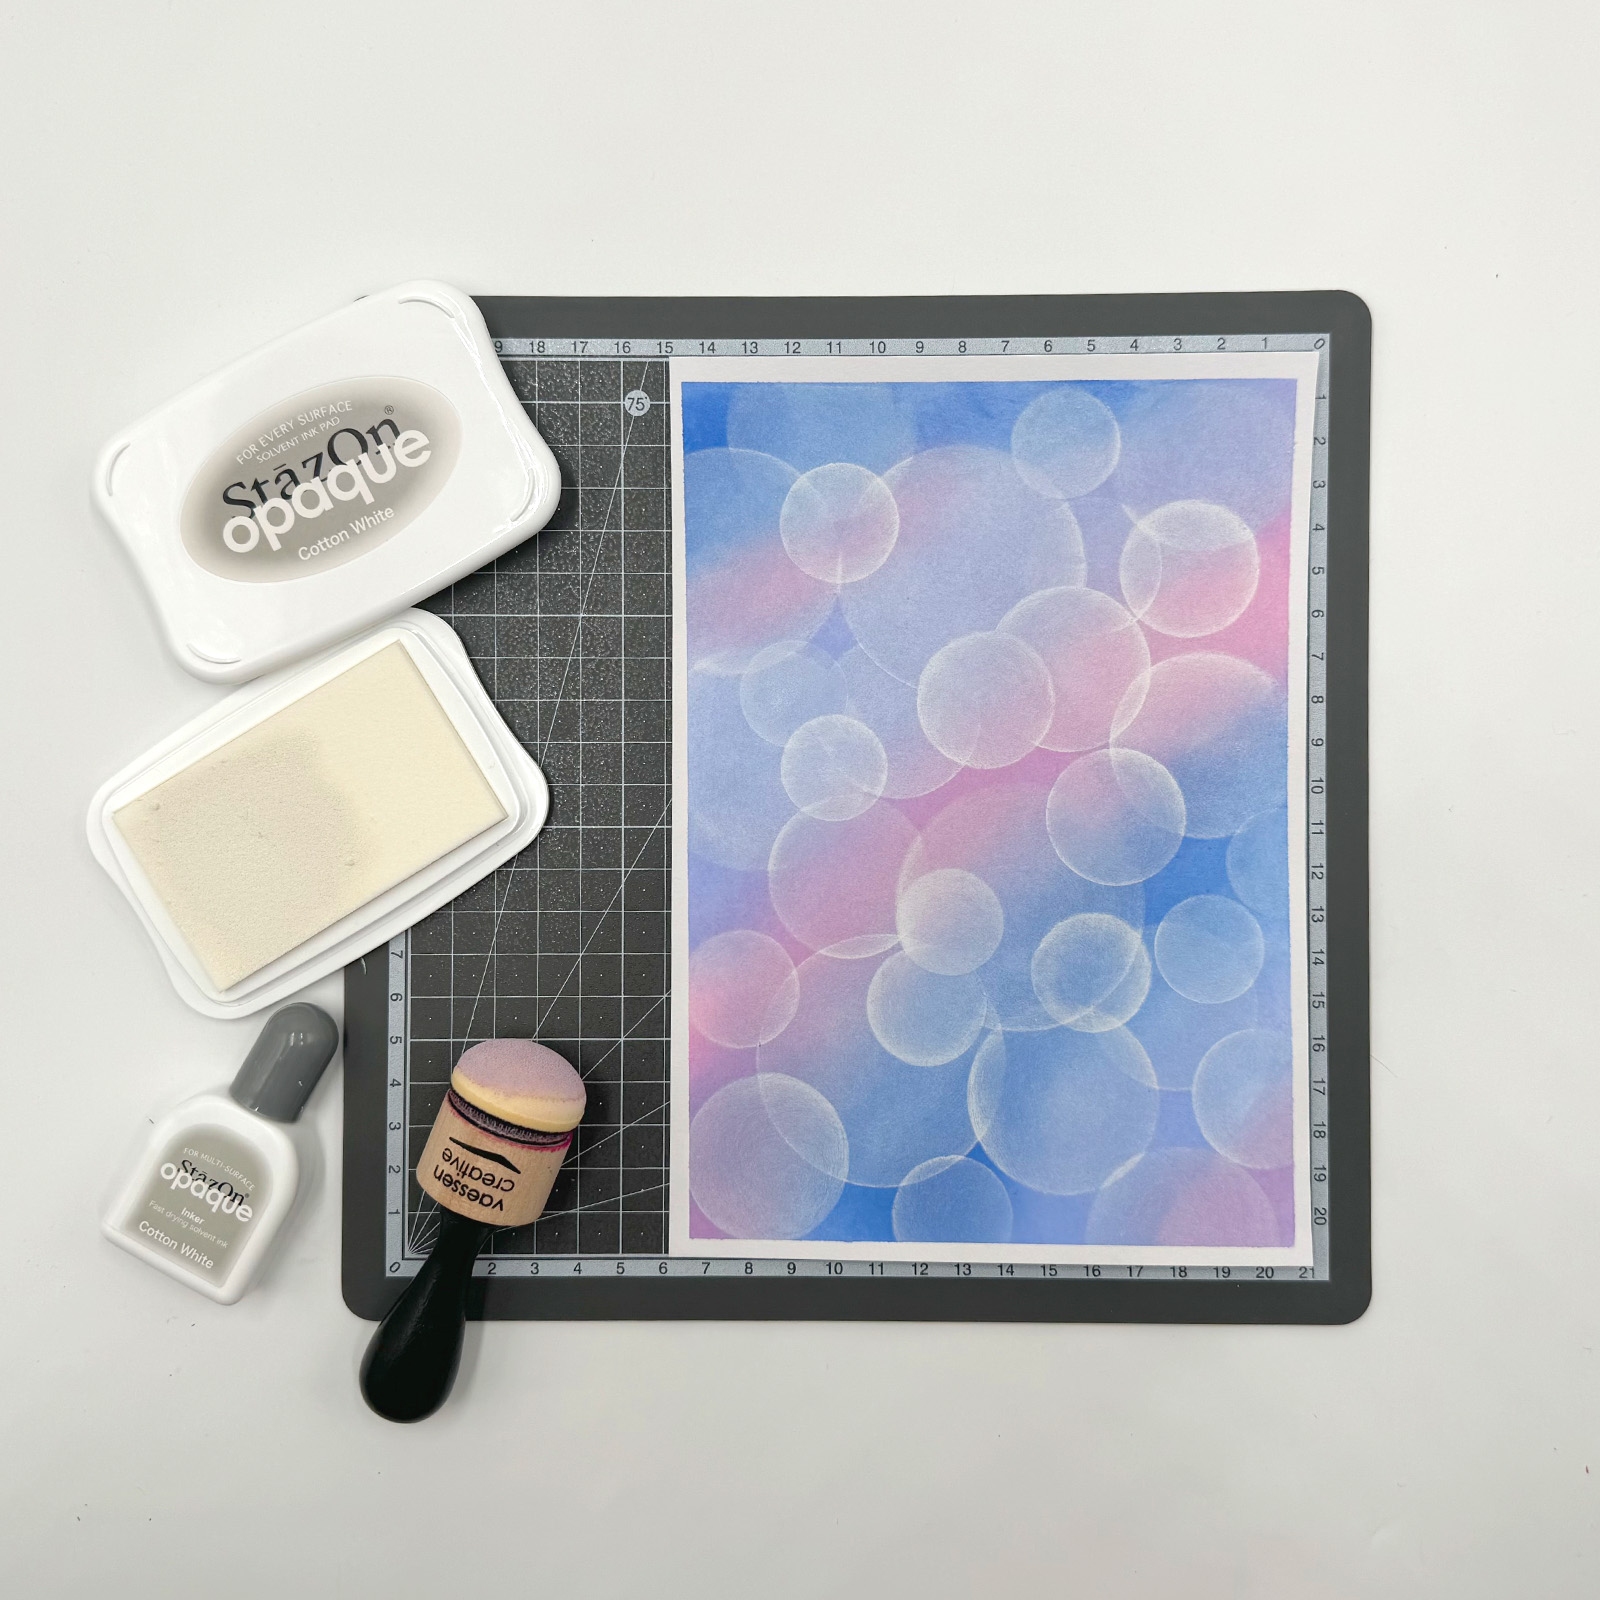
Bokeh, derived from the Japanese word ‘boke’ (blur), describes the soft, out-of-focus light circles seen in photography. In this DIY, you will explore card making with this atmospheric effect. Using paper and different inks, you will experiment with depth, light and contrast. The result is a modern handmade card with an artistic photographic look.
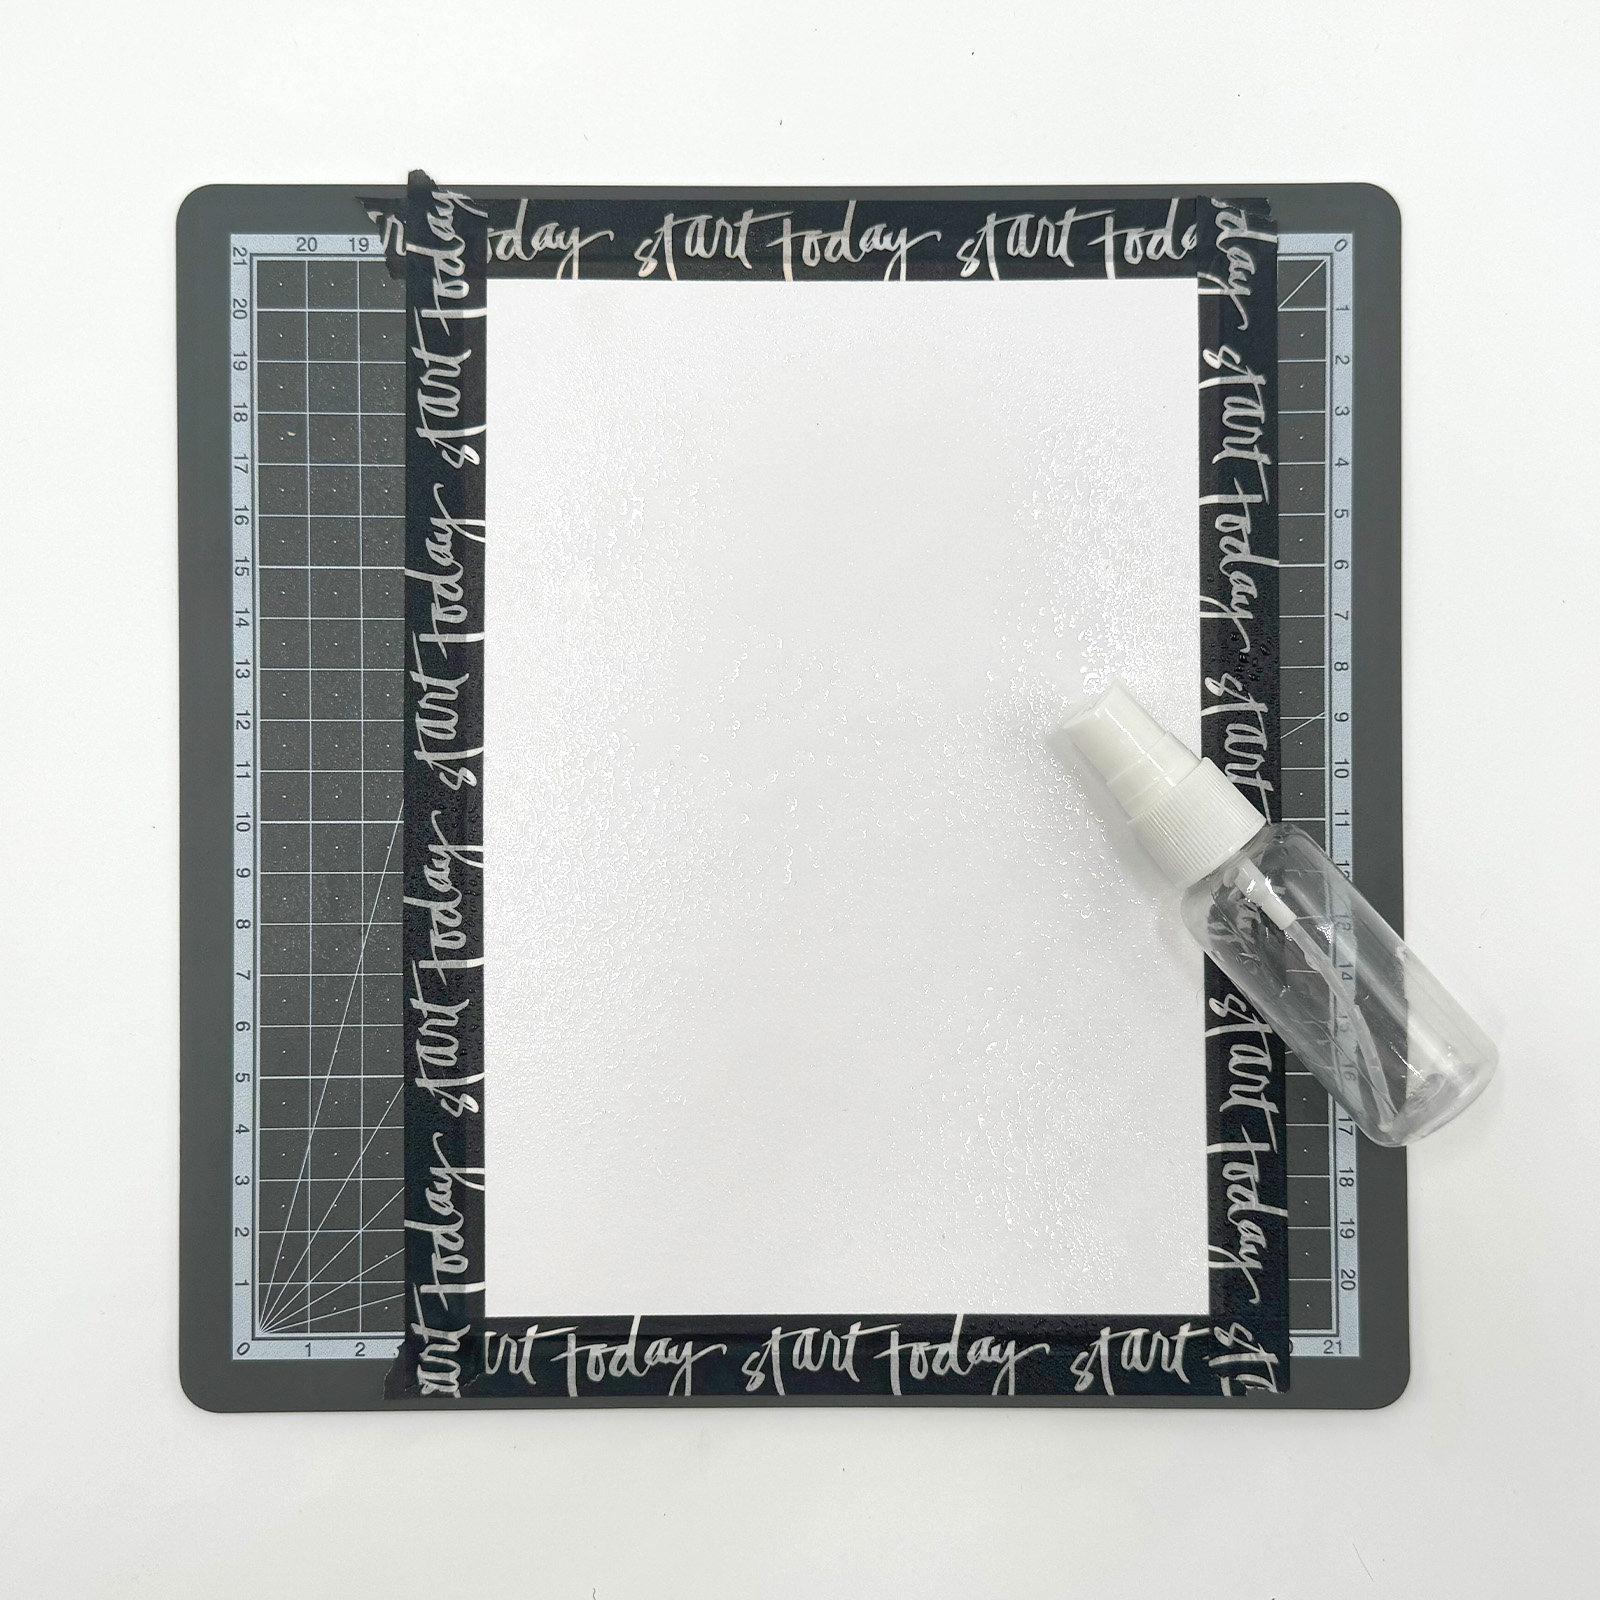
Take a sheet of smooth A5 watercolour paper, 300 grams, and secure it to a work surface with tape. Dampen the paper thoroughly using a spray bottle.
2
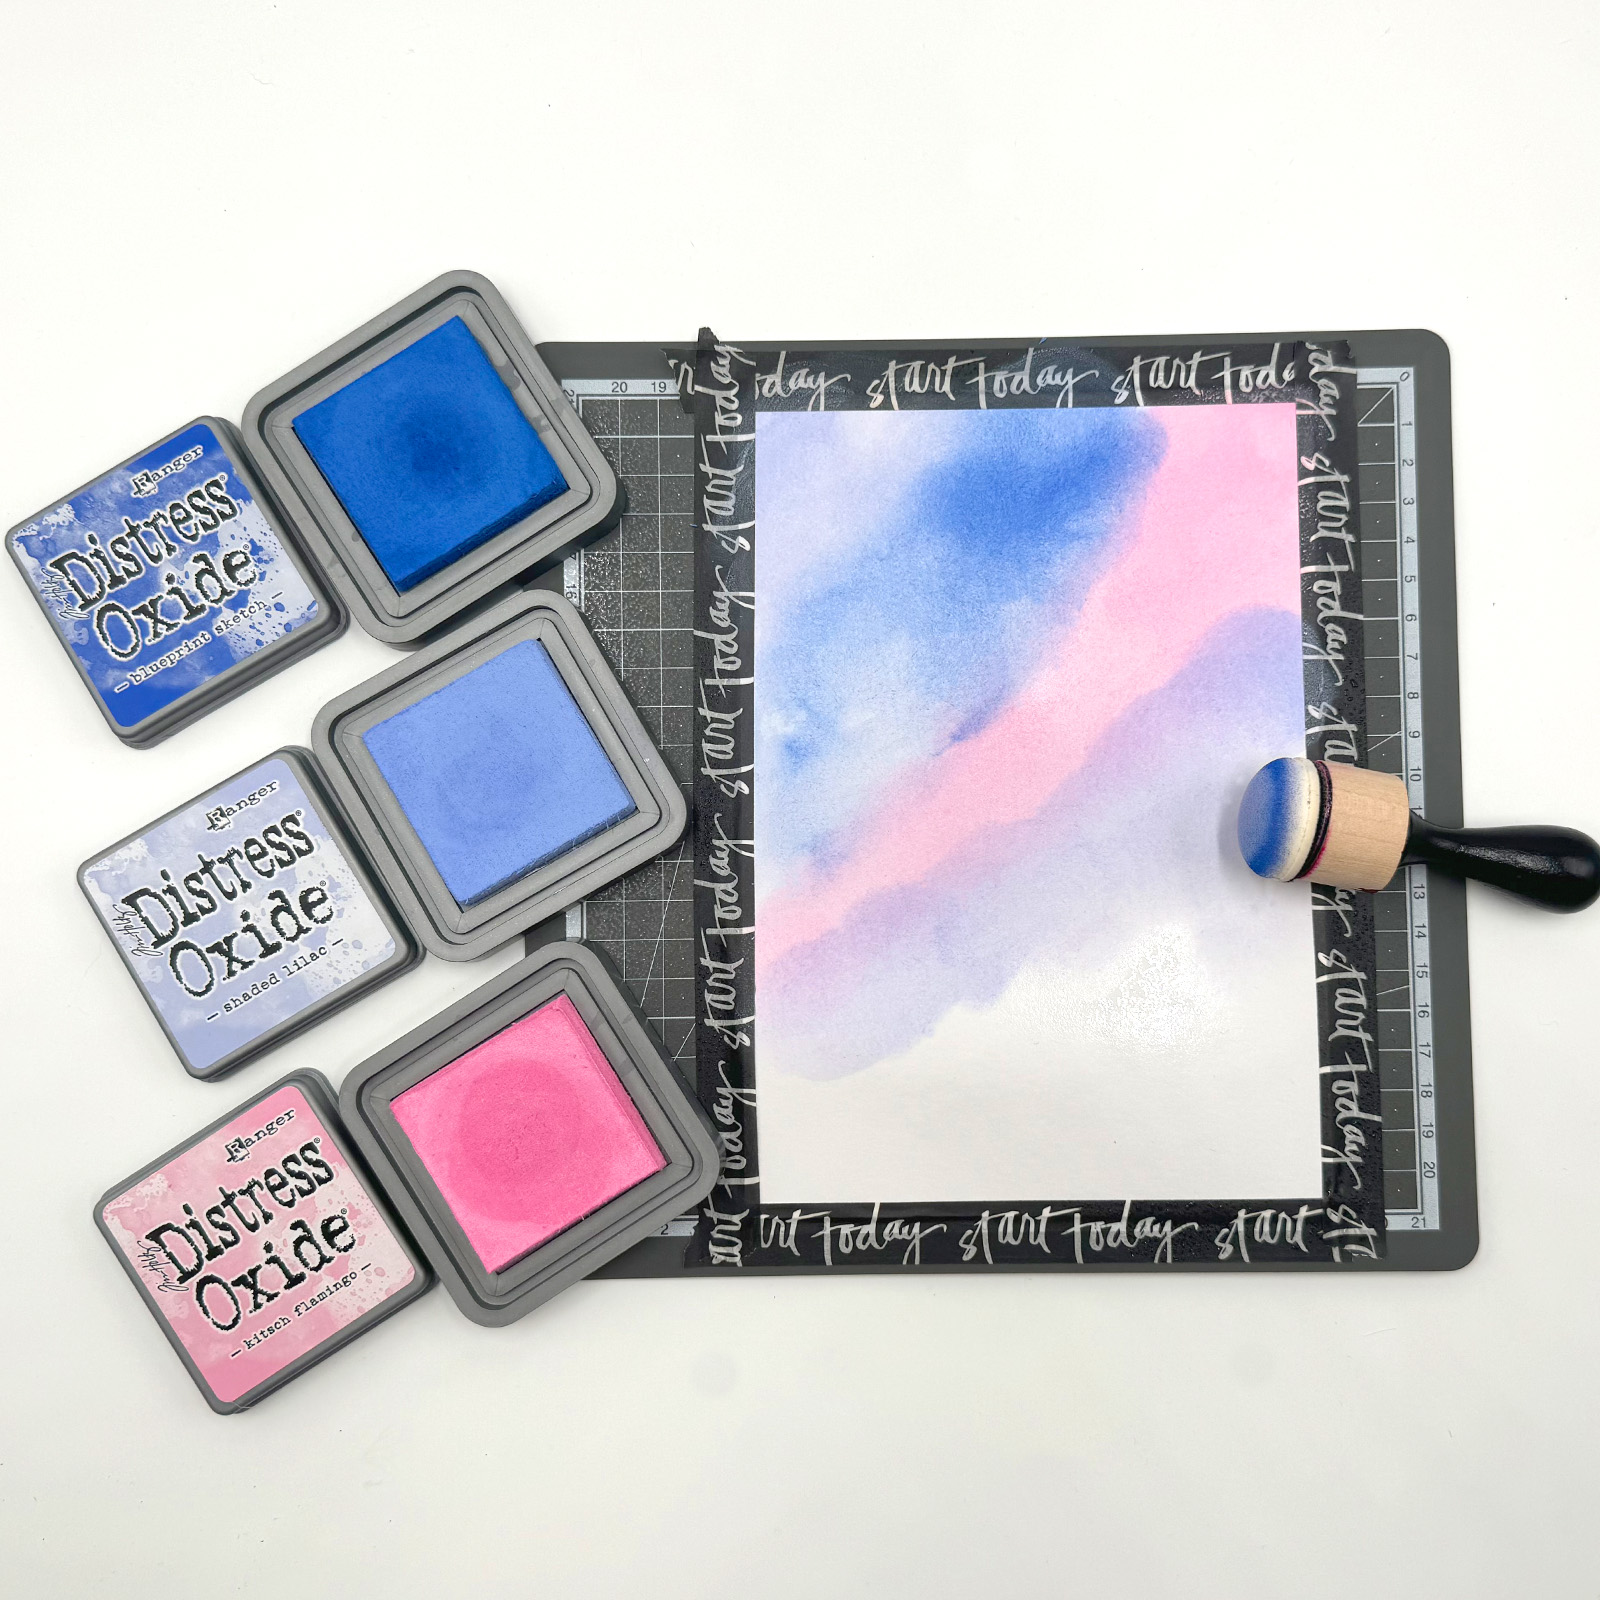
Choose three colours of Distress Oxide ink and apply them to the damp paper using a blending tool. Use a separate foam pad for each colour. Make gentle, swirling motions to blend the colours seamlessly. Allow the paper to dry completely.
3
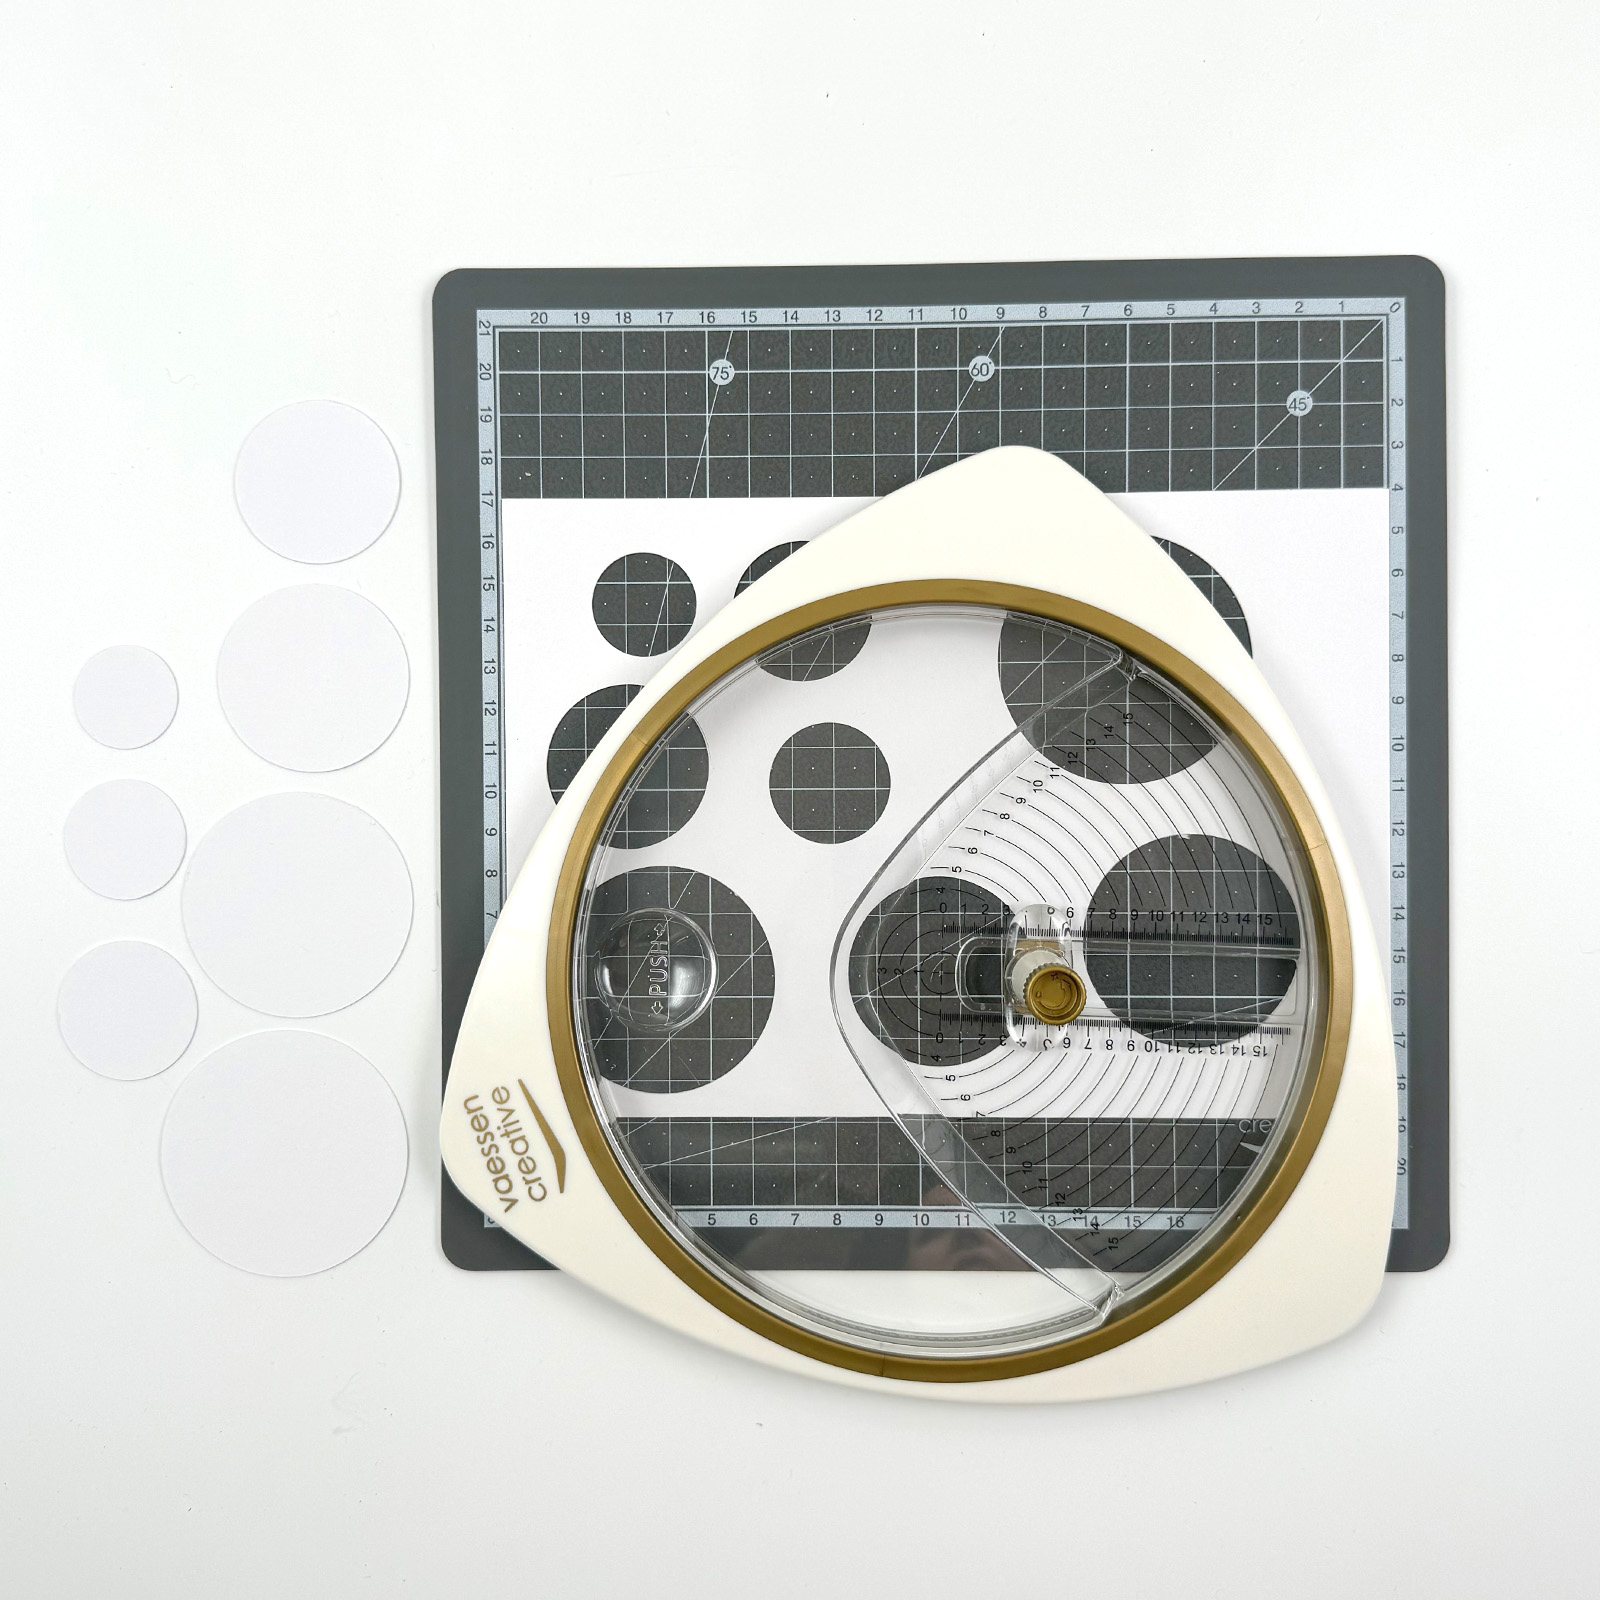
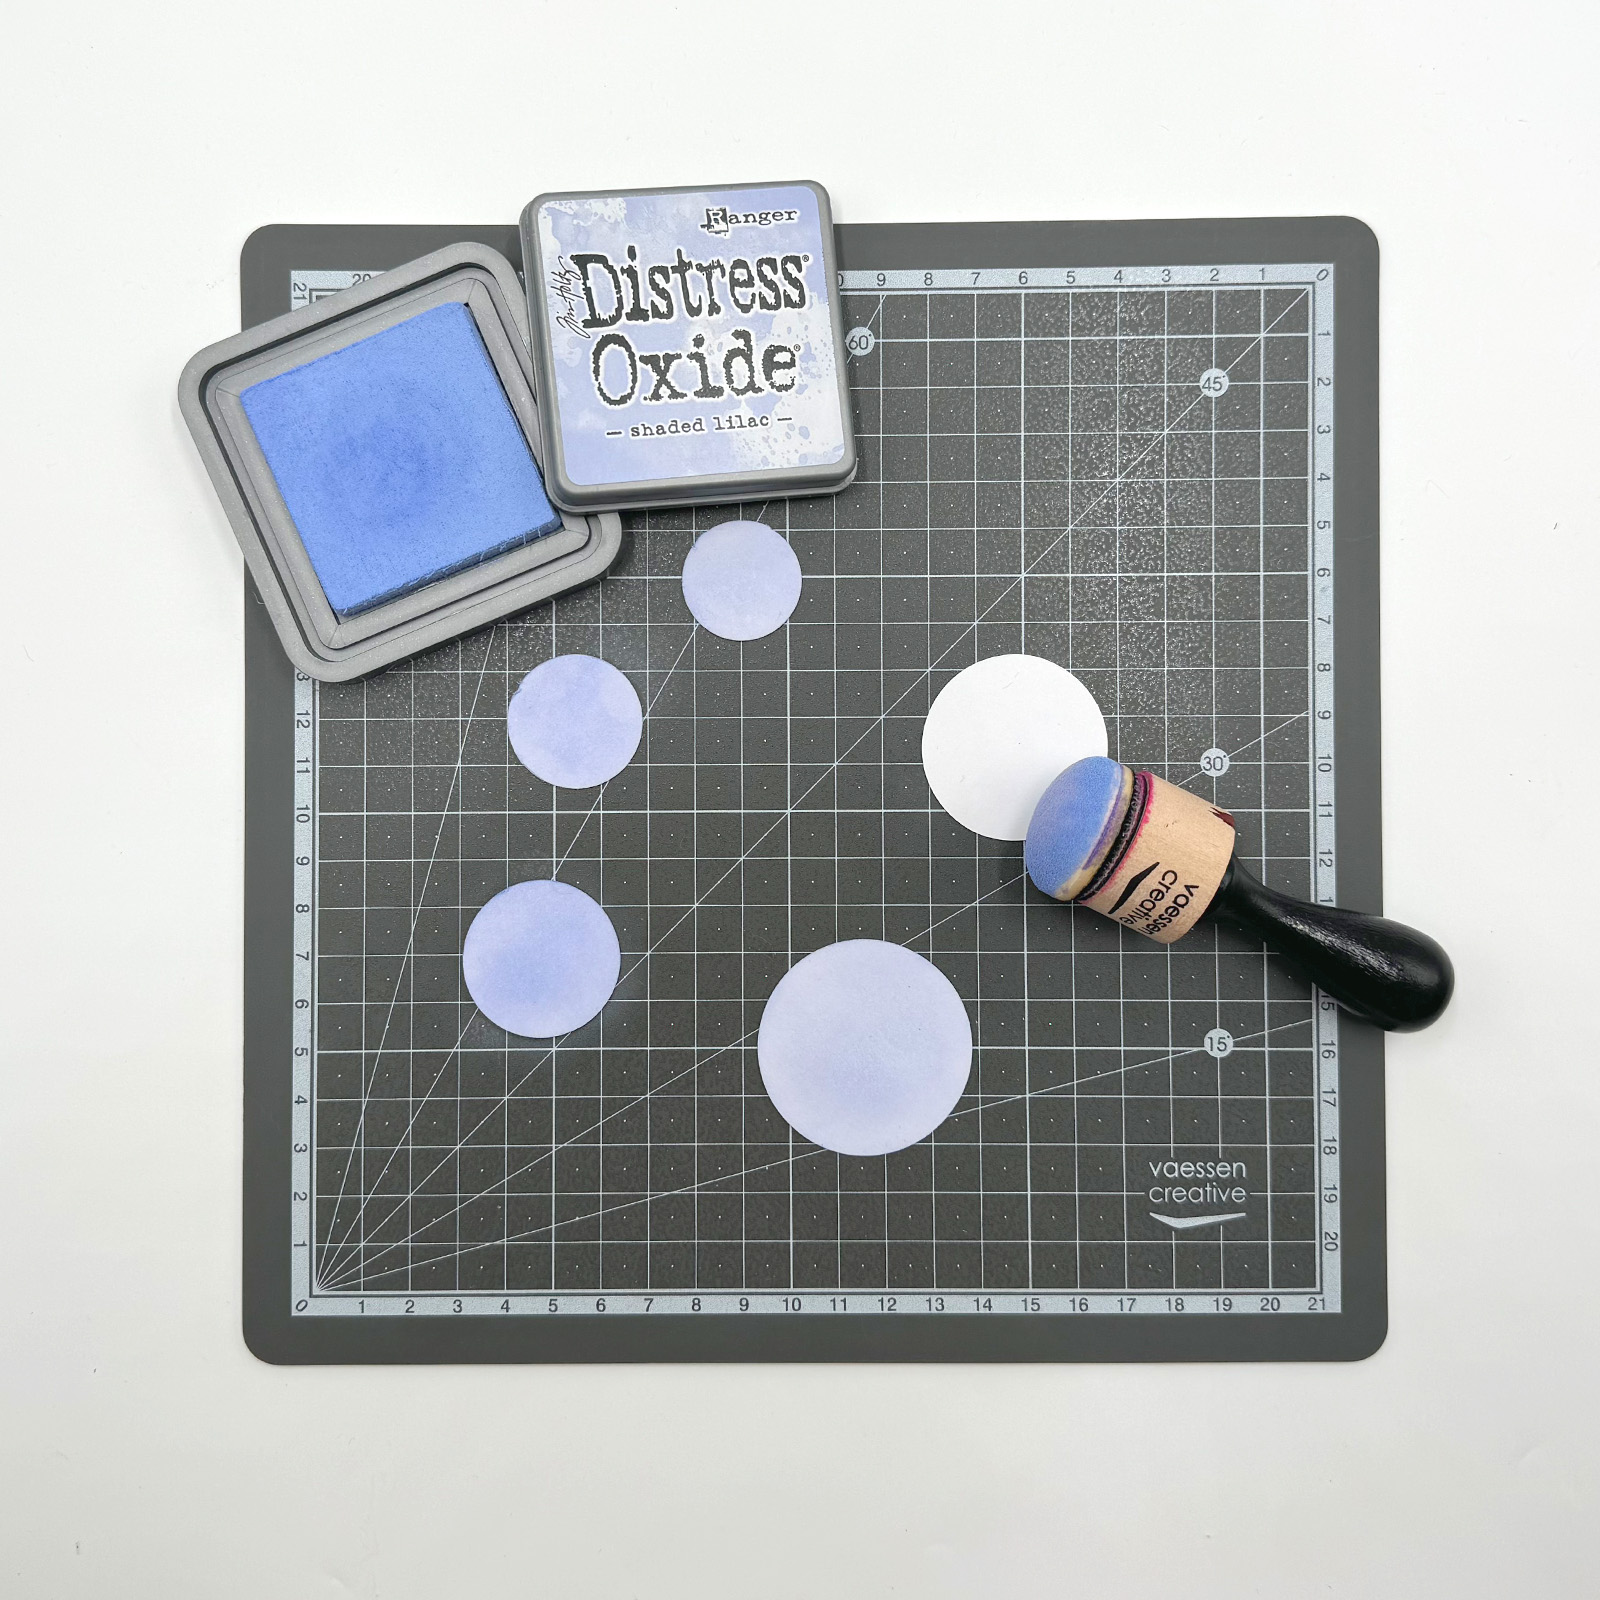
Create a stencil from another sheet of watercolour paper by cutting out circles of various sizes using a circle cutter. For example, maintain a half-centimetre difference in diameter between each circle. Keep the cut-out circles for later use.
4
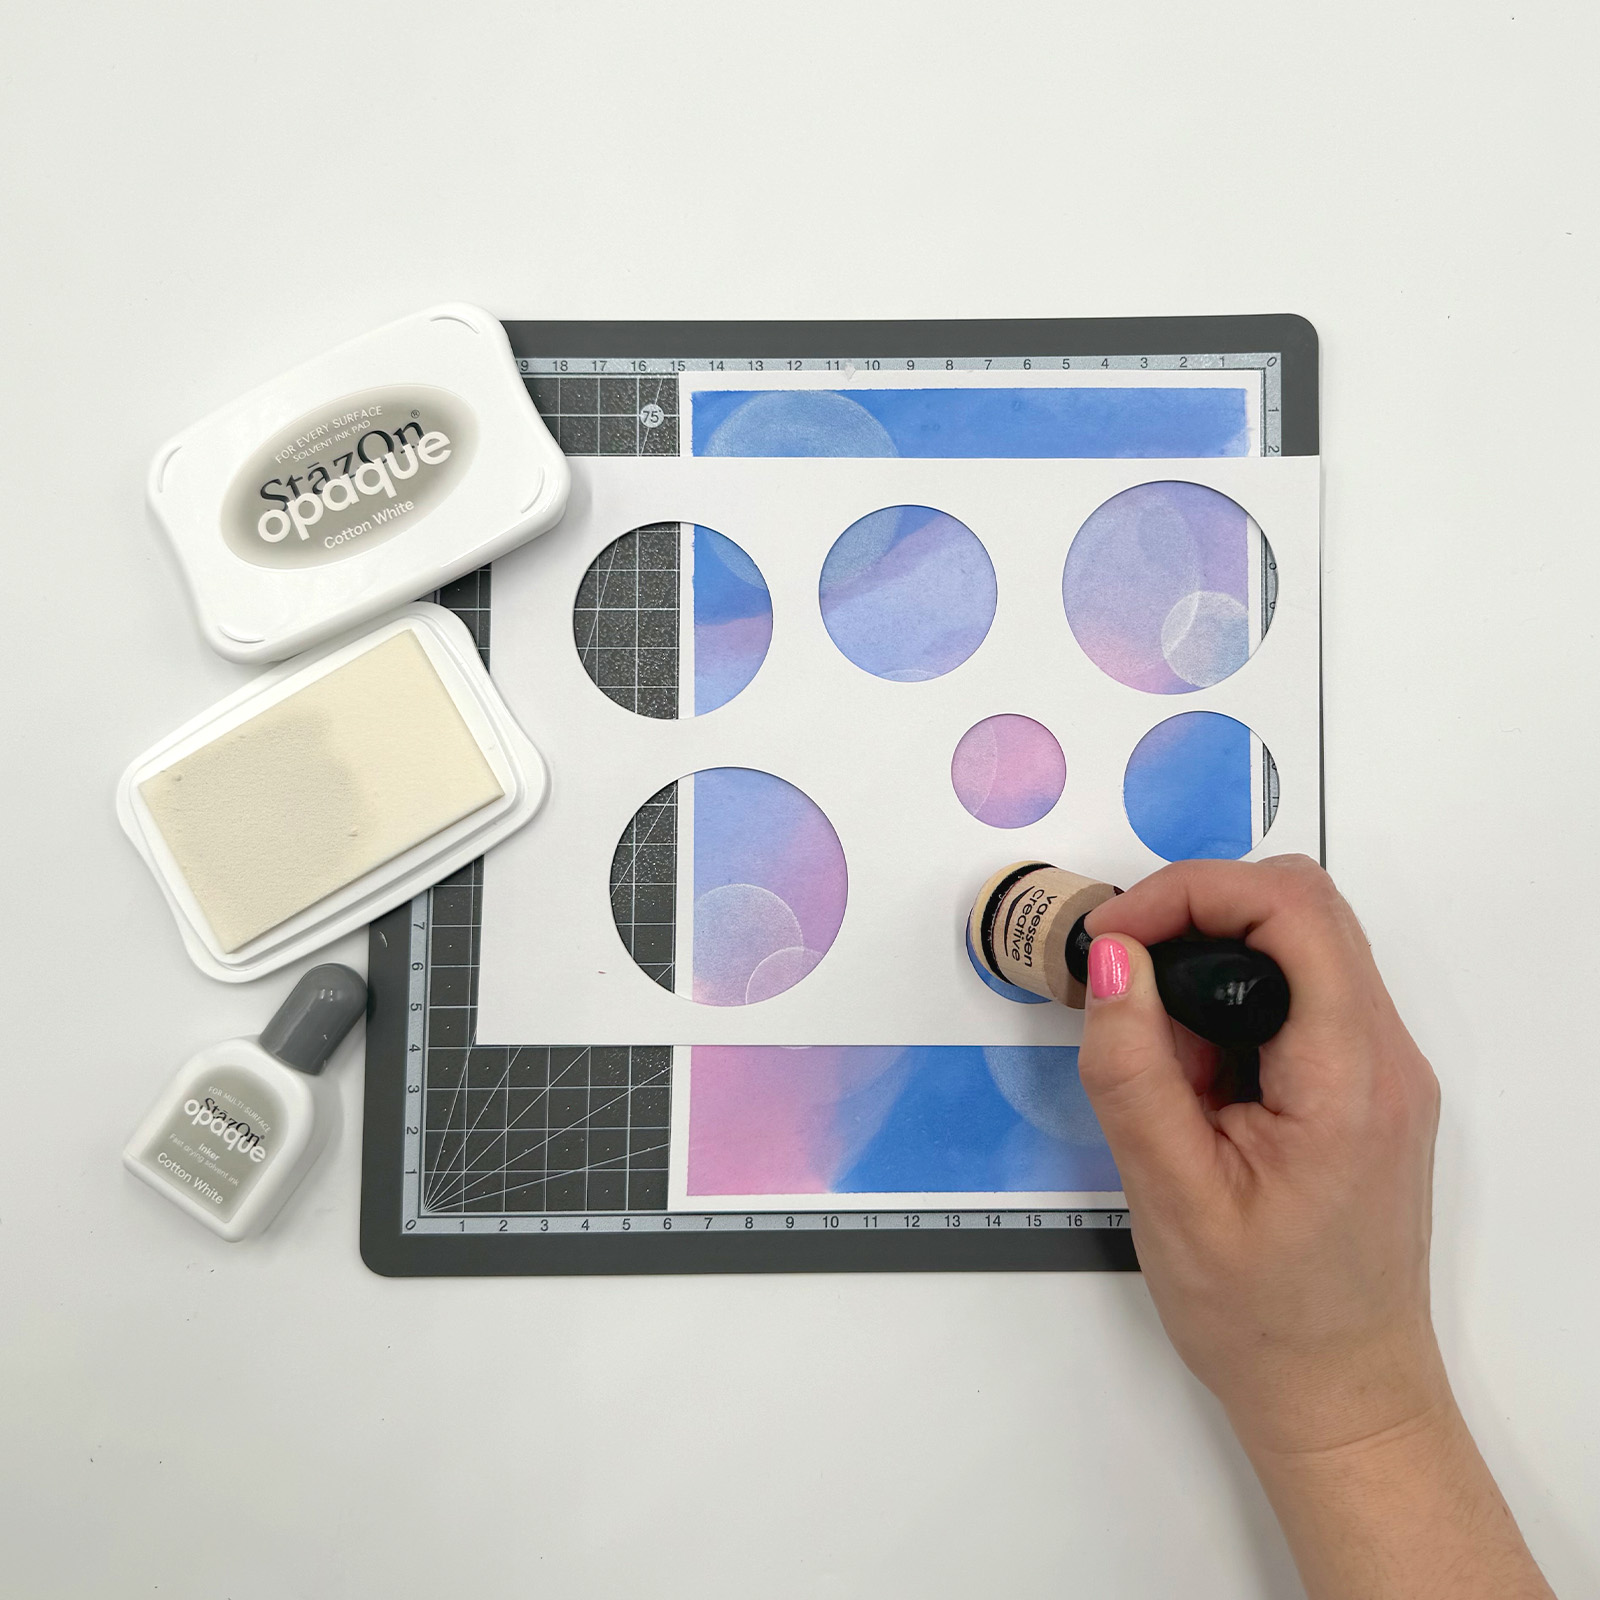
Utilise the homemade stencil with opaque ink and a blending tool. Create white circles by making swirling motions from the outer edge towards the centre. Ensure each circle is dry before proceeding to the next.
5
Continue making circles until you achieve the desired result.
6
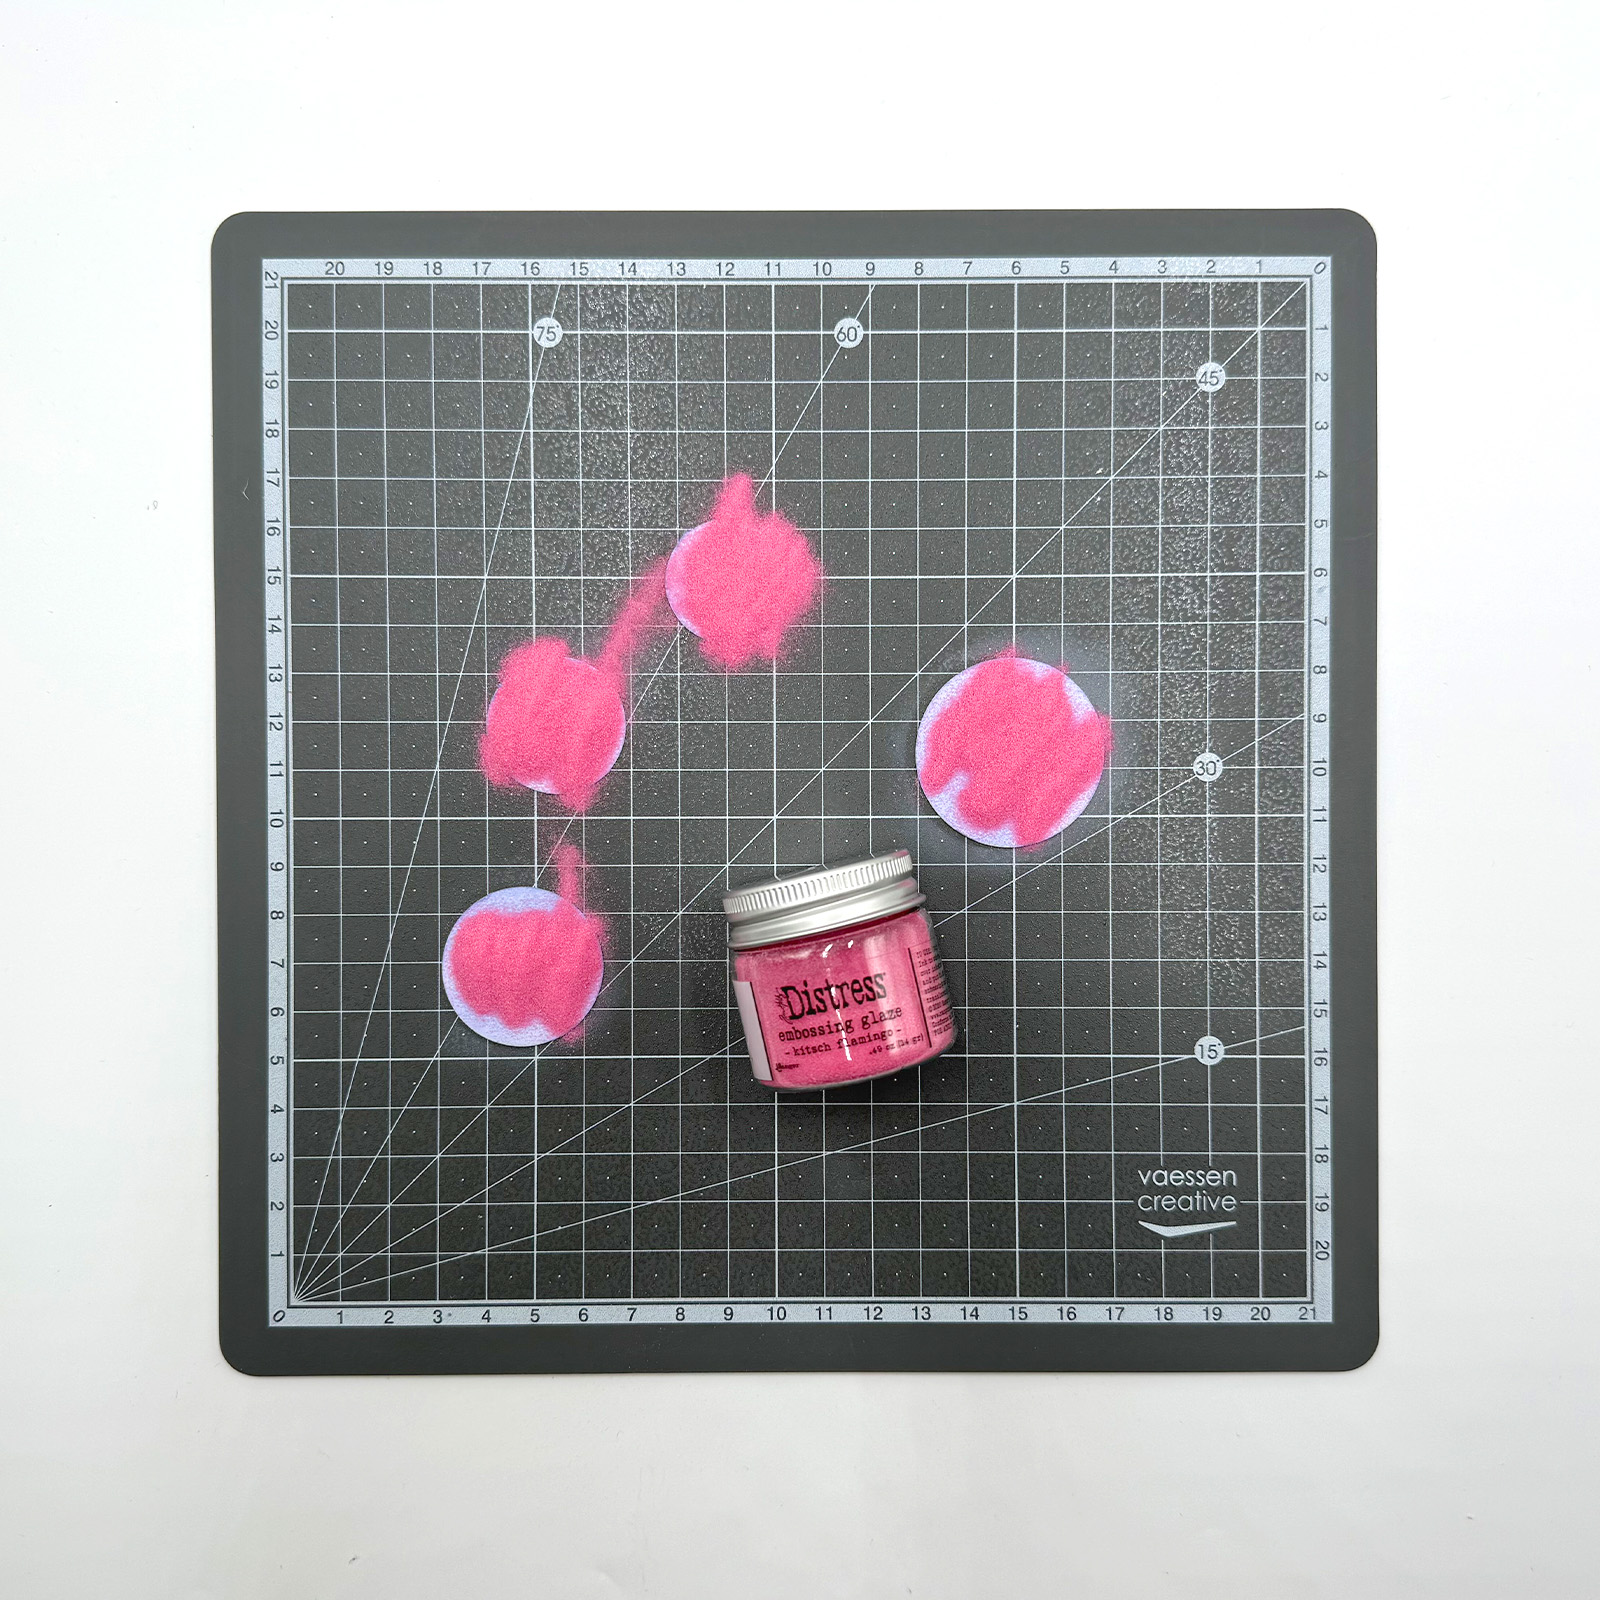
Use the remaining circles from step 3 and colour them with one of the Distress colours using a blending tool.
7
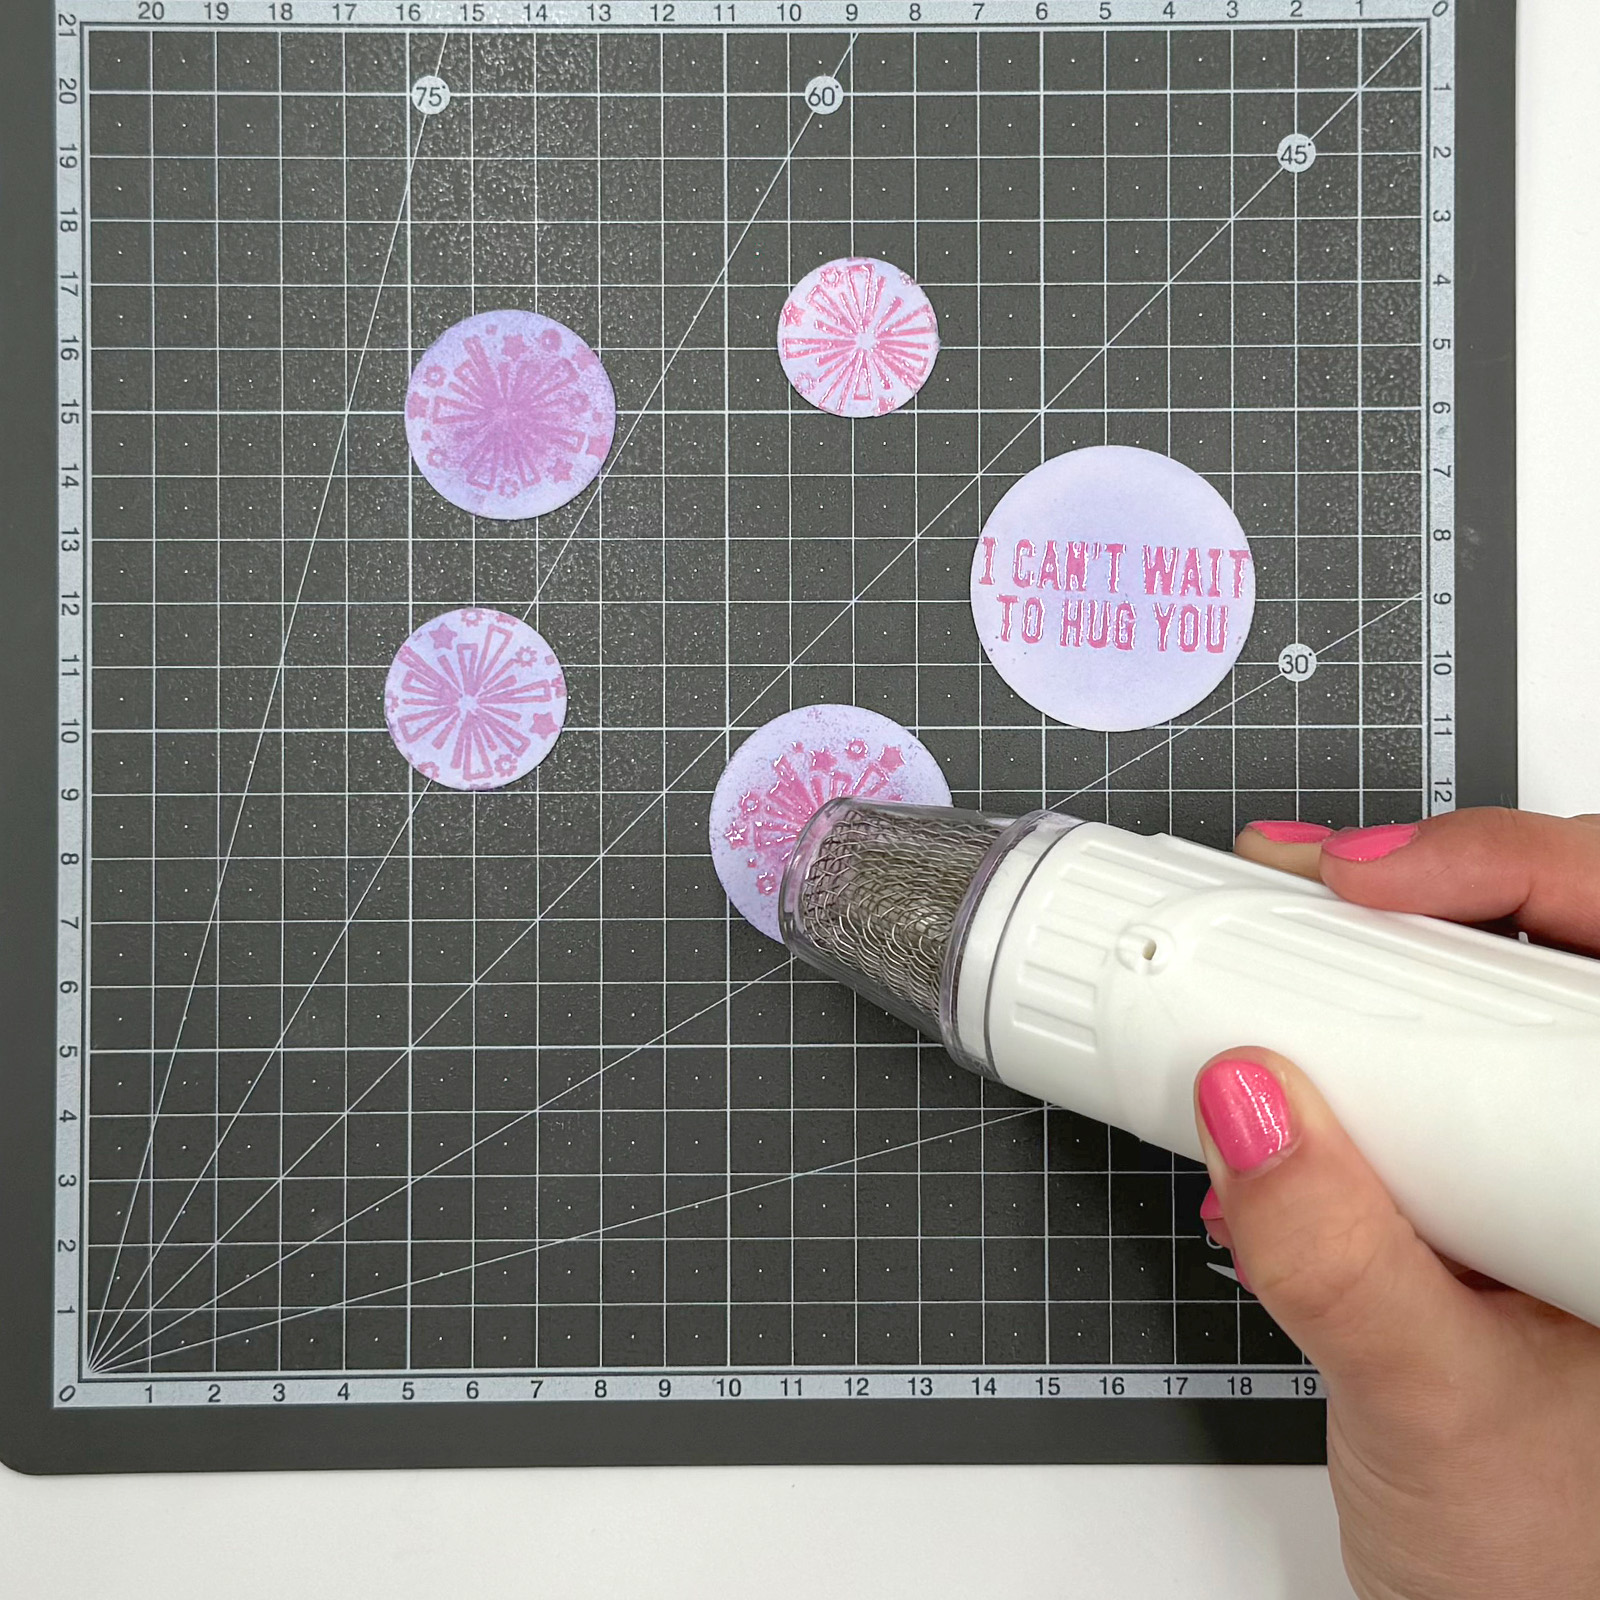
Once the ink is dry, stamp designs onto some circles and a message onto one circle using embossing ink.
8
Sprinkle embossing powder over the still wet ink and shake off the excess powder.
9
Heat the embossing powder using a heat tool until it becomes glossy.
10
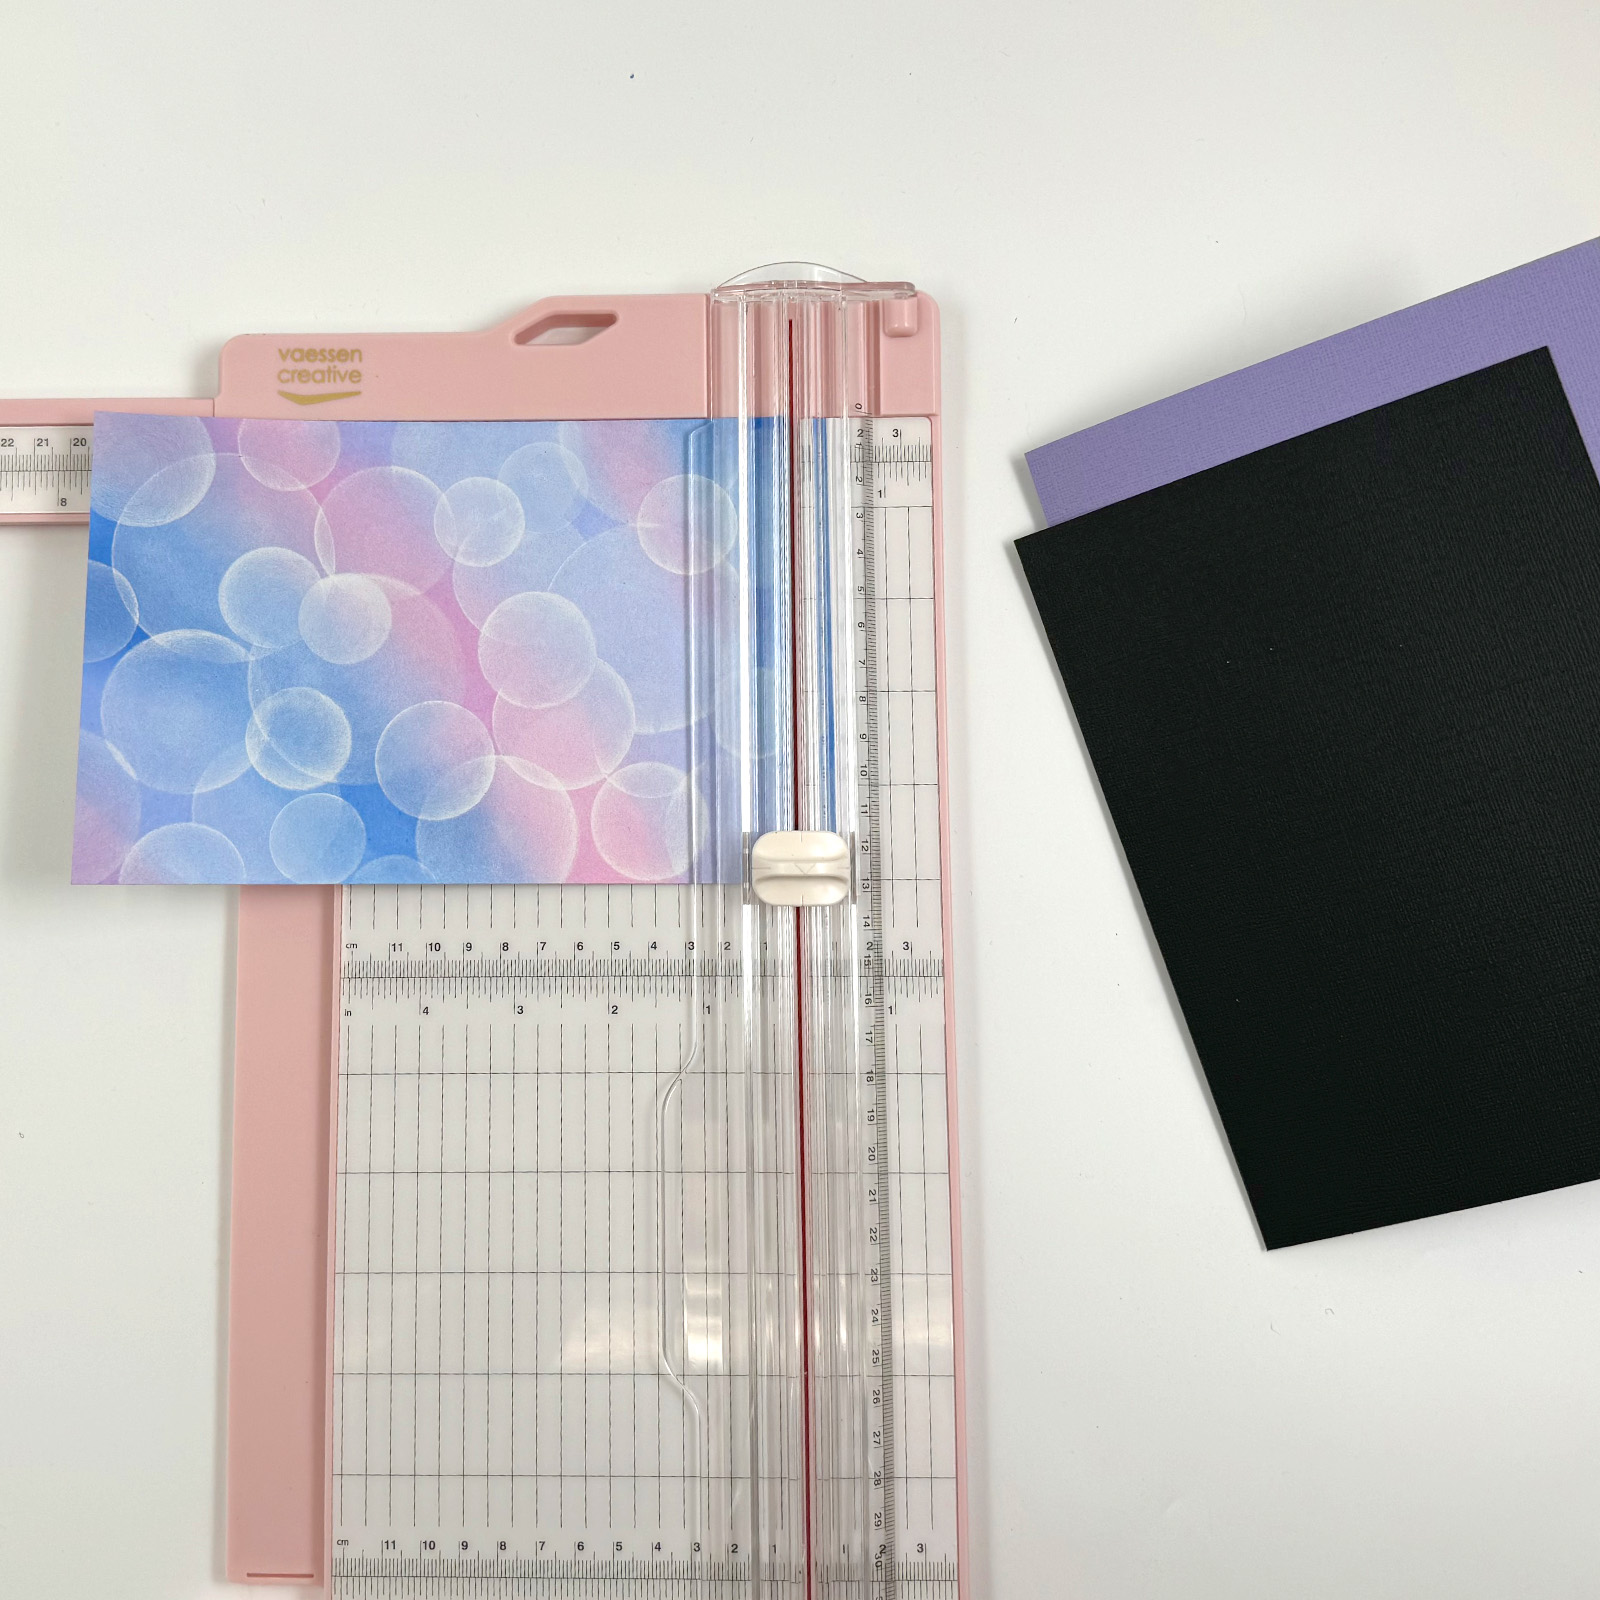
Transform the project into a card by taking a sheet of A4 cardstock in the colour hyacinth and score it to form an A5 card (5.8 x 8.2 inches / 14.8 x 21 cm). Then, cut a piece of black cardstock to 5.4 x 7.8 inches (13.8 x 20 cm) and the sheet with the circles to 5 x 7.4 inches (12.8 x 19 cm).
11
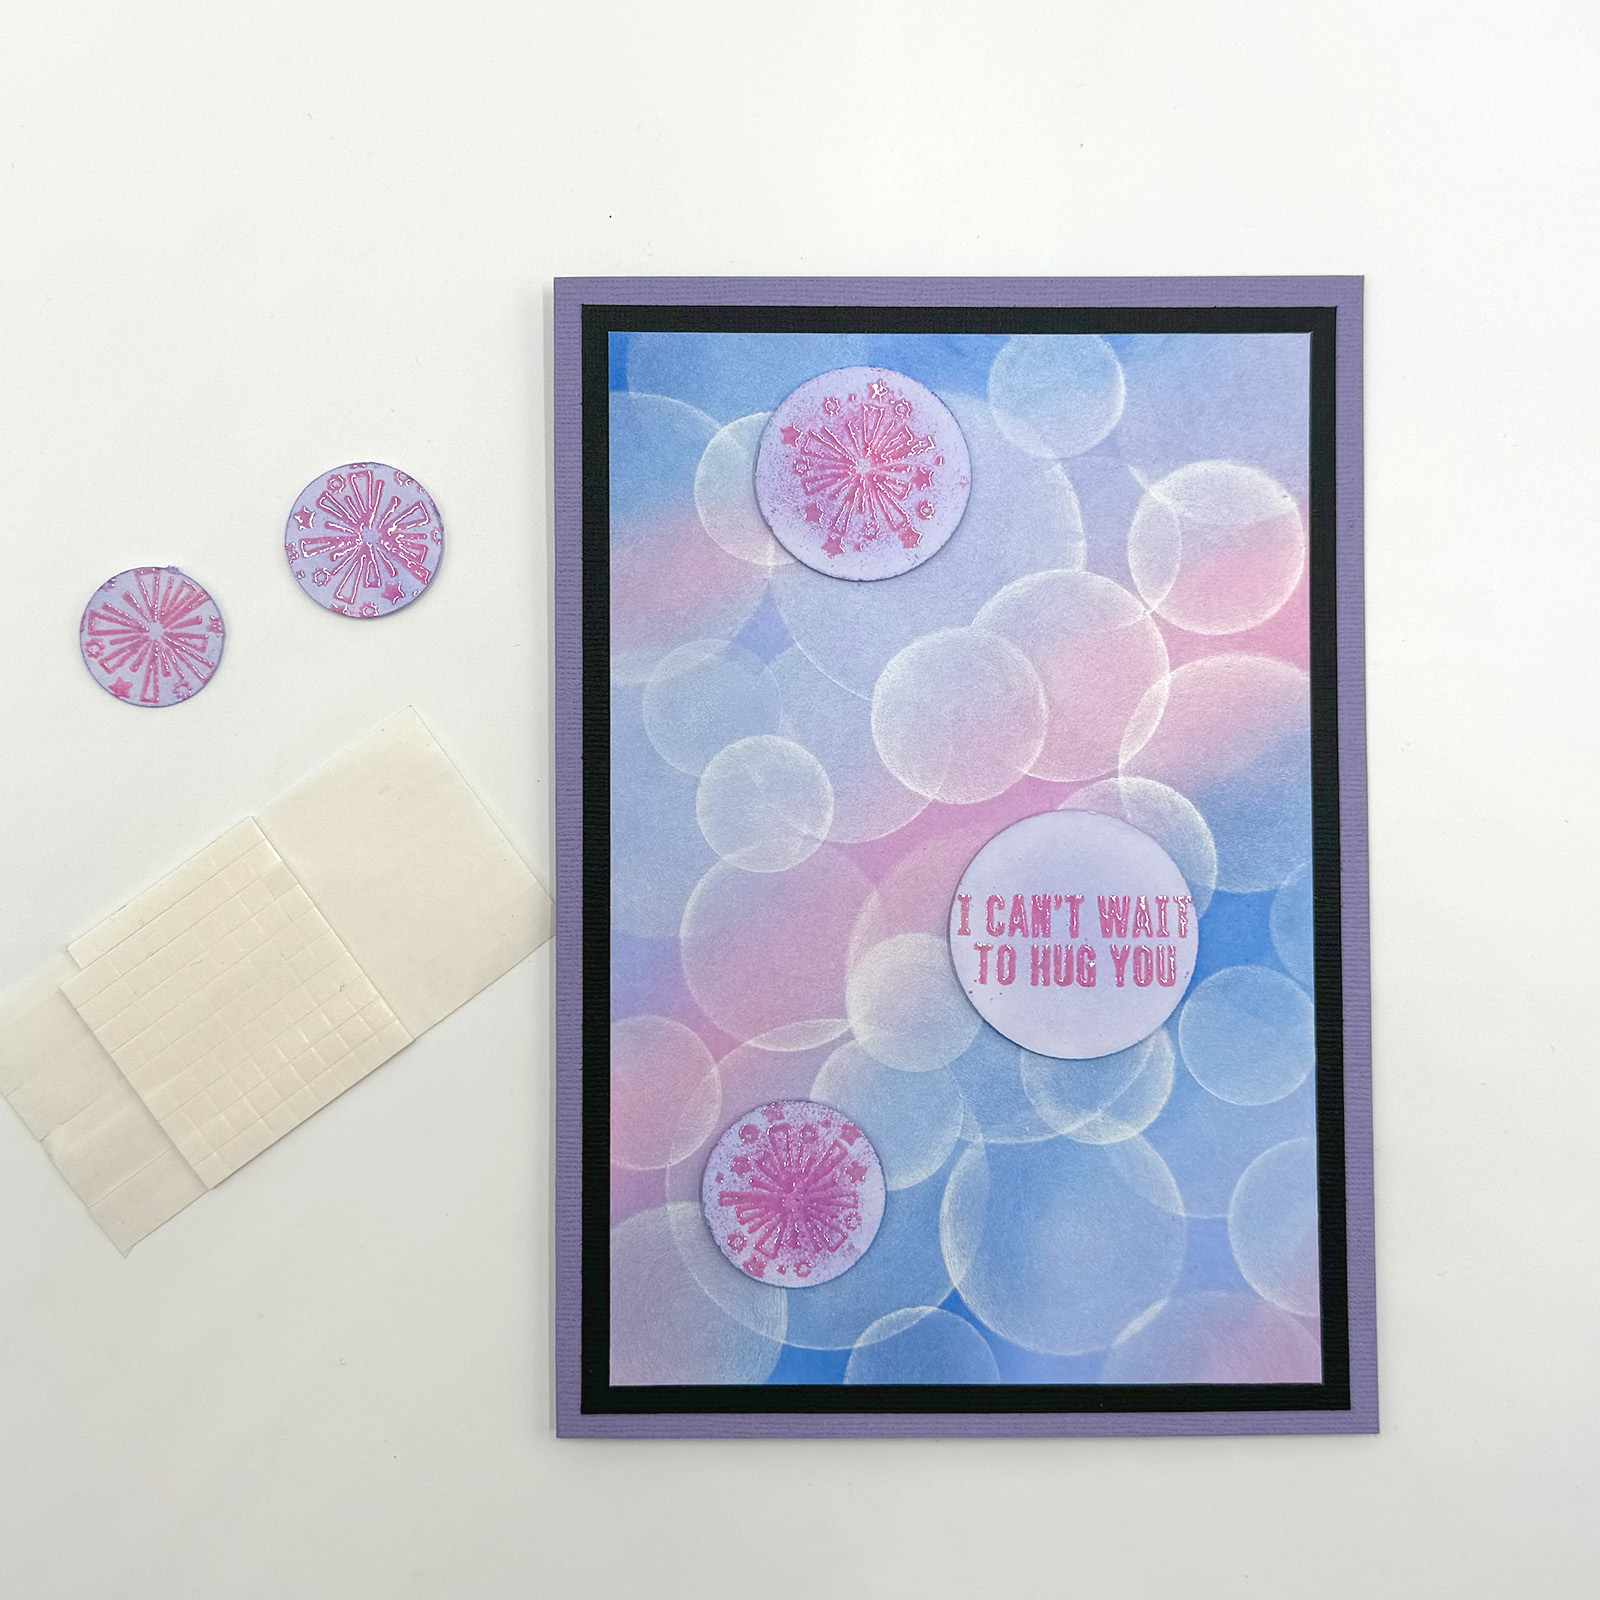
Attach the cut-out sheets to the base card using double-sided tape. Use 3D foam pads to adhere the circles to the card for an added depth effect.