Descubre cómo doblar una cajita geométrica con este bonito DIY. Es una idea perfecta para quienes disfrutan de las manualidades con papel y quieren crear un envoltorio especial para pequeños regalos.
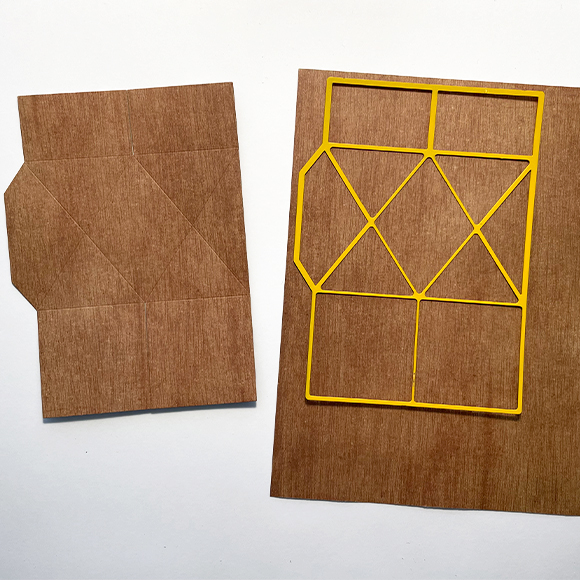
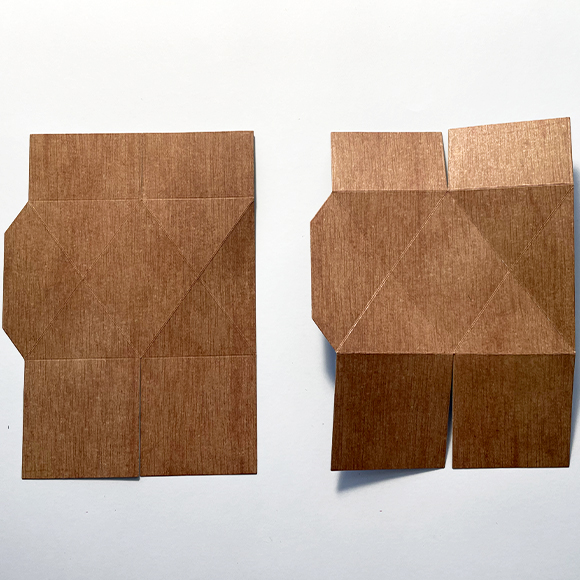
Toma dos hojas A5 con efecto madera y marca dos veces la forma base de la caja con una máquina de embossing.
2
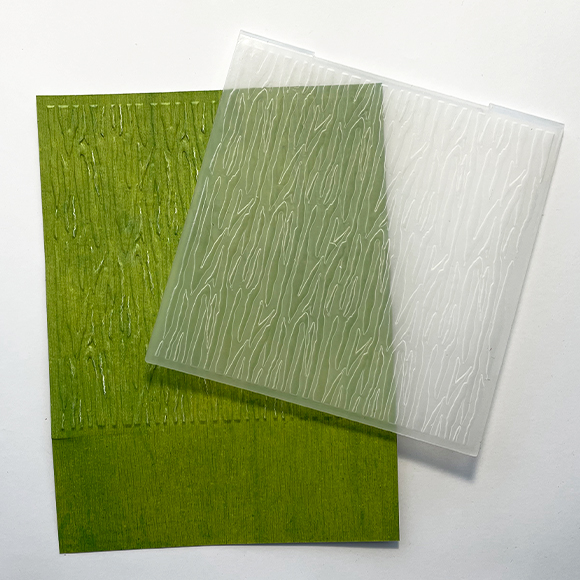
Toma una hoja A5 con efecto madera en otro color, colócala en una carpeta de embossing y pásala por la máquina.
3
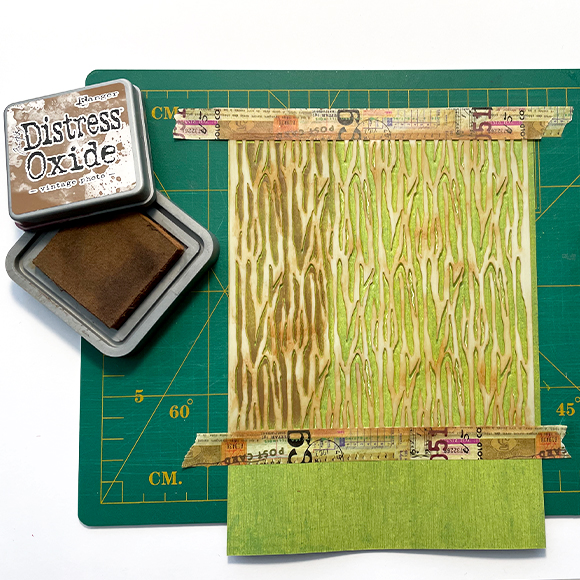
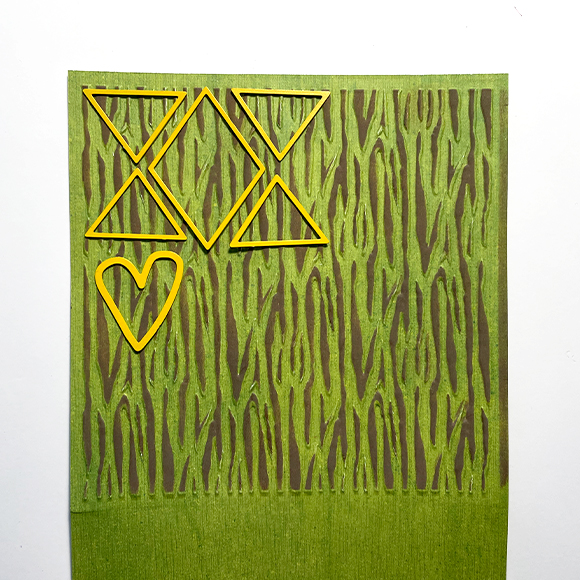
Fija el papel embossado sobre una base de trabajo con cinta washi y coloca encima la plantilla con el patrón correspondiente. Aplica la tinta sobre la plantilla con un dauber o una brocha de difuminado.
4
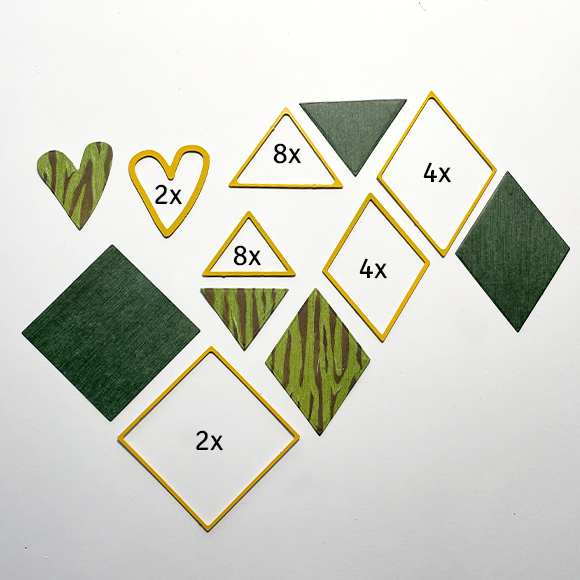
Toma una tercera hoja con efecto madera en otro color y corta las formas base grandes con una máquina de corte y embossing.
5
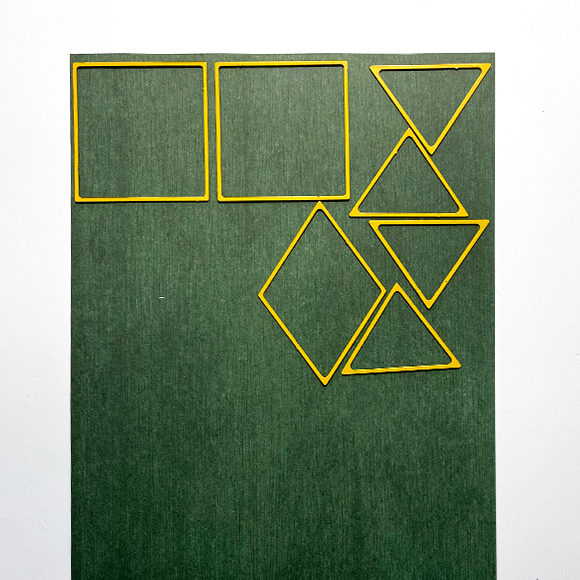
Toma el papel embossado y recorta las pequeñas formas decorativas.
6
Repite este proceso siguiendo los números indicados en la foto.
7
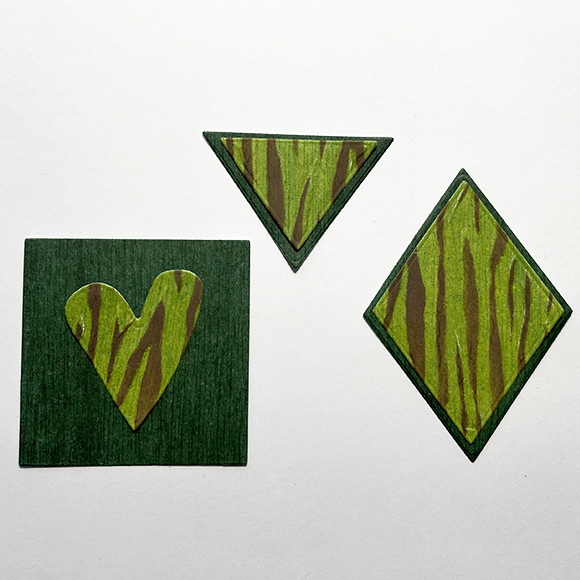
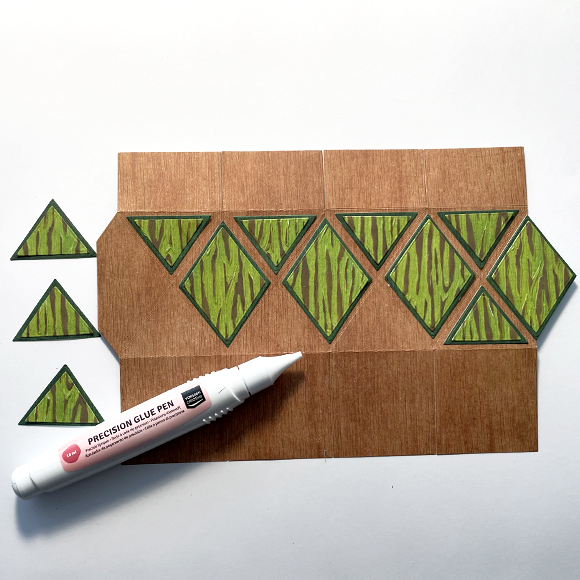
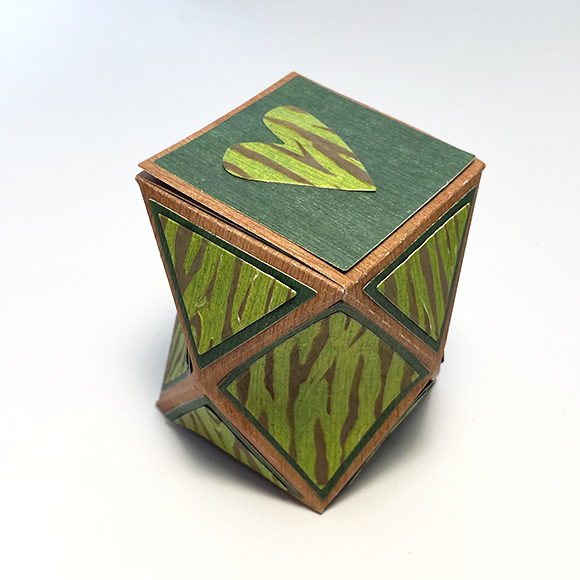
Luego pega los triángulos y rombos entre sí y fija los corazones sobre los cuadrados.
8
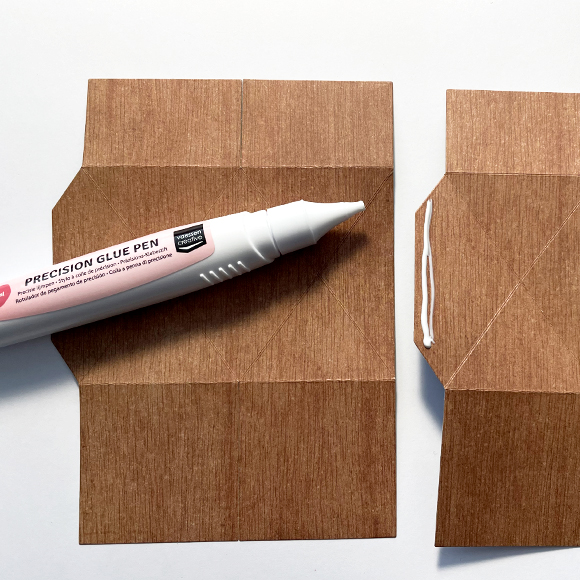
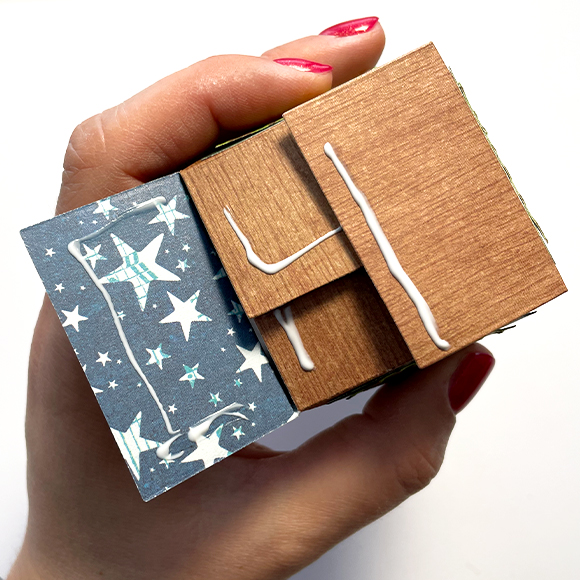
Dobla todas las líneas de plegado de las dos hojas de papel del primer paso.
9
A continuación, pega las dos formas entre sí.
10
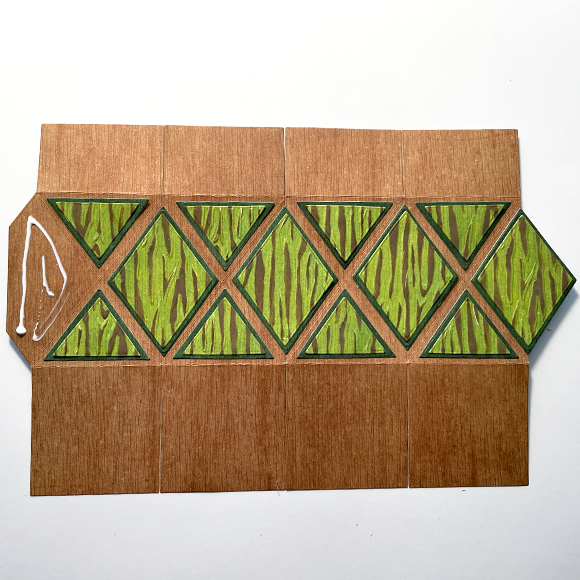
Coloca los triángulos y rombos decorativos sobre la base de la caja.
11
Queda un medio espacio libre para un rombo; este lo pegarás más tarde al formar la caja.
12
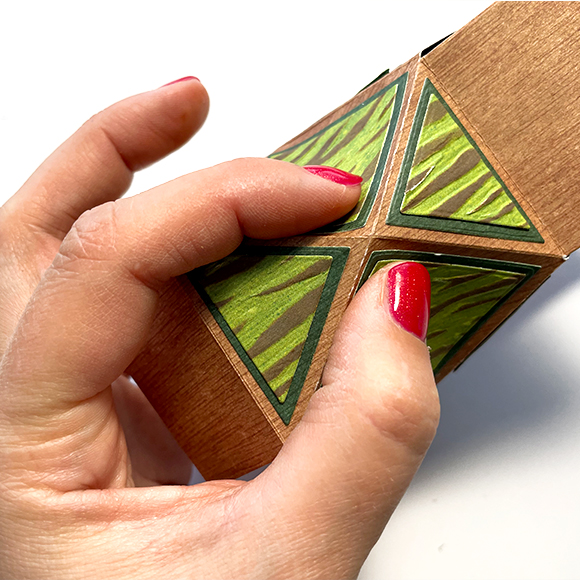
Cierra la caja doblándola y pégala. Asegúrate de doblar bien todas las esquinas.
13
Pega las solapas en la parte inferior de la caja. Coloca un regalo o sorpresa dentro y luego cierra también la parte superior pegándola.
14
Por último, pega los cuadrados con corazones en la parte superior e inferior. ¡Tu caja geométrica ya está lista!