Saltar al contenido principal

Disponible desde stock

Pague después

30 Días de plazo de devolución

Disponible desde stock

Pague después

30 Días de plazo de devolución

Buscar...
Caja de regalo de papel paso a paso

Caja de regalo de papel paso a paso

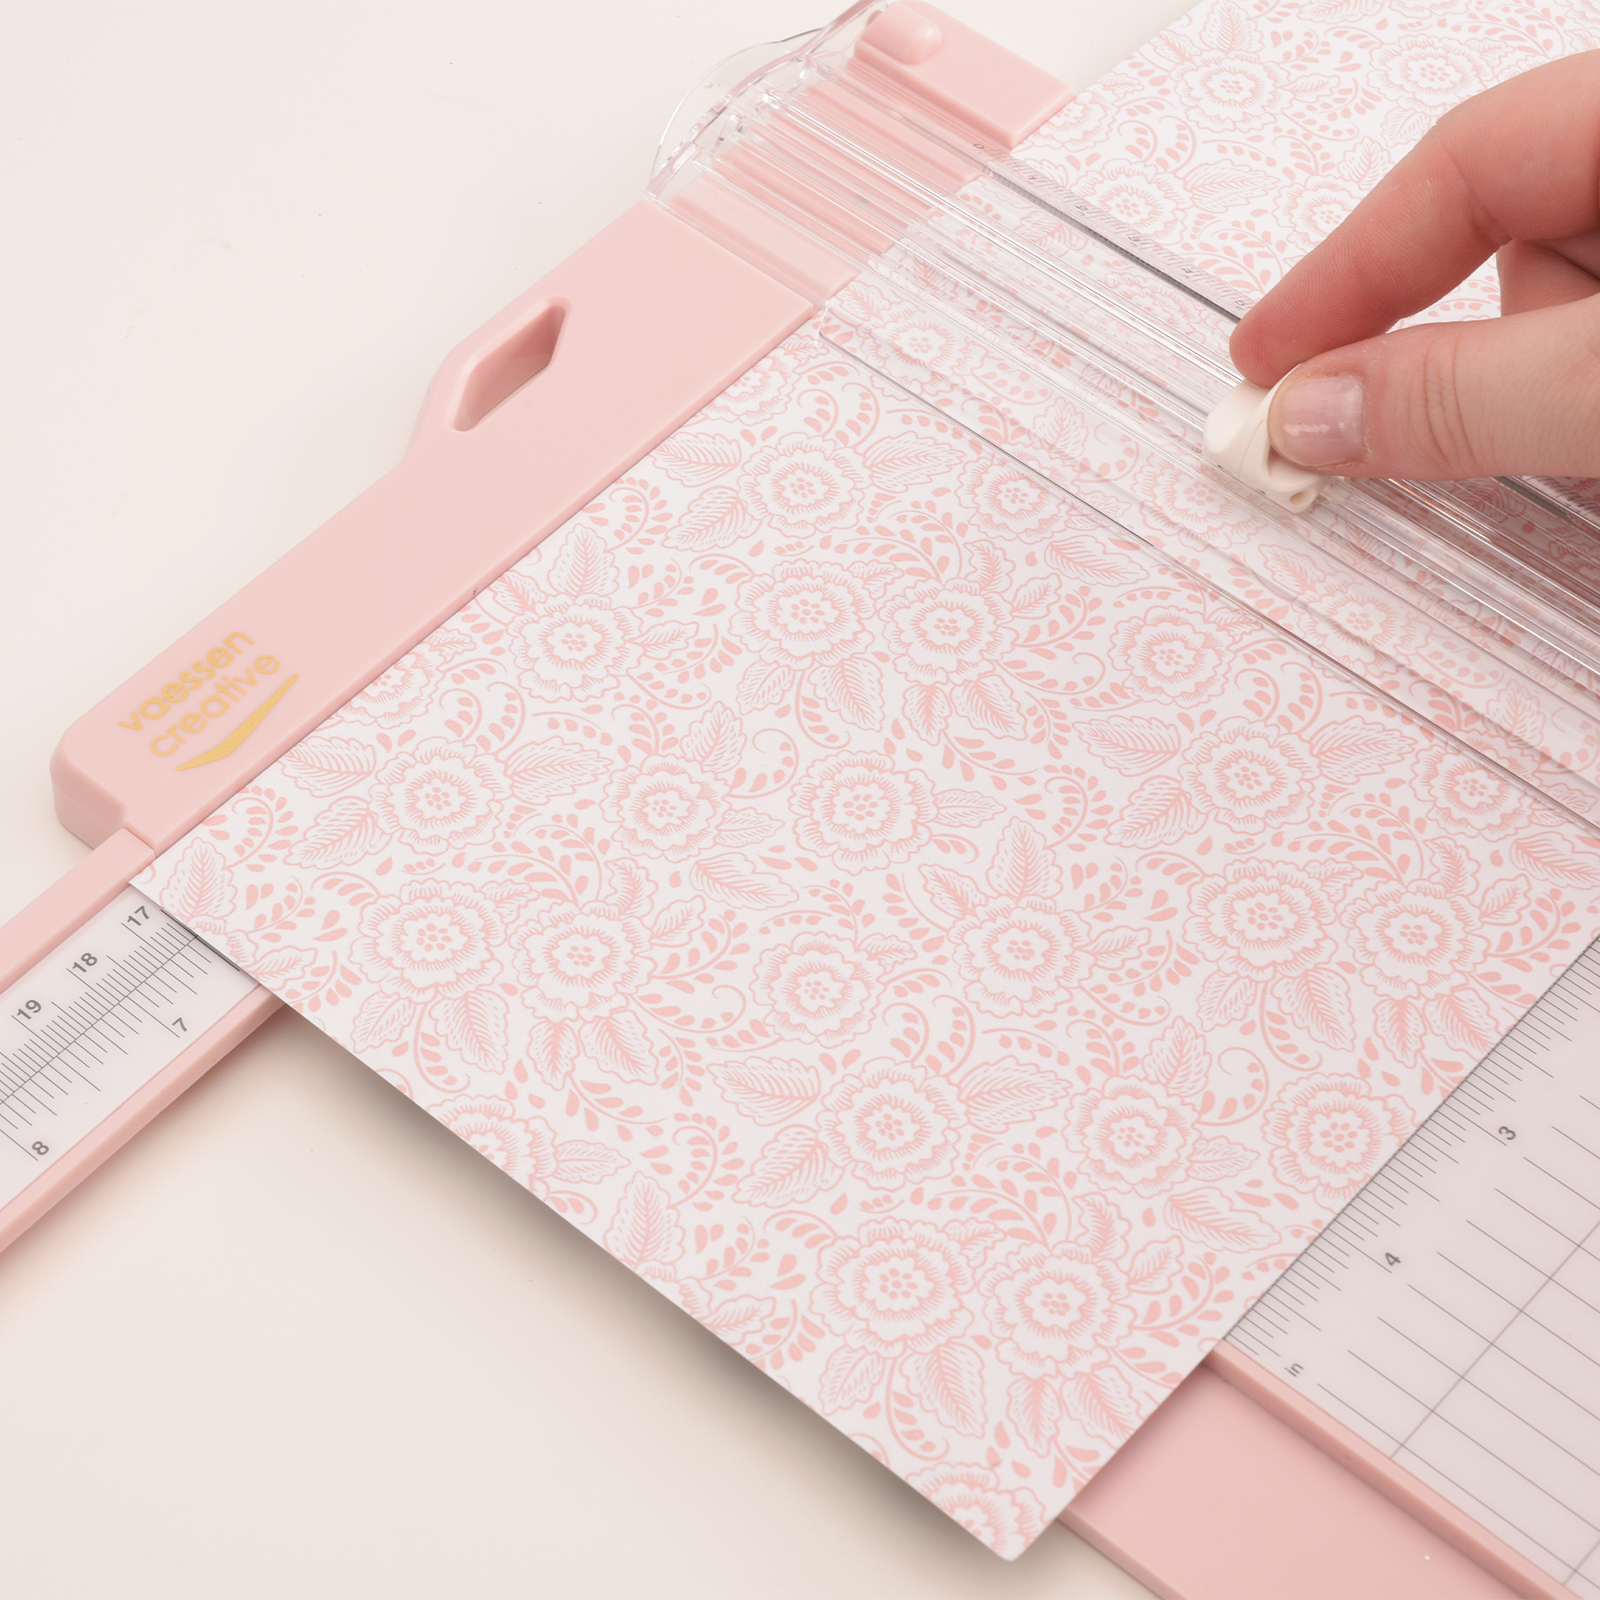
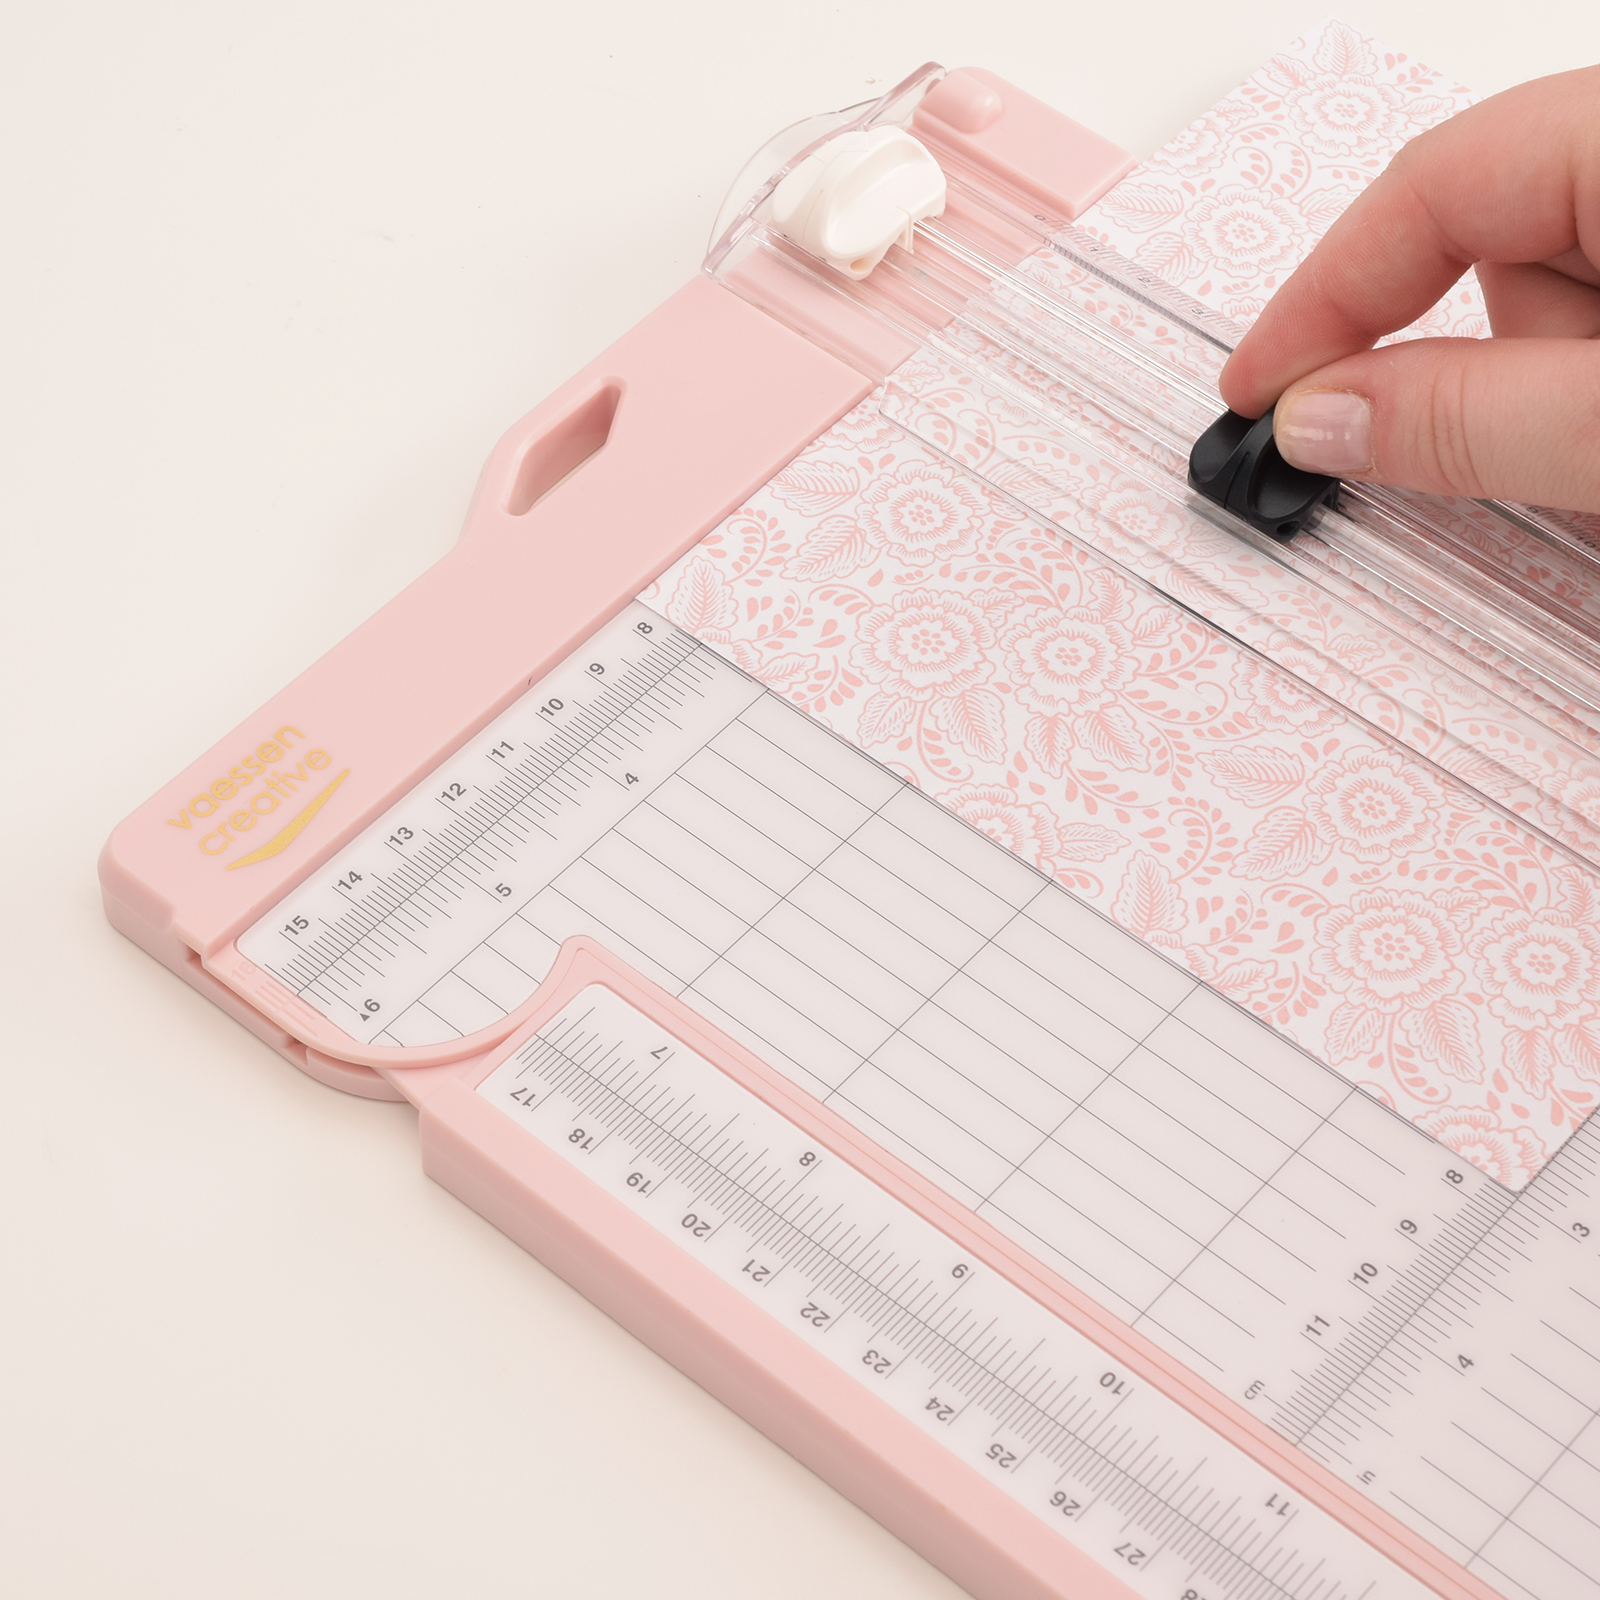
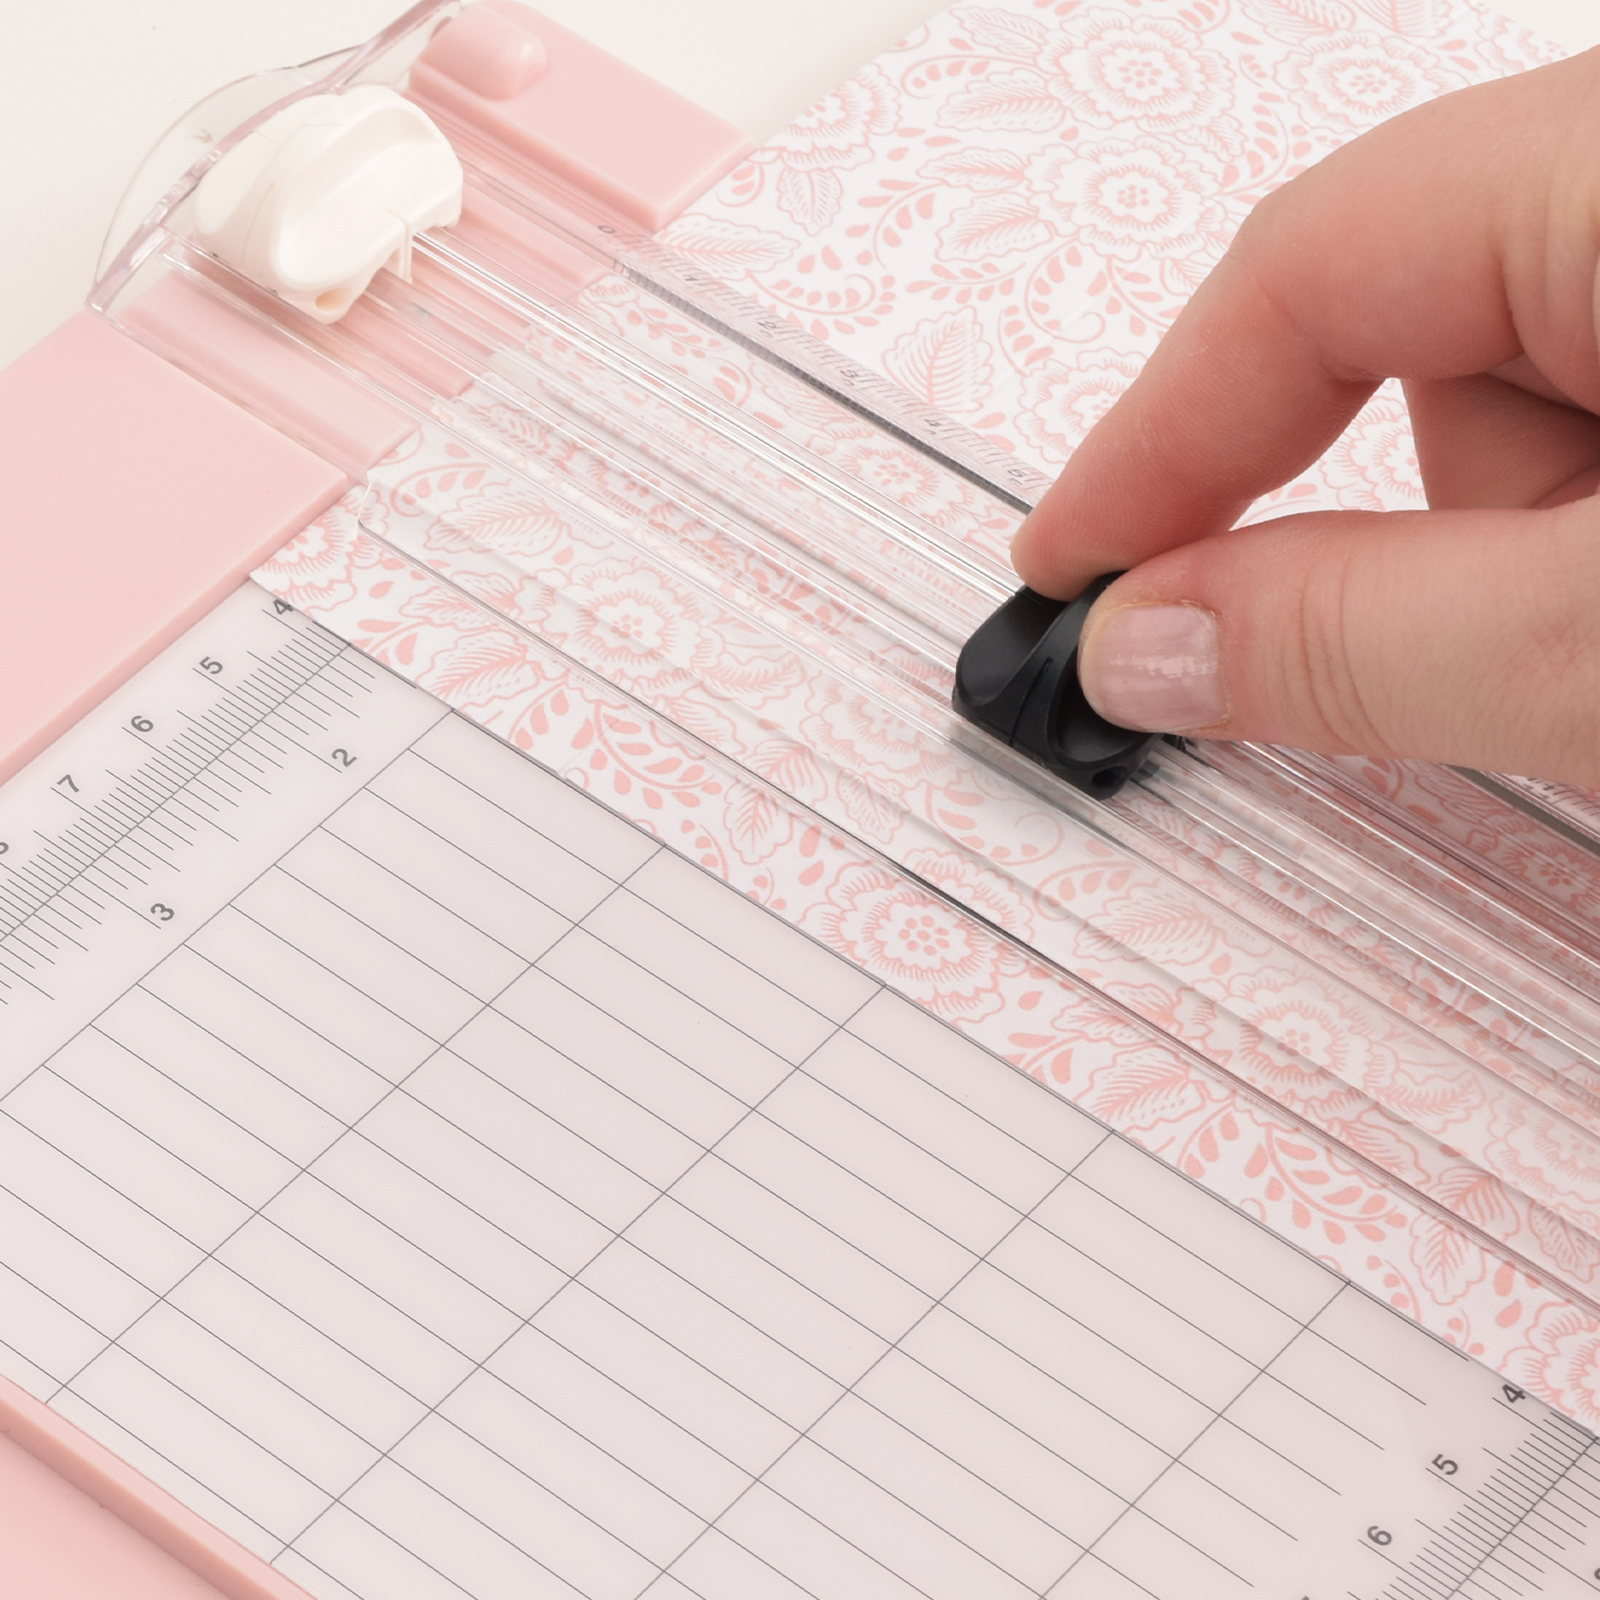
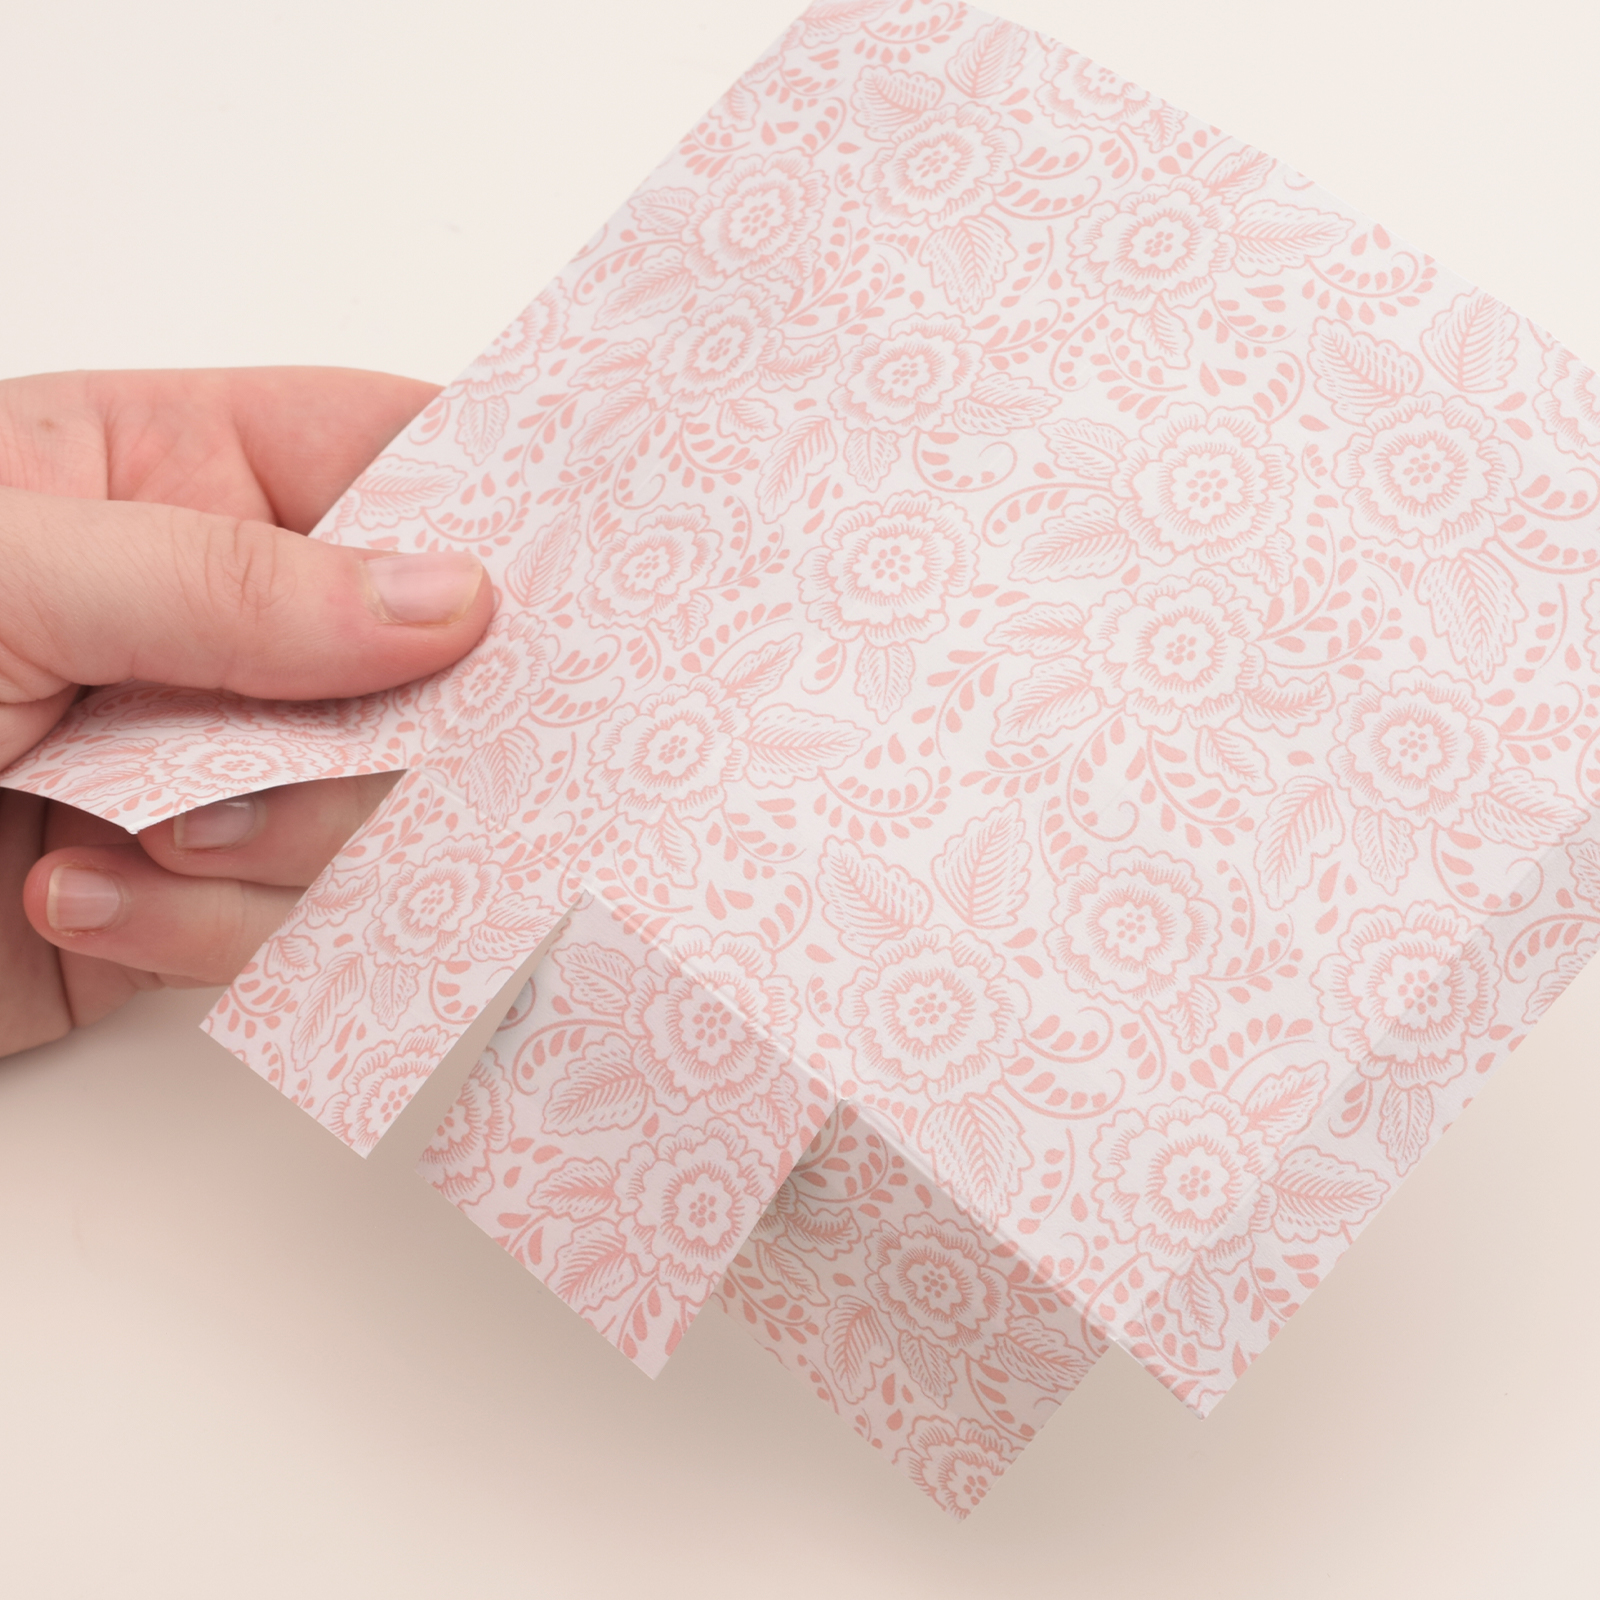
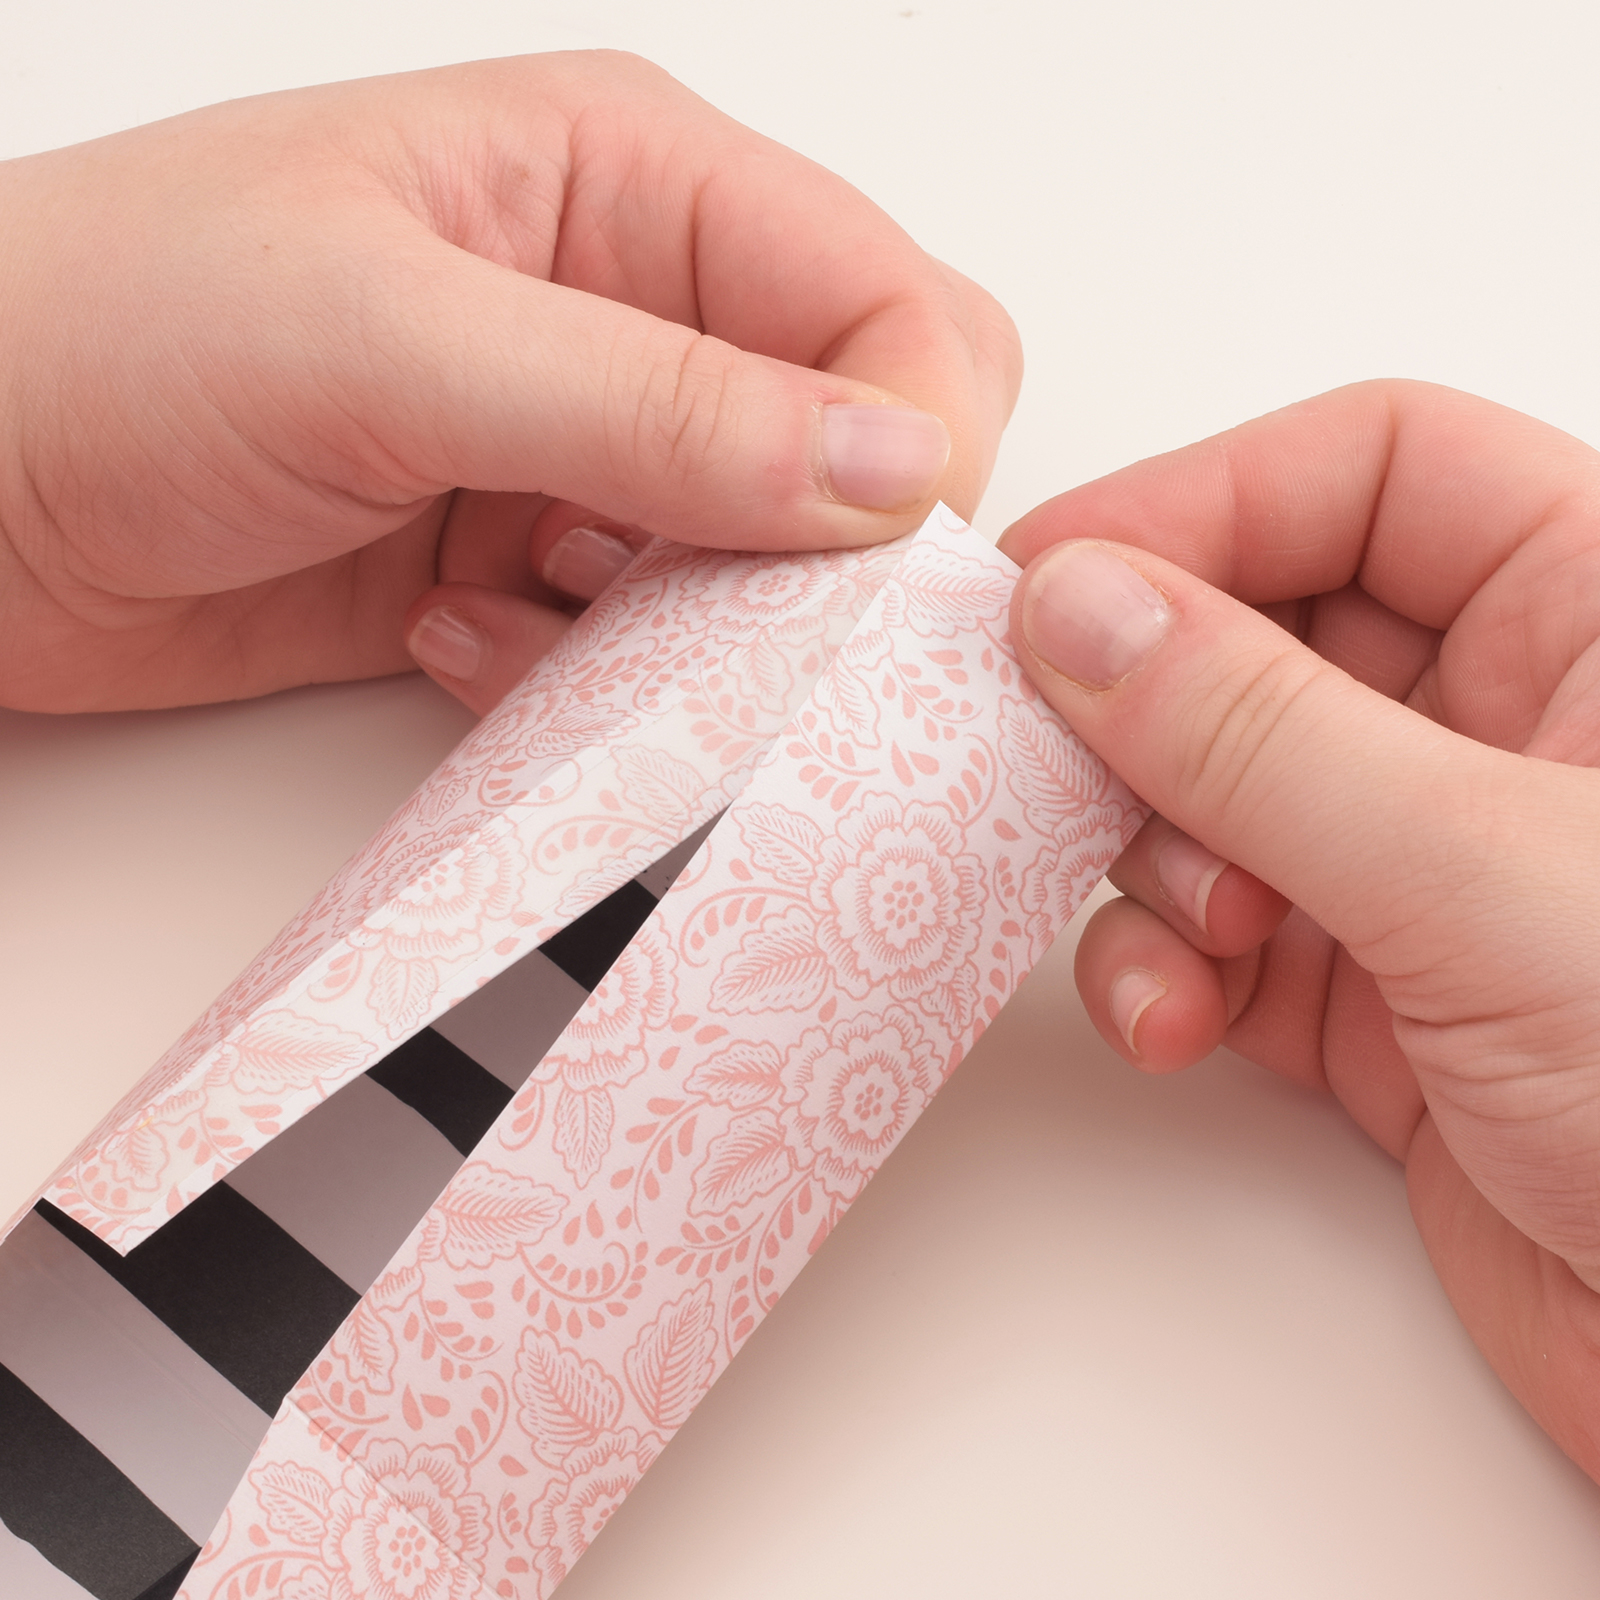
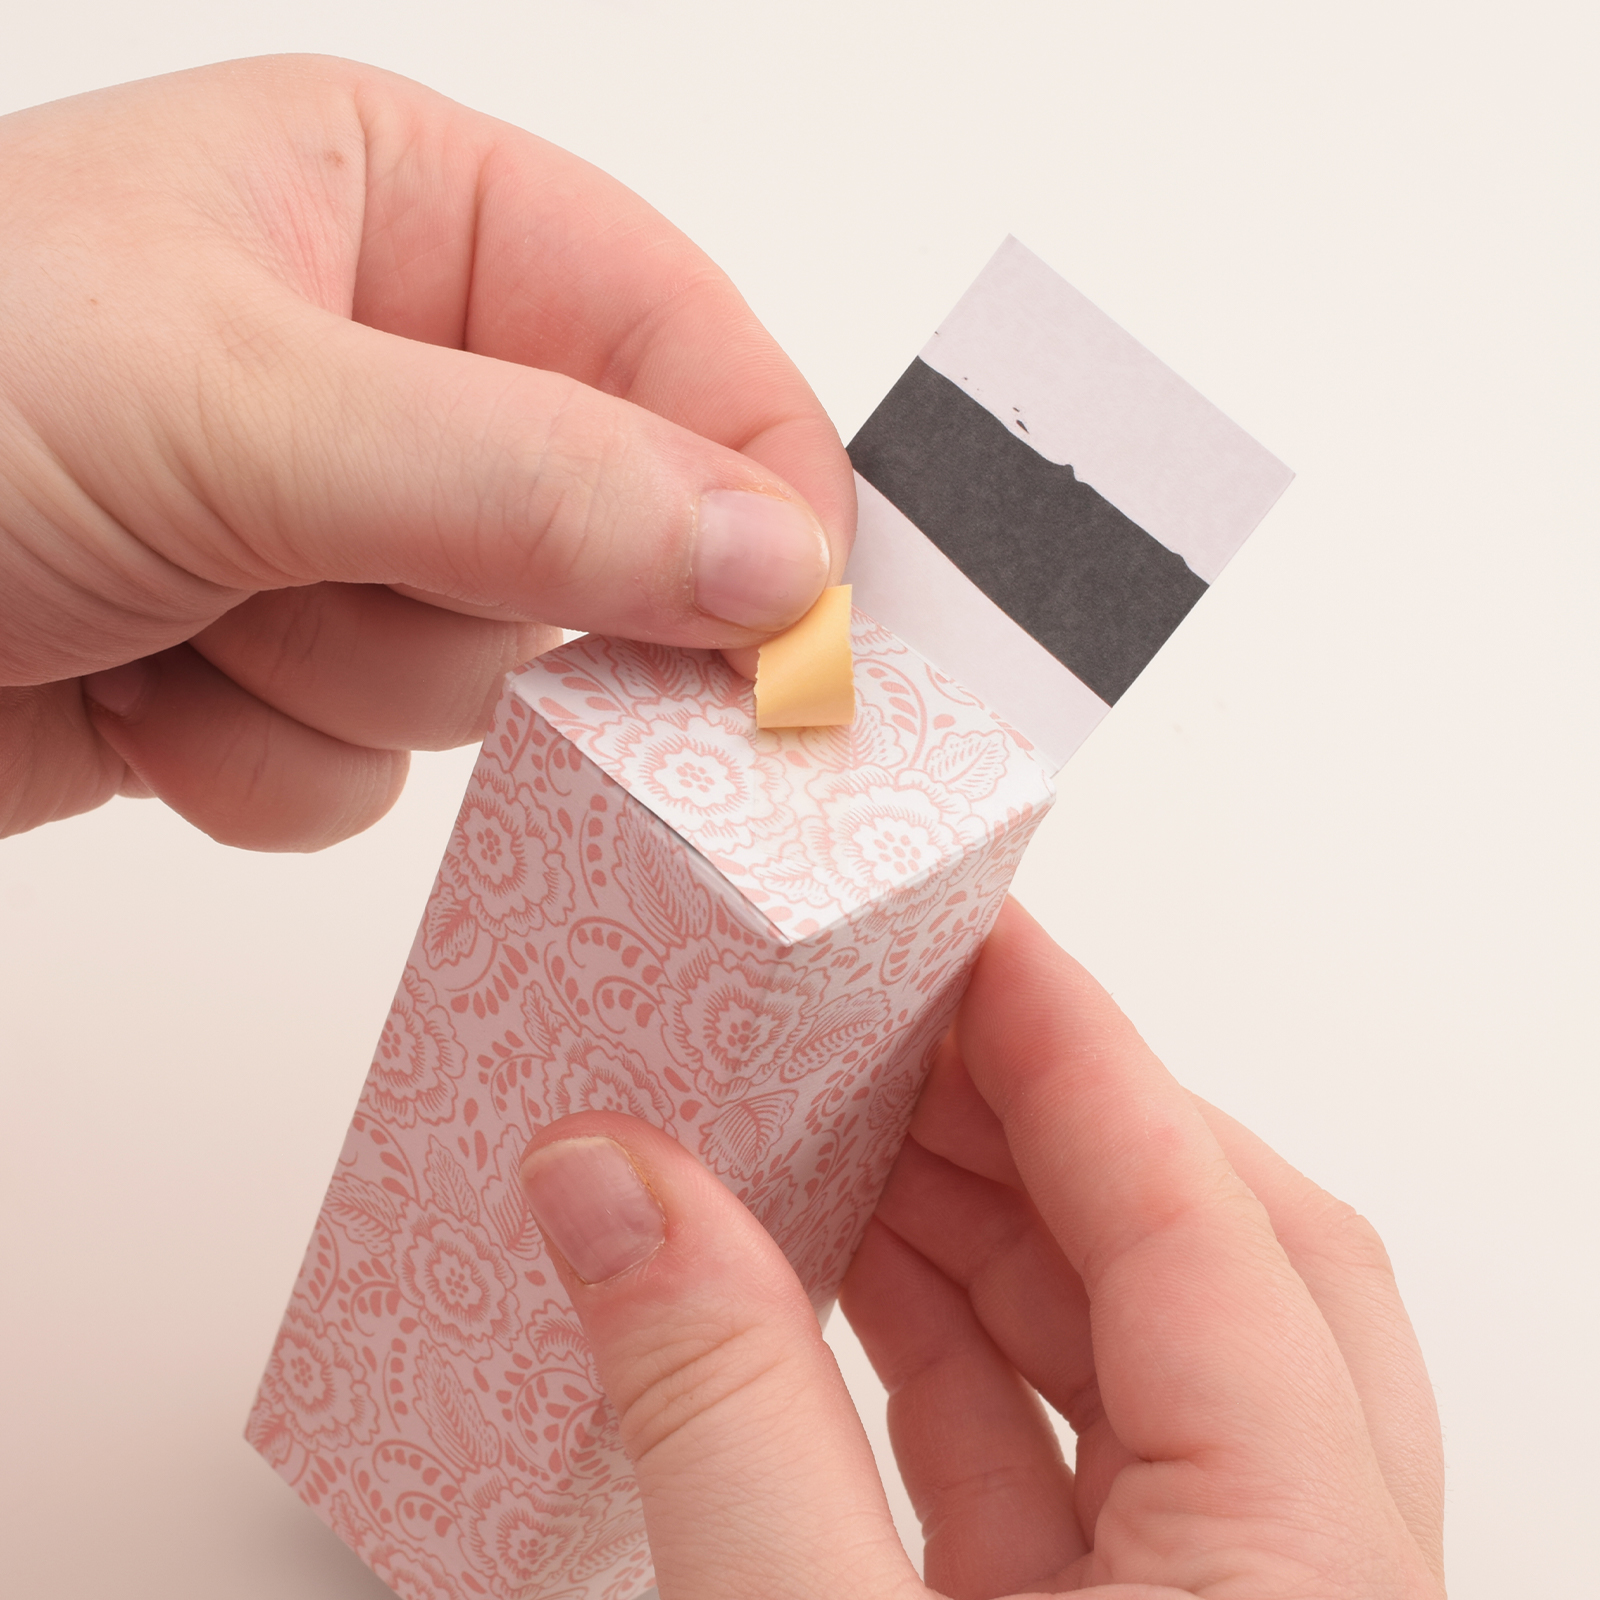
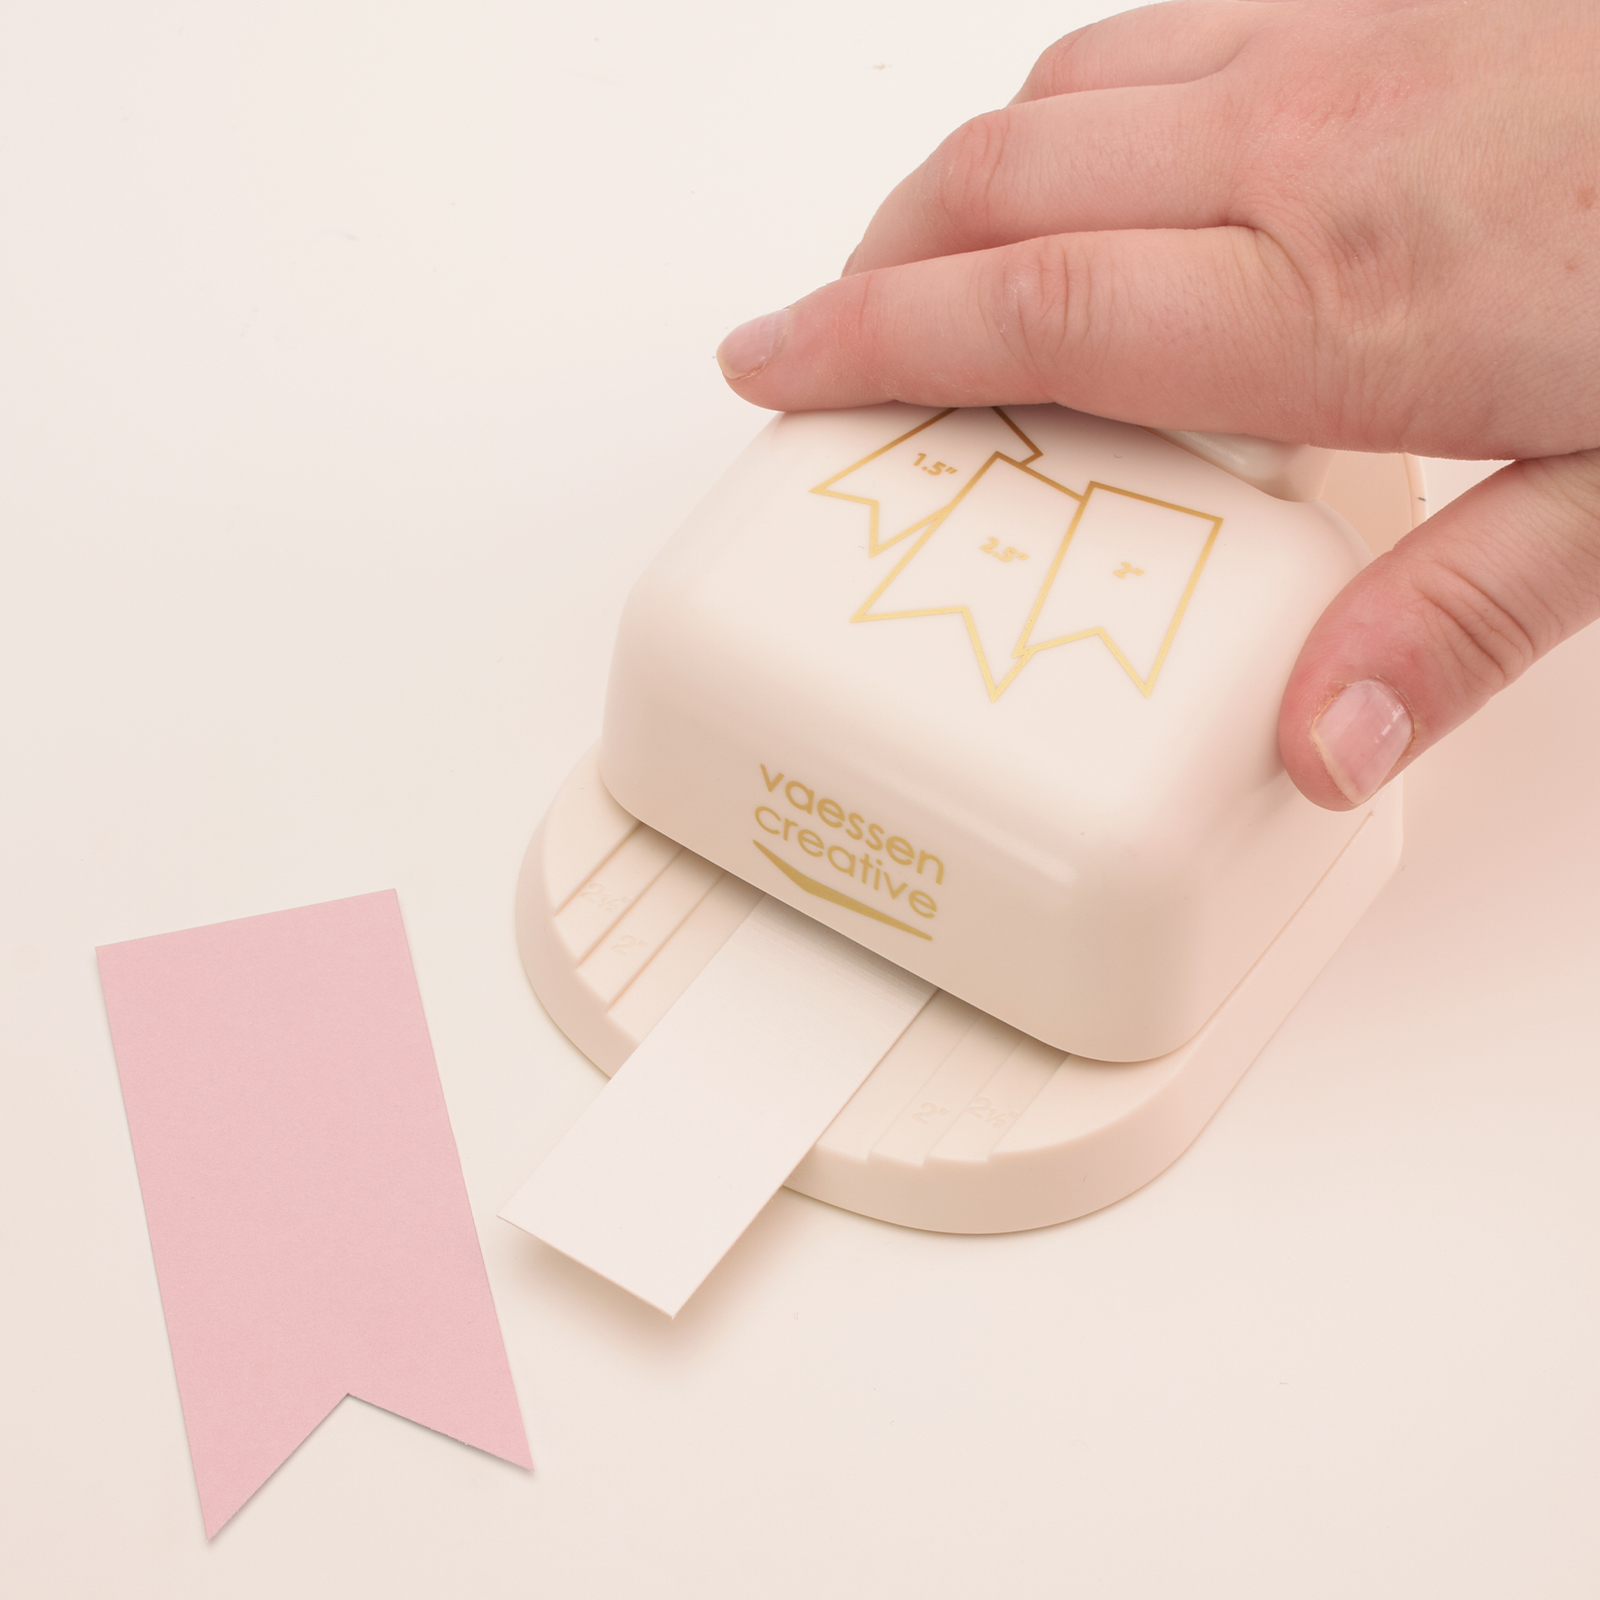
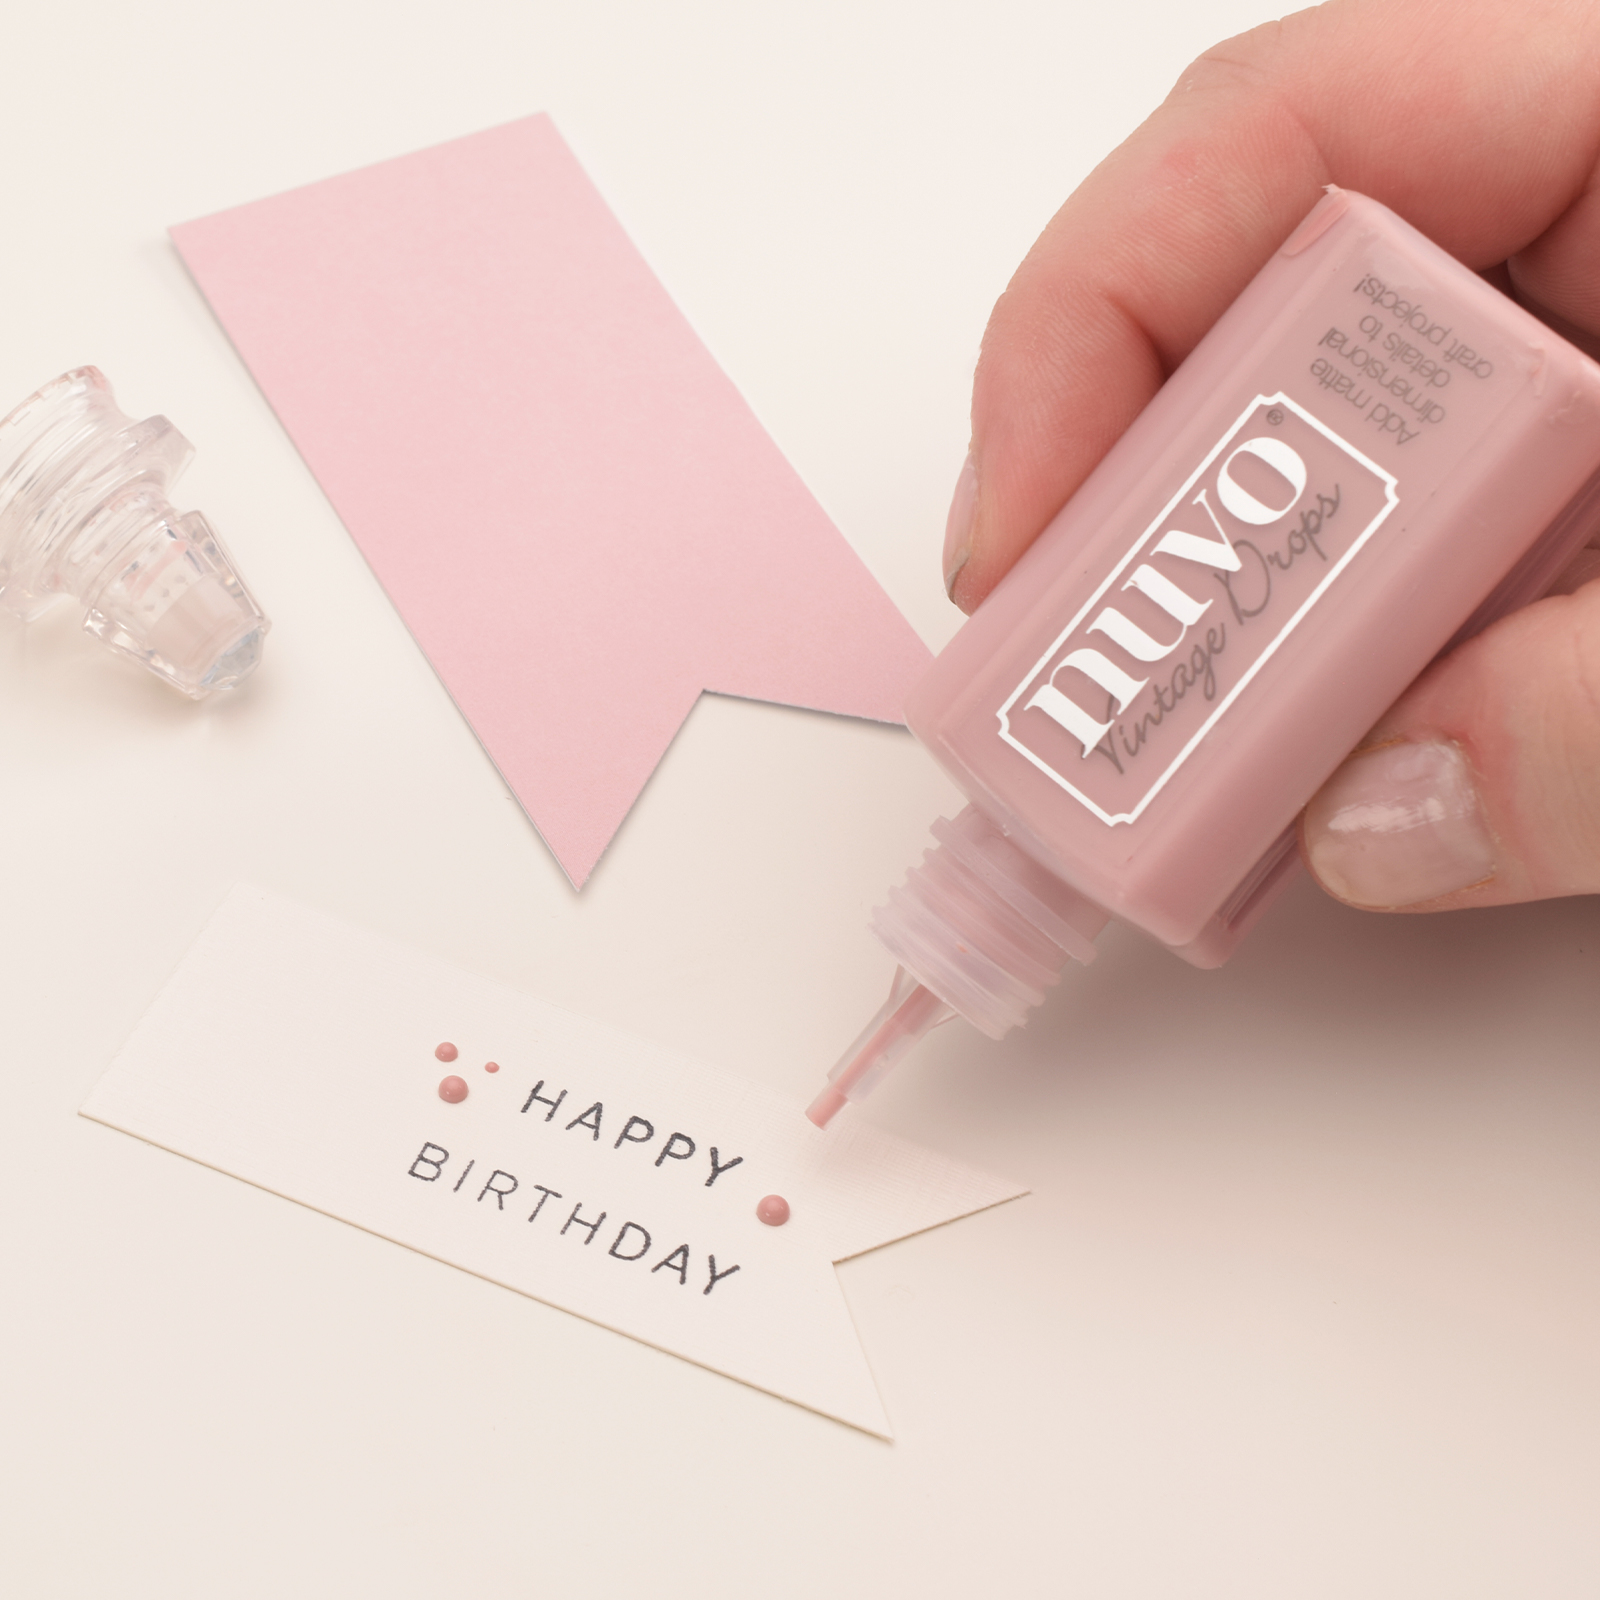
¿Te gusta hacer tus propios envoltorios y dar a tus regalos un toque especial? Con esta caja de regalo de papel puedes crear una presentación personal para dulces, joyas o pequeñas sorpresas. En 12 pasos claros aprenderás a plegar y montar una caja resistente con técnicas sencillas. Perfecta para quienes disfrutan creando embalajes originales y personalizados.

Descargar PDF
1
Cut a sheet of paper measuring 6 x 6.5 inches.
2
Score the long side at 1.5, 3, 4.5, and 6 inches.
3
Score the short side at 1.5 inches.
4
Make three cuts along the long side up to the score line and trim off a corner. This will help assemble the bottom of the box later.
5
Start by adhering the thin long strip.
6
Then, assemble the bottom of the box.
7
Punch out two strips, one measuring 1.5 x 4 inches and the other 1 x 3.5 inches.
8
Stamp a message on the smaller strip and embellish it with Nuvo drops.
9
Attach the two banners together.
10
Fill the box with chocolates, sweets, or another treat.
11
Tie a bow with the hemp cord and secure it to the top of the box with a small clothespin.
12
Punch out several butterflies and adhere them to the box.

YOU MAY ALSO like