Create a graphic eye-catcher for your wall! In this DIY, we show you step by step how to create a stylish layout during this paper crafting project using Distress Oxide ink and a graphic stamp. Display your work on canvas or hang it up with fun clips.
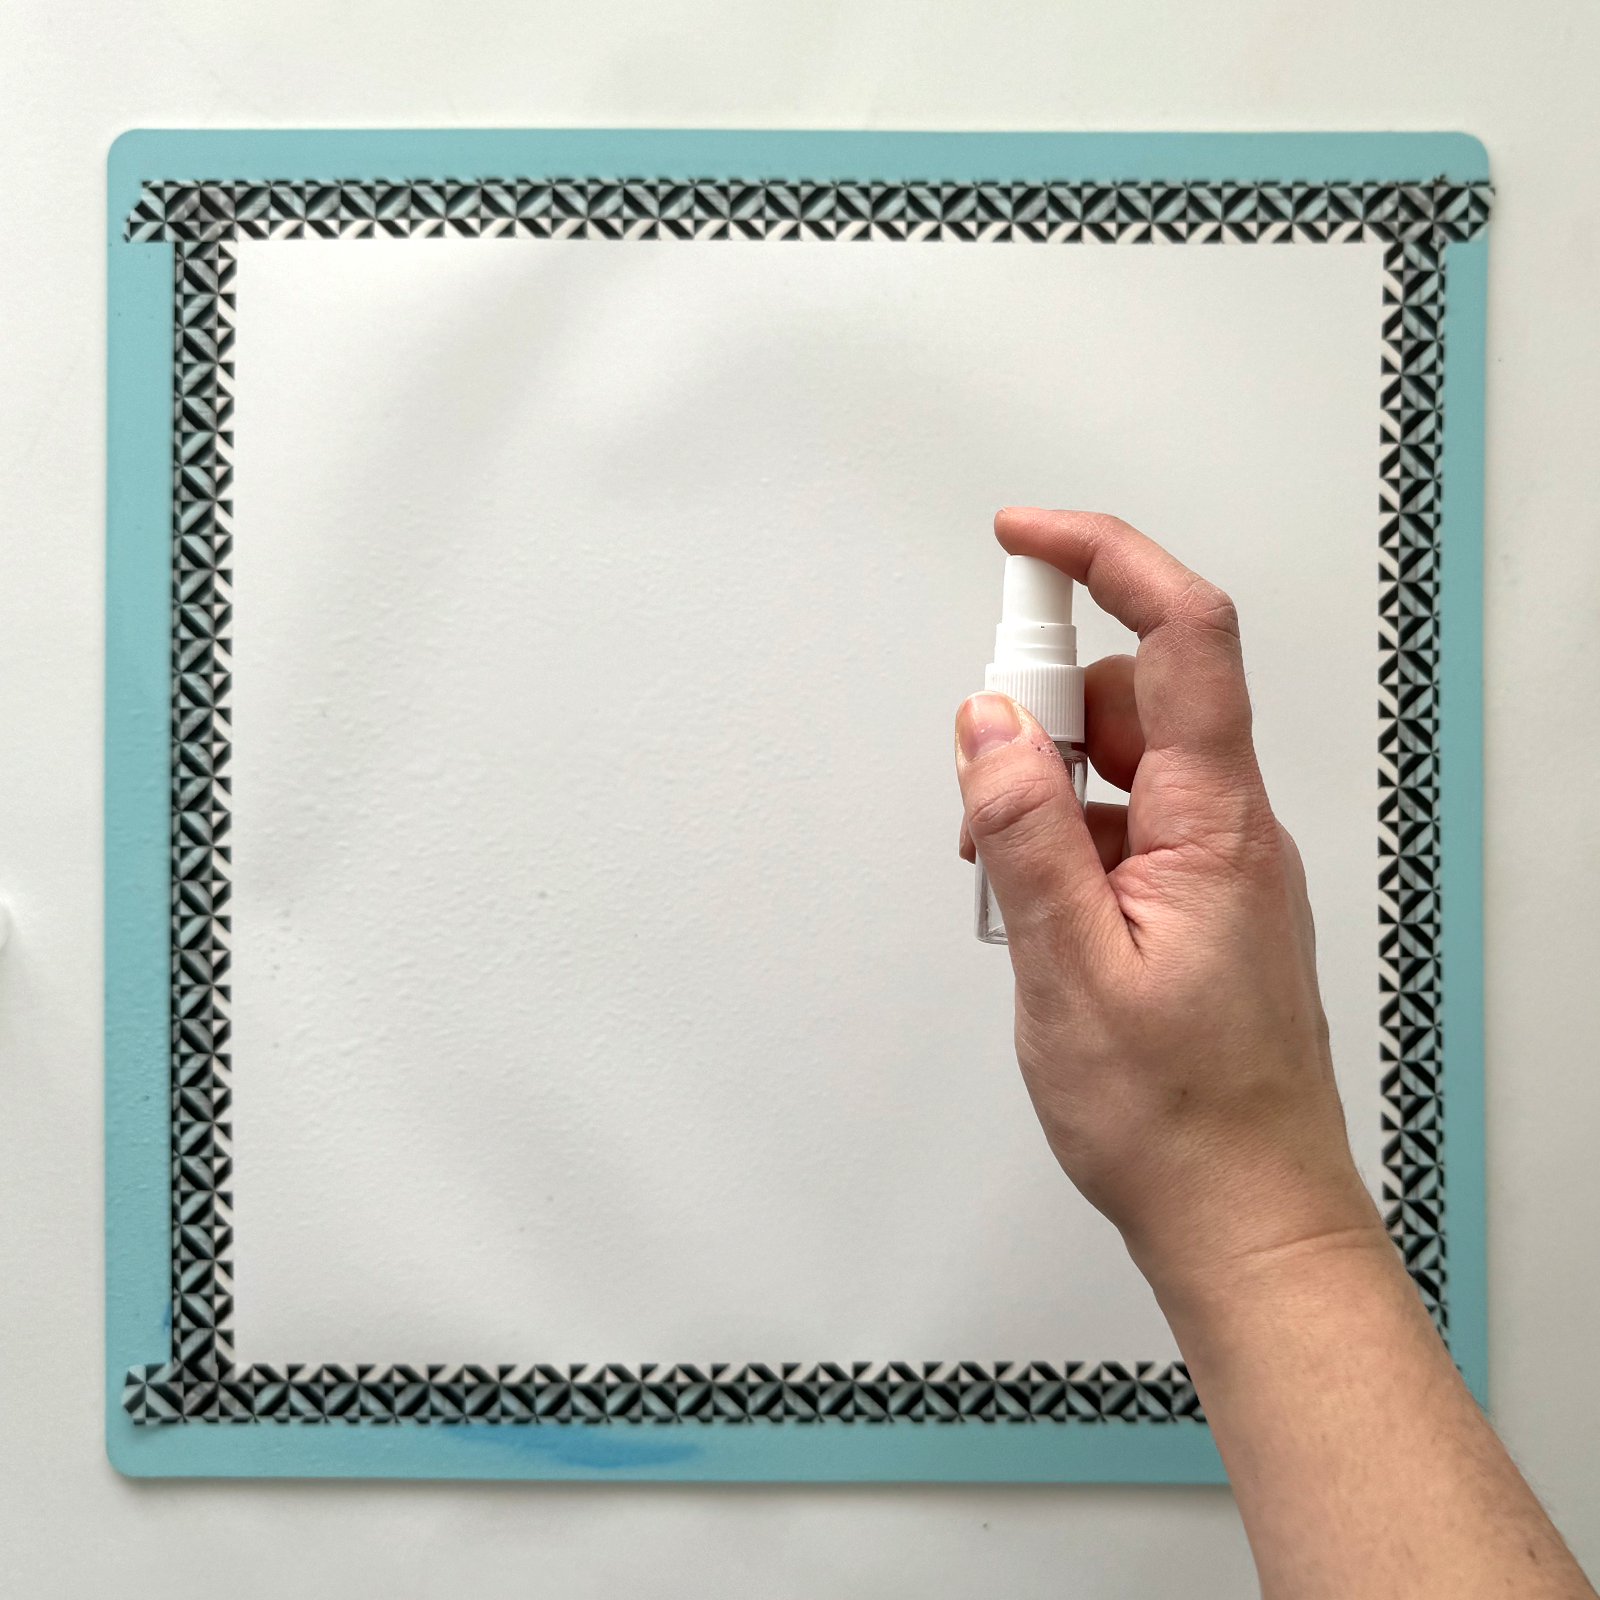
Secure a sheet of smooth white cardstock to your work surface with (washi)tape. Use a spray bottle with water and mist the entire cardstock sheet until it's thoroughly moist.
2
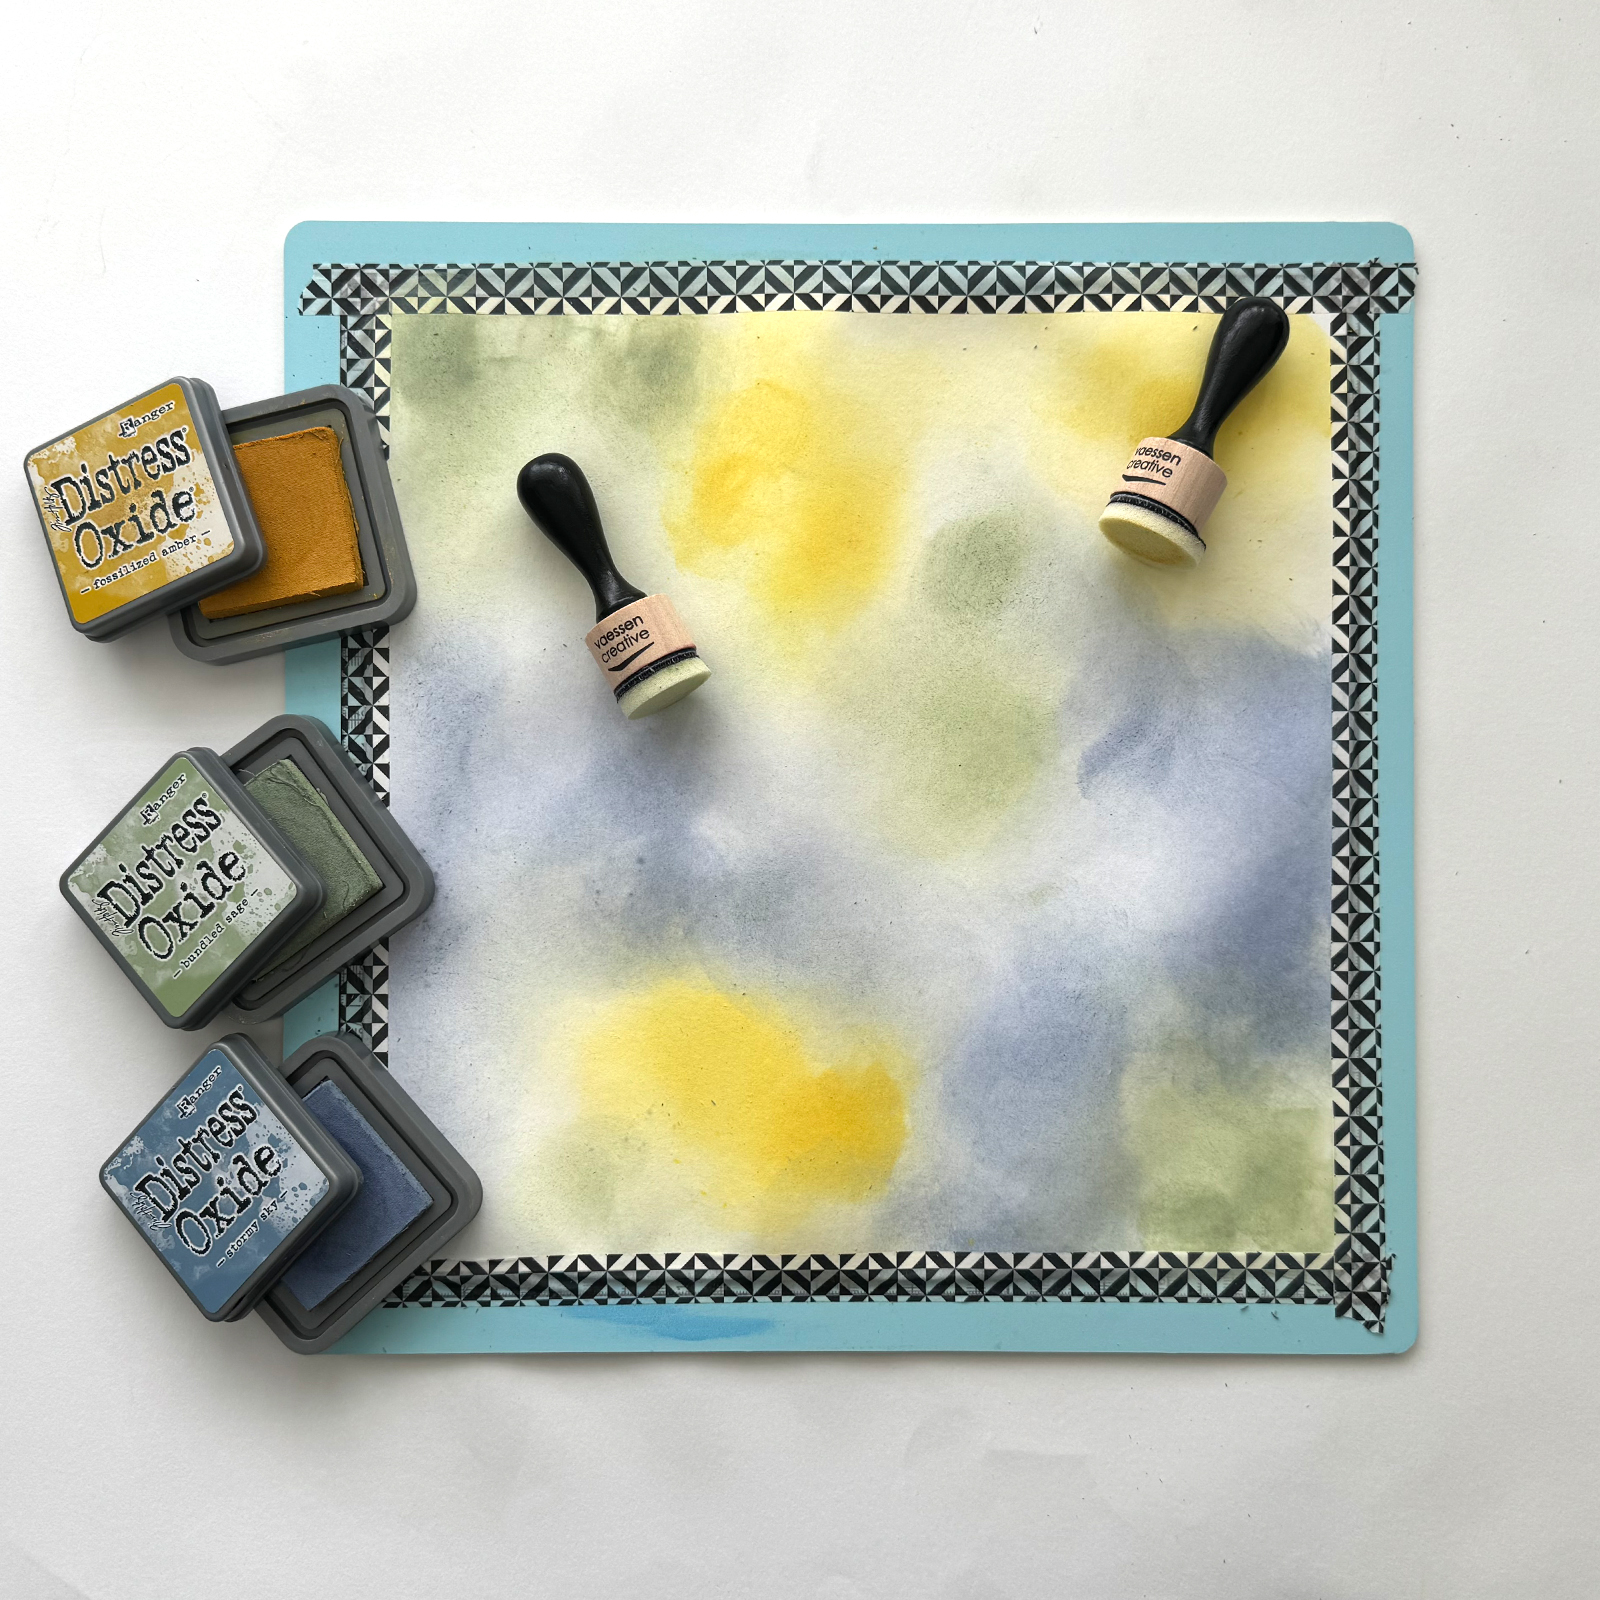
Apply 2 or 3 colours of Distress Oxide ink using an ink applicator. Let the colours blend by applying them in a swirling motion, then allow them to dry thoroughly.
3
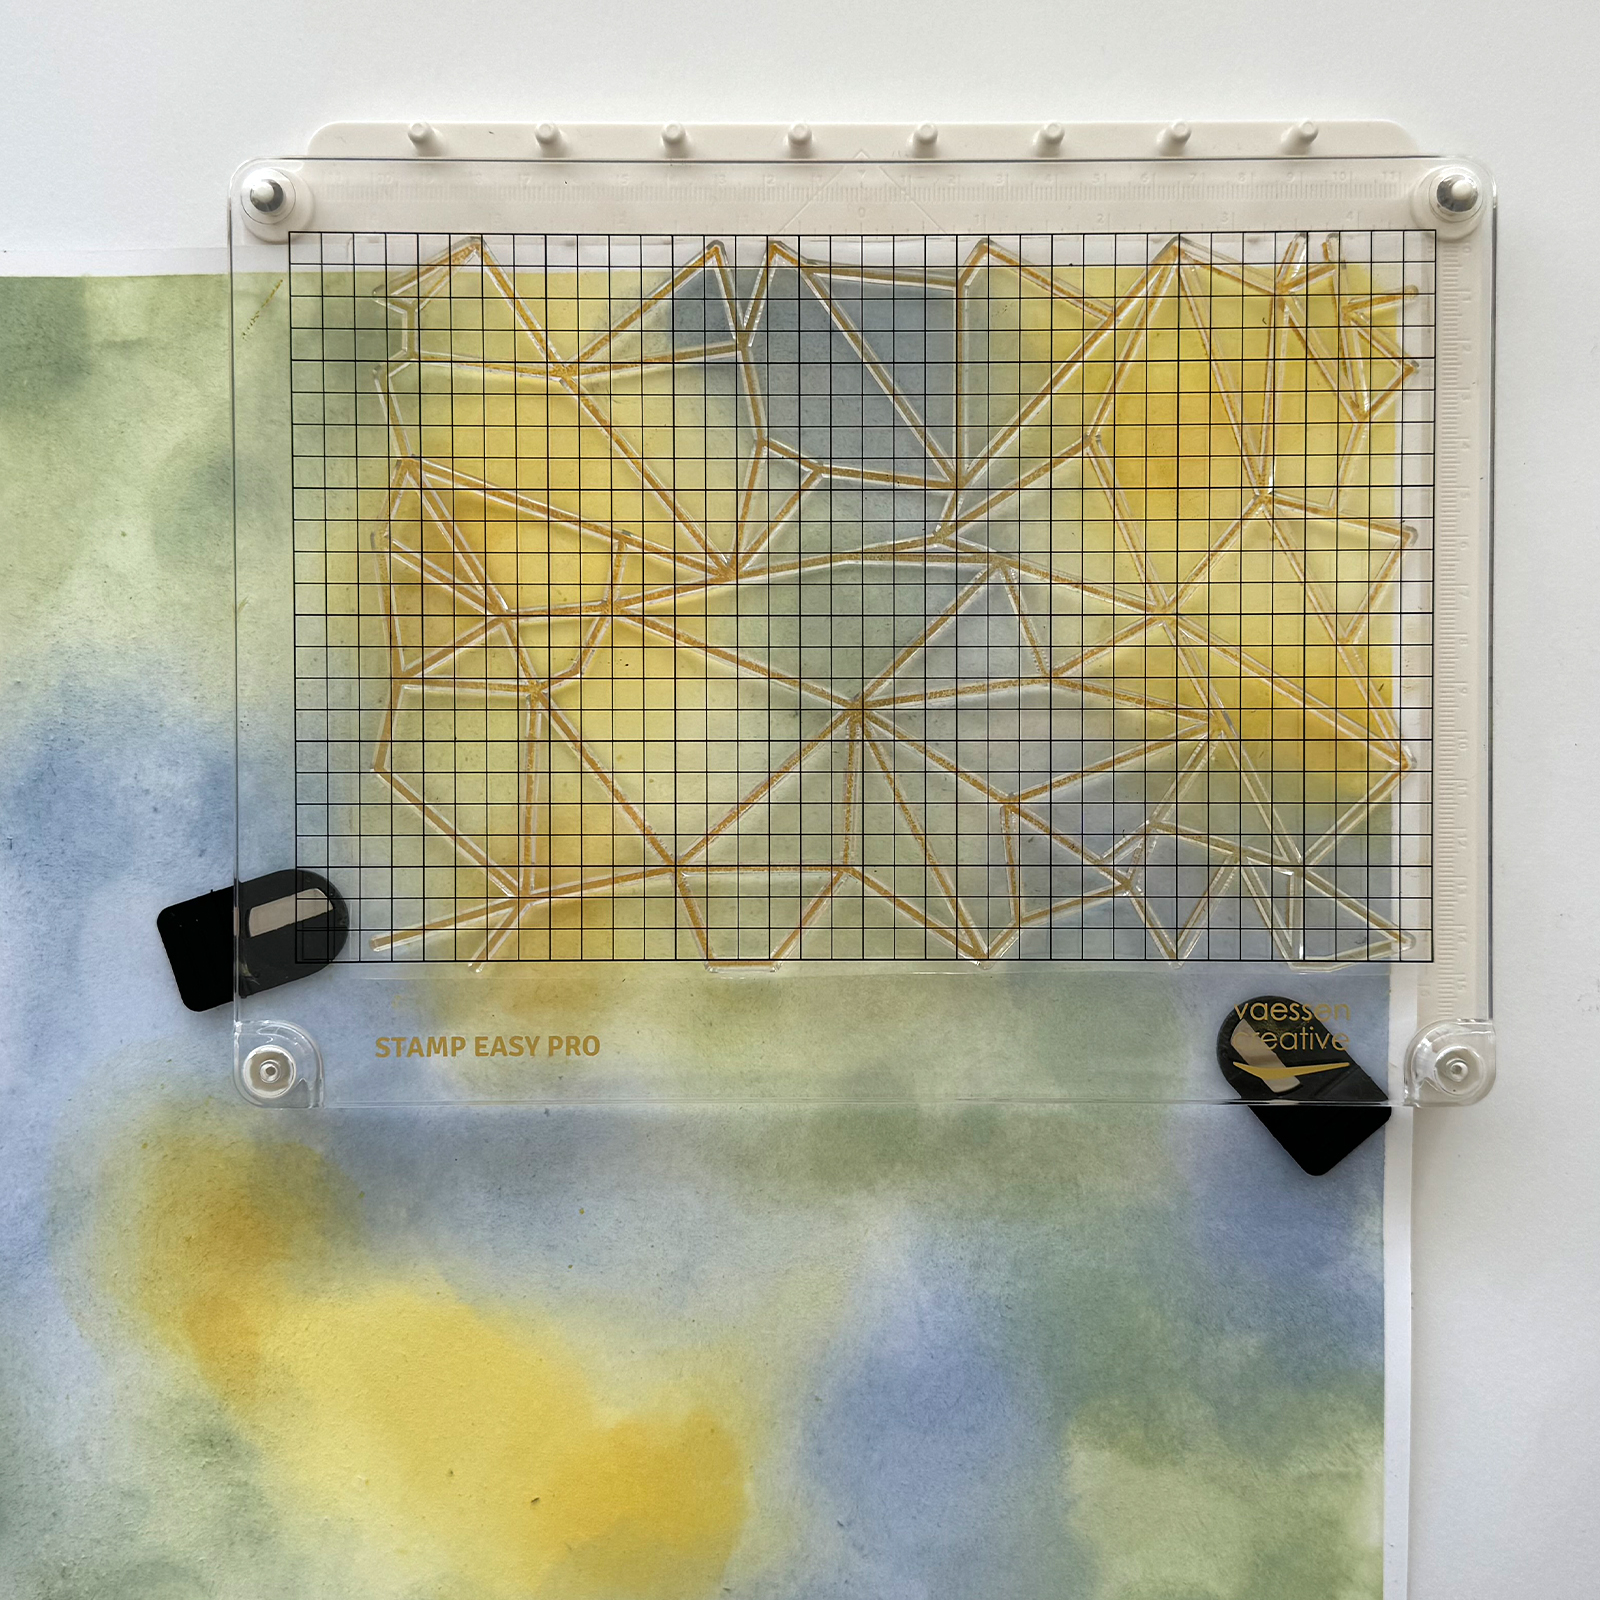
Use one of the Distress colours to stamp the graphic pattern onto the cardstock.
4
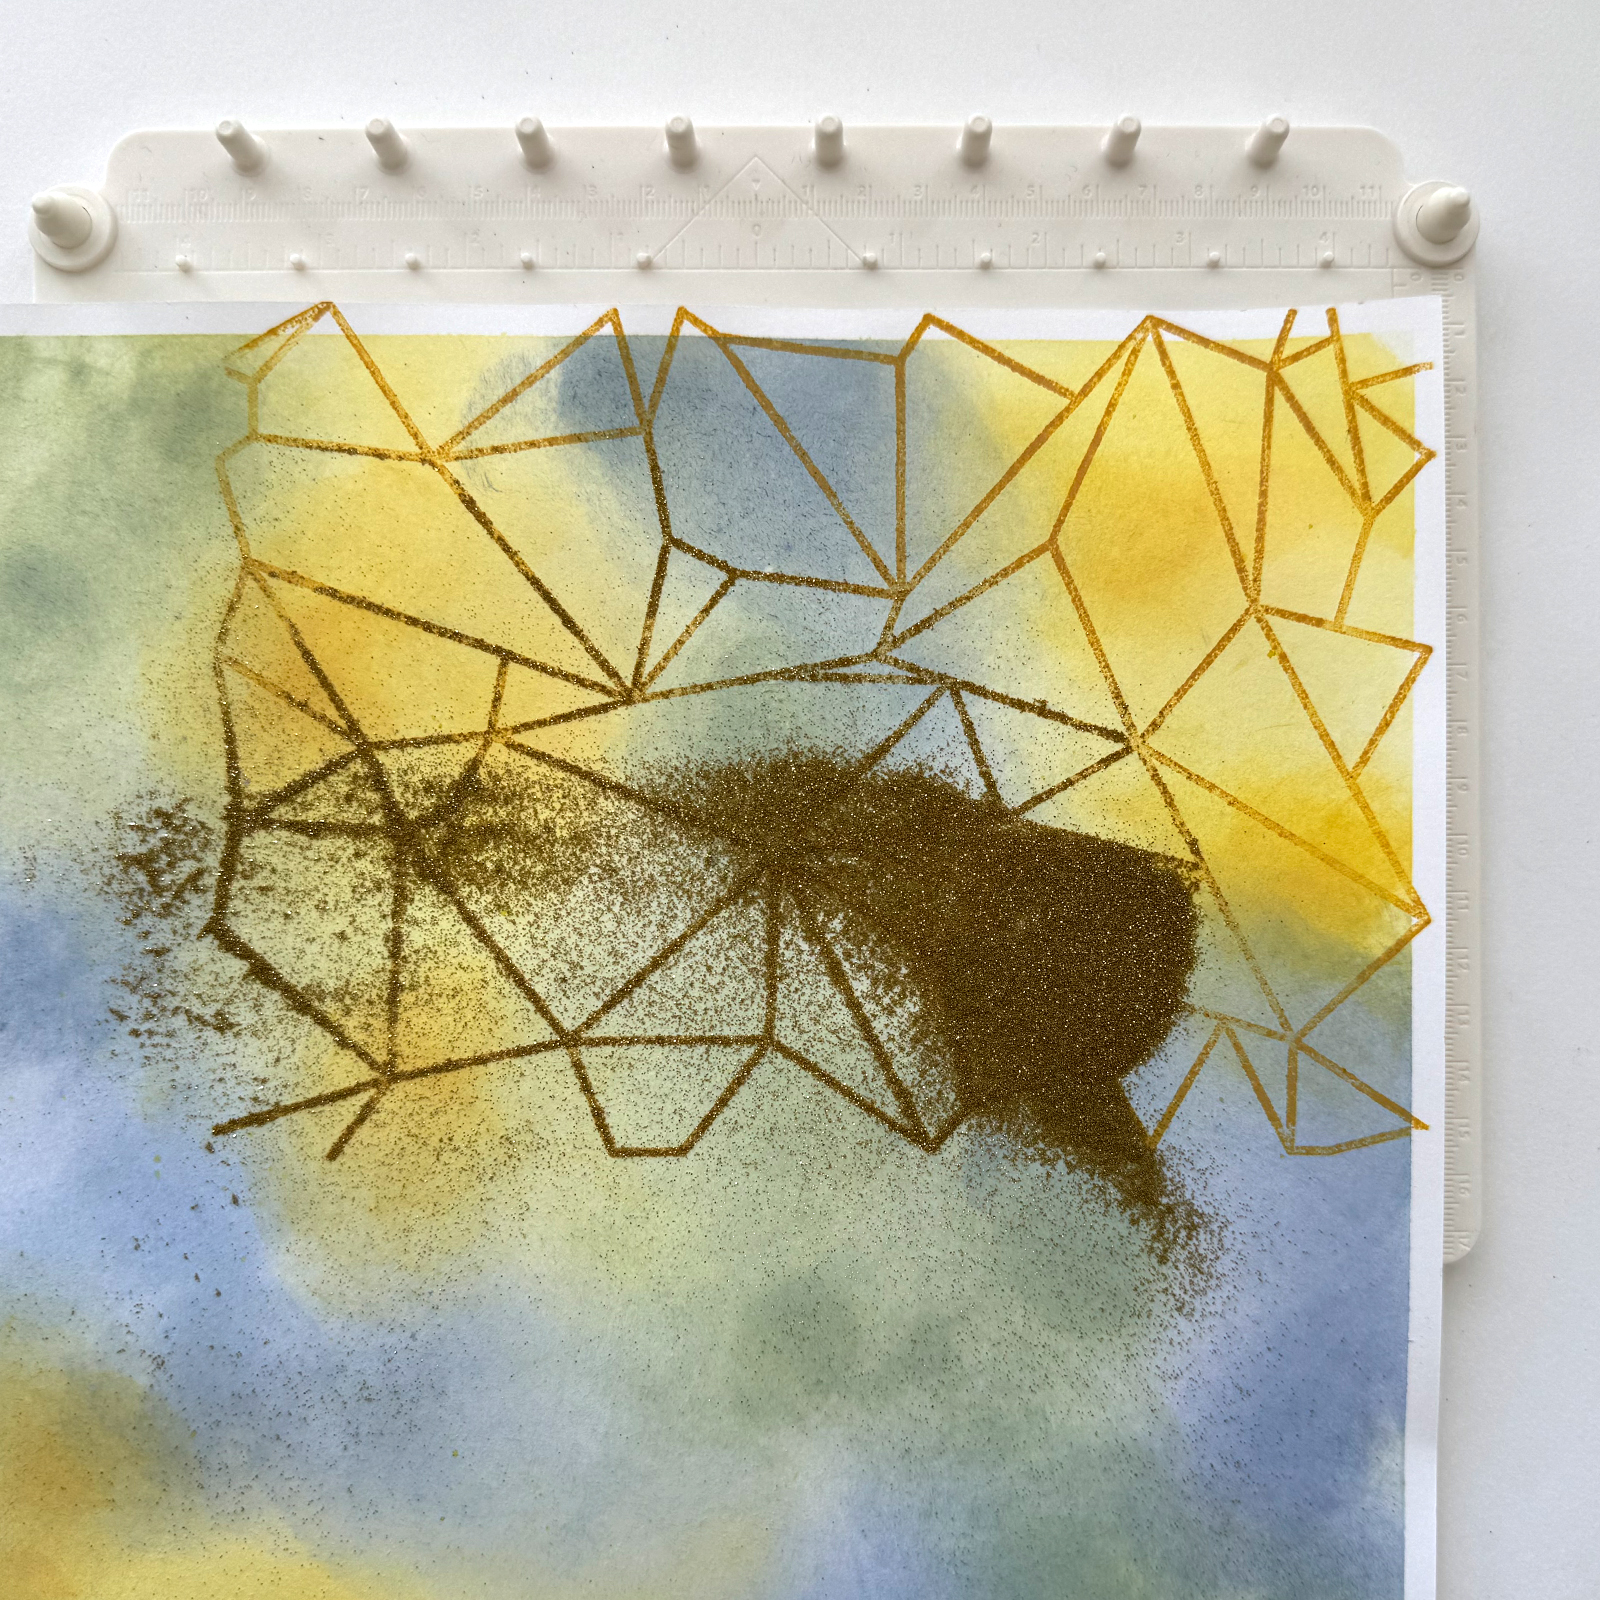
Immediately after stamping, sprinkle gold glitter embossing powder over the still wet ink. Work quickly, as the powder won't adhere once the ink is dry.
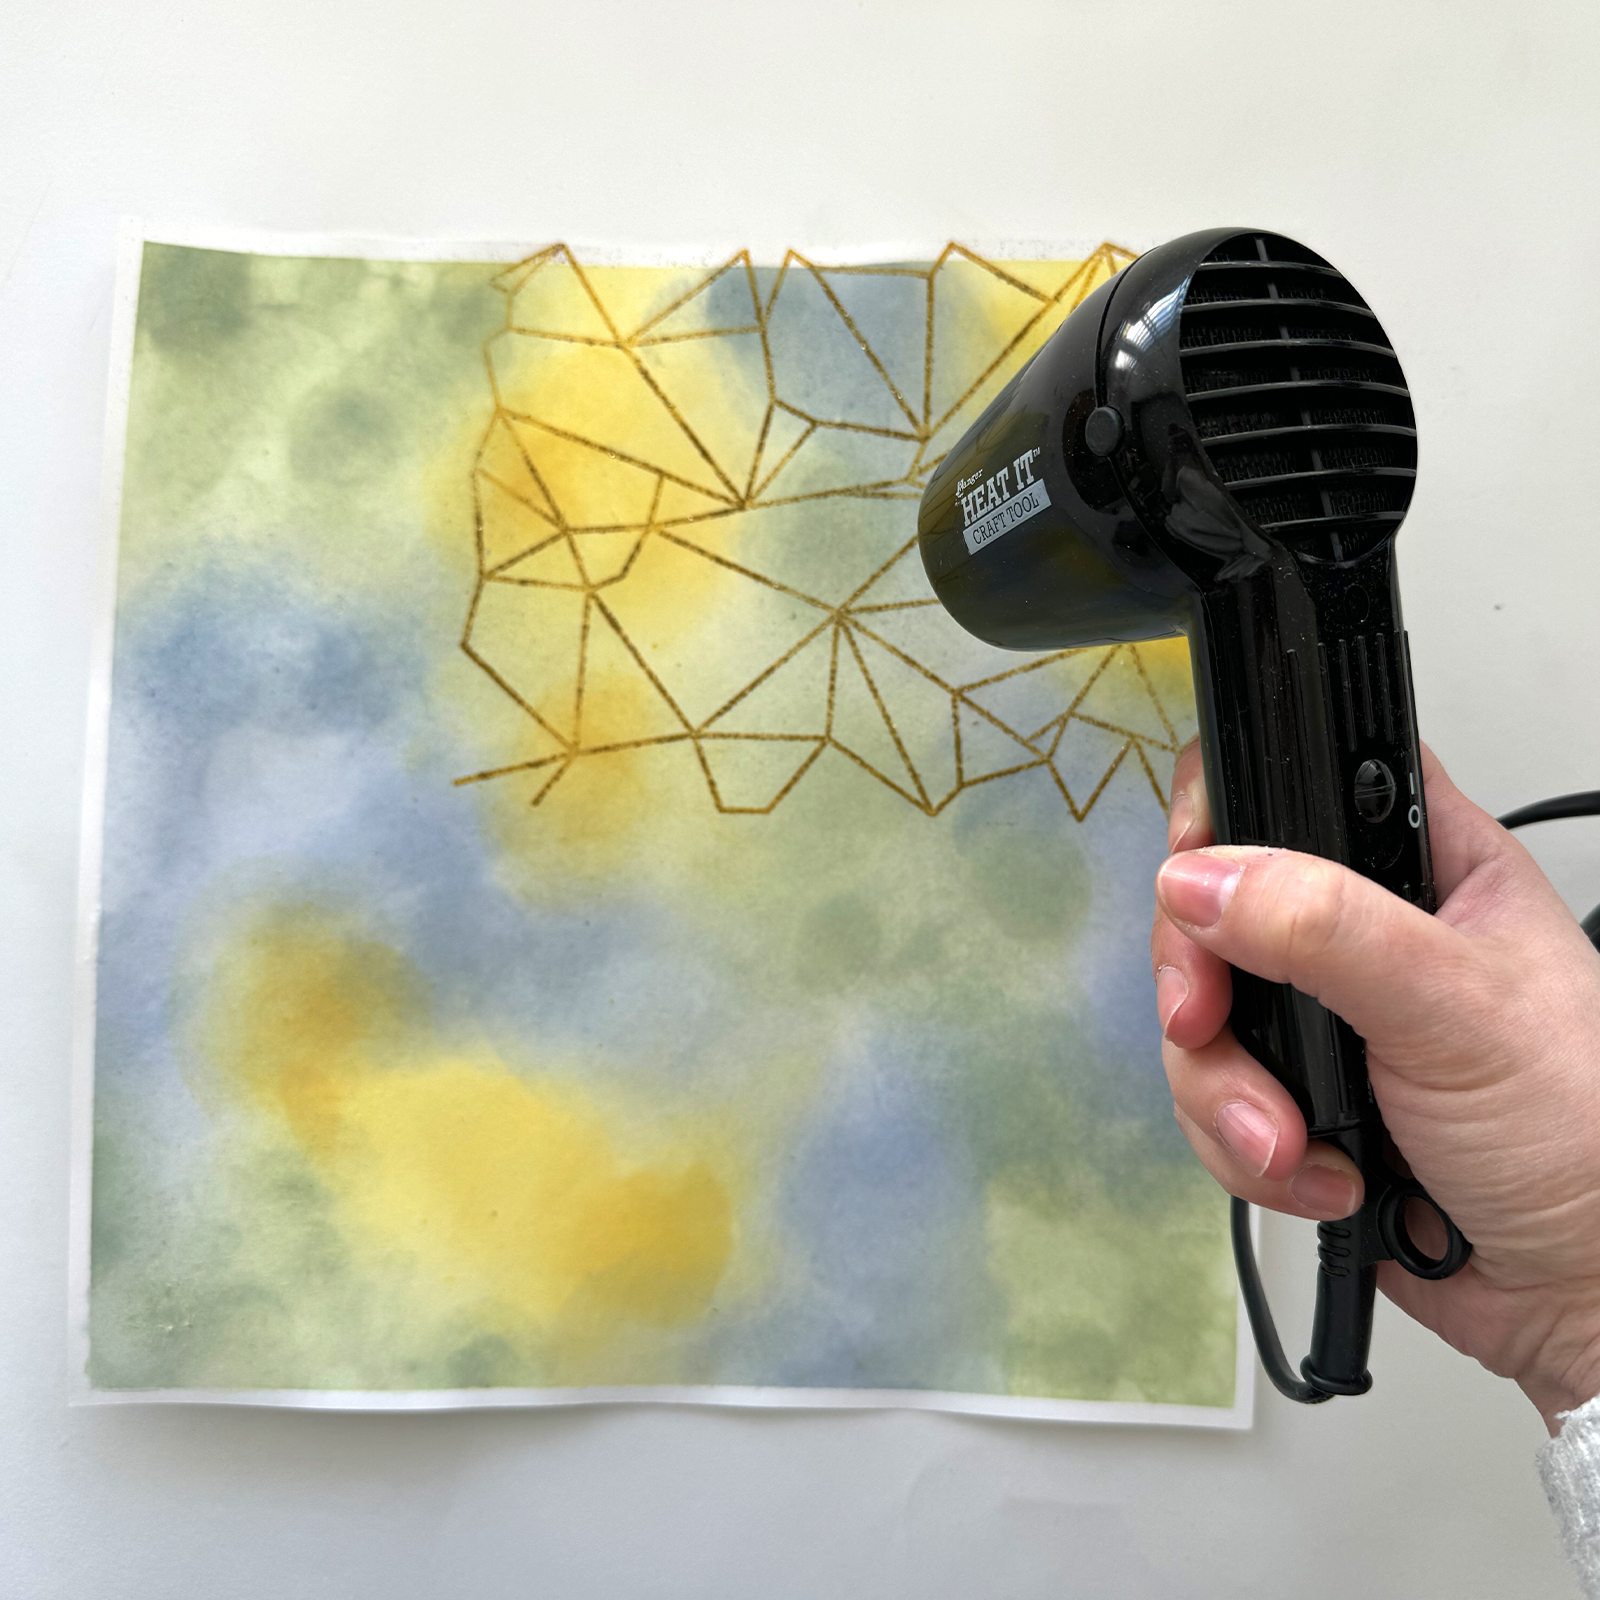
5
Use a heat tool to set the embossing powder.
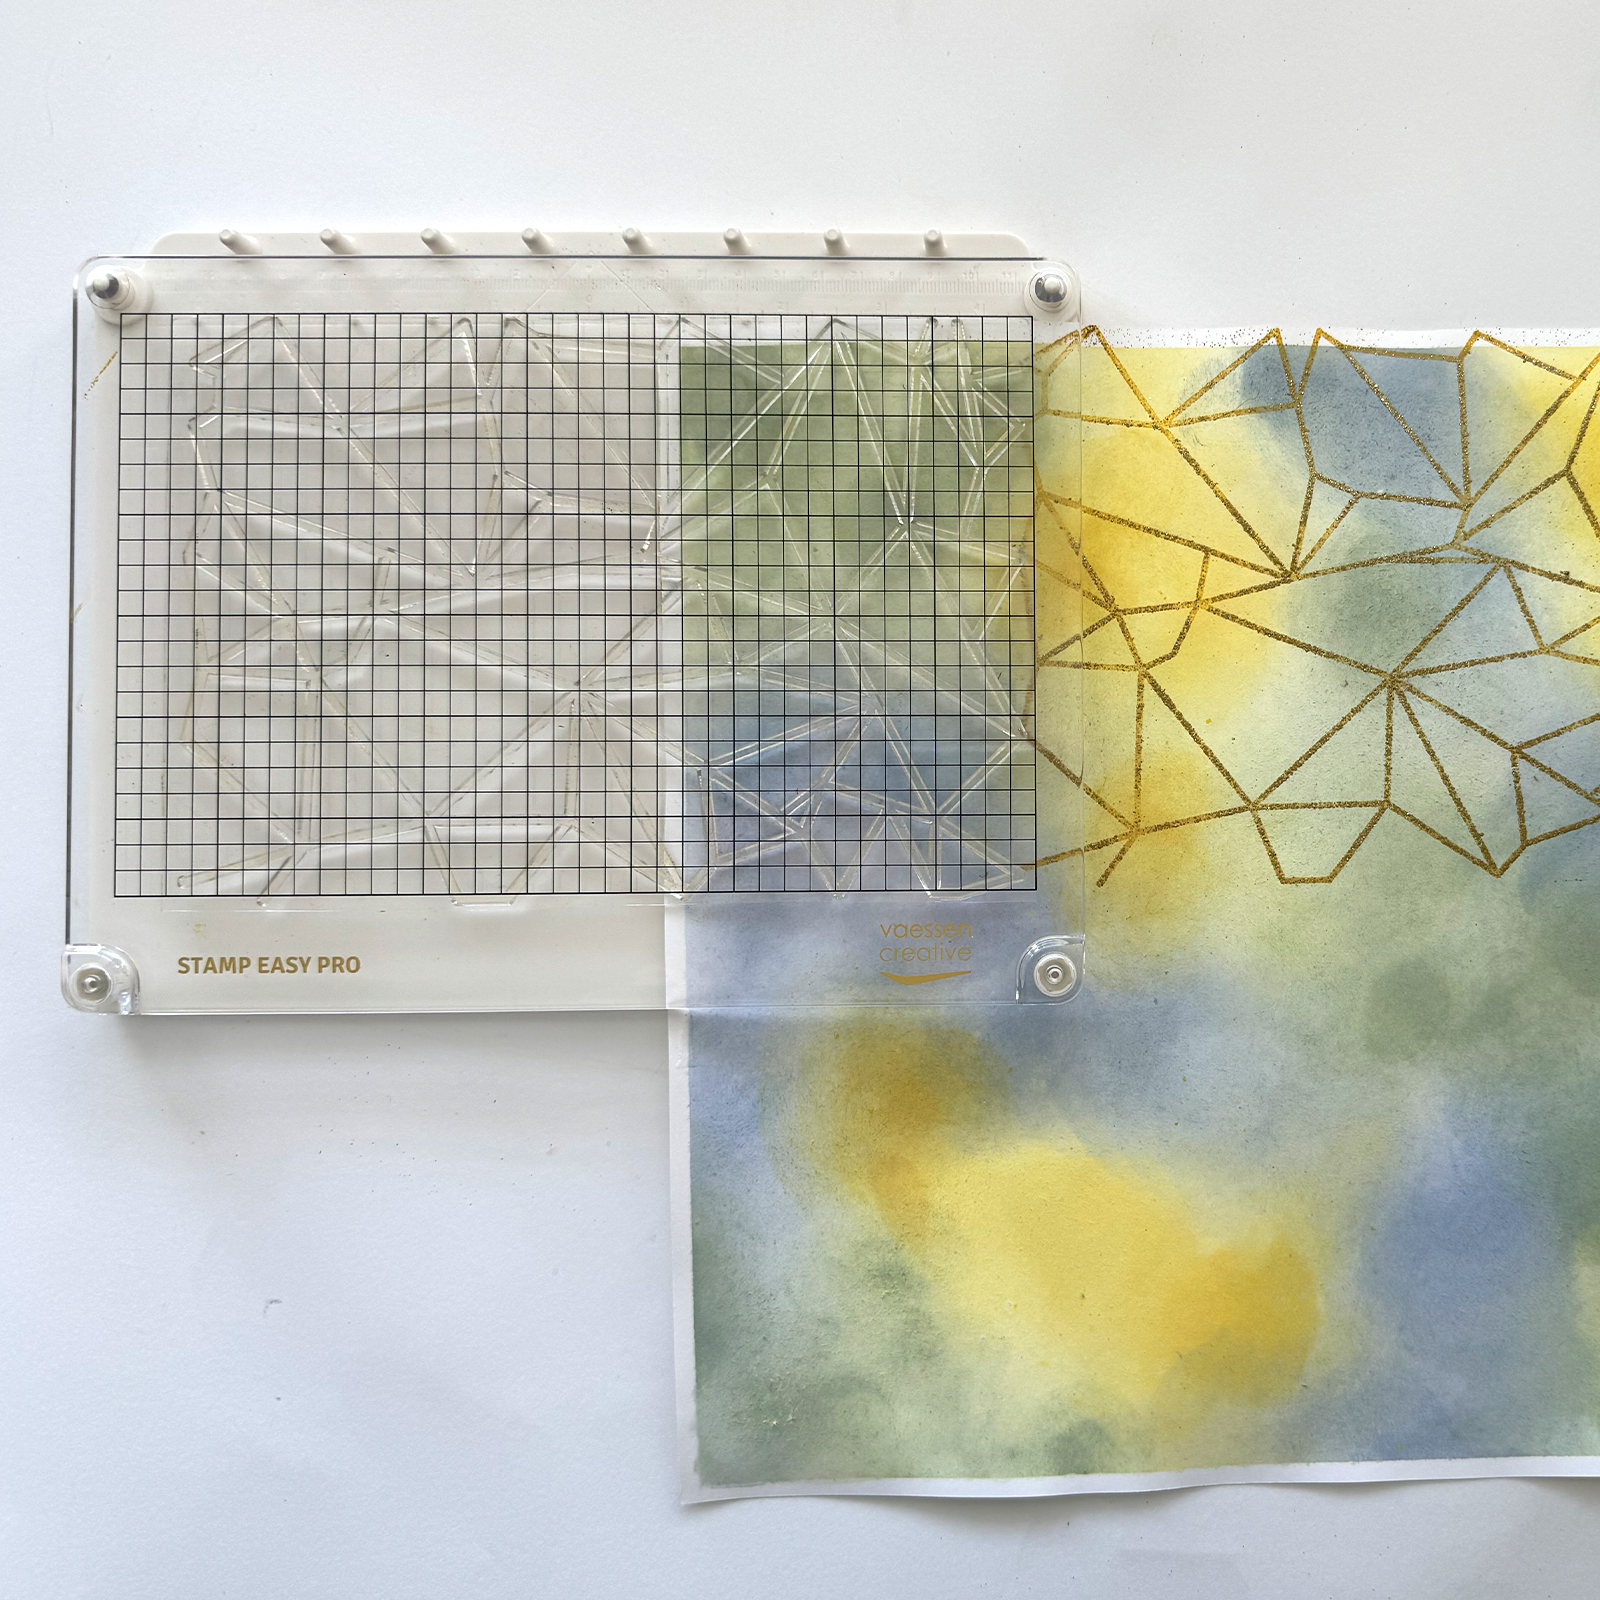
6
Rotate the stamp and the cardstock so that the pattern aligns again. Repeat steps 3 to 5 until the entire sheet is covered with the graphic pattern.
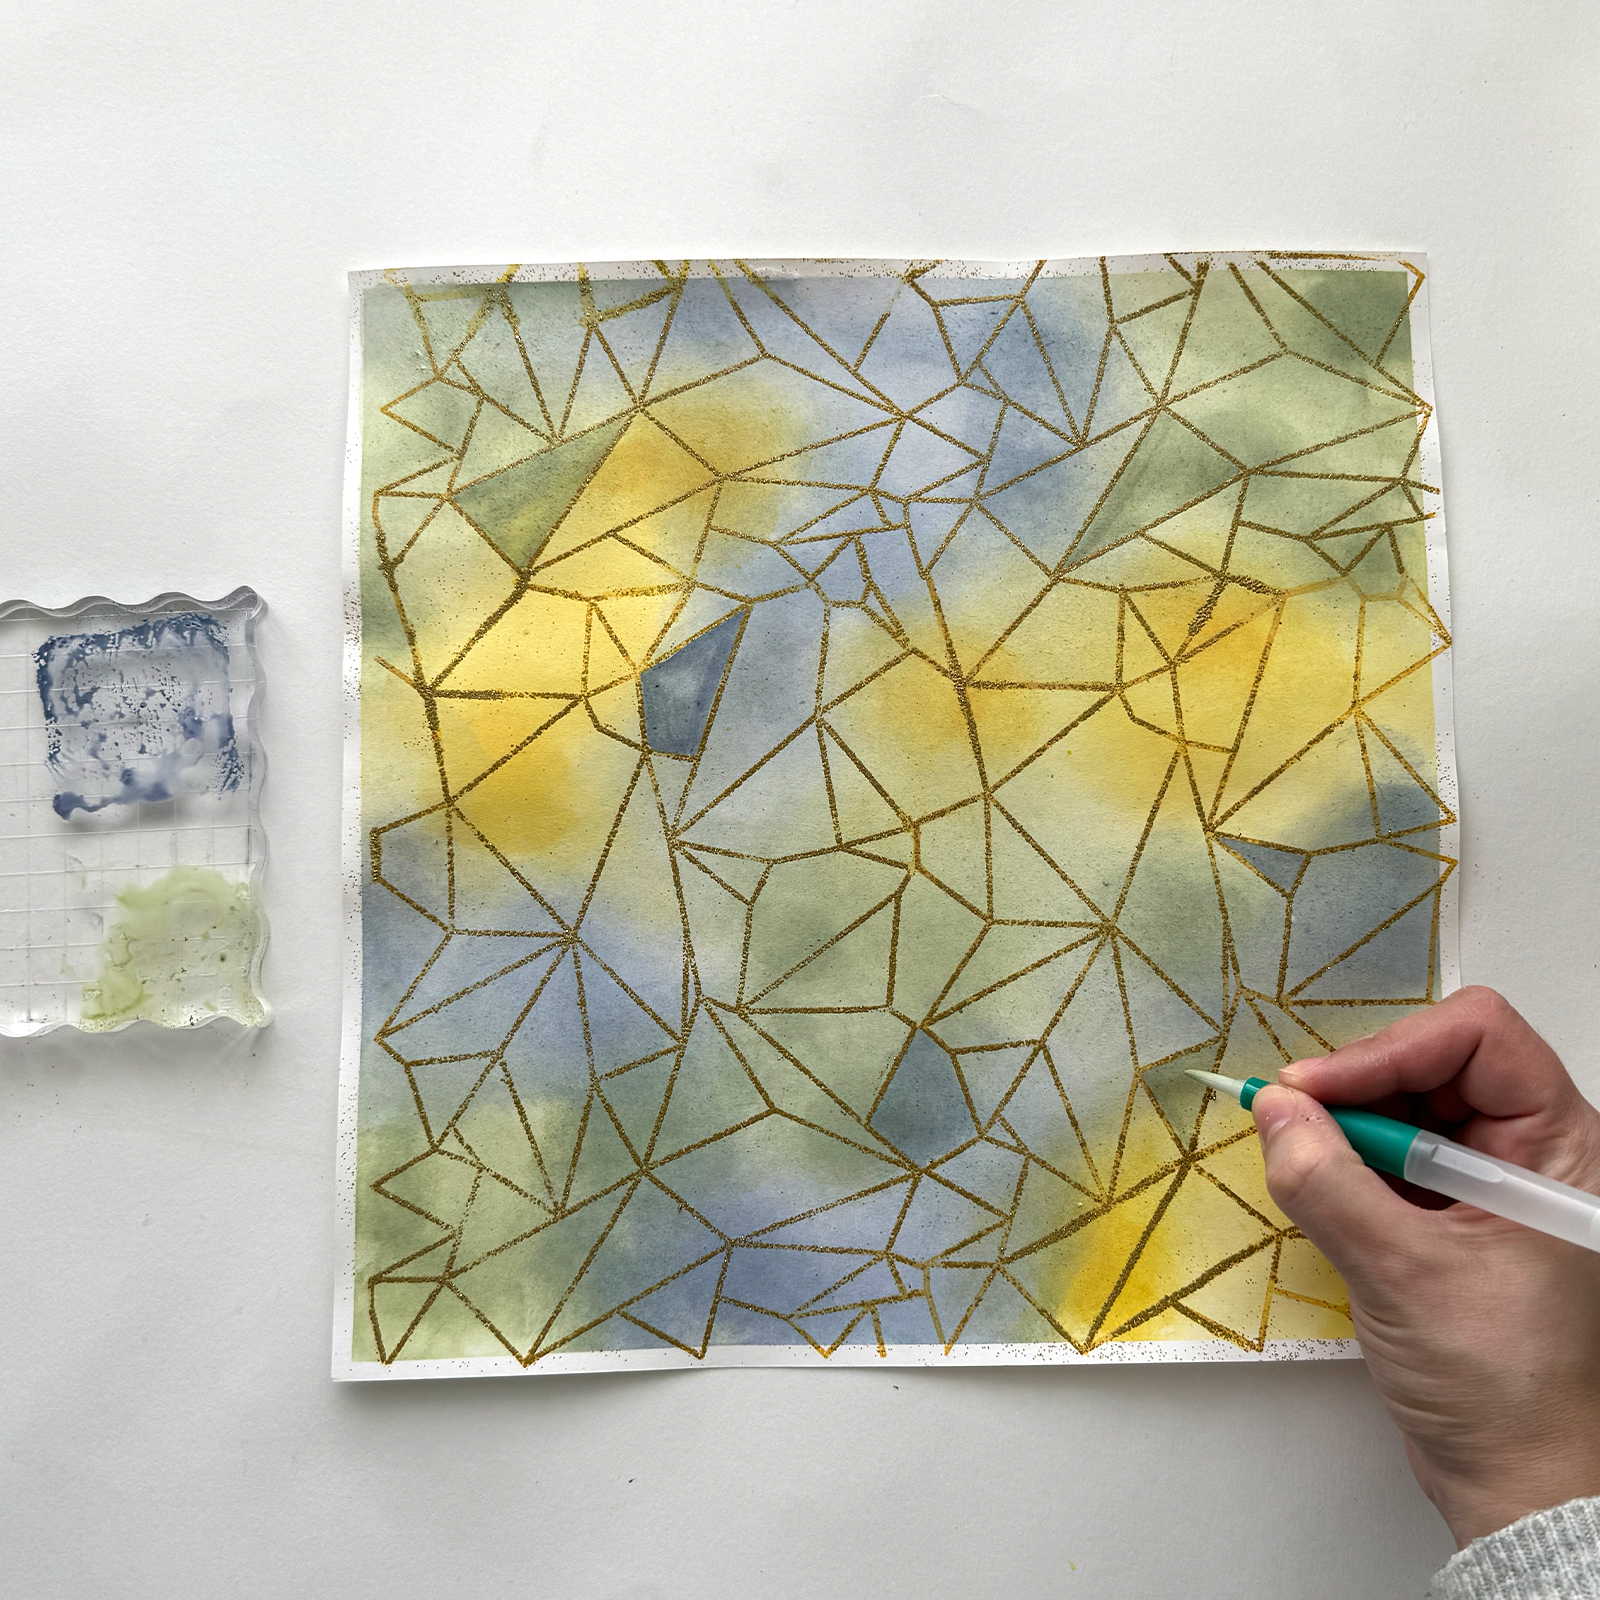
7
Use a filled water brush to pick up the ink and colour random sections of the stamped pattern.
8
Trim the white edges of your paper and then cut it to a size of 11.6 x 11.6 inches (29.5 x 29.5 cm).
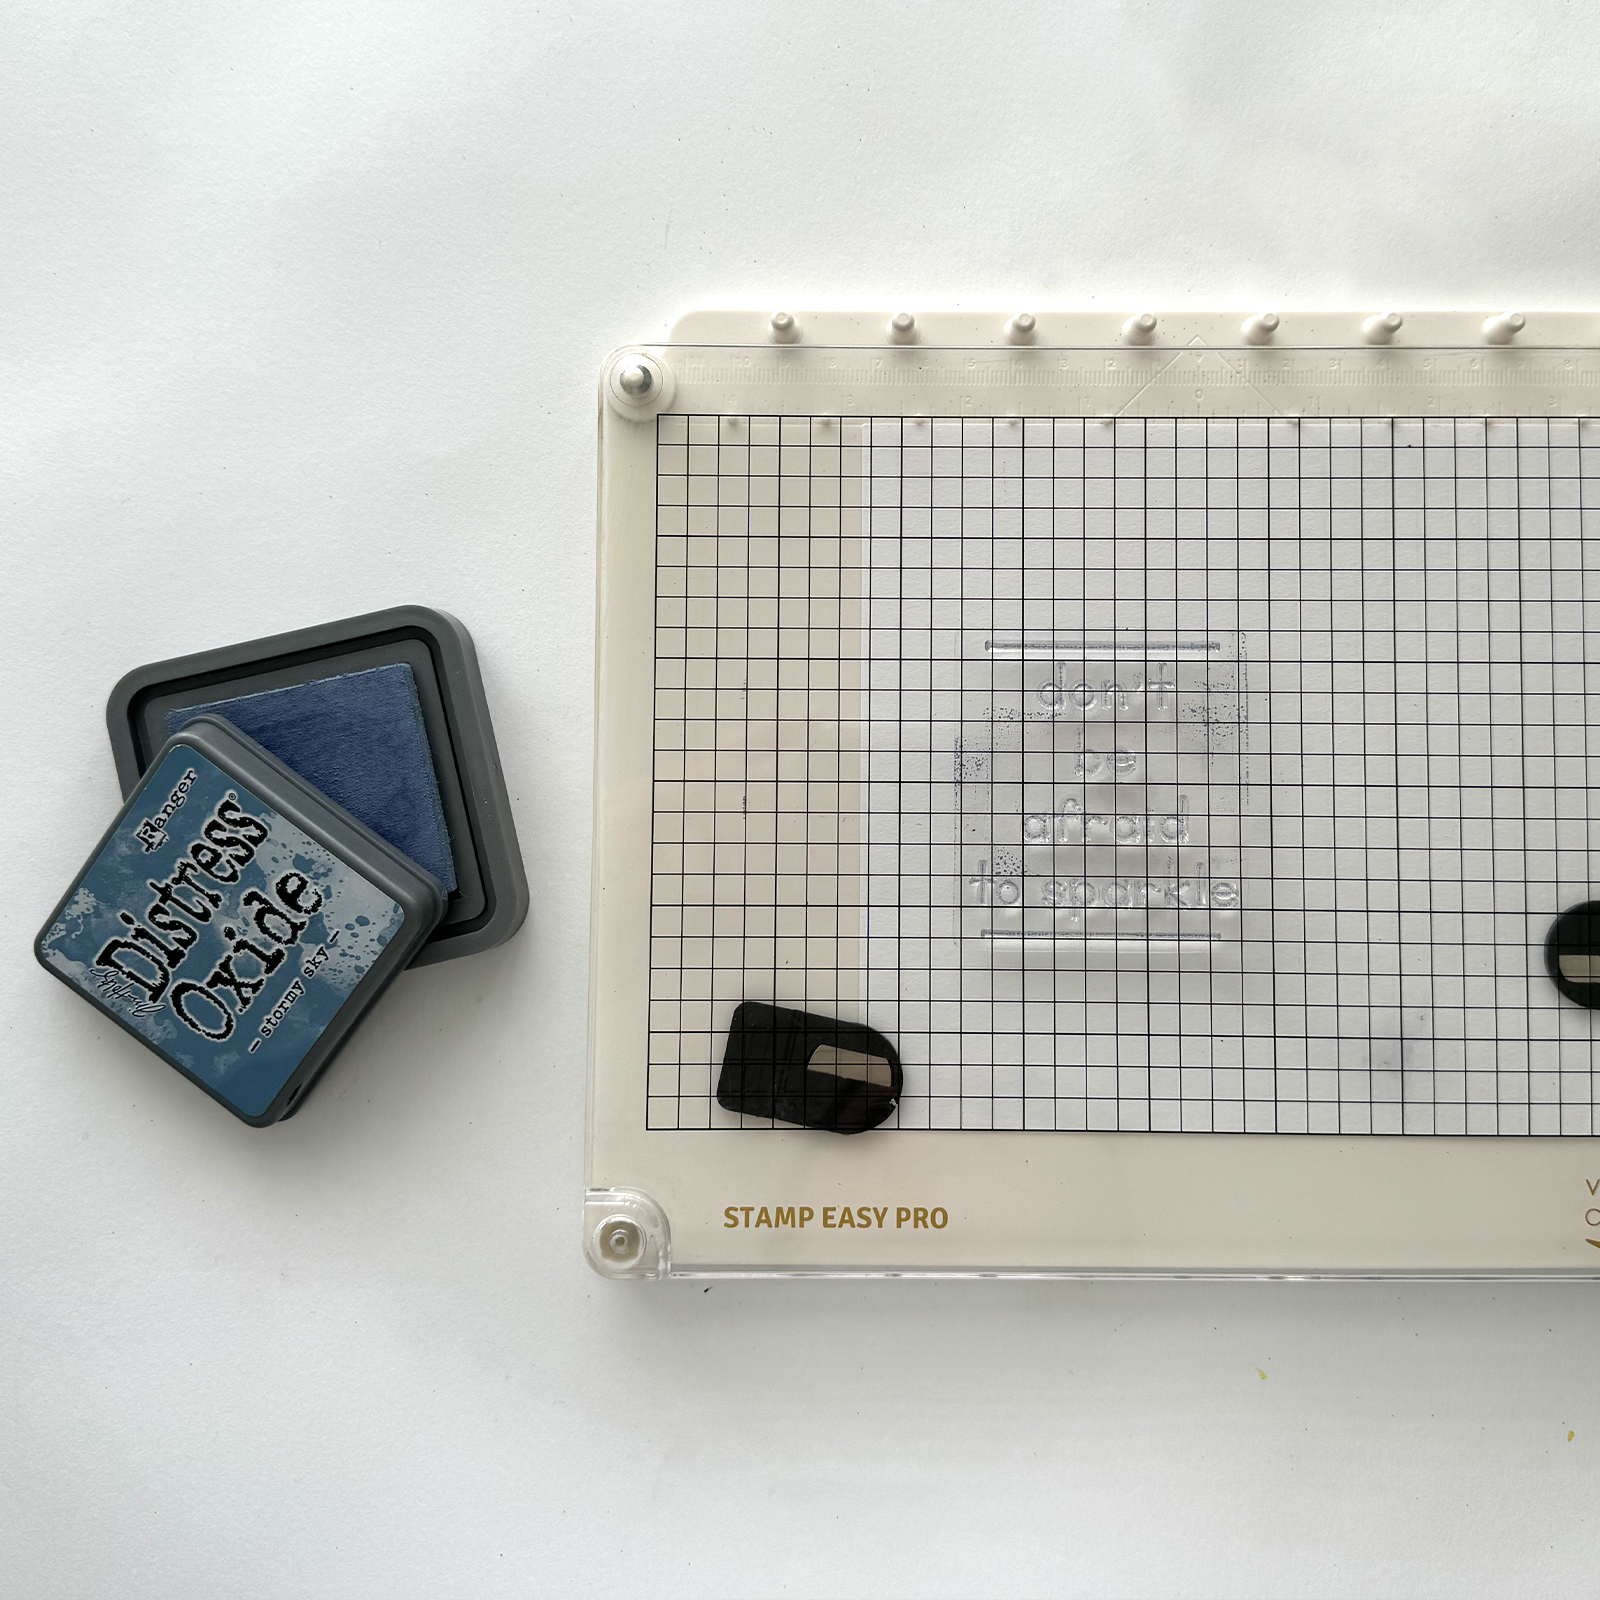
9
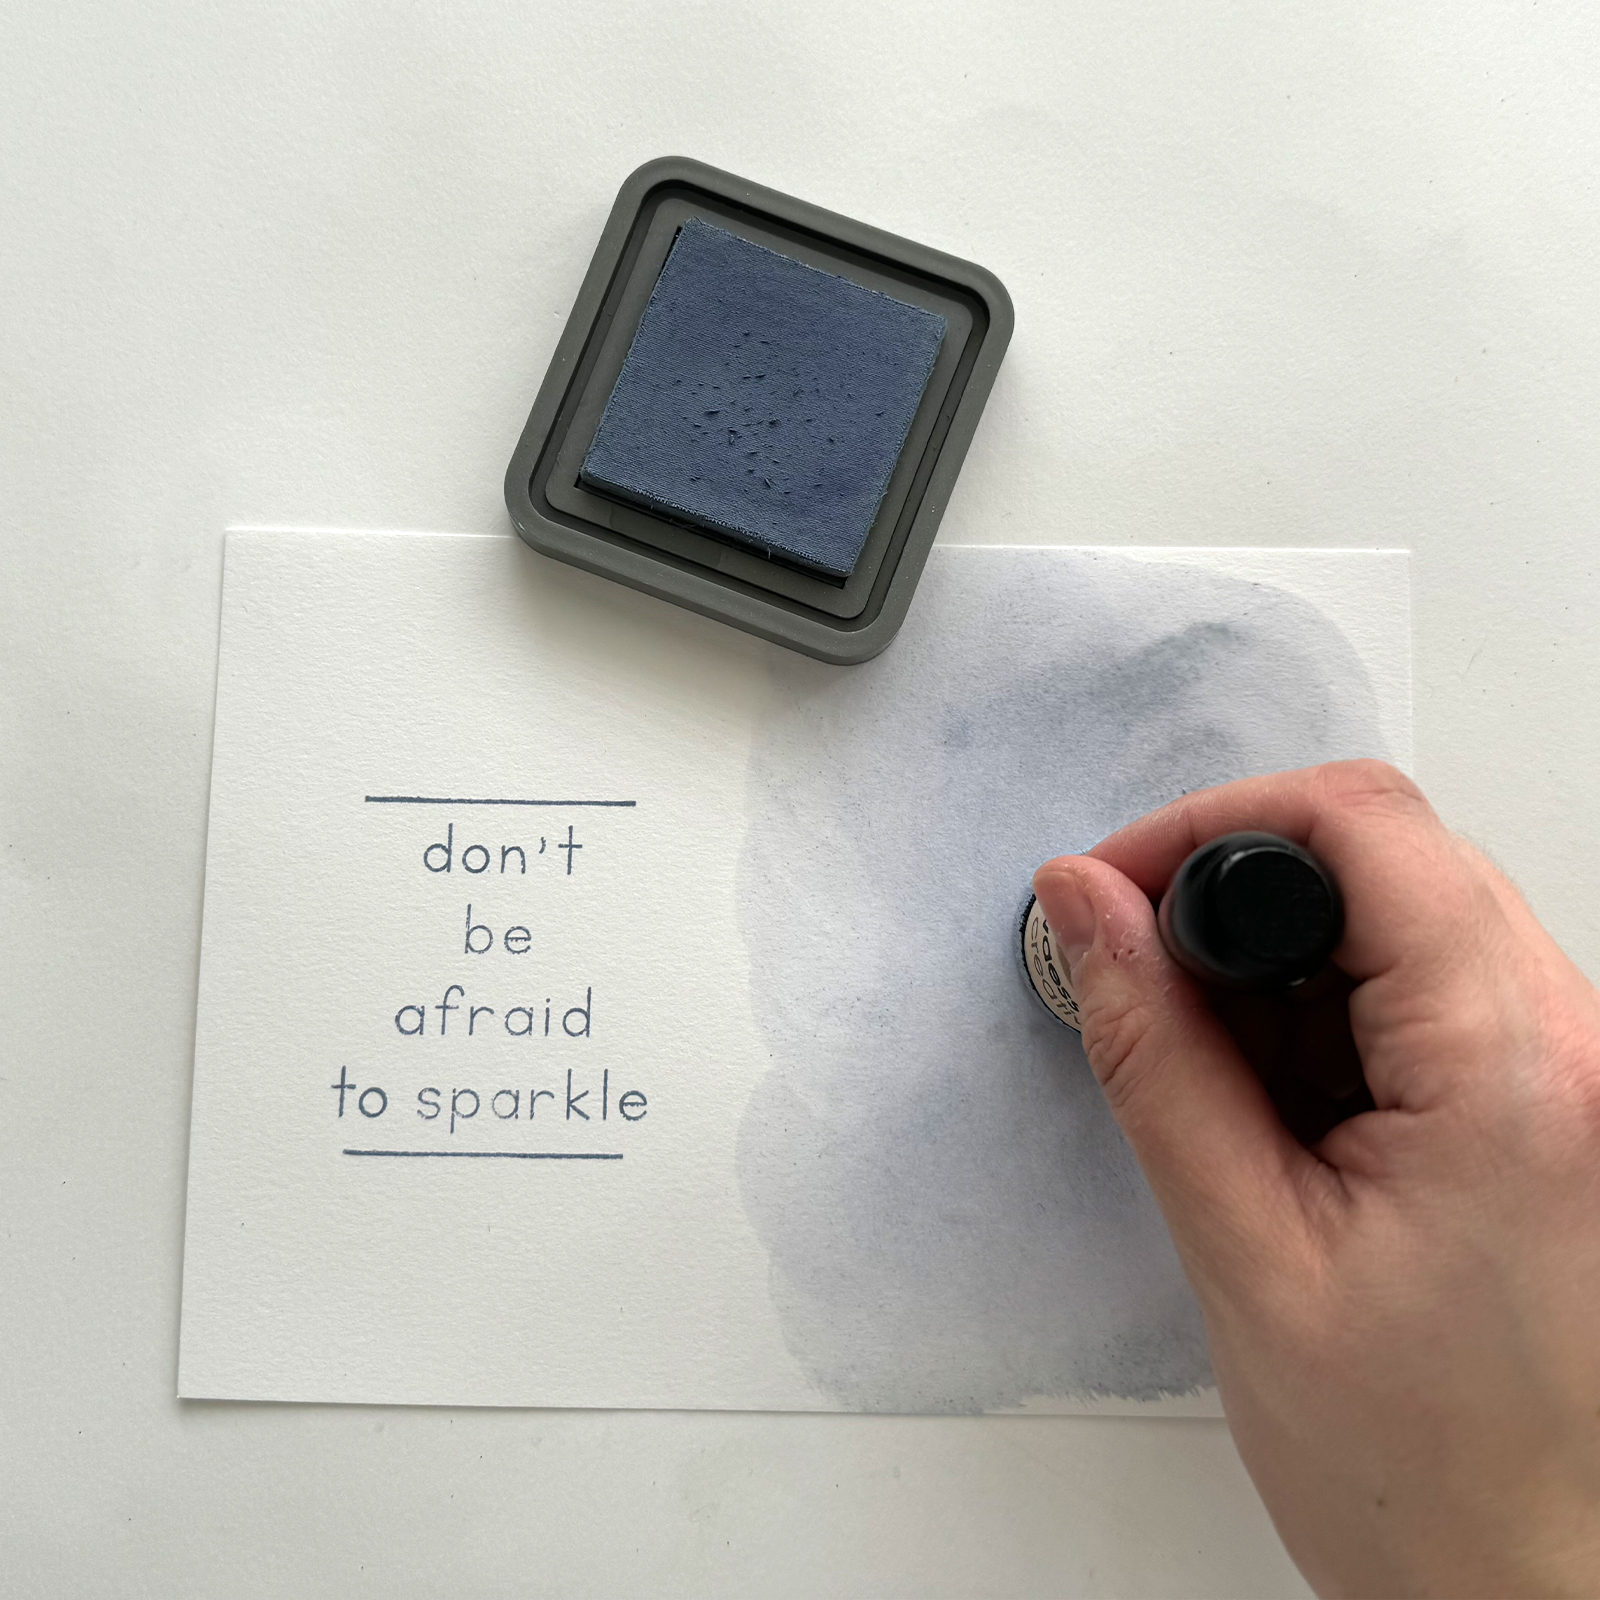
Take another sheet of white cardstock and stamp a text onto it.
10
Spray water on the other half of the paper and apply ink in a swirling motion.
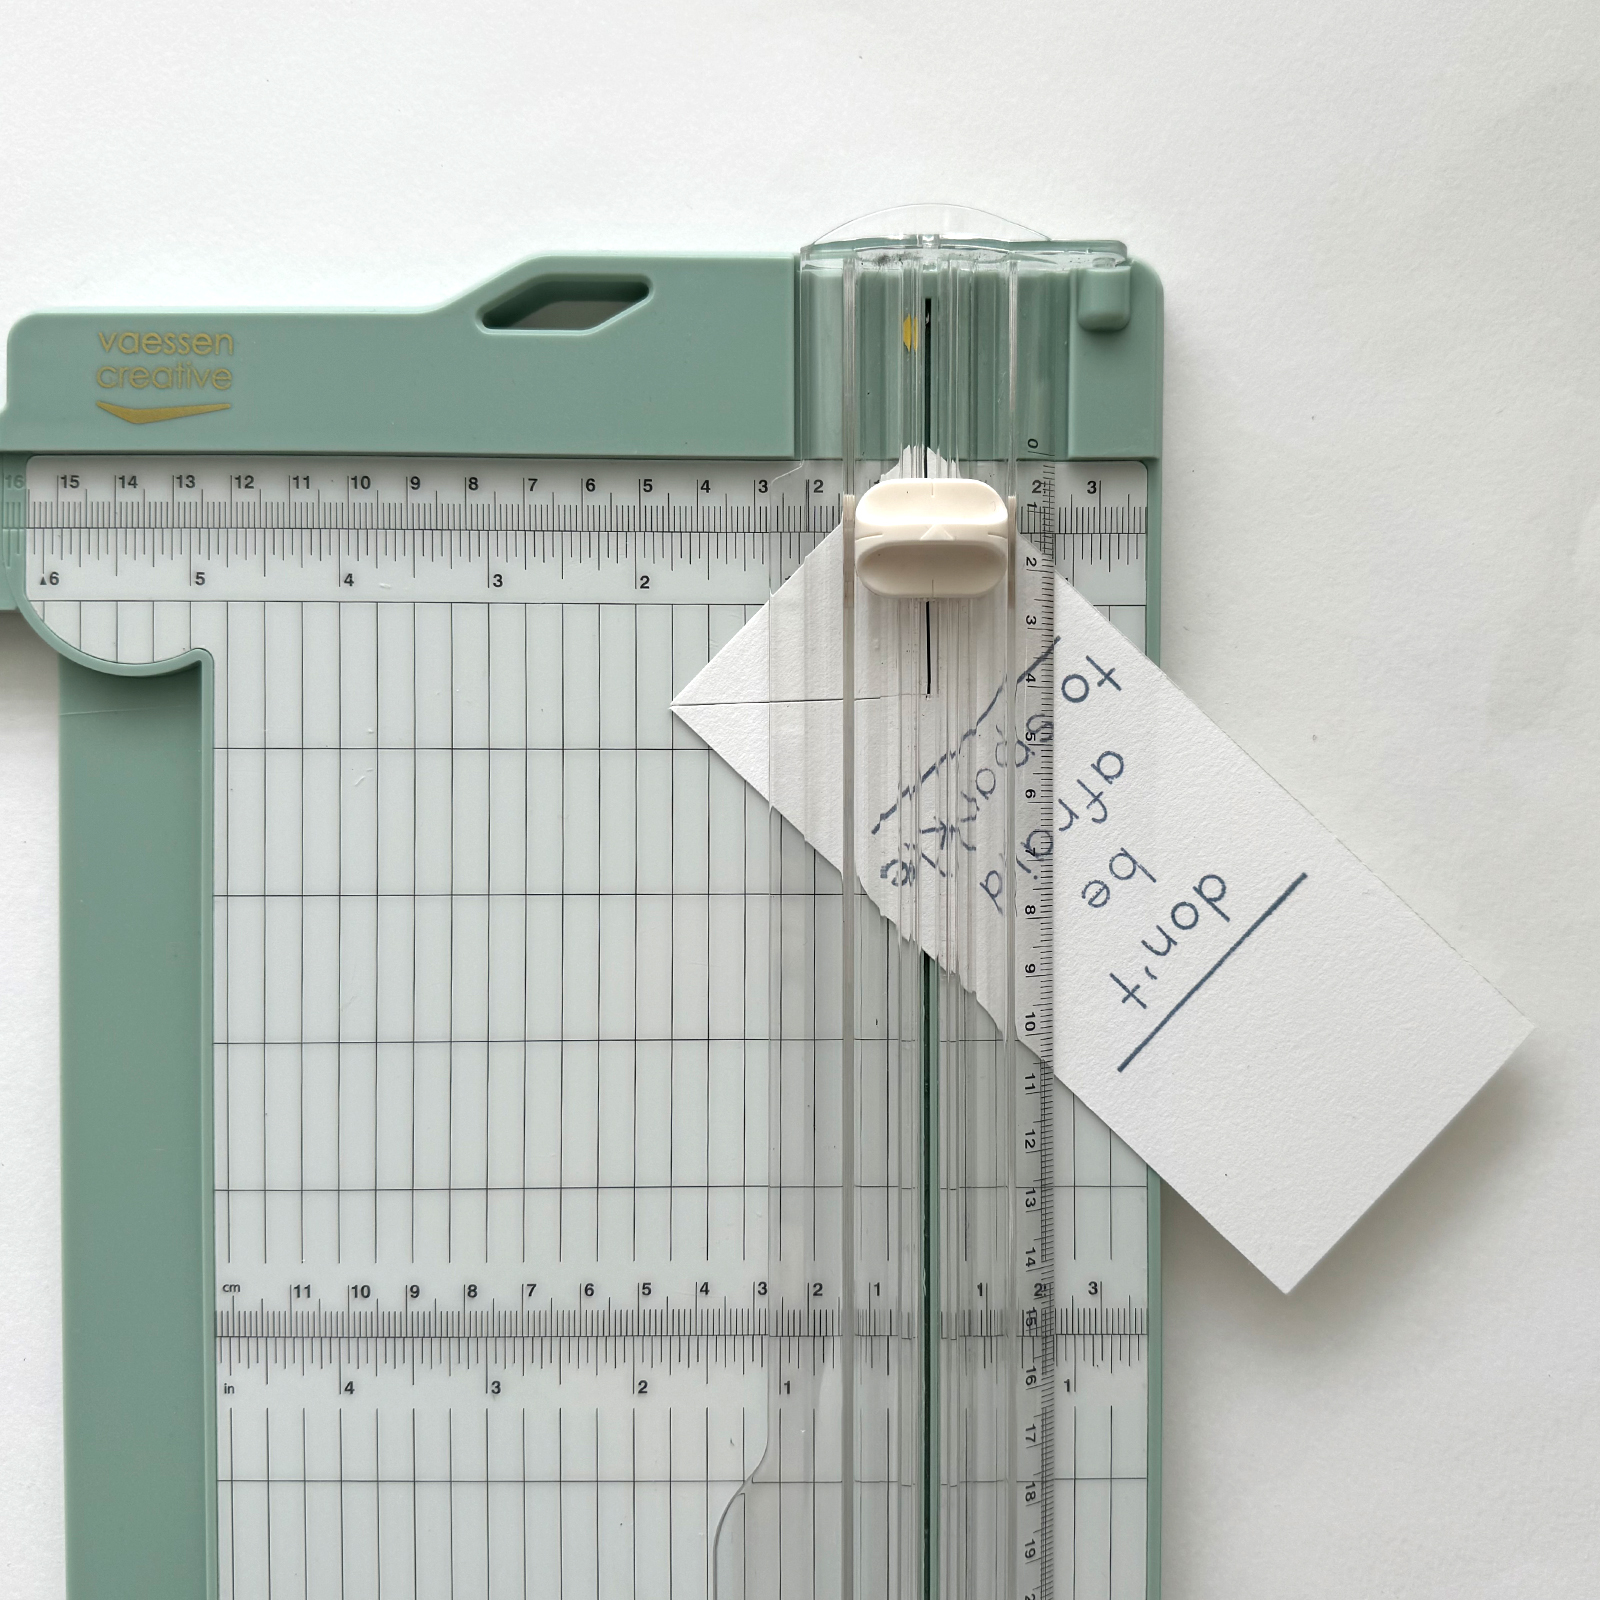
11
Now, cut two banners, one from the blended paper and one from the stamped paper. Adhere them together with foam tape and then onto the larger cardstock sheet.