‘Hi, my name is Nienke. As an illustrator I sometimes need some extra inspiration to get my creativity flowing. That’s why today I’m going to show you step by step how to make this little box of creative inspiration cards! Let these cards inspire your next creative project with the different prompts that are written on them, like colours, art materials, subjects and more.’
‘To make this box, we will use the stationery items I developed with Vaessen Creative. You can download the free template for this box and the cards on my website
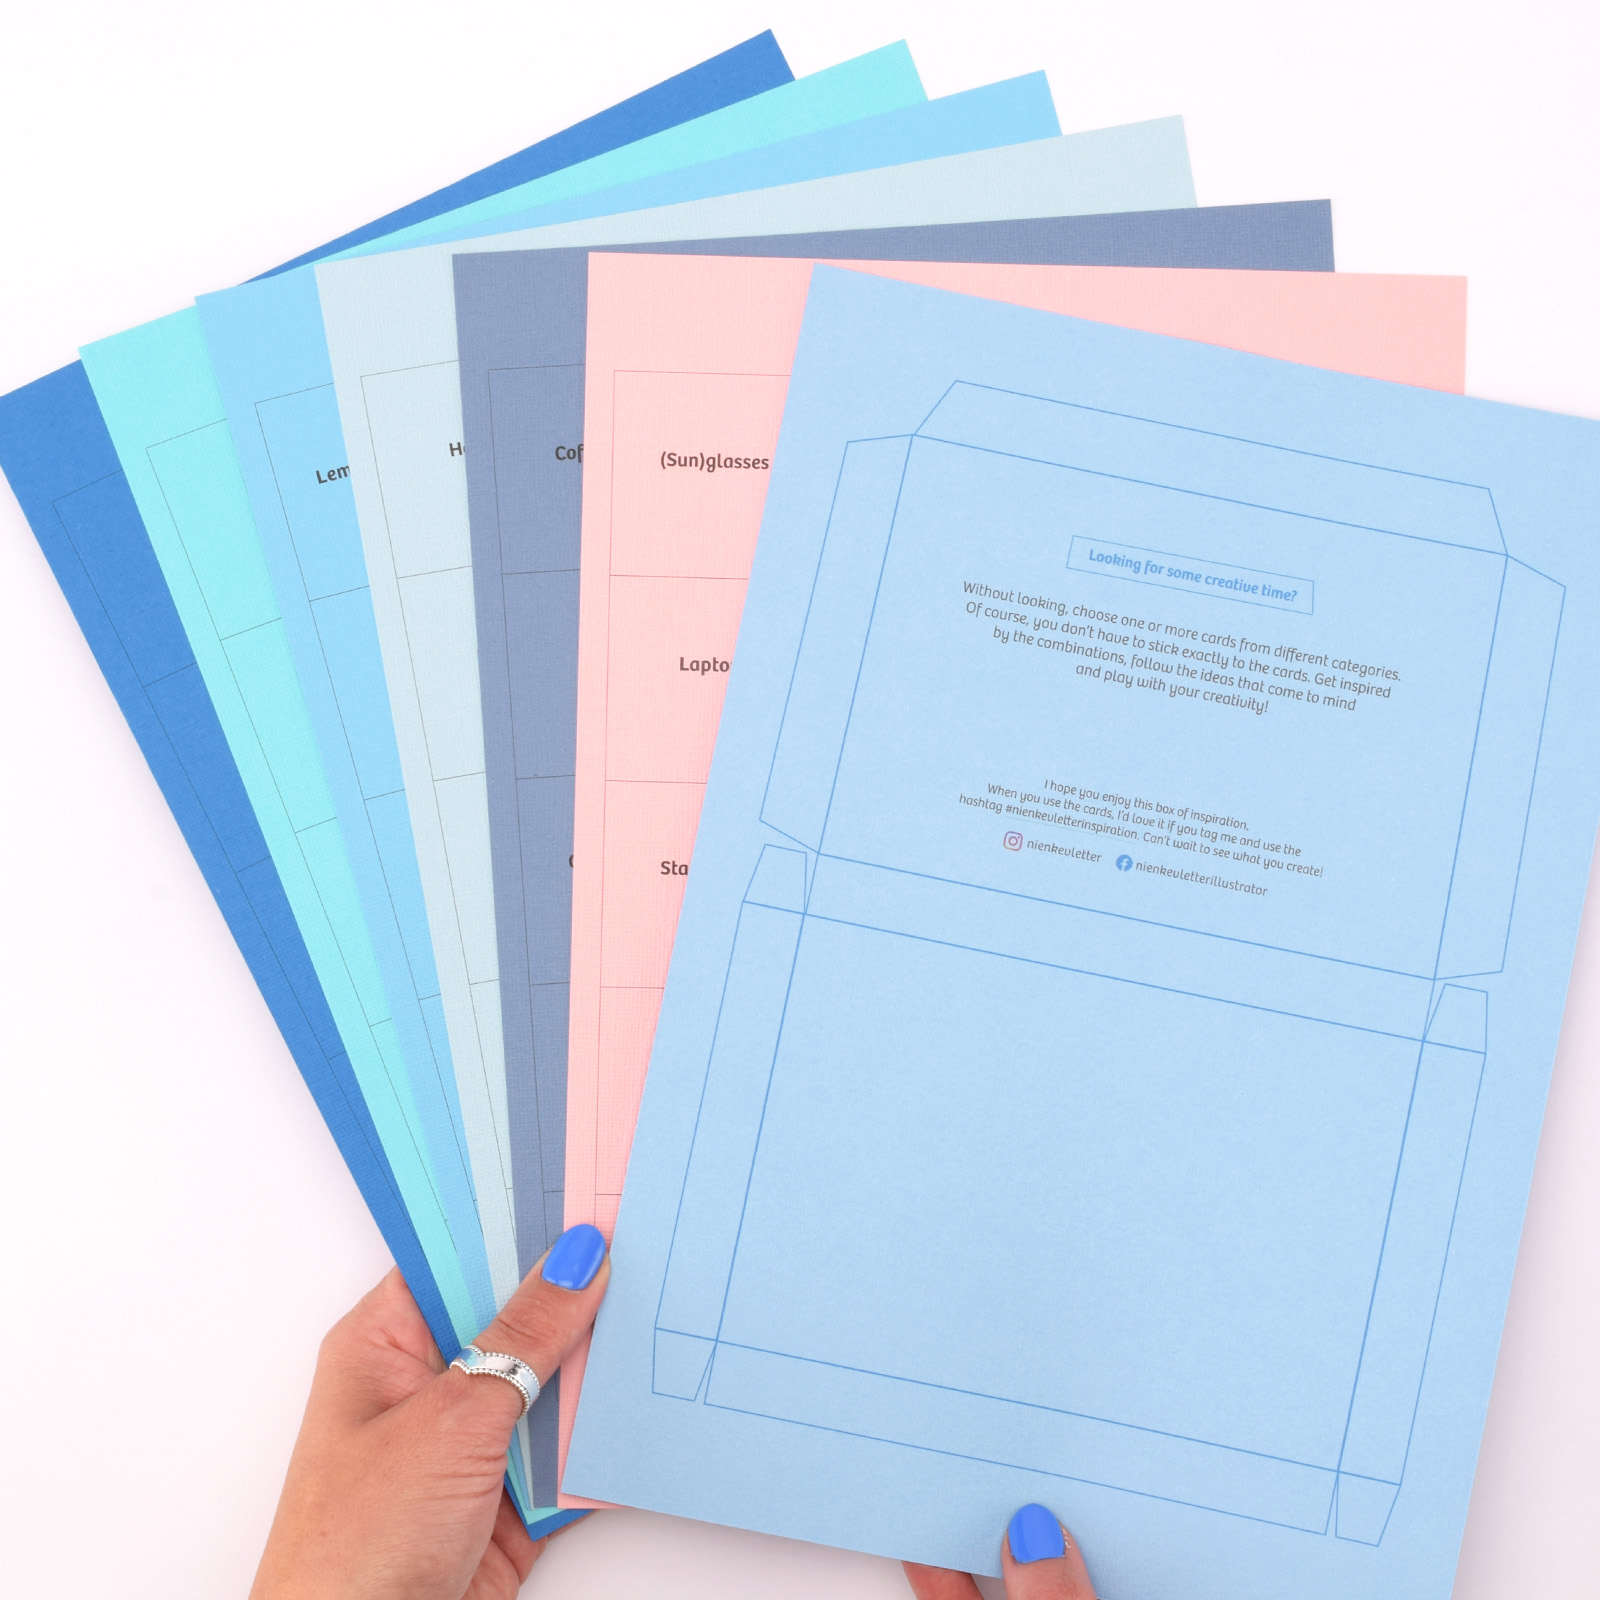
If you like the template for the box, you can print it on the smooth side of the A4 sheet – that way, the nice structure of the paper will be on the outside of the box. Print the cards on the structured side of the paper. I chose these 6 colours, but of course you can choose any colours you like. If you don’t have a printer, don’t worry! You can also use a lightbox or transfer paper to trace the template with a pencil. Design your own 5 x 5 cm cards with hand lettering or stamps.
2
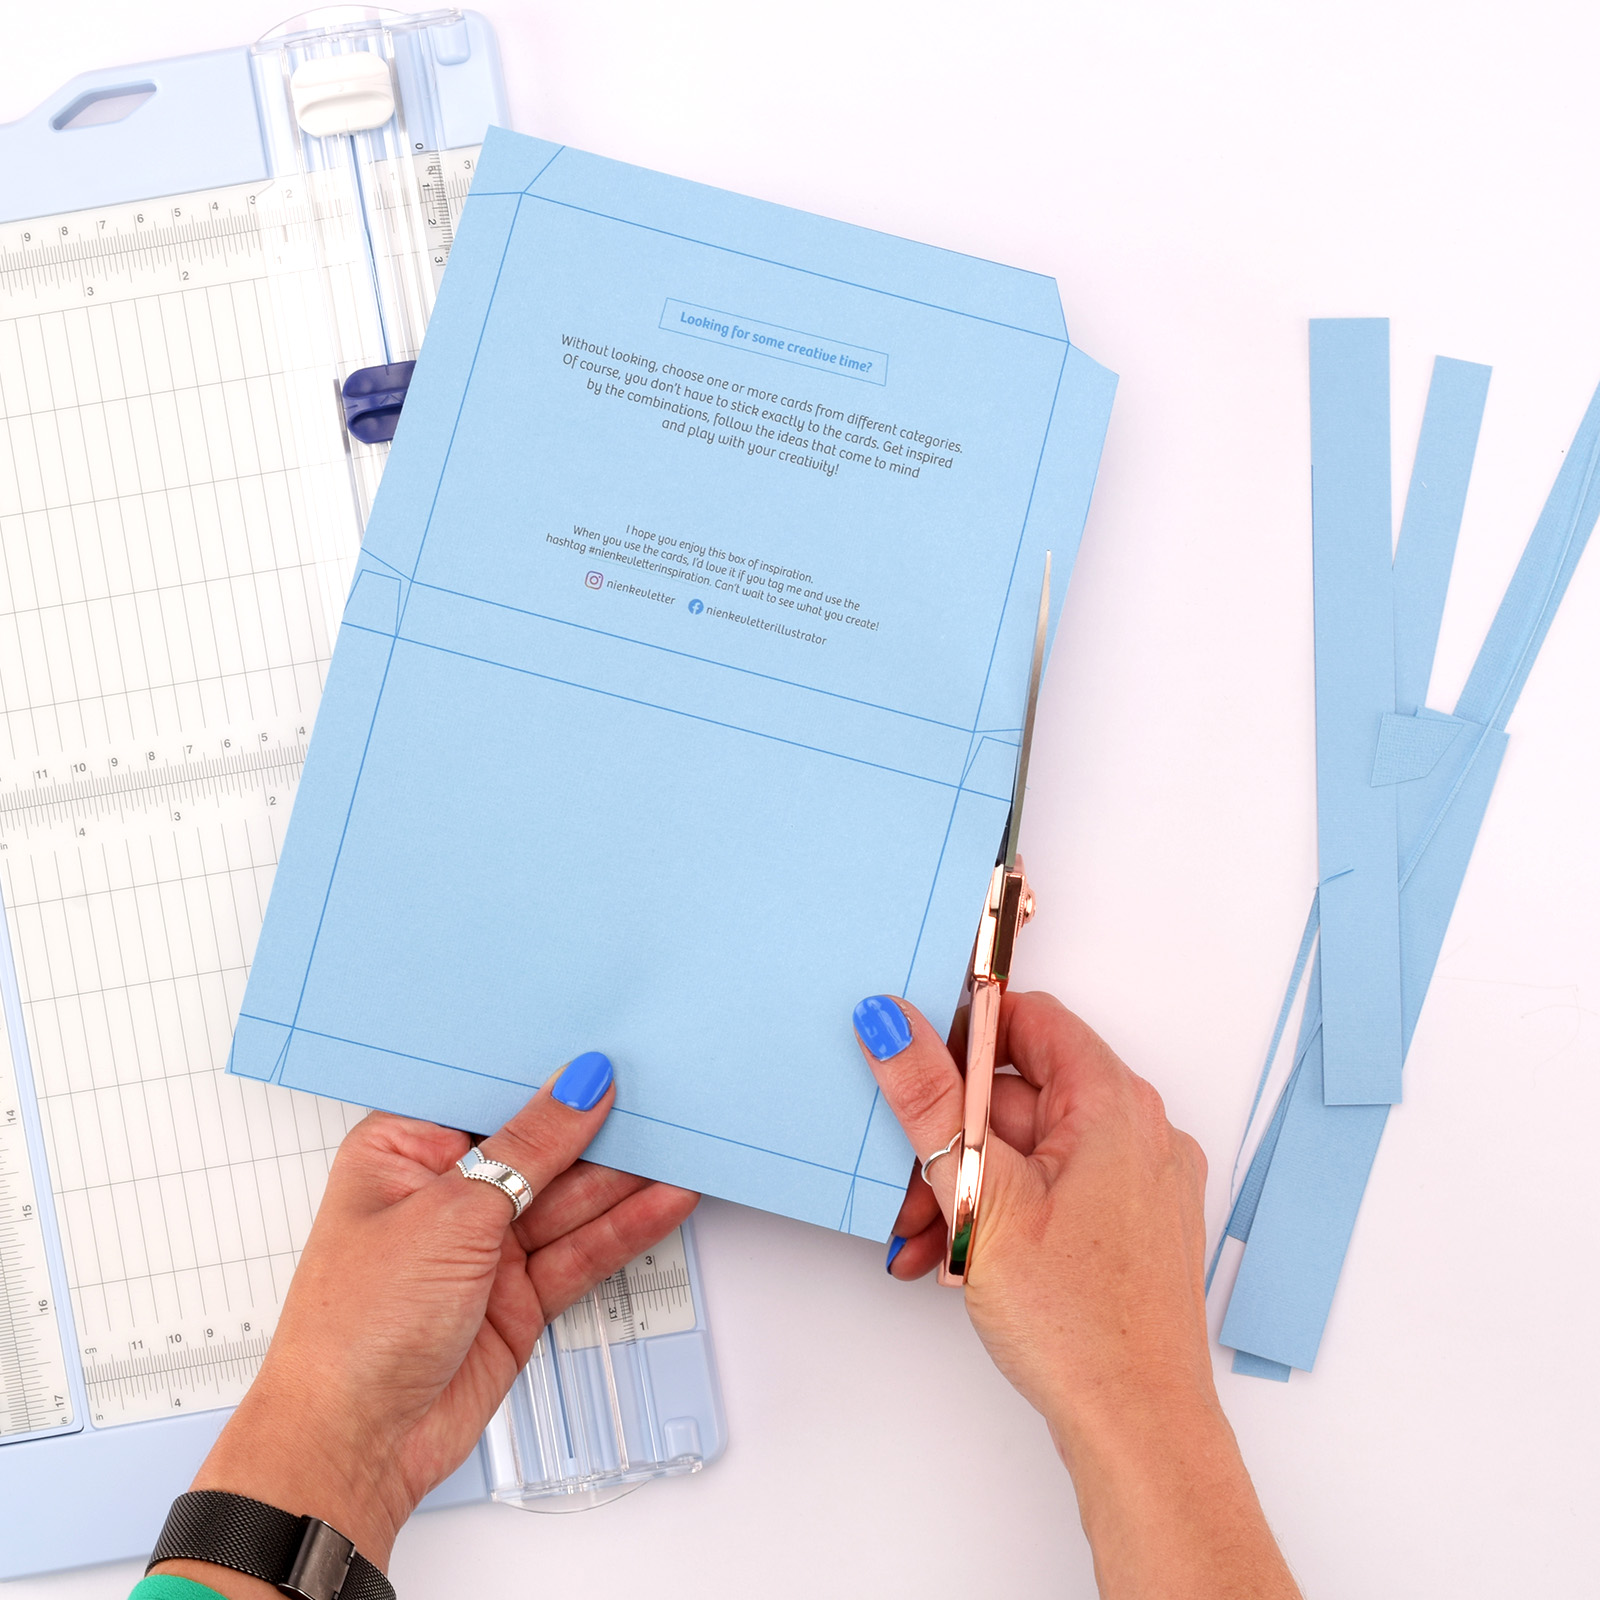
Place the sheet that you will use for the box on the paper cutter. Cut along all the outer lines with the dark blue blade. Note that the two top lines bend slightly inwards. After you’ve cut all the outer lines, you can cut out the smaller pieces using a pair of scissors.
3
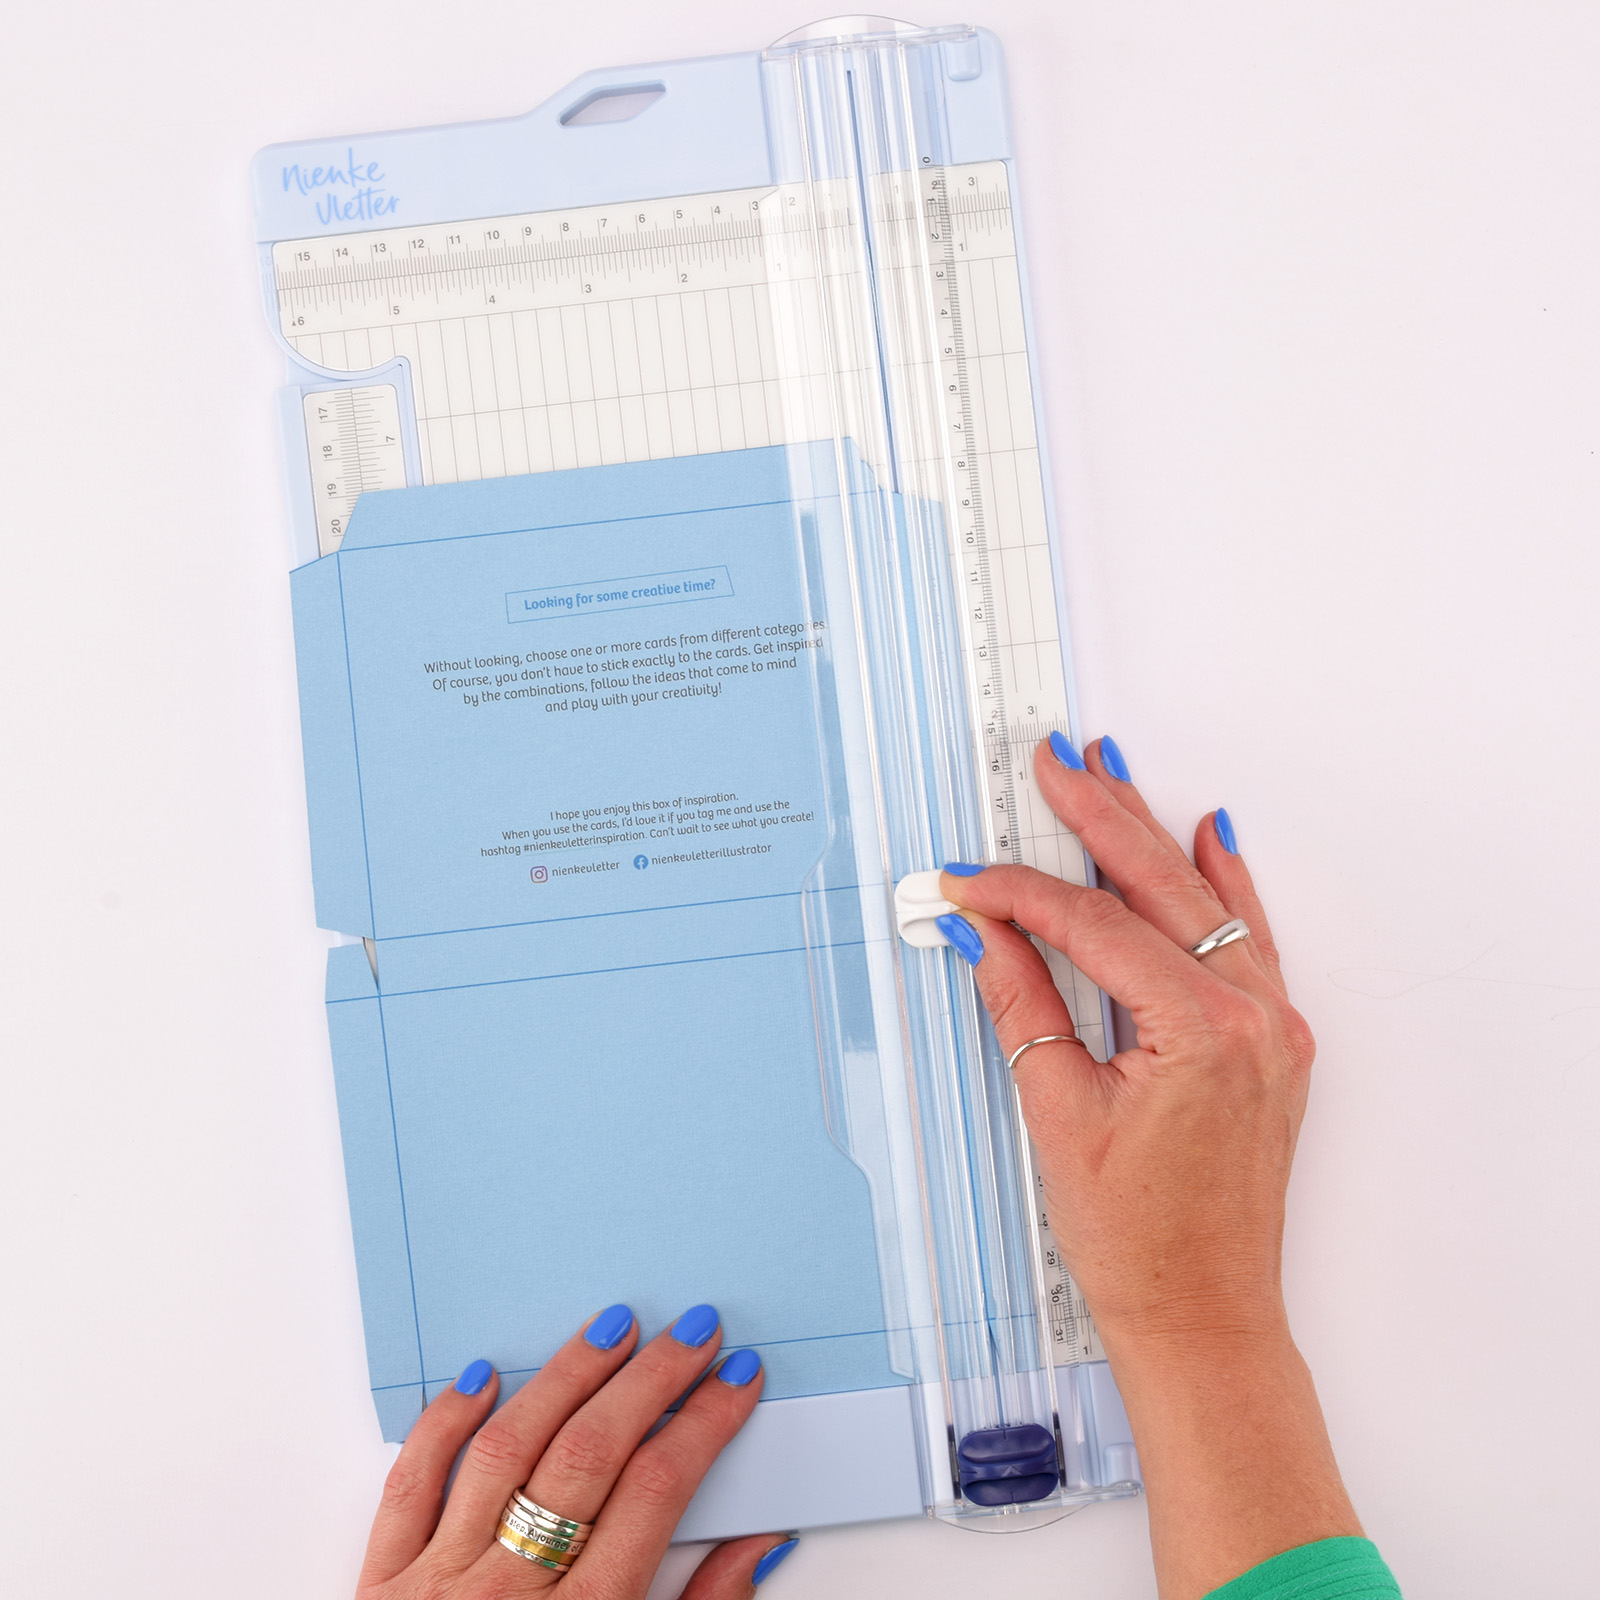
Now switch to the scoring tool (with the white cap) and firmly slide it over all the inner lines.
4
Fold the template inwards along all the creases.
5
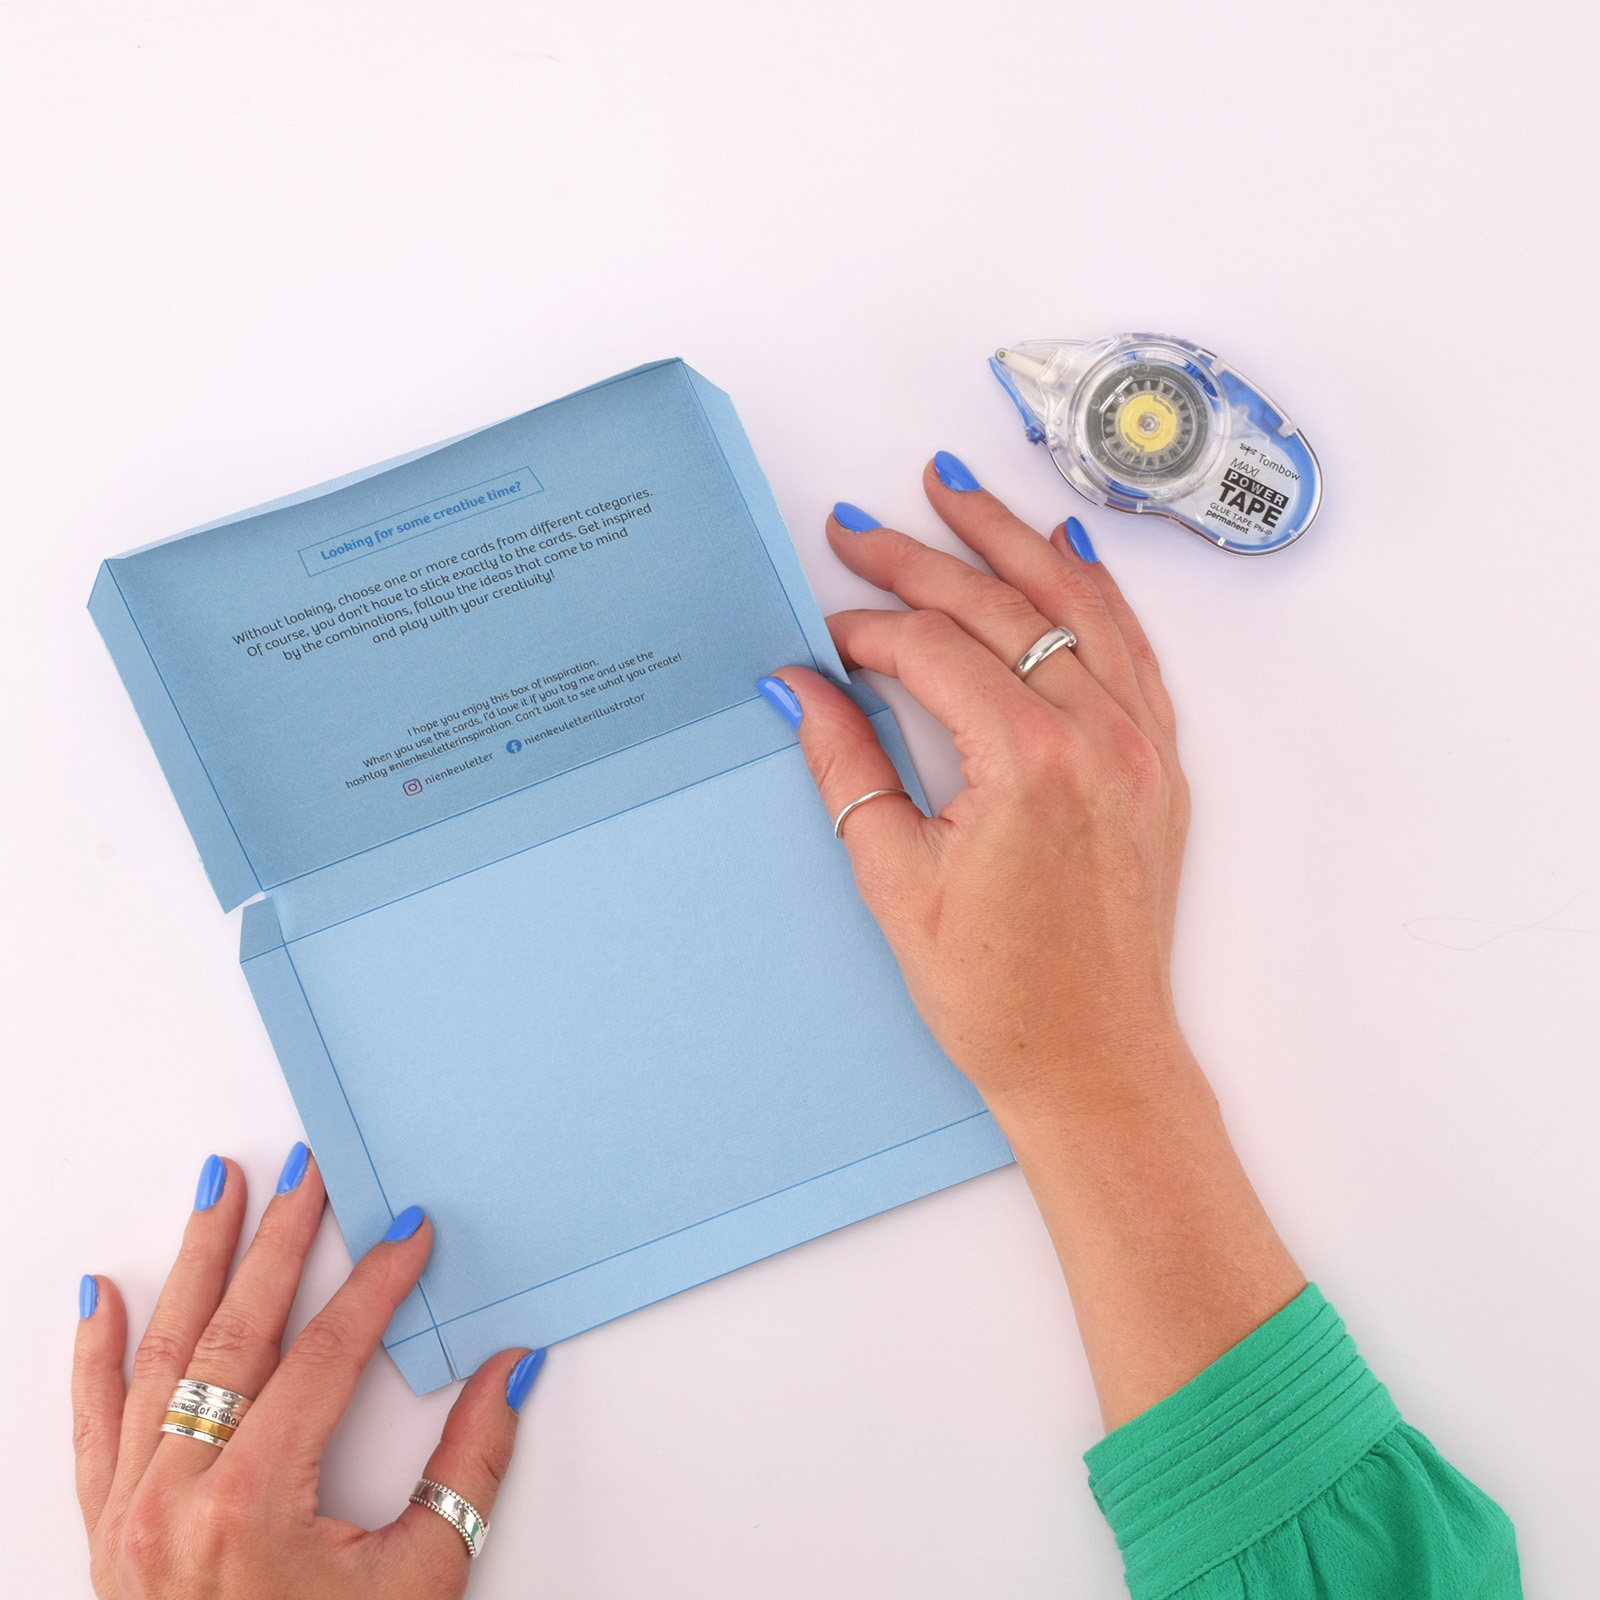
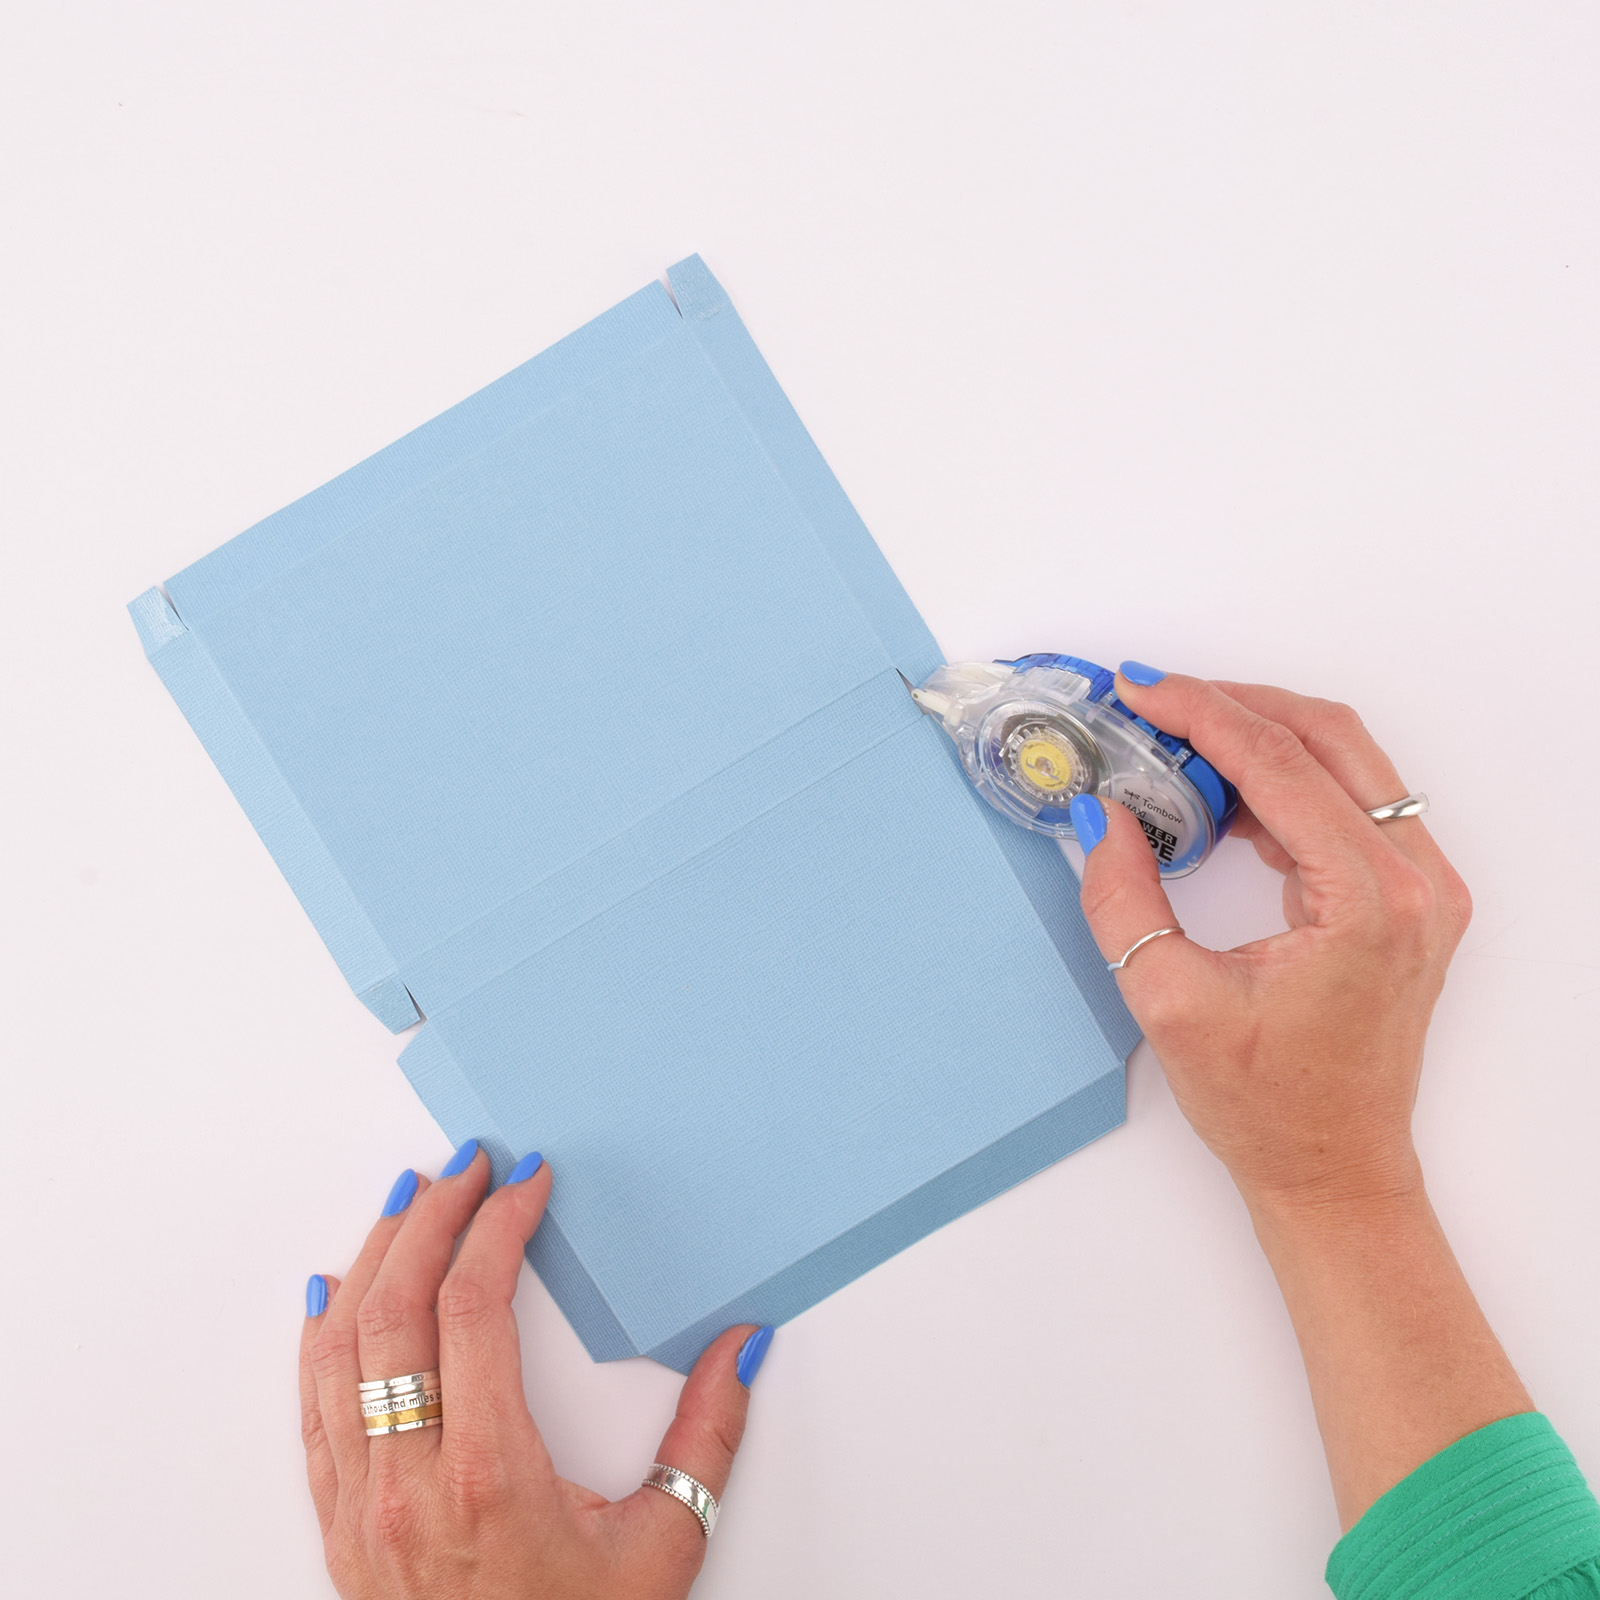
Turn the paper around and put glue on the 4 small corner pieces.
6
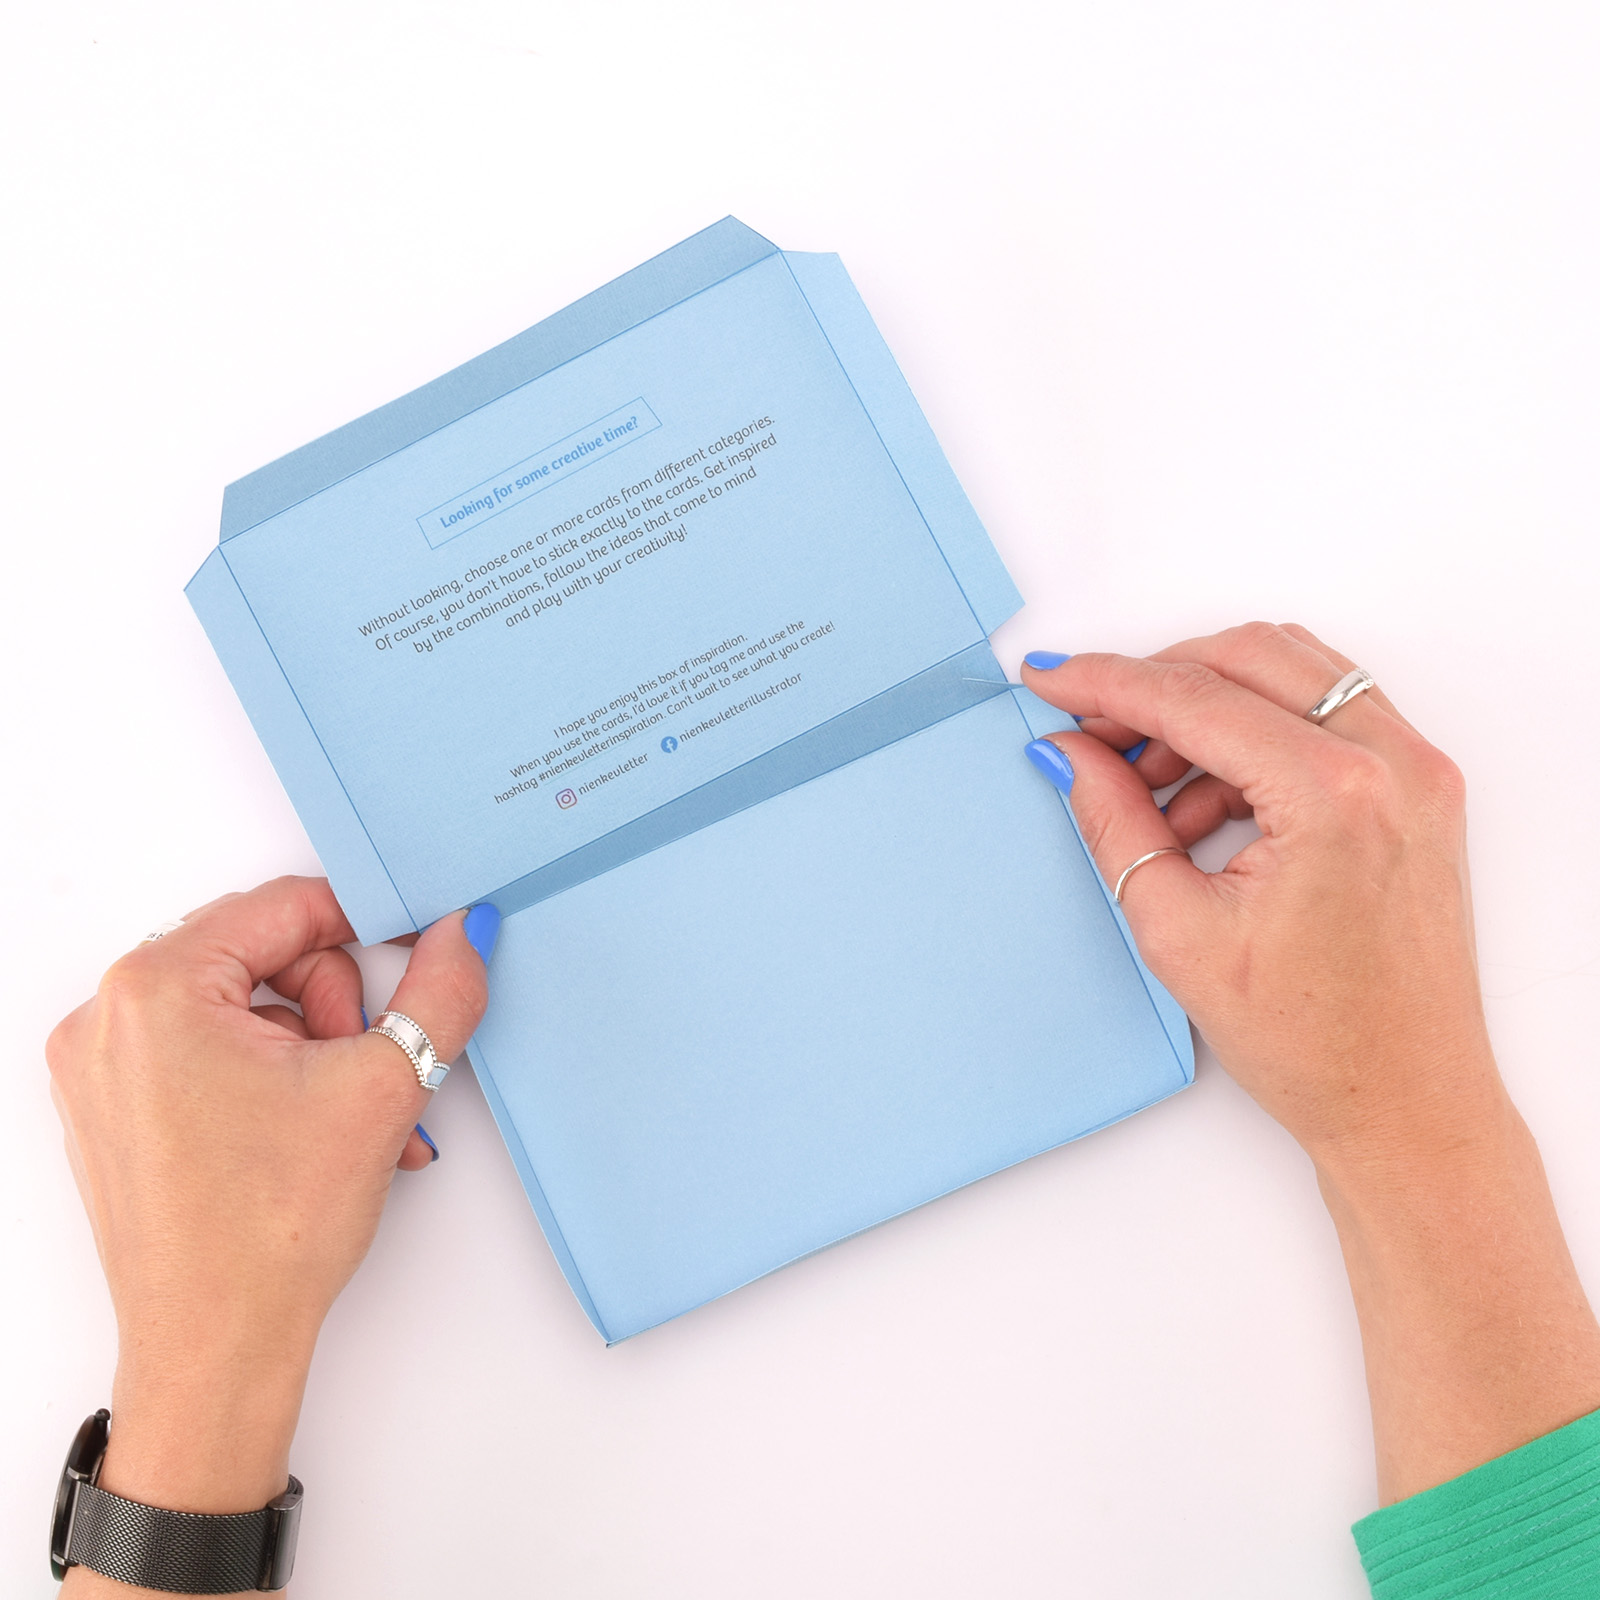
Turn the paper back around, fold the sticky corners and glue them together. Firmly press all parts together. Fold the top inwards and ta-daa, your box is done! If you want to, you can decorate it with illustrations, hand lettering, paper collage or stickers.
7
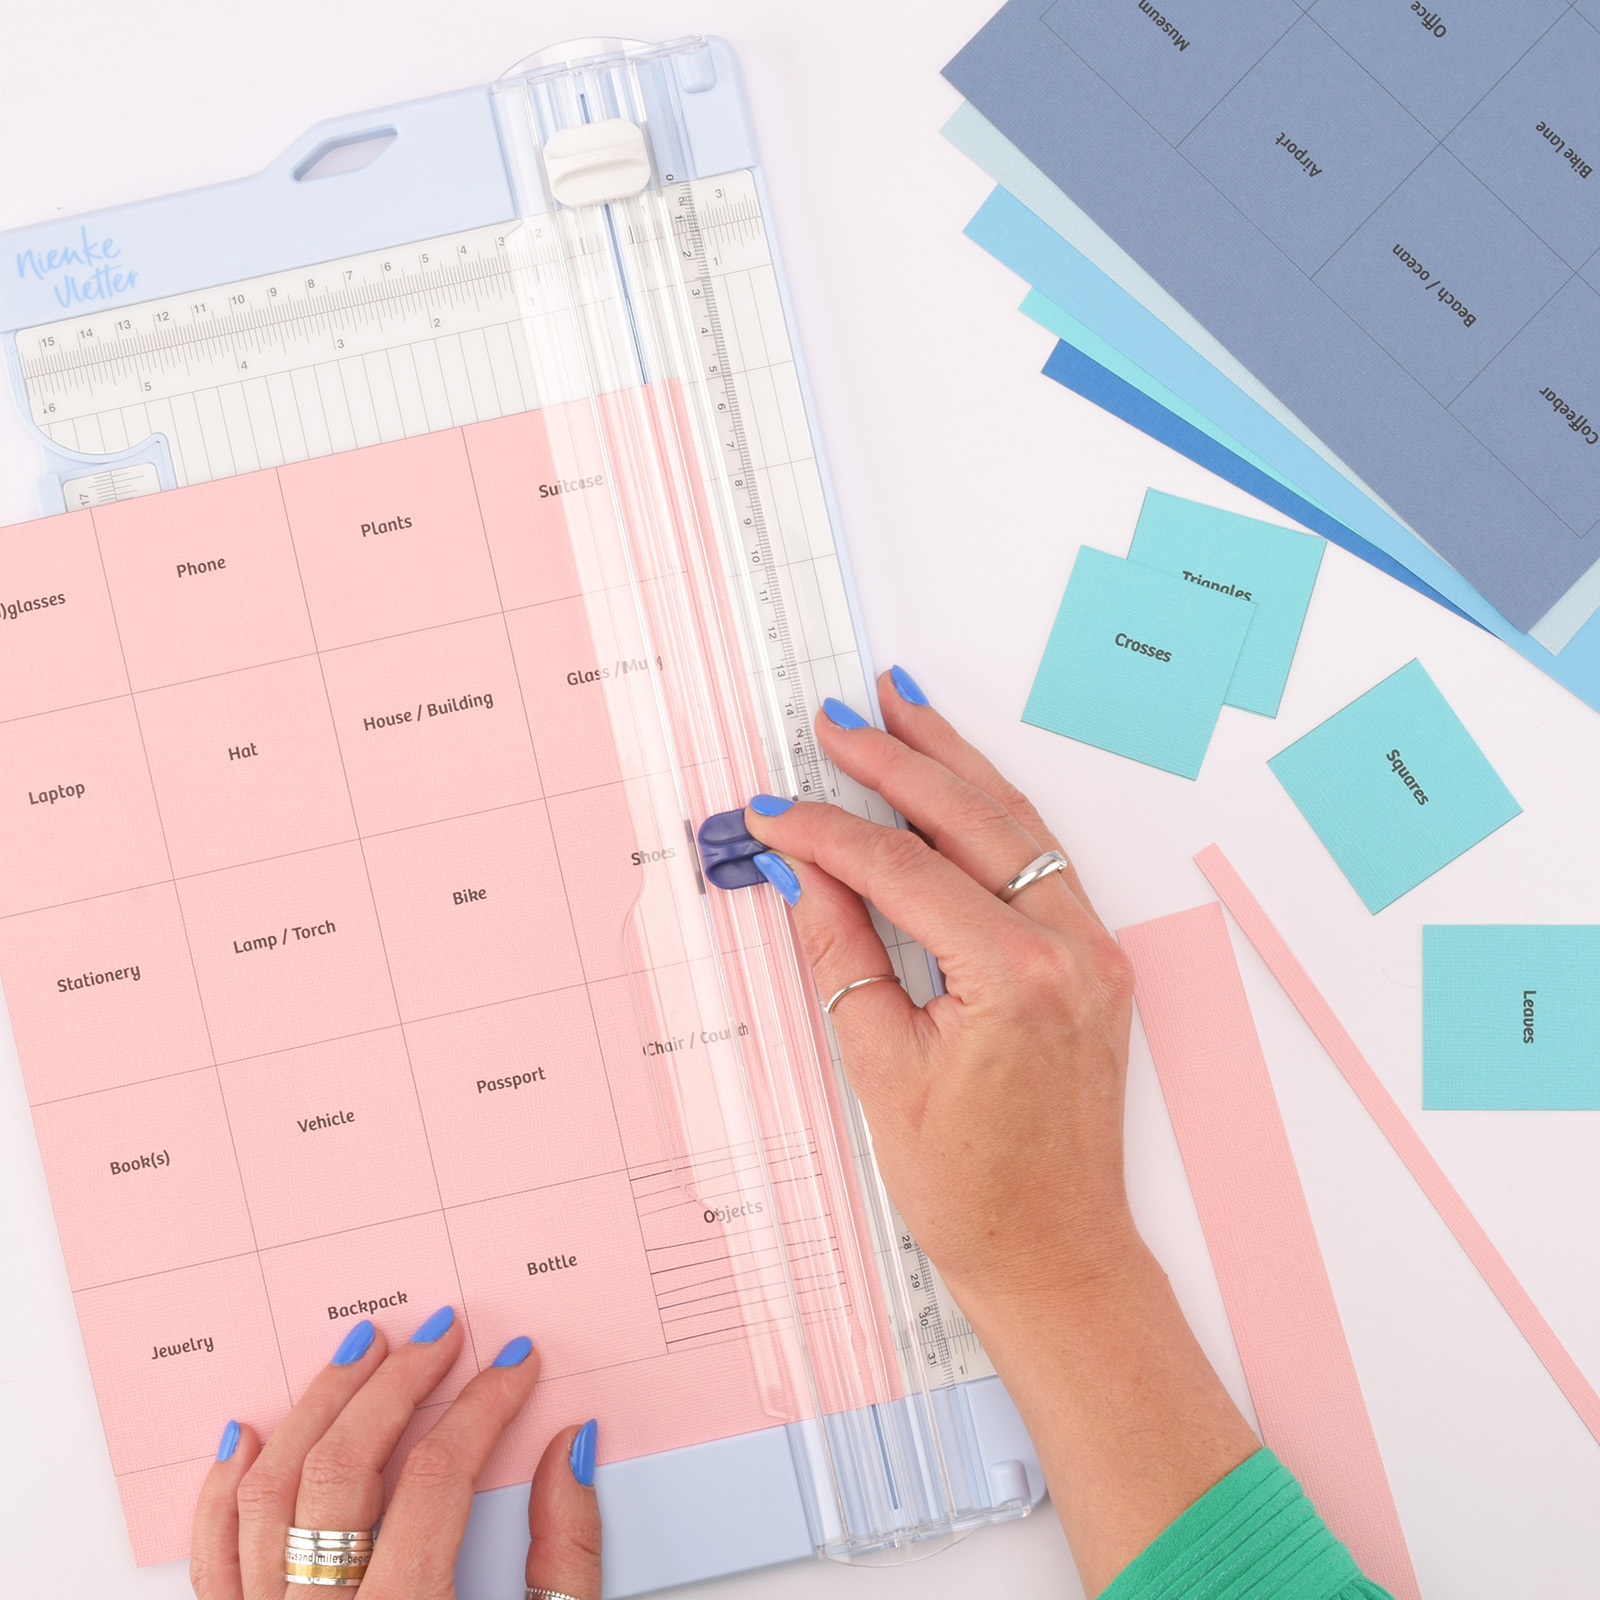
Now we’ll make the cards. Cut out all the cards with the paper cutter. To speed up the process, you can simultaneously cut 2 pages of 200gsm or less.
8
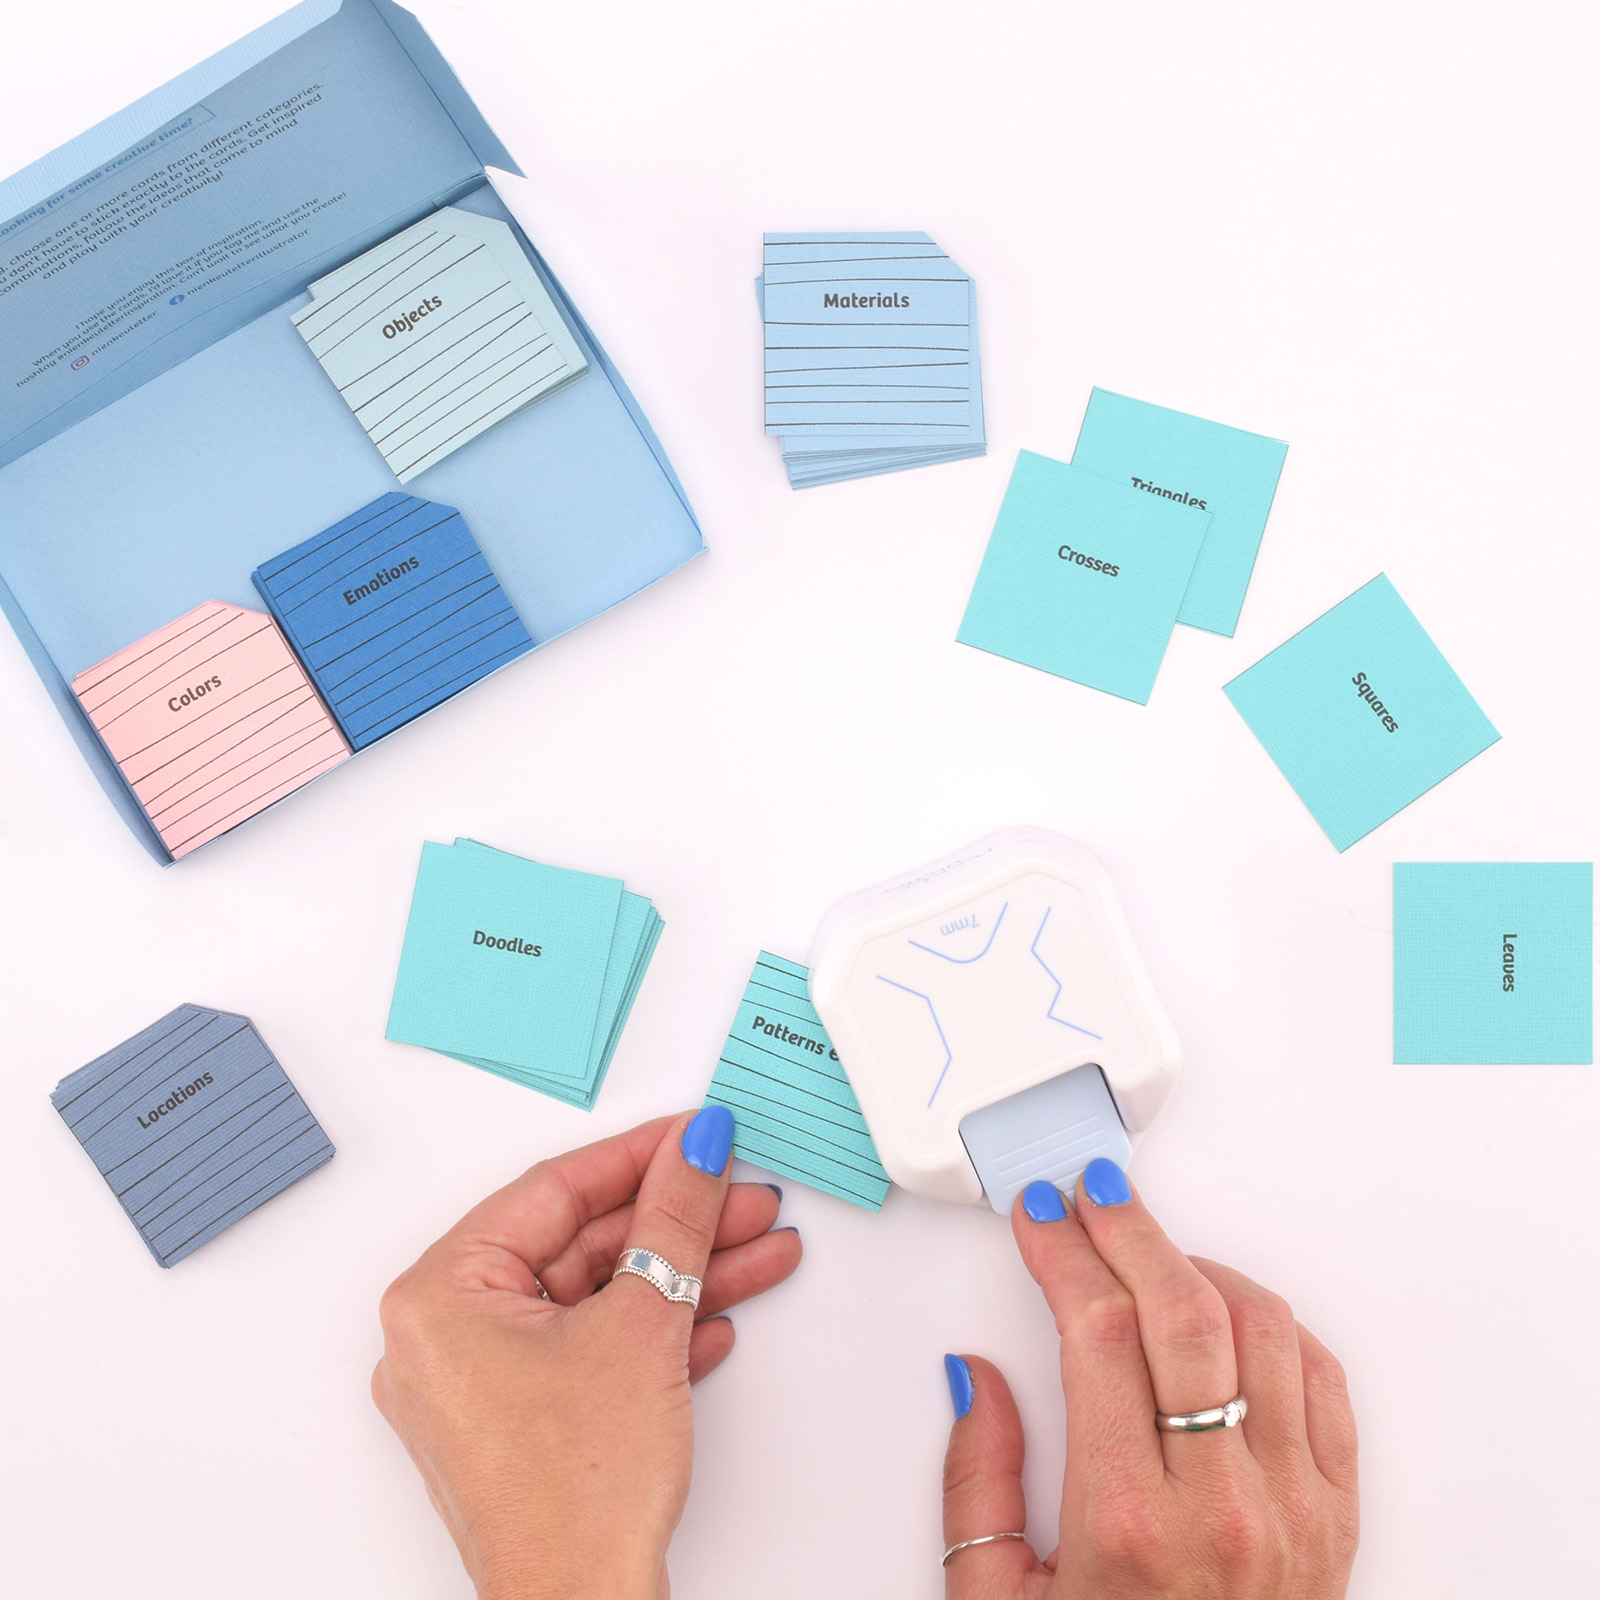
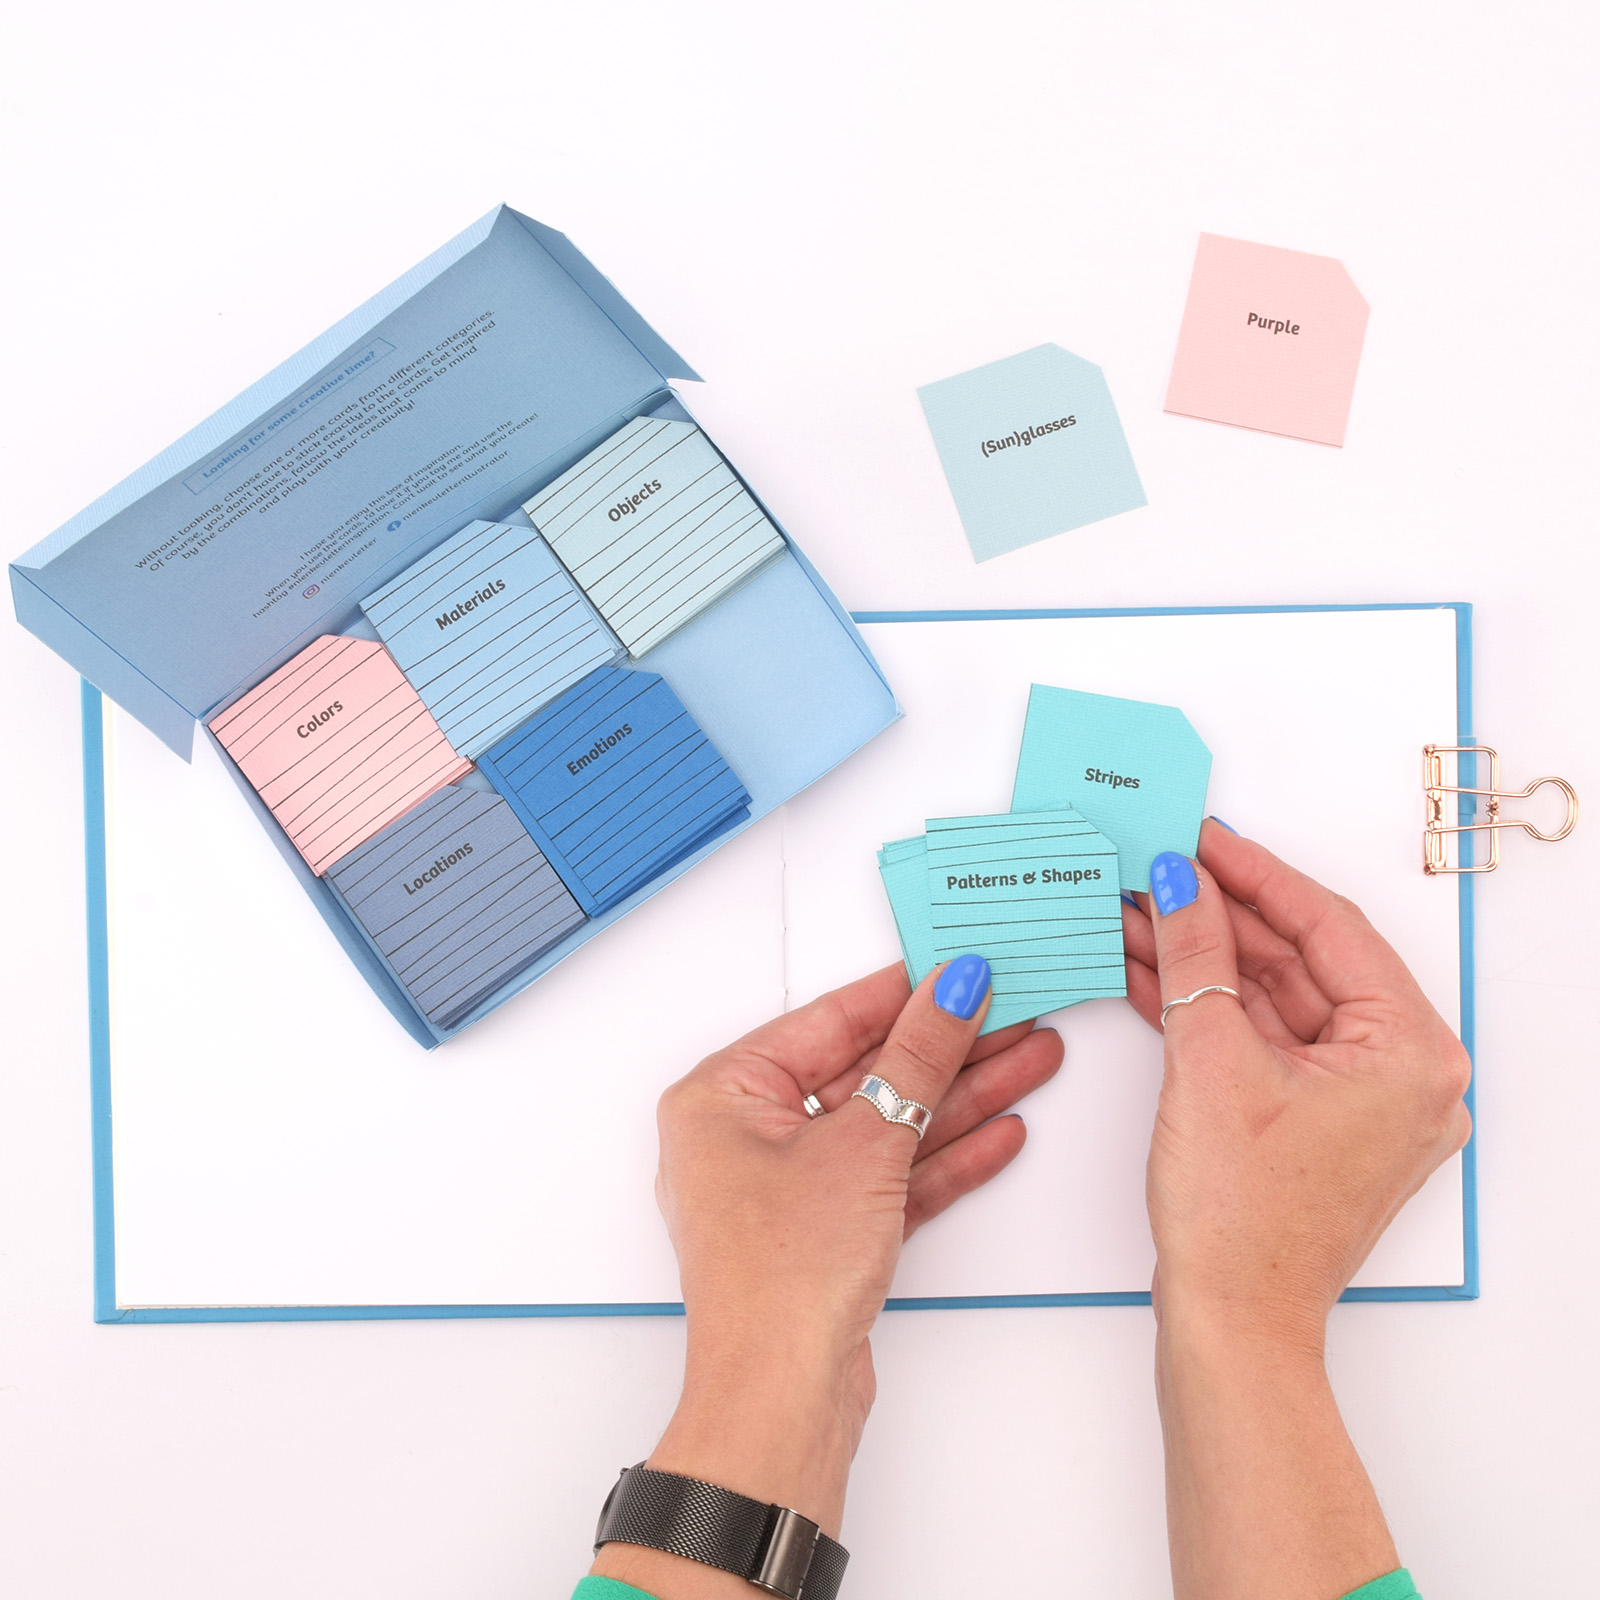
You can leave the cards as they are, but you can also punch their corners with the 3-in-1 corner punch. I chose to do one angled corner this time, but of course you could also do more corners or use different shapes. Place the cards in the box once they are finished.
9
Do you want to get creative? Pick several cards out of different categories. You can use as many categories as you like – I advise a minimum of 3 cards. Make a painting, illustration or paper collage using these prompts or follow the inspiration that they give you. Enjoy!