We
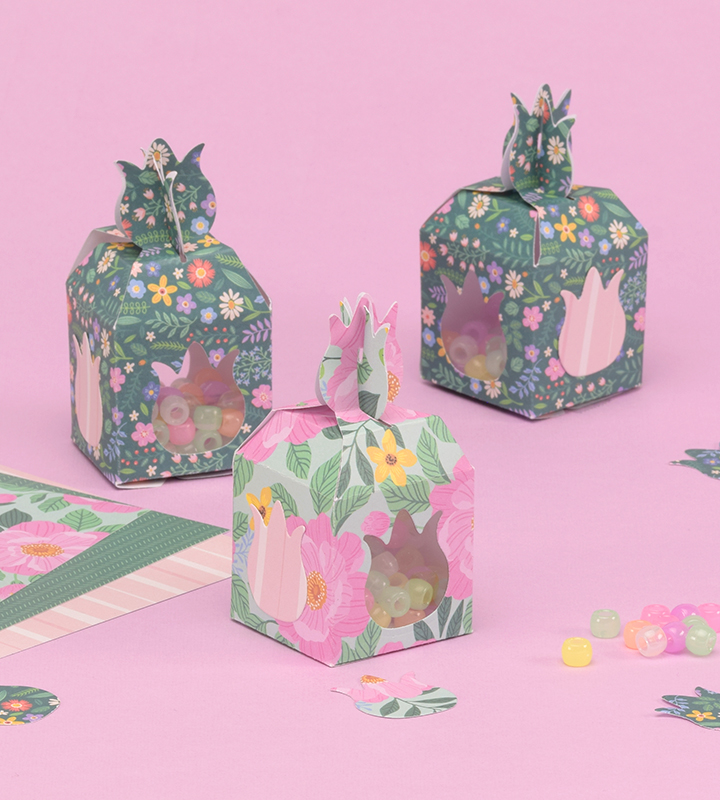
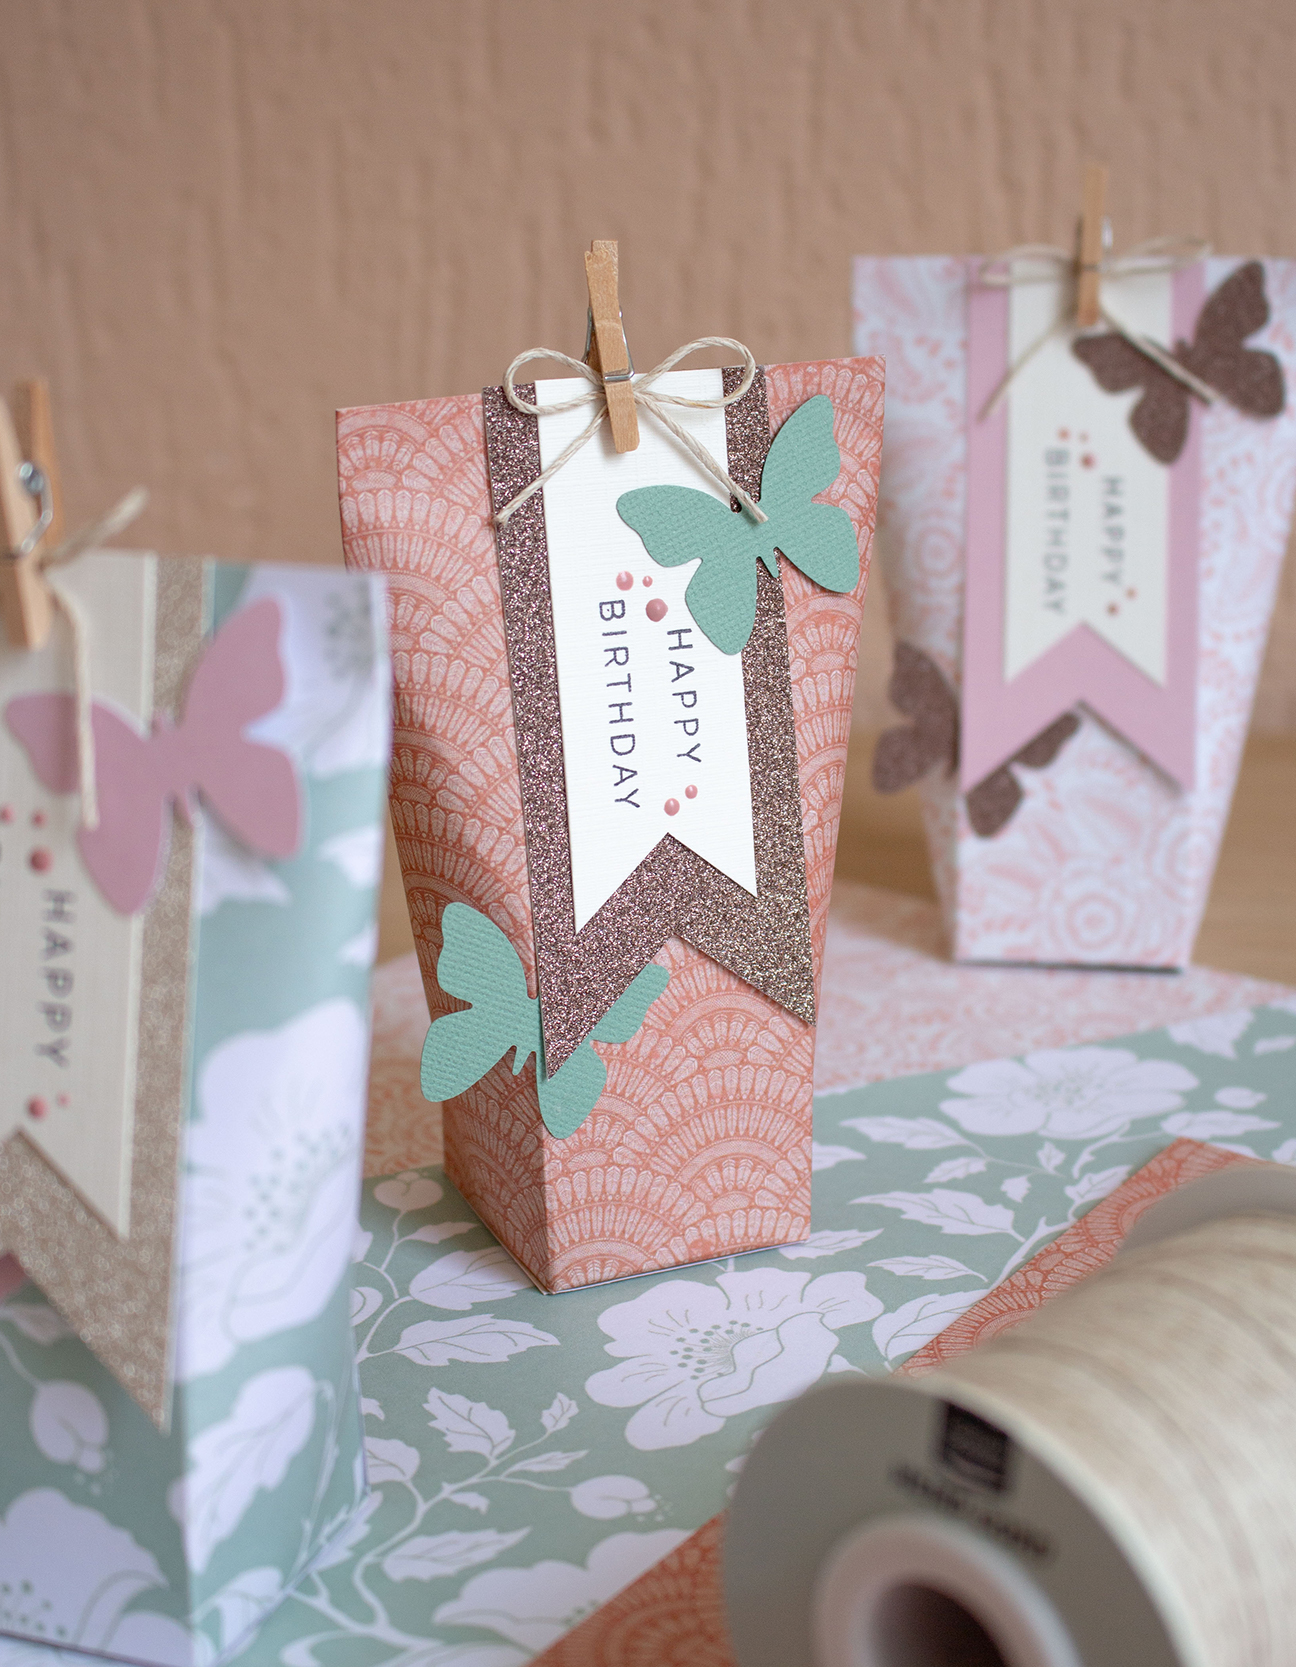
will guide you through the process of making a cheerful Easter box using
Nellie's Choice cutting die Box Tulip. This DIY project is easy to create, and
all else you need is some vibrant design paper and an acetate sheet. The box
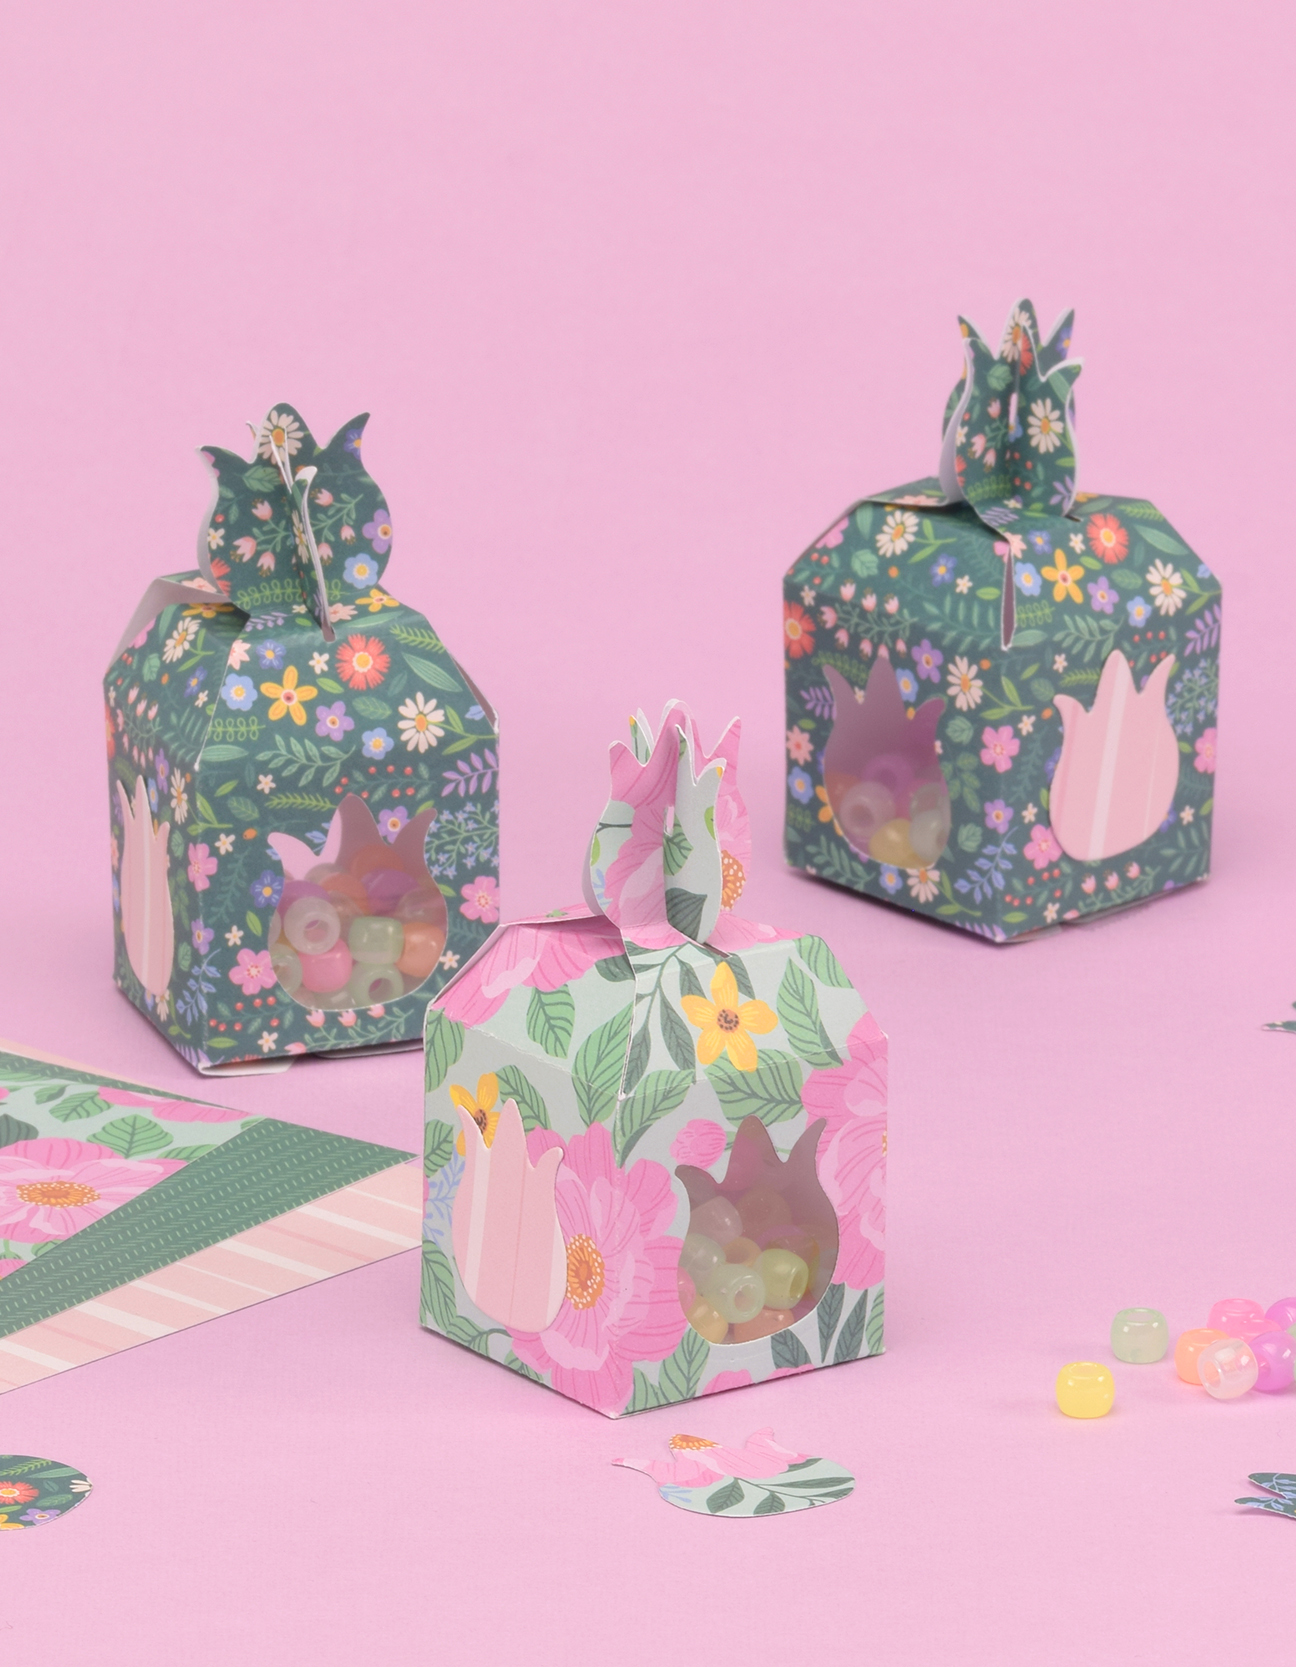
features a beautiful tulip on the top, and two windows on the sides, allowing
you to see what's inside. You can fill it with candies, Easter eggs, or any
other treats you like, and it will surely bring a smile to everyone's face.
Moreover, this box will make a charming addition to your Easter table.
1
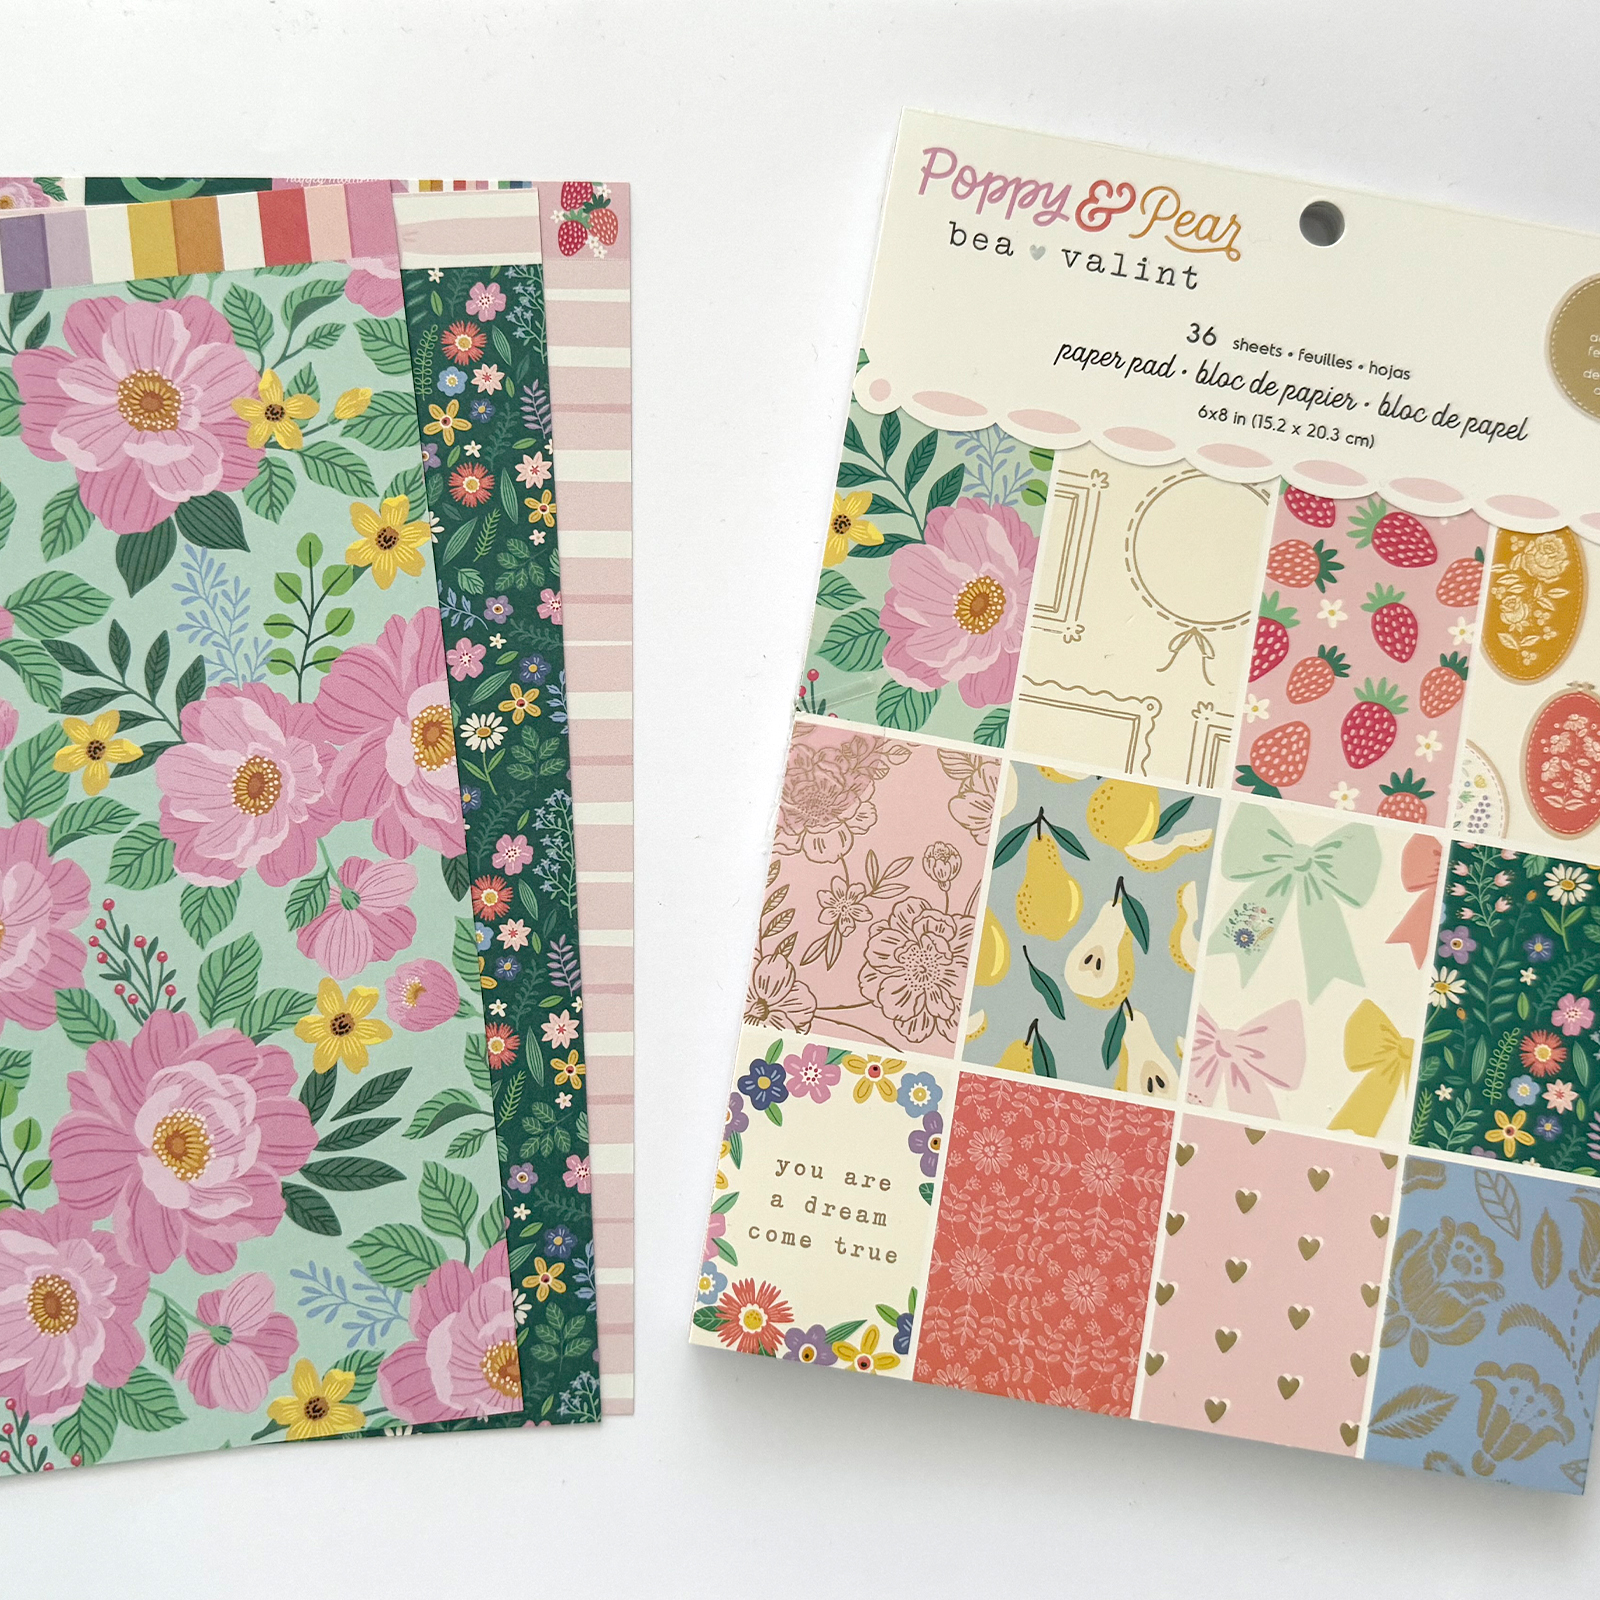
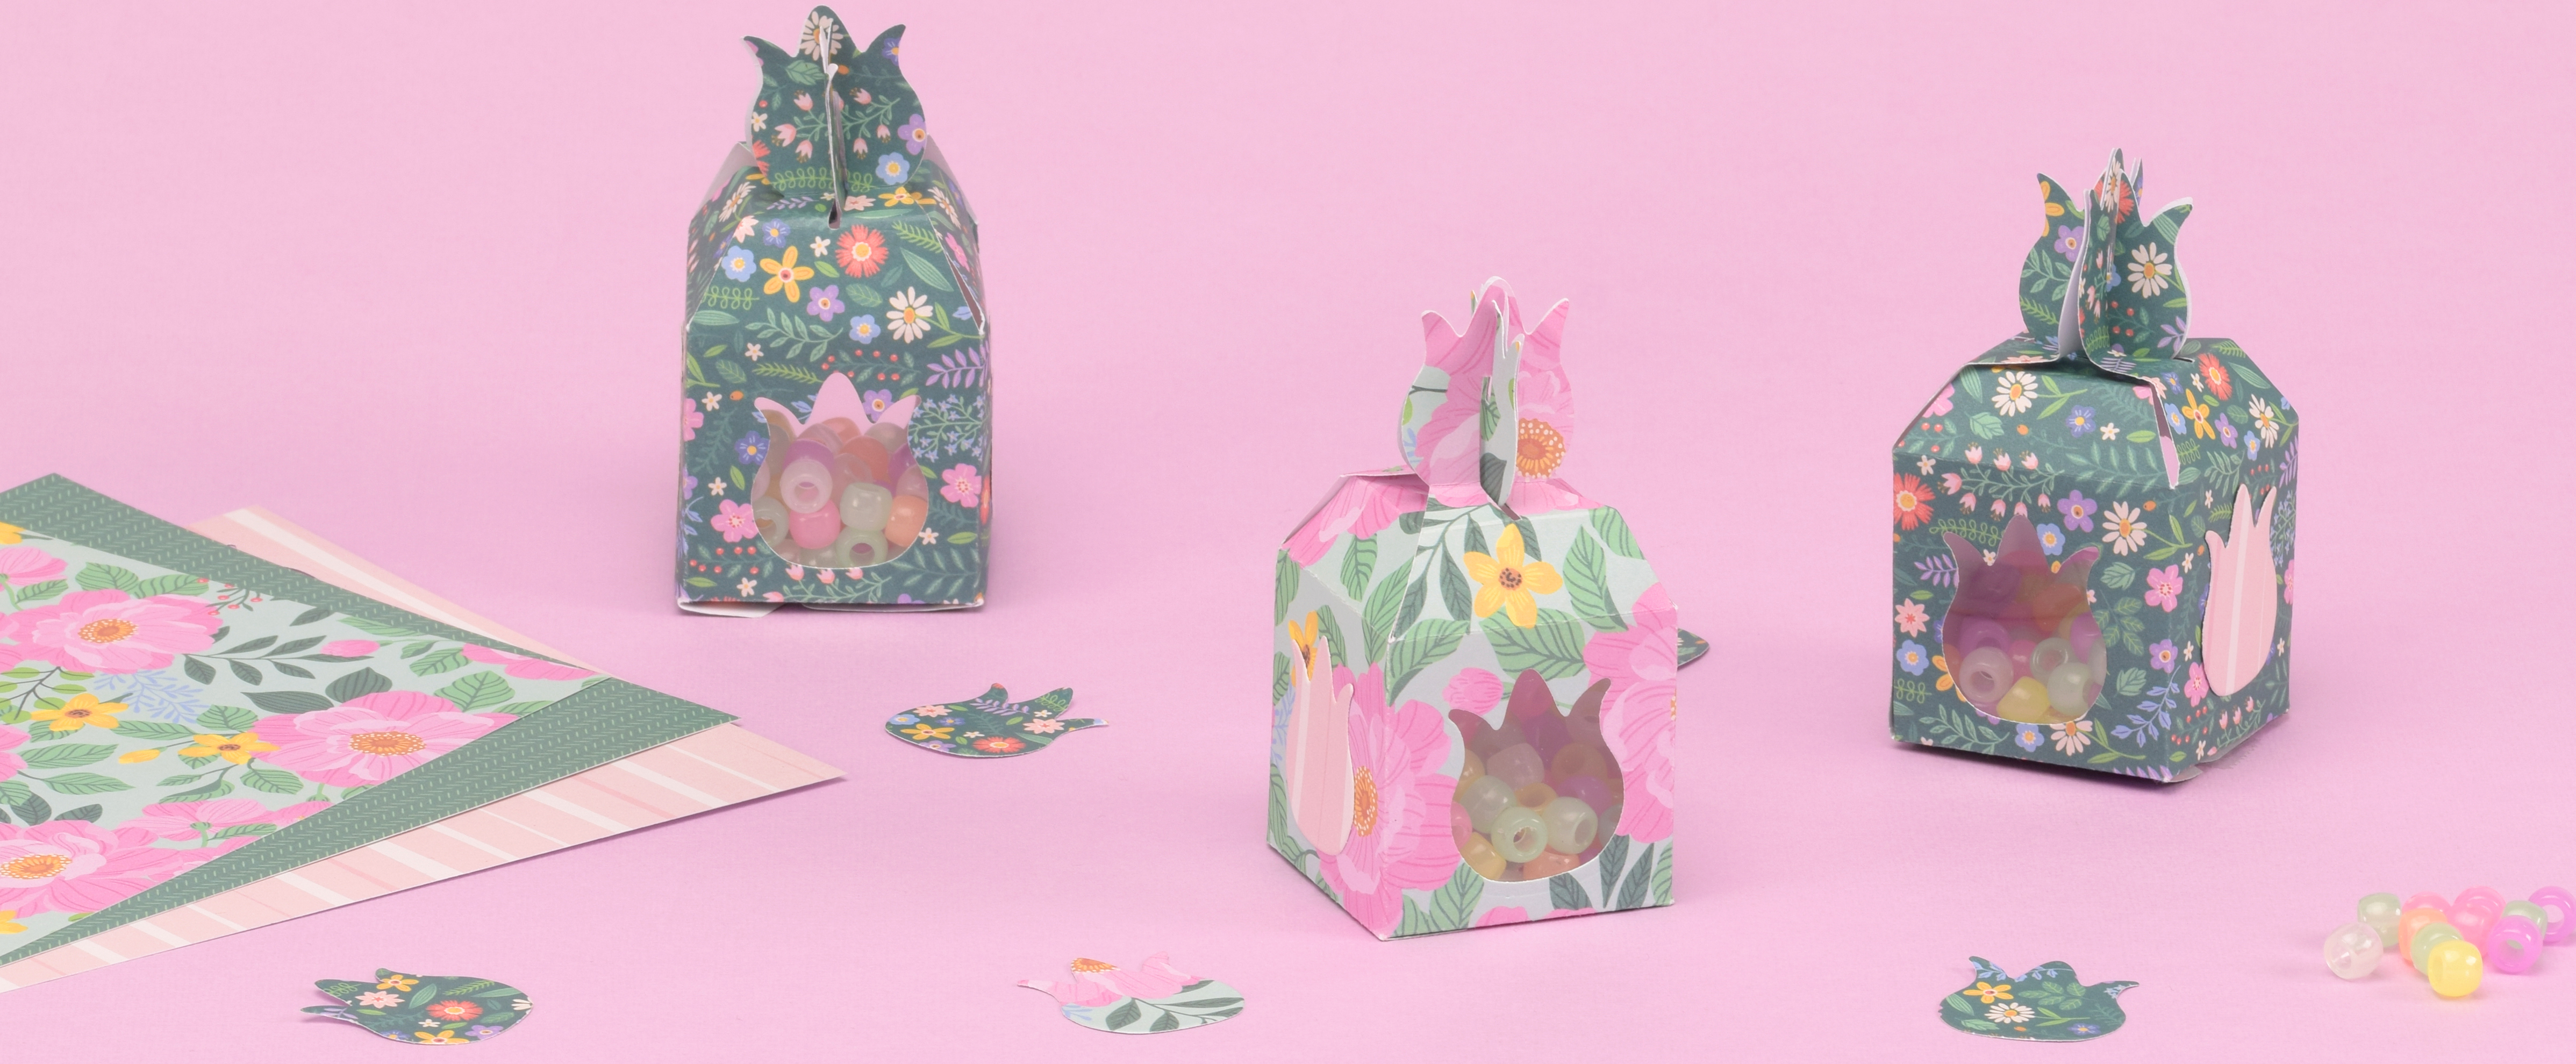
Choose vibrant sheets of paper for crafting the boxes. We used the Poppy & Pear paper pad, but you can opt for other paper as long as it has a bit of thickness.
2
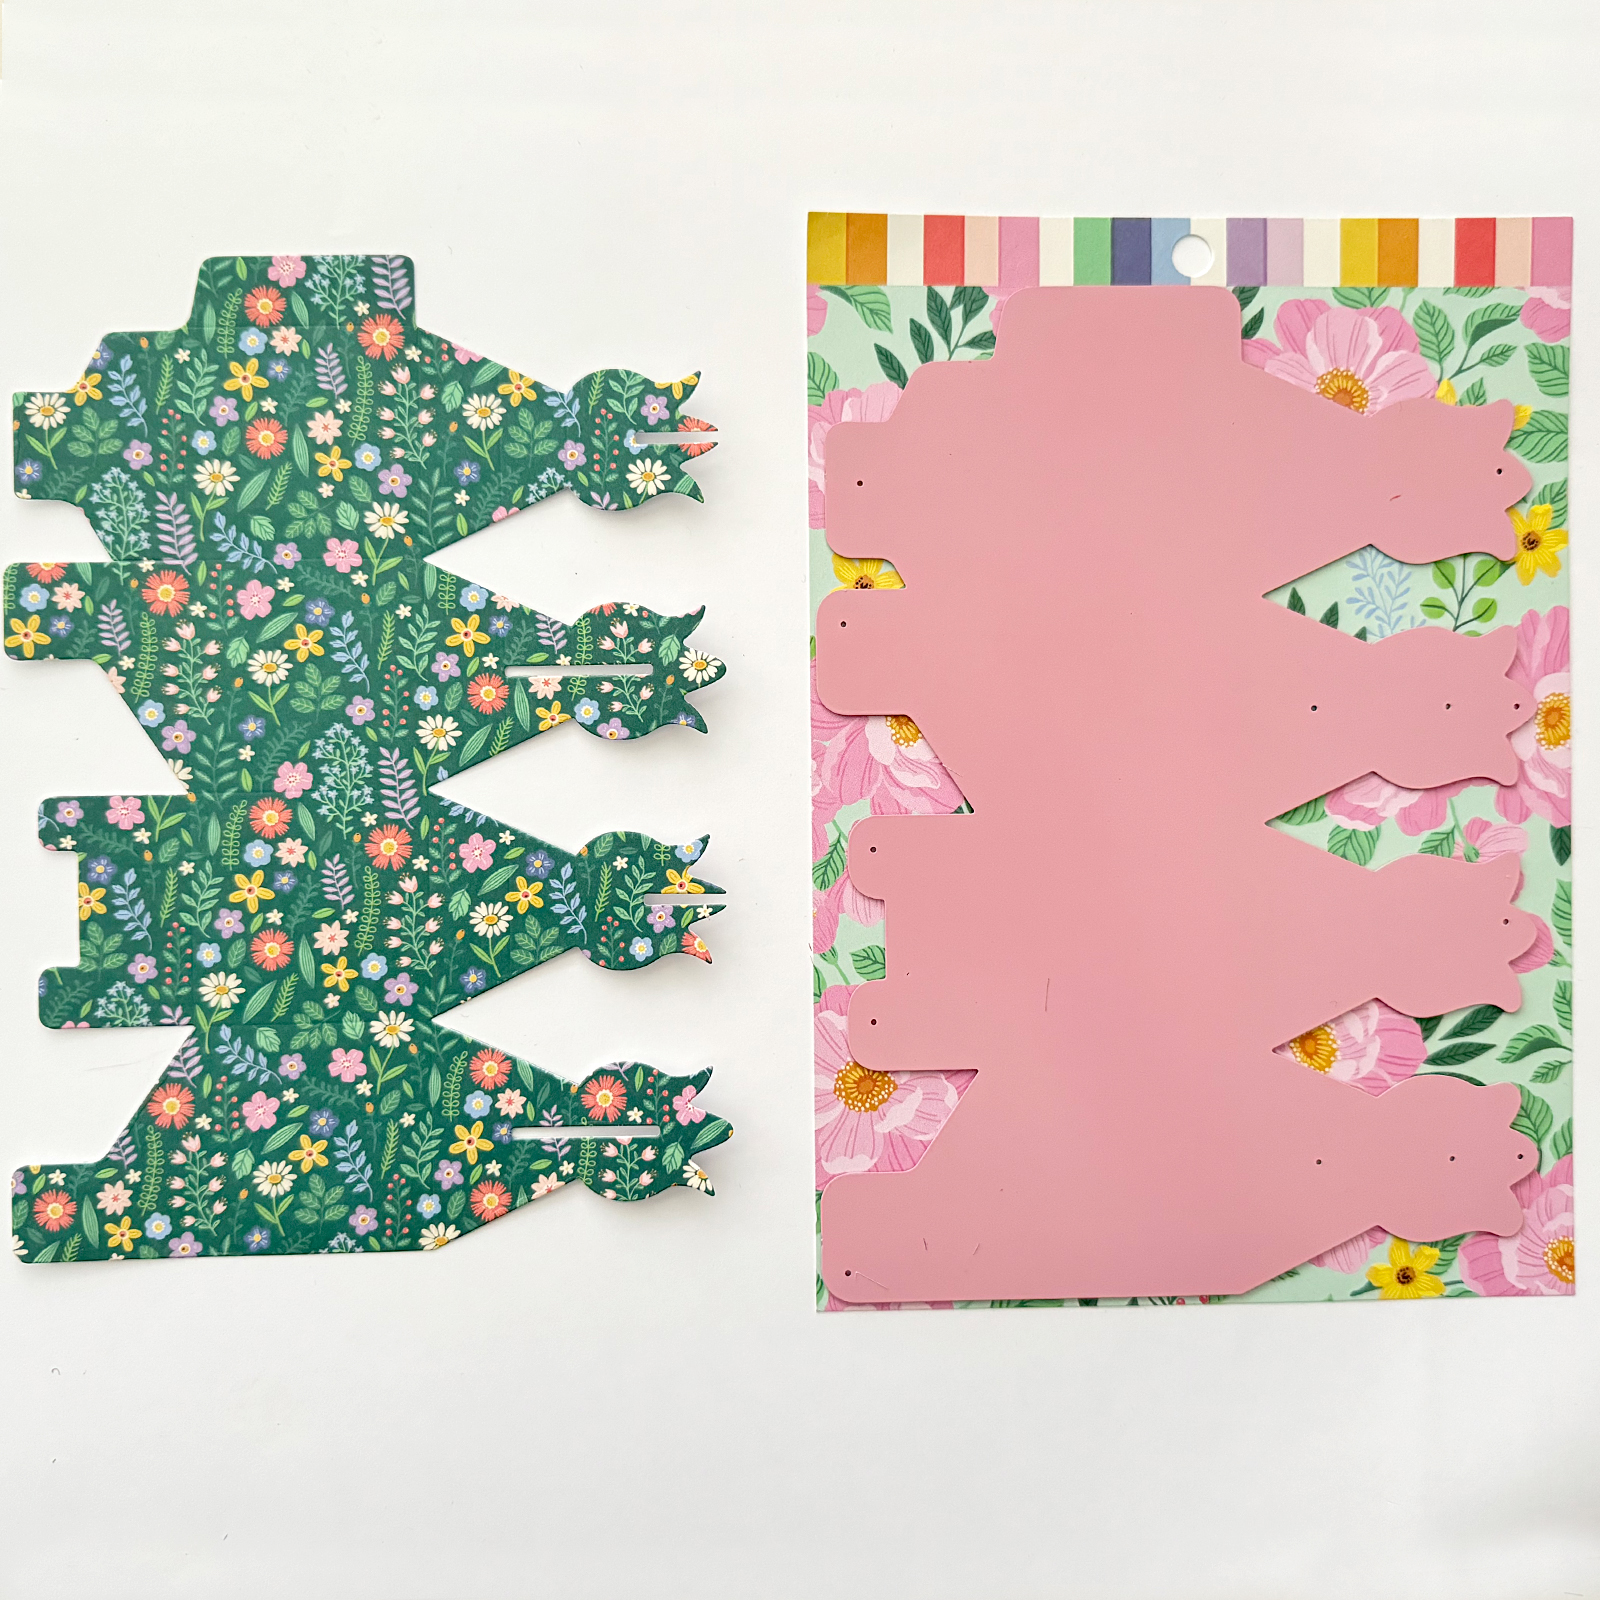
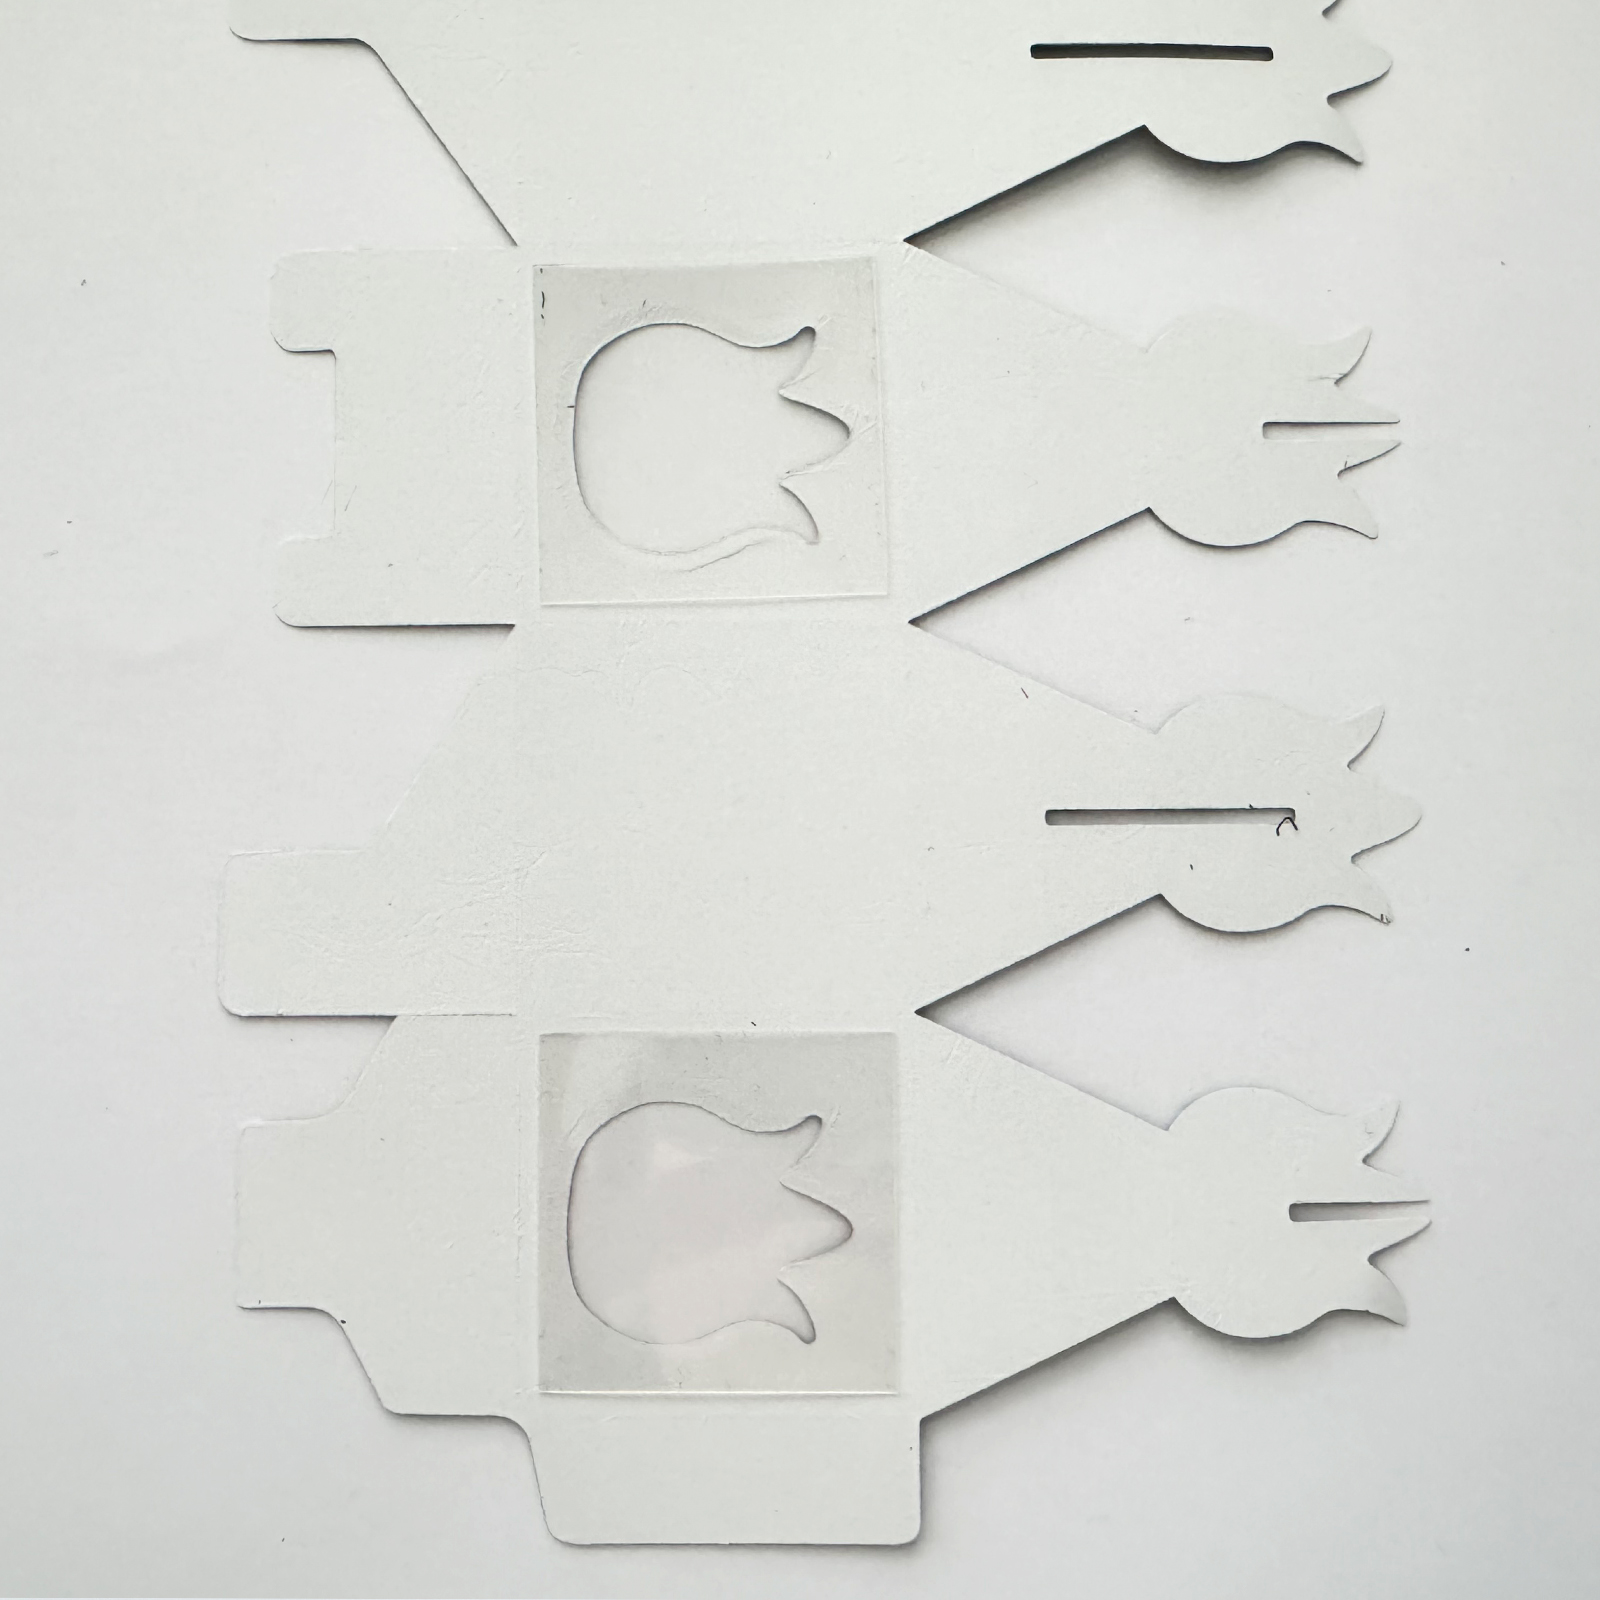
Take a sheet of paper and use the die-cut for the box with a die-cutting machine to cut out the base shape of the box.
3
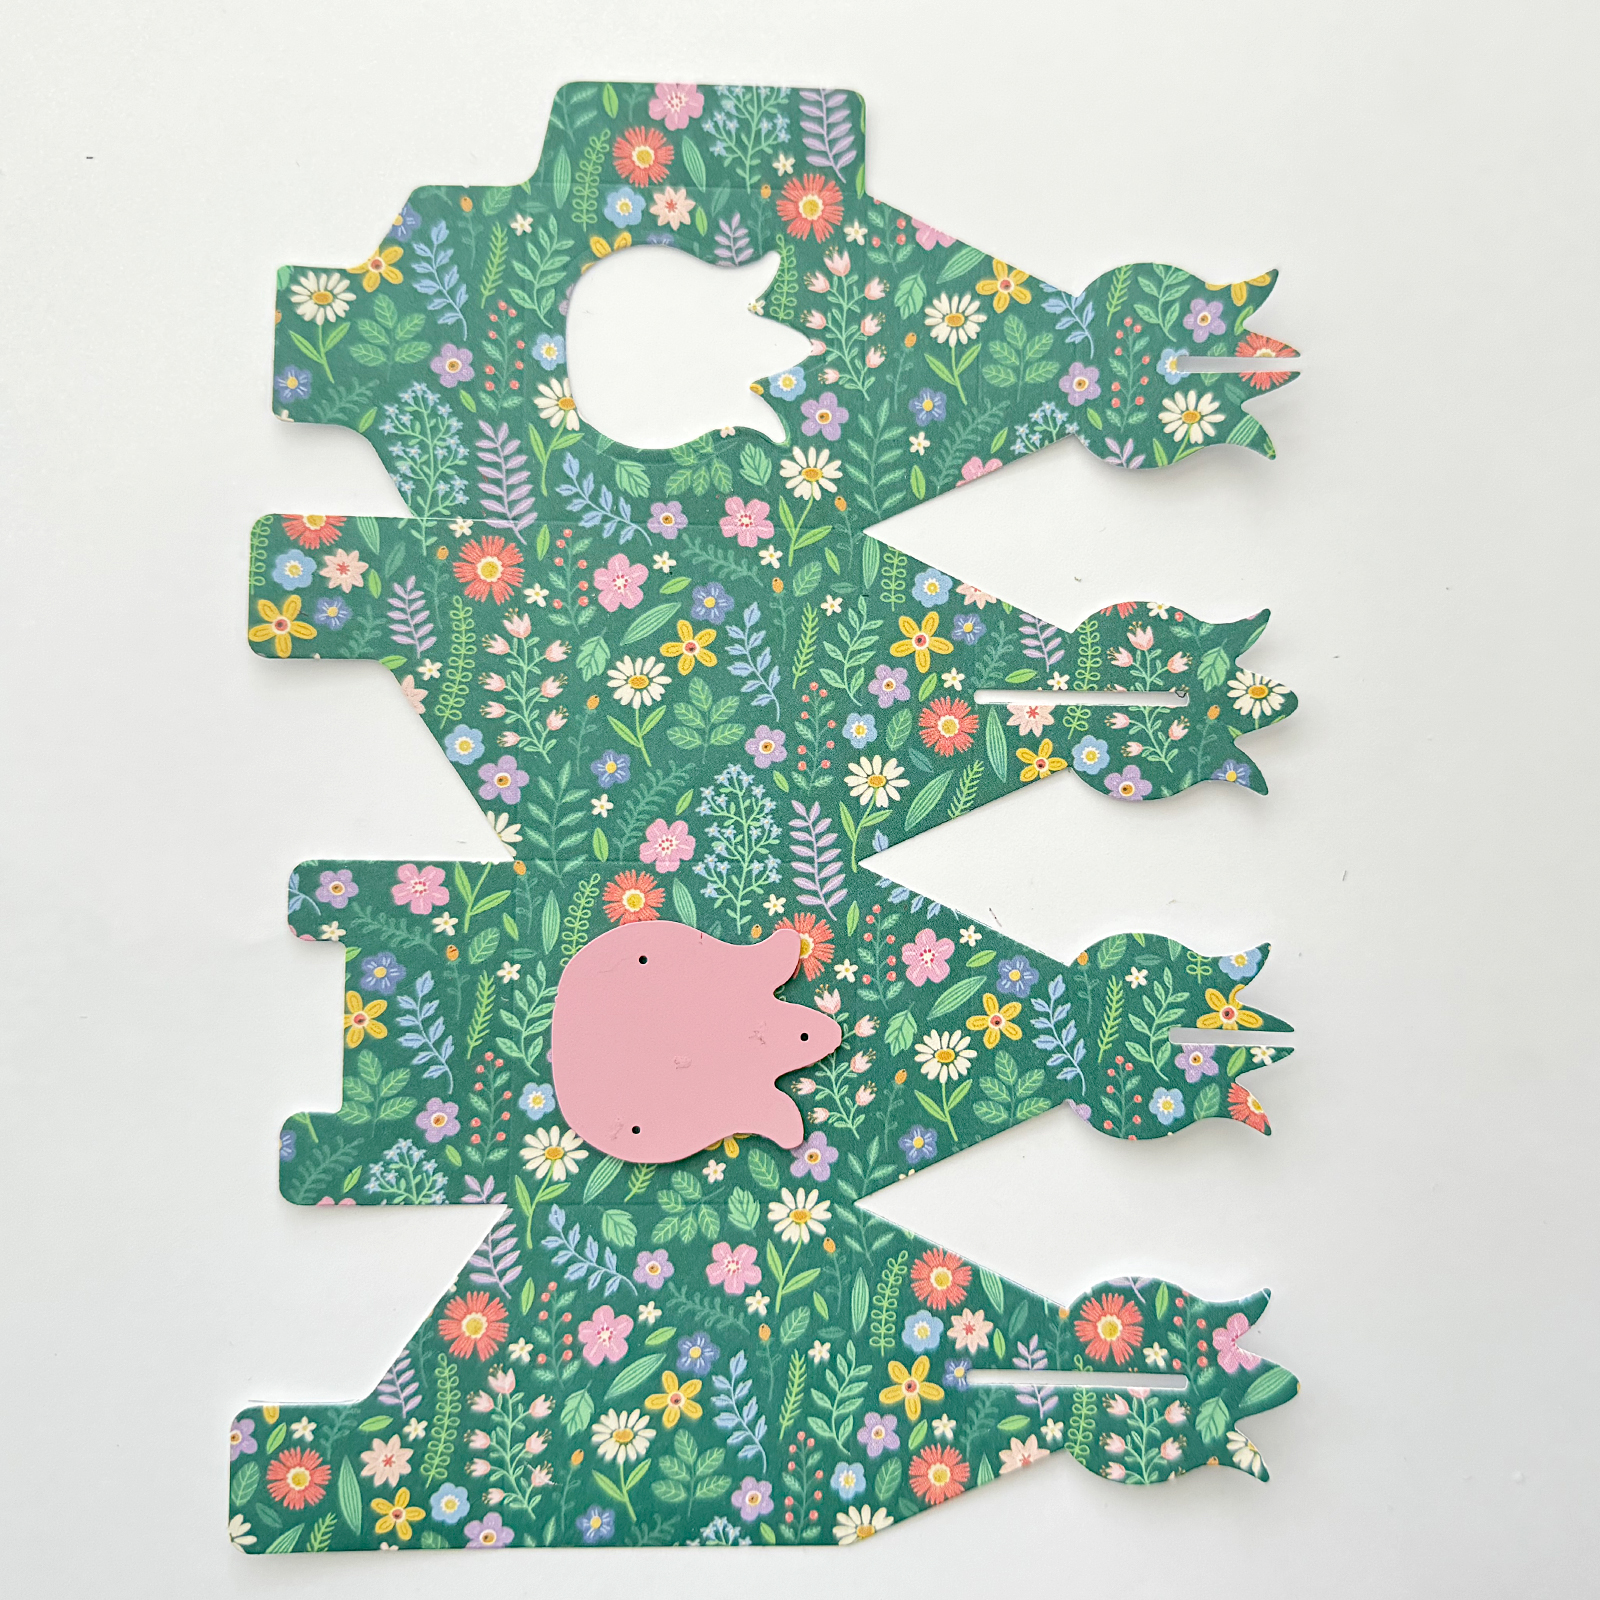
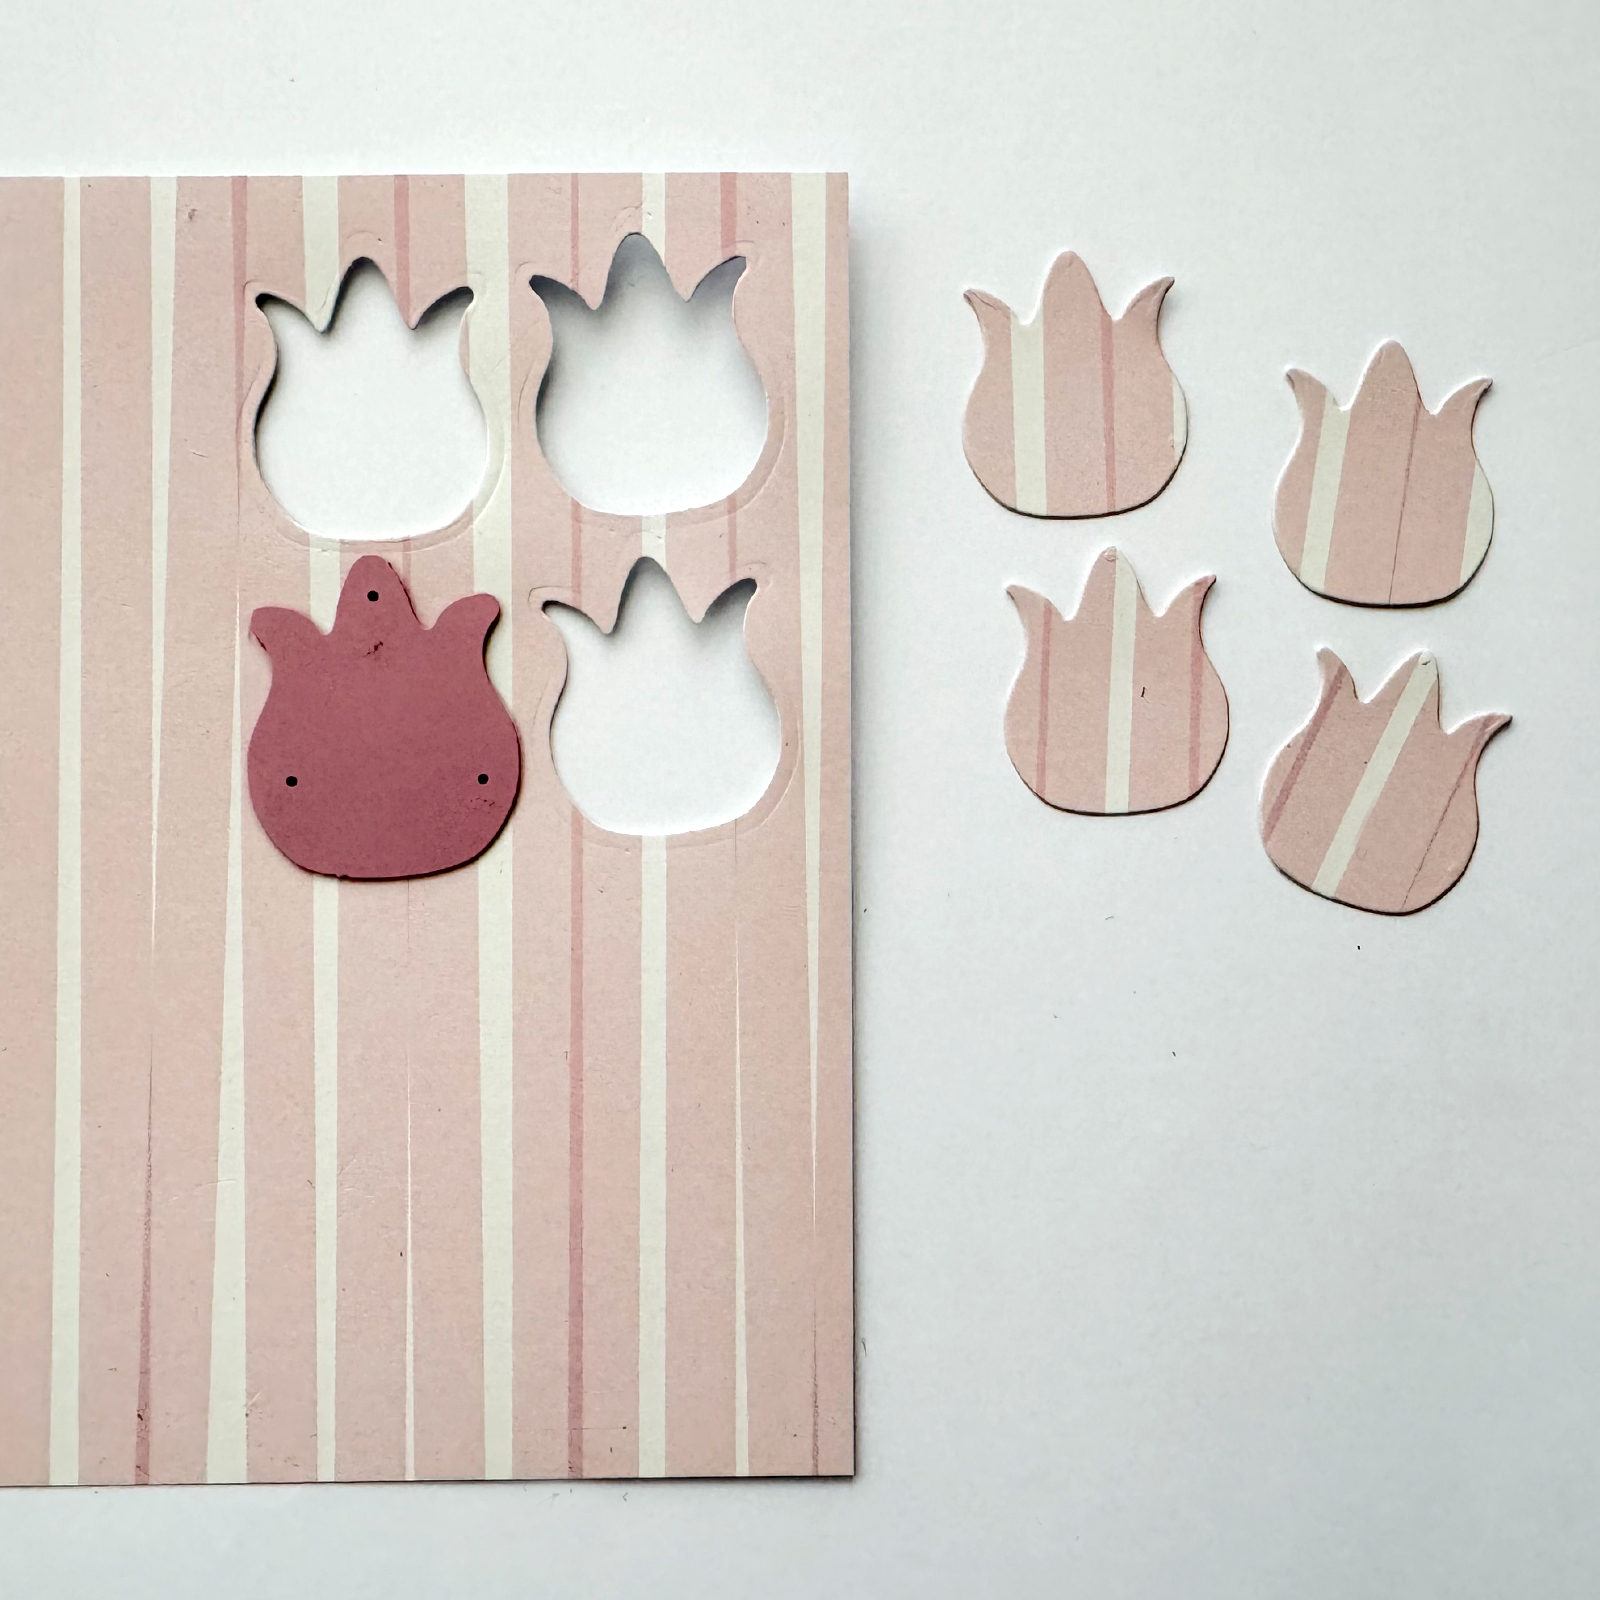
Now, use the die-cut with the small tulip and cut out a tulip shape from the center of two sides of the box.
4
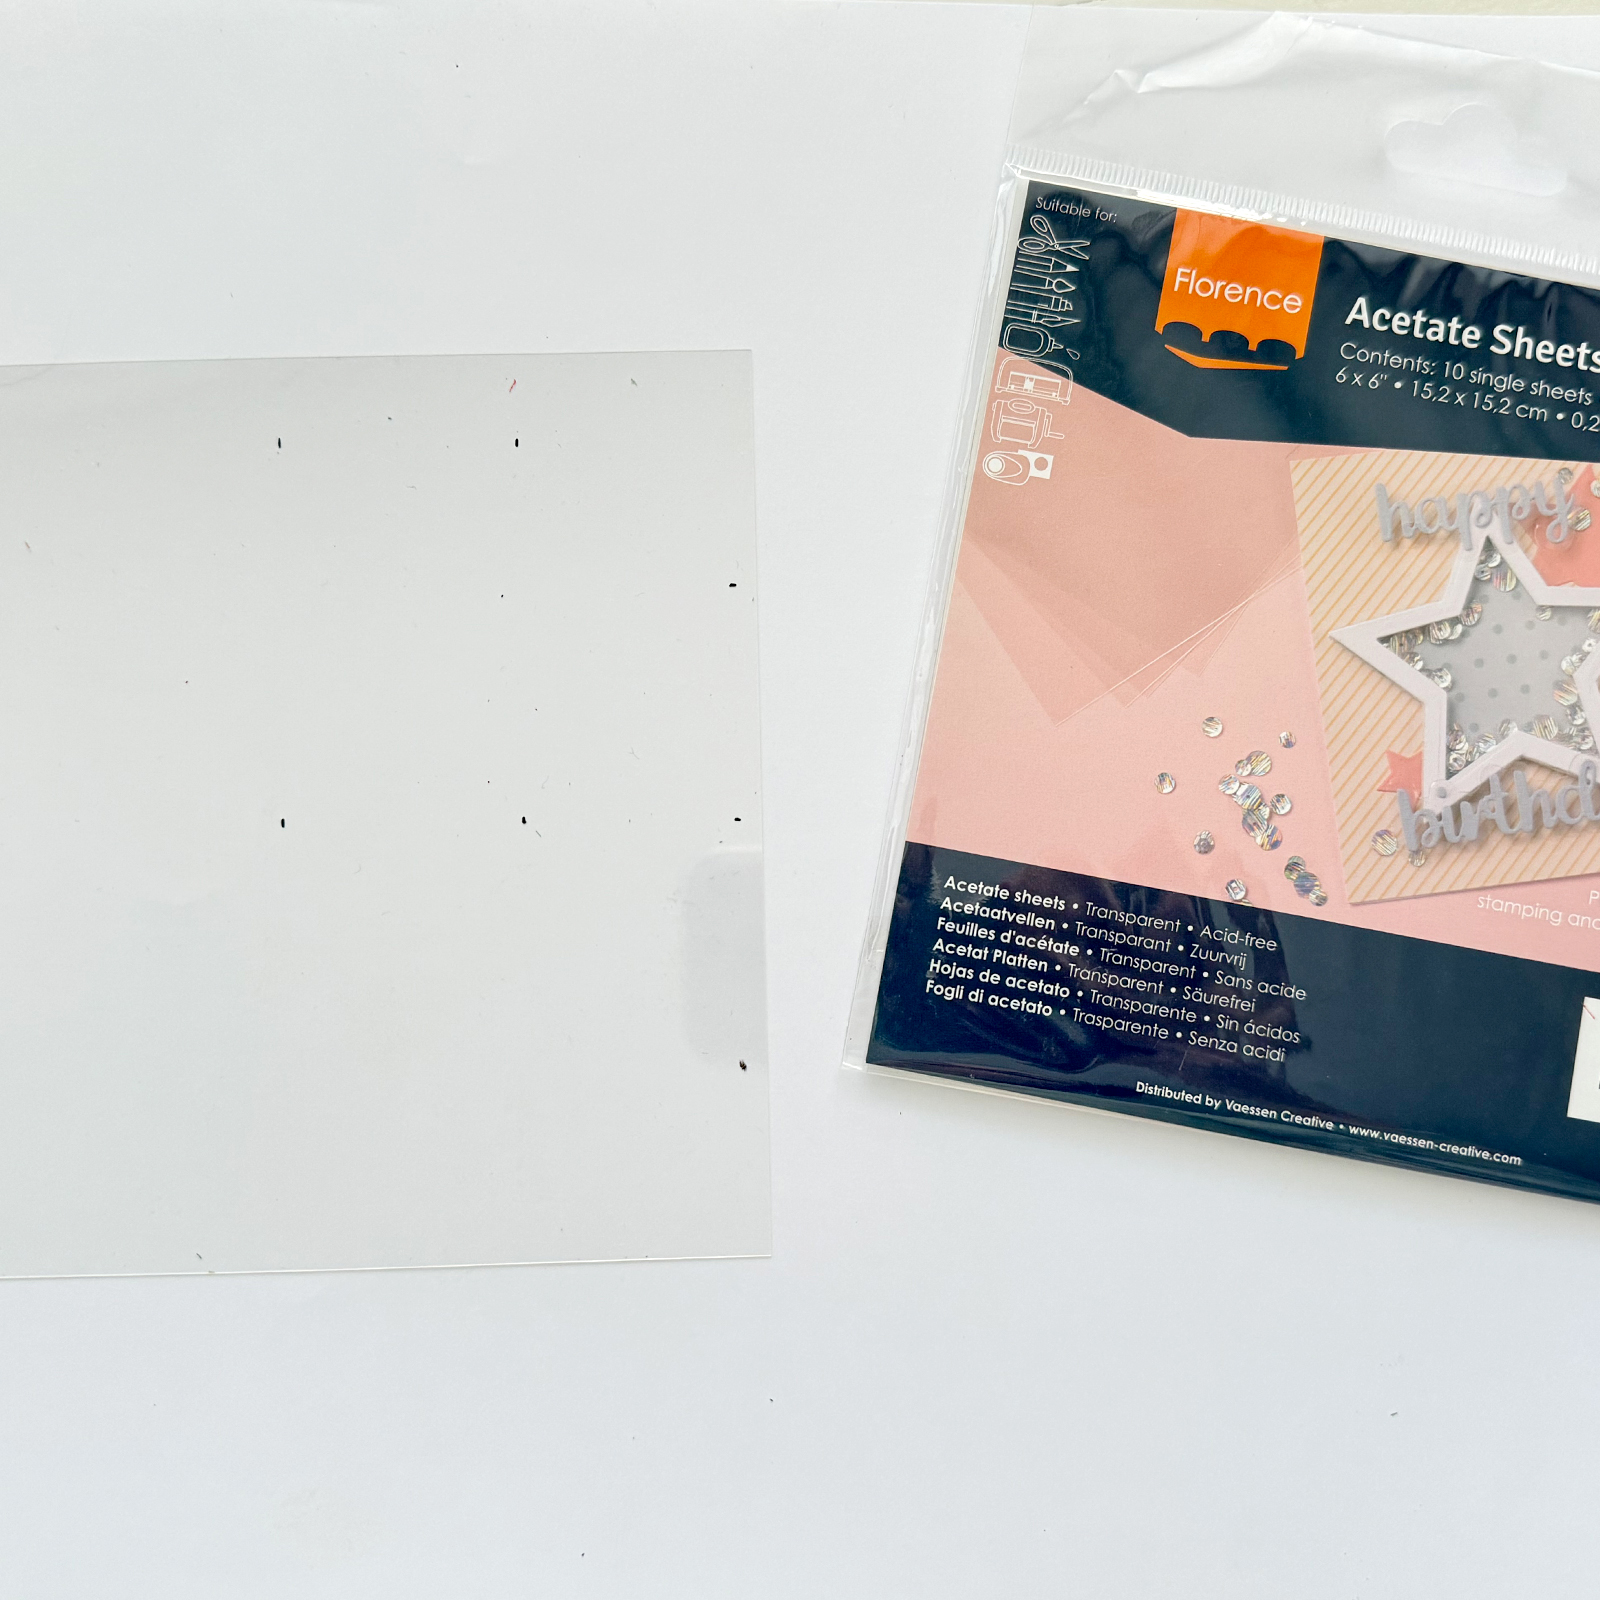
Take an acetate sheet and trace the size of the box's side on it. Cut or trim it out. Repeat this step to have two acetate squares.
5
Next, affix the square acetate sheets to the inside of the box's base shape, creating windows.
6
Use the small tulip die-cut again, along with a sheet of paper, to cut out various small tulips.
7
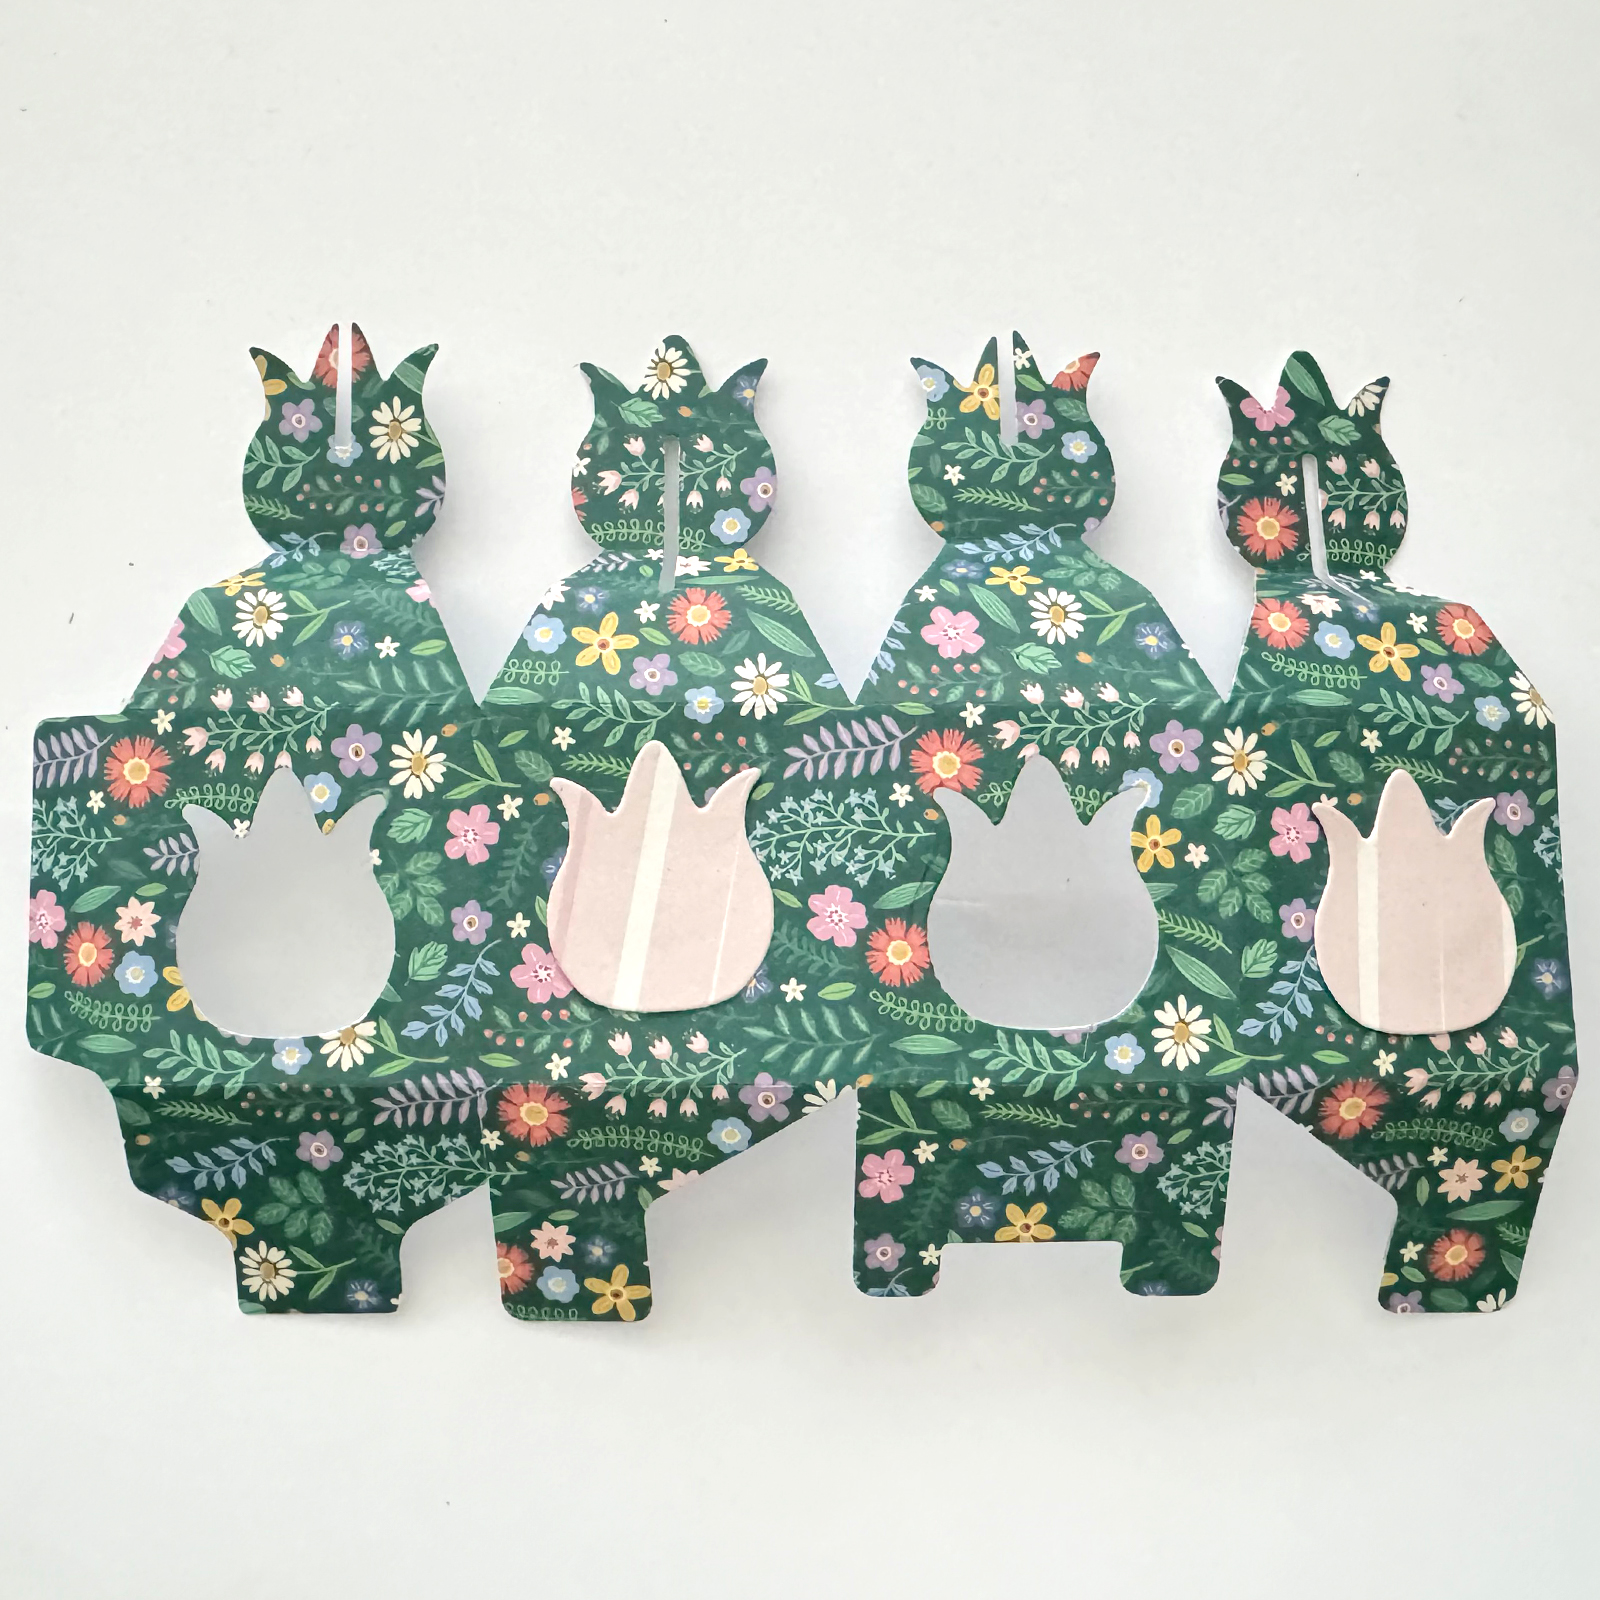
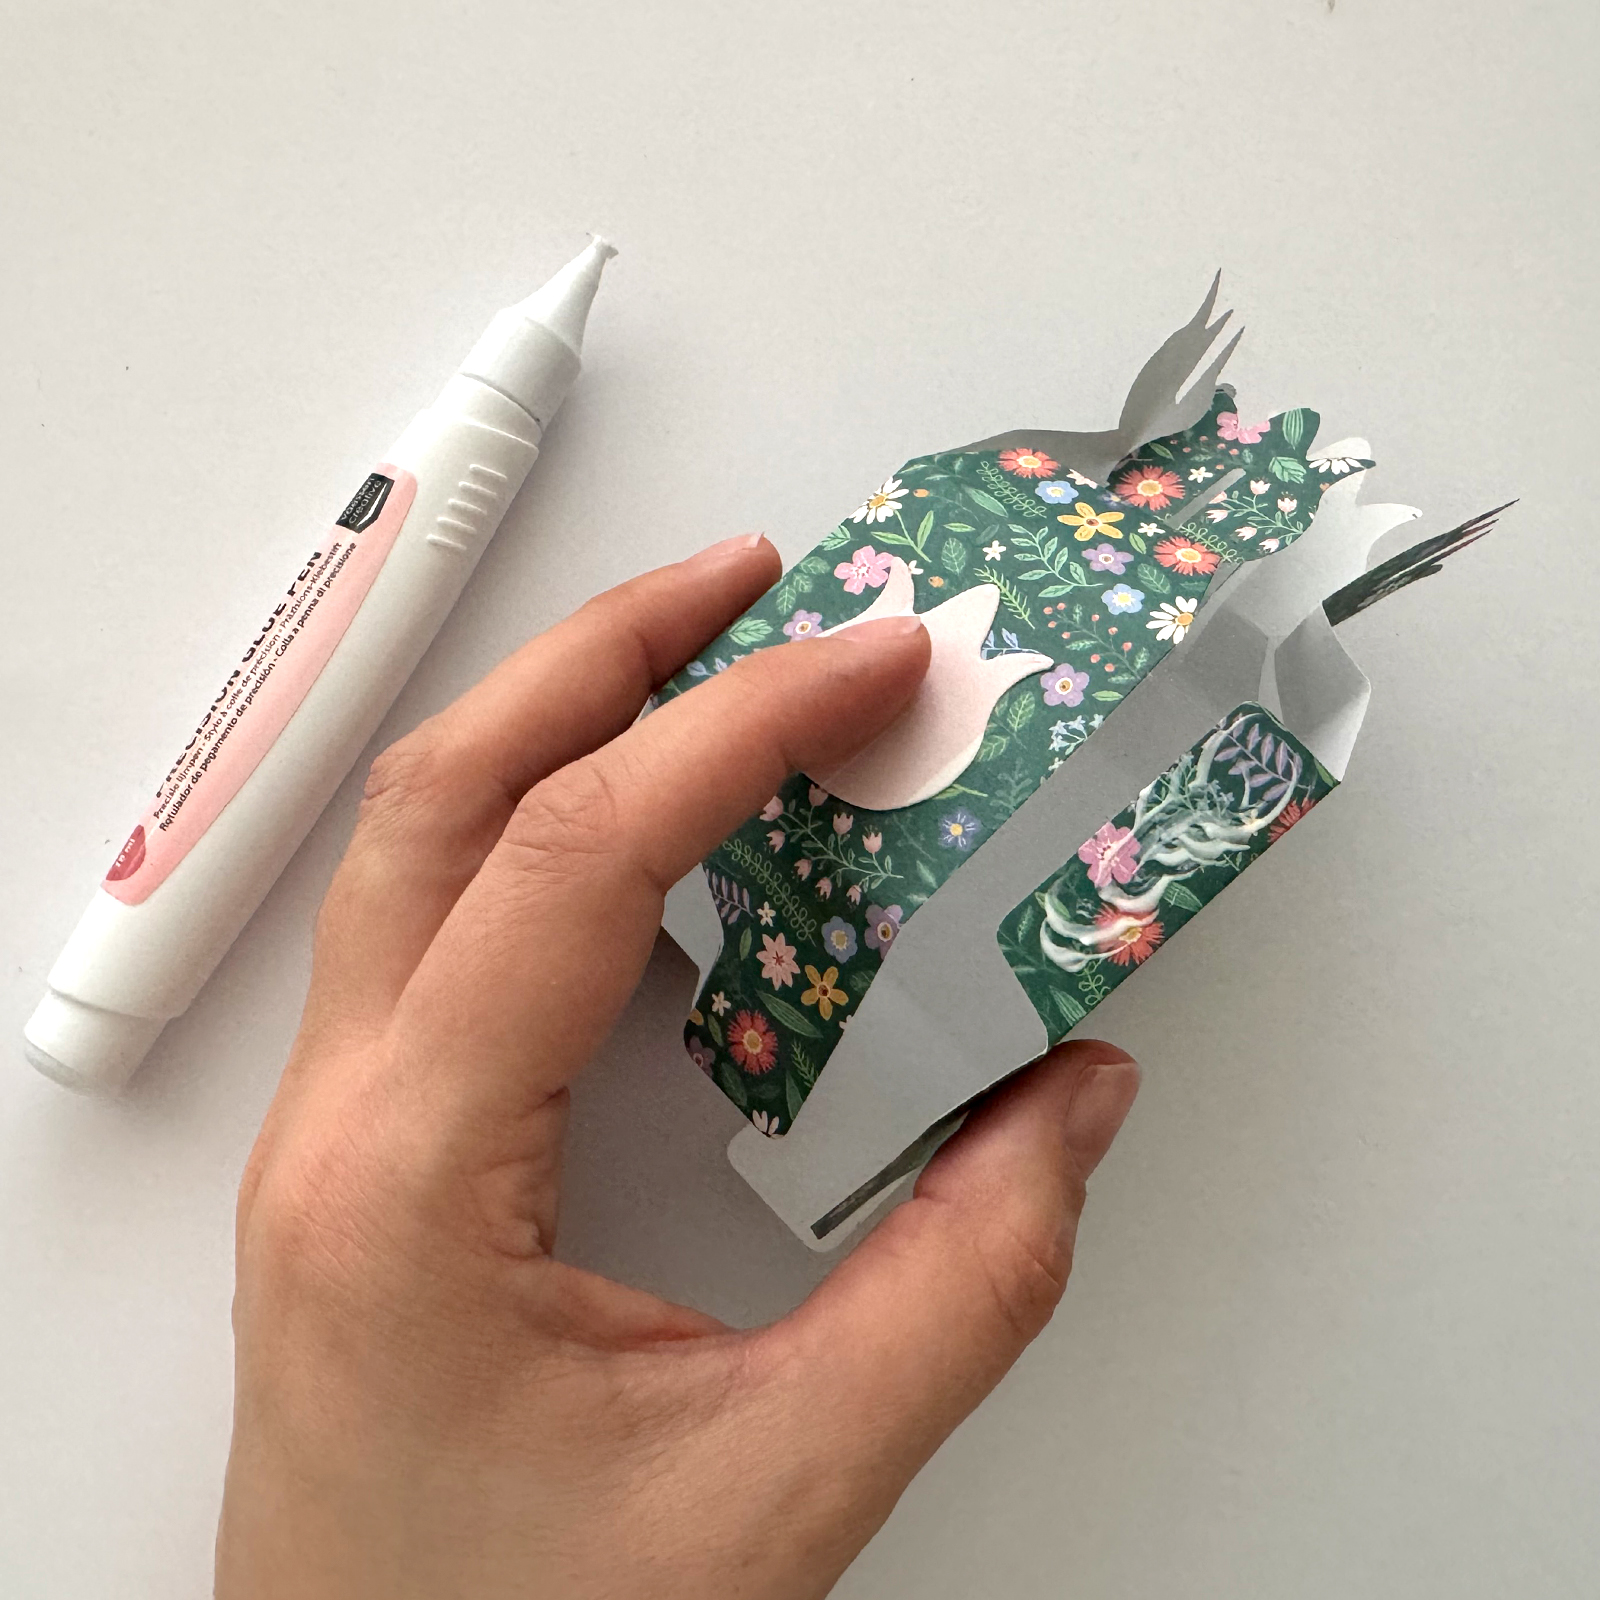
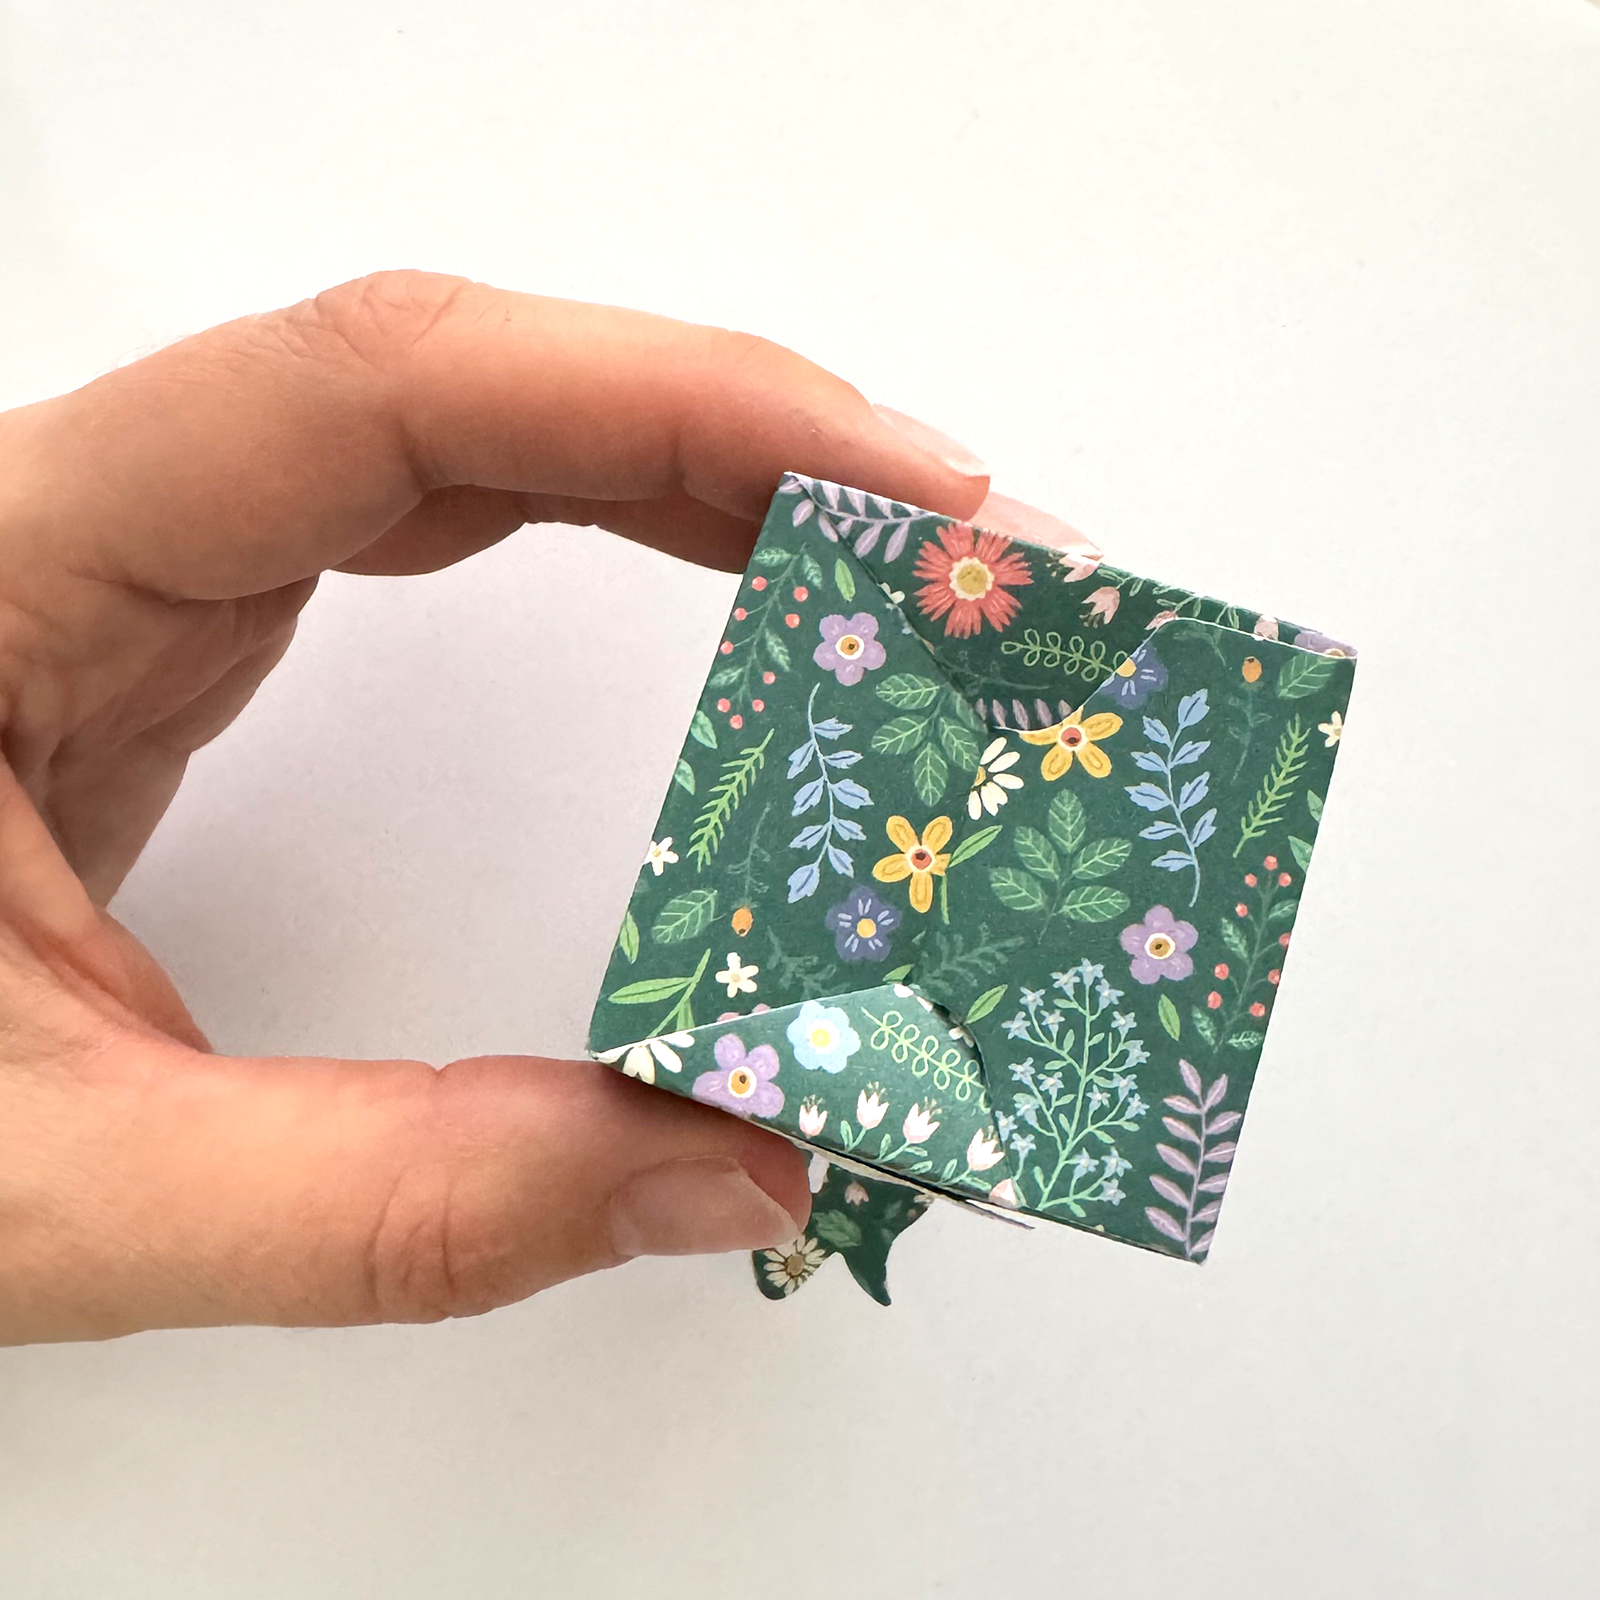
Glue the small tulips onto the base shape of the box. Then, fold all the score lines to shape the box.
8
Apply glue or tape to the adhesive strip and seal the sides of the box.
9
Fold the bottom of the box together. For added stability, the flaps can be glued together.
10
Finally, fold the top of the box together. For extra sturdiness, these parts can also be glued together. Don't forget to fill the box with something delightful before closing it!