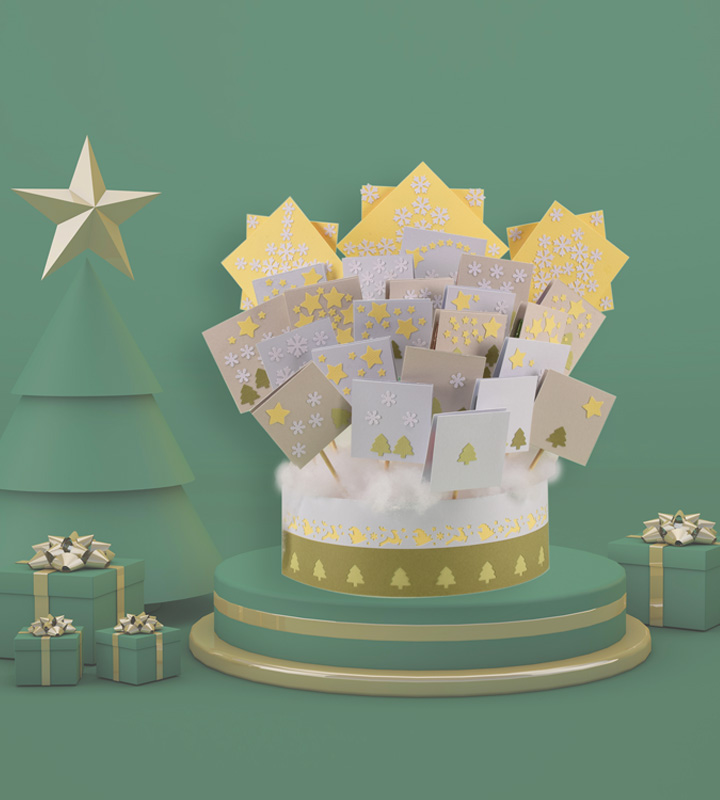
Make your own educational cardstock advent calendar
Make your own educational cardstock advent calendar
This
educational advent calendar encourages counting in children. Count the number
of figures on each card and find out which surprise you may open today.
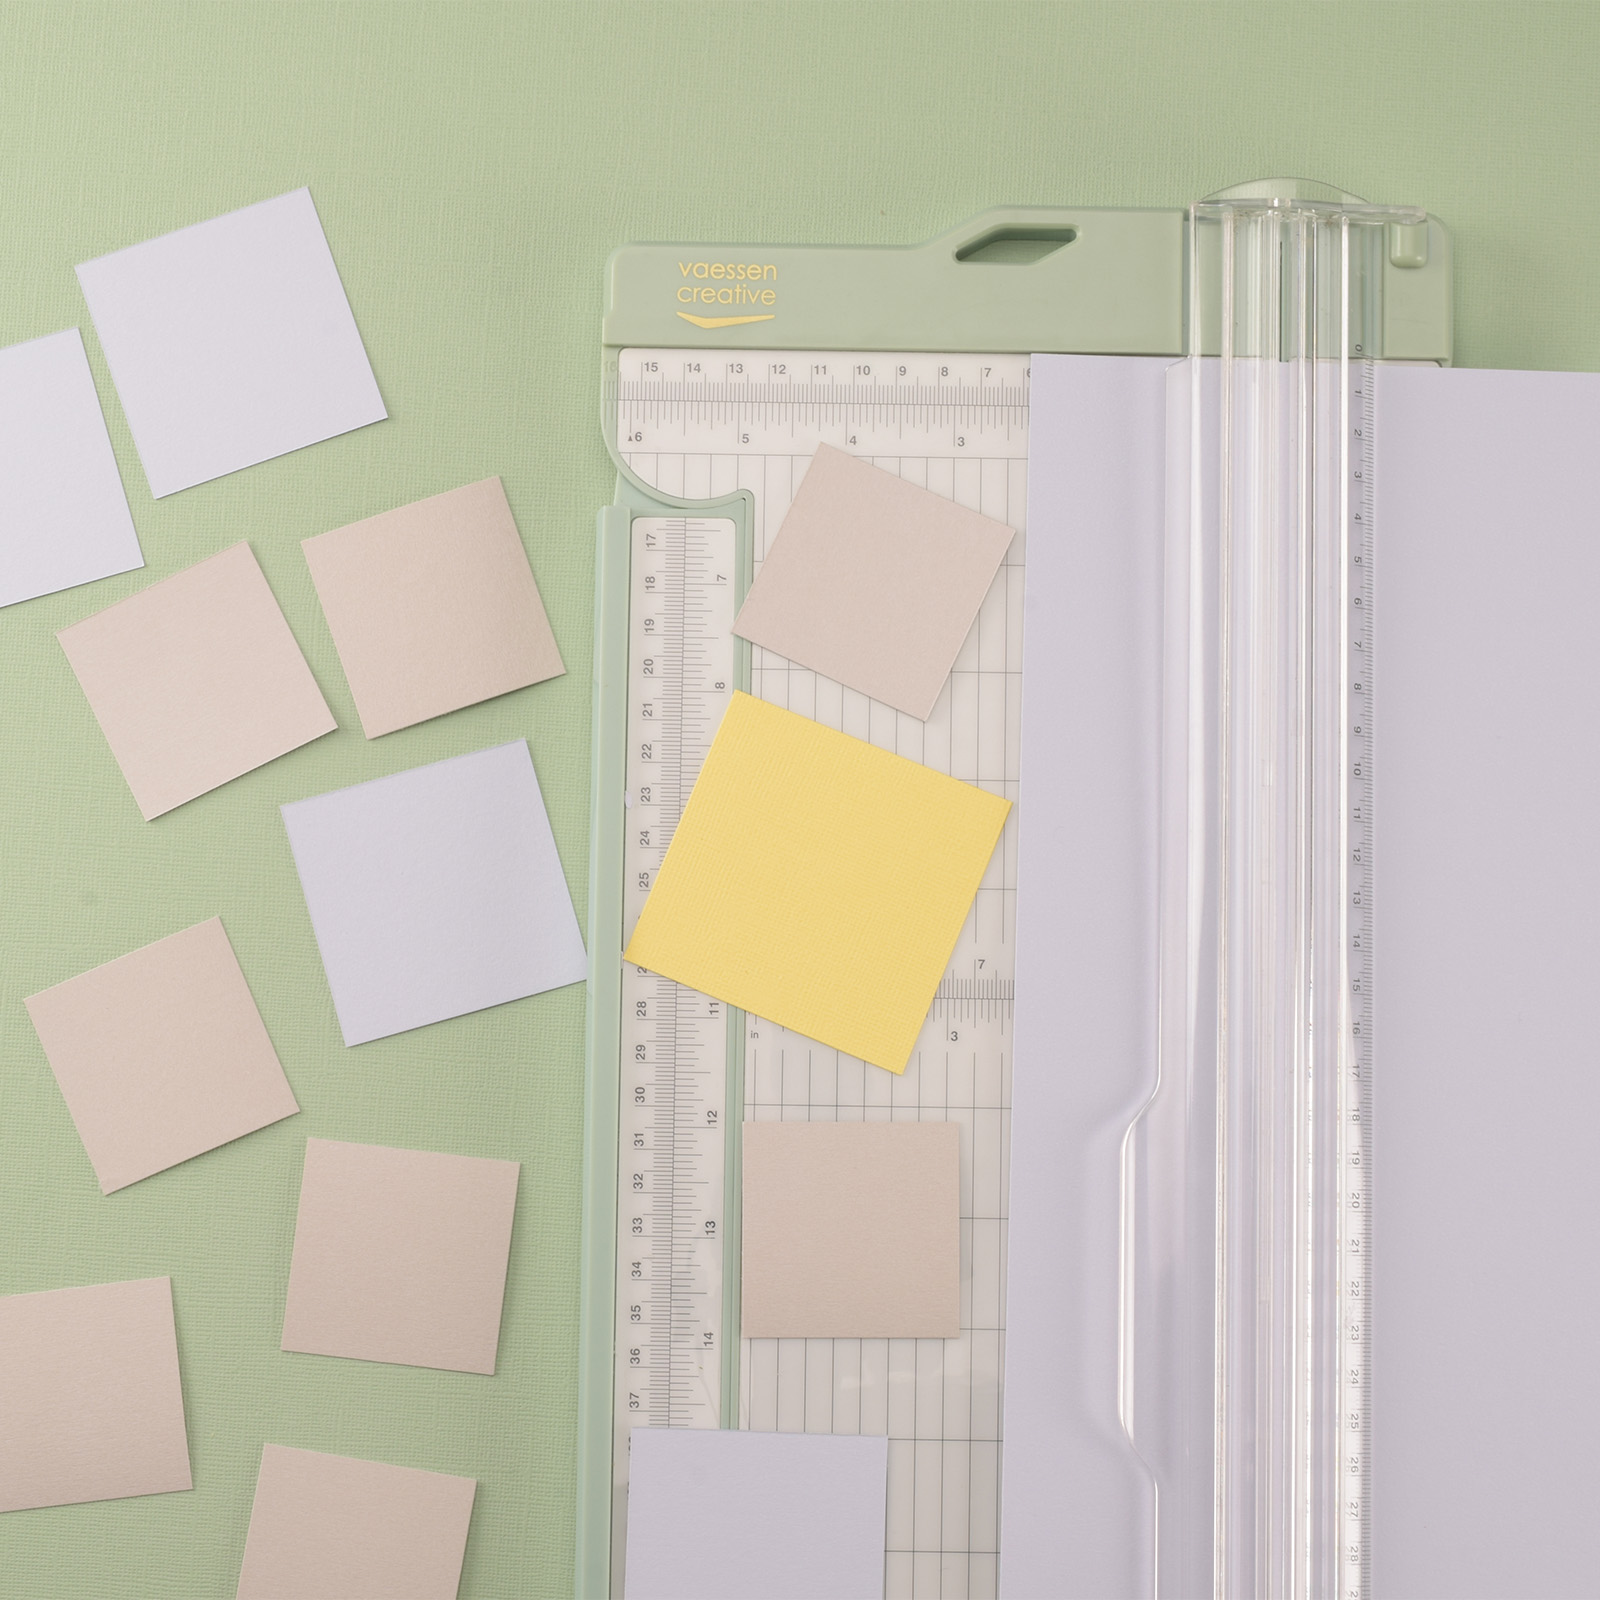
1
First cut all the paper to the right size: 1st color 18 times 5x5cm and 4 times 6x6cm. 2nd color 18 times 5x5cm and 2 times 6x6cm. Yellow for the stars 4 times 7x7cm, 2 times 9x9cm
2
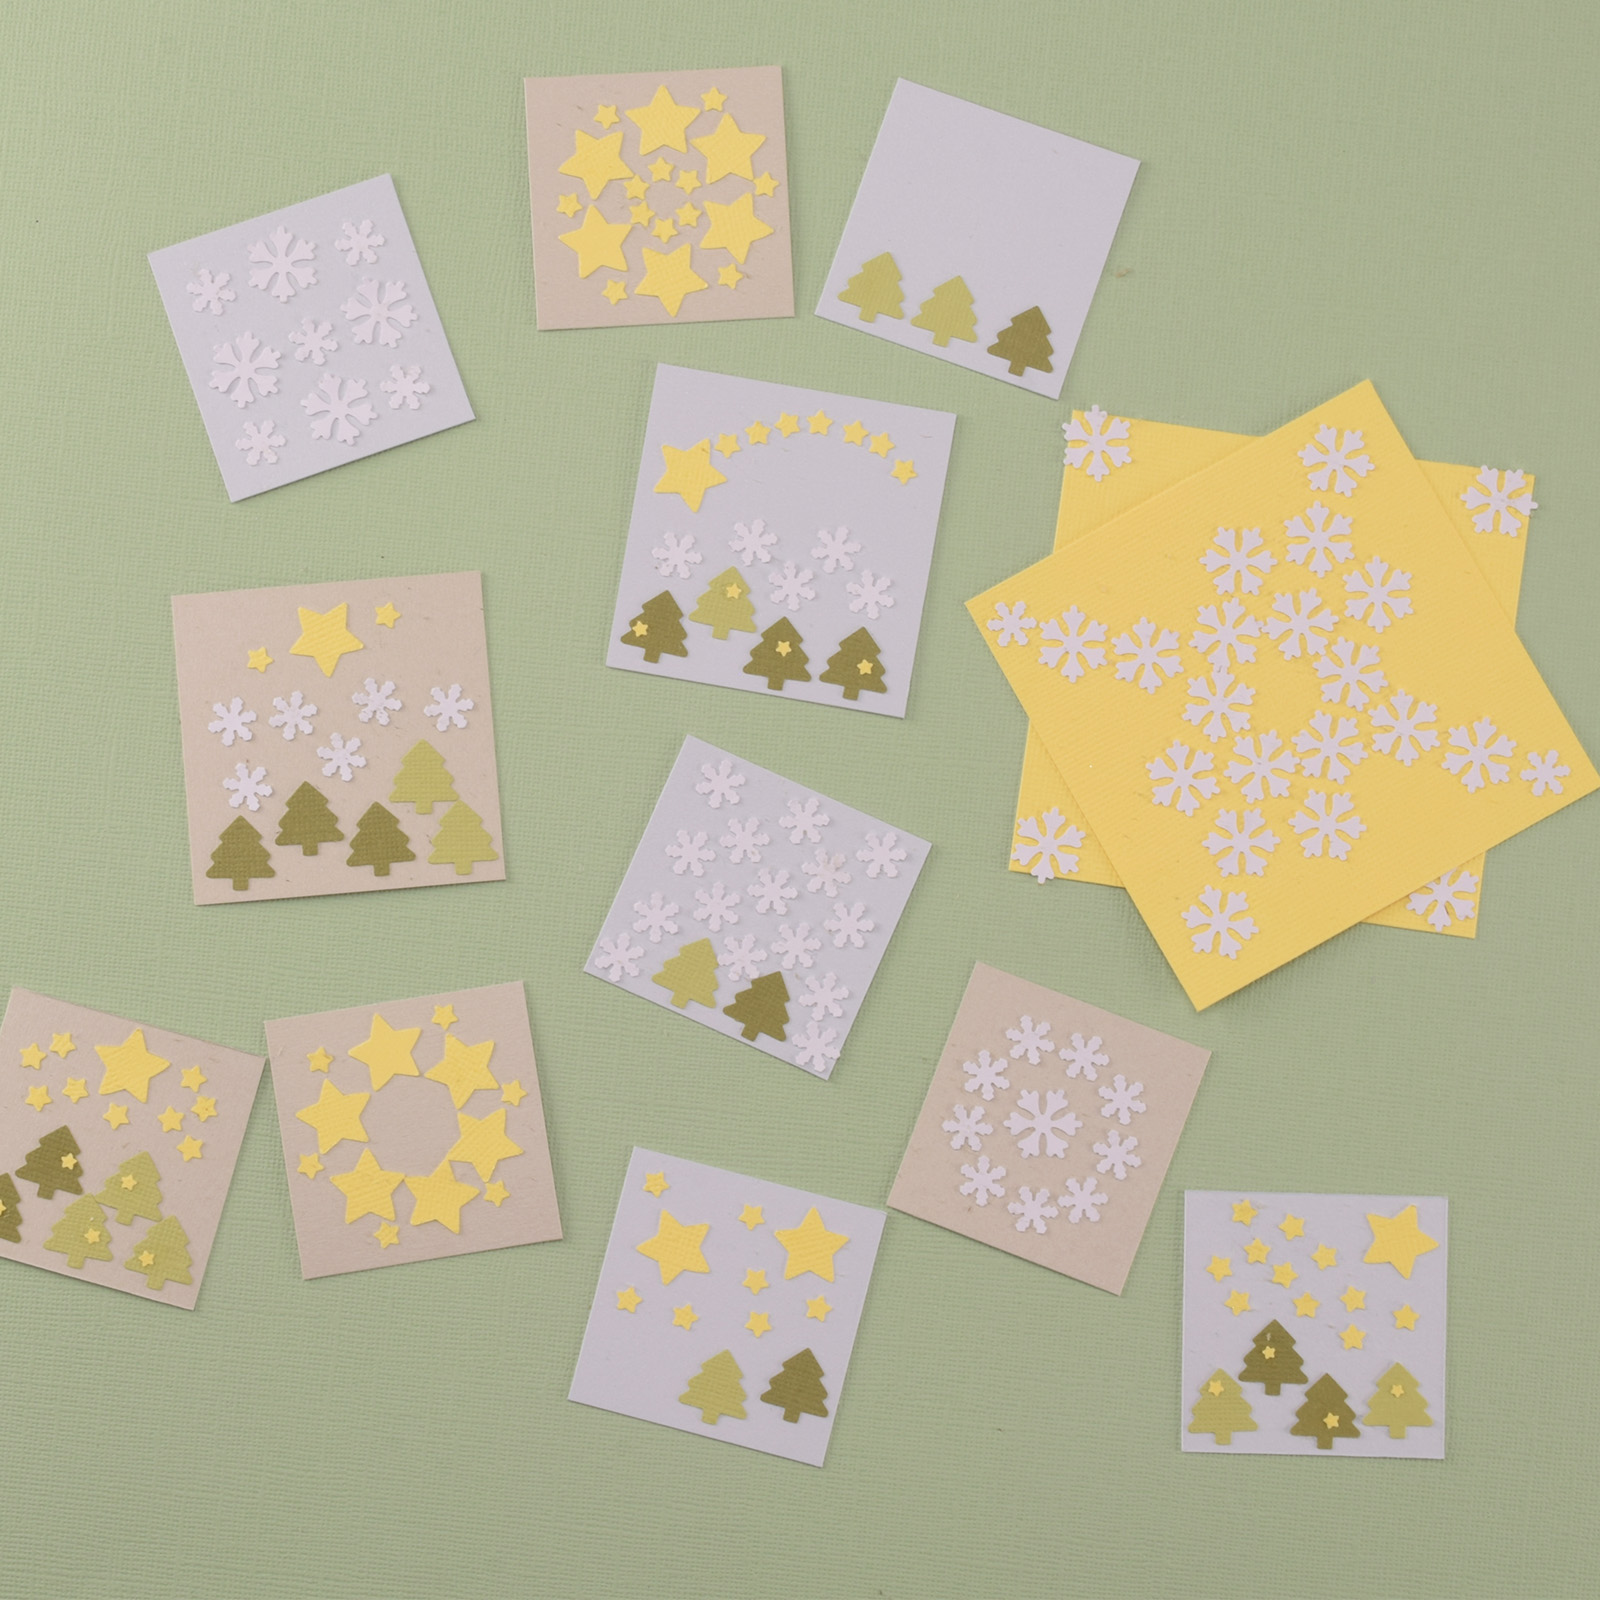
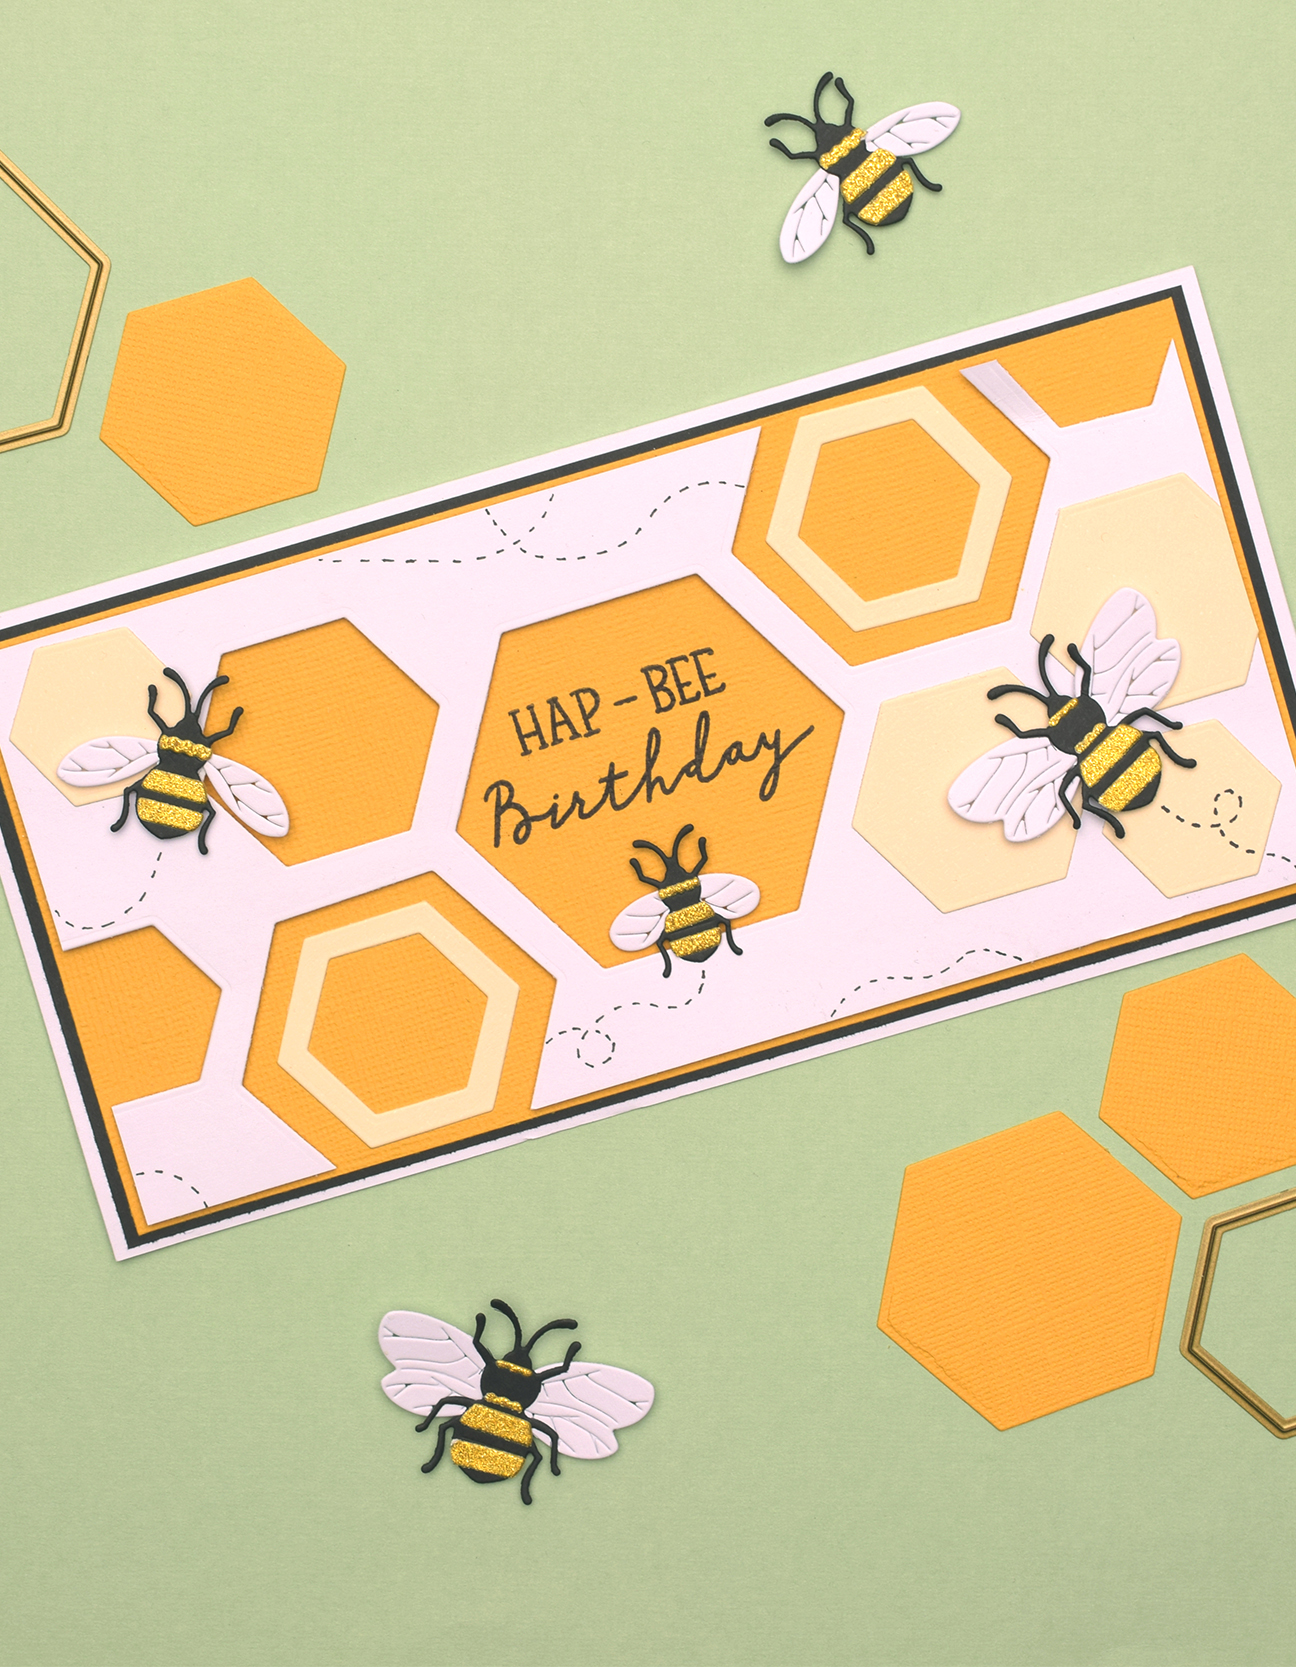
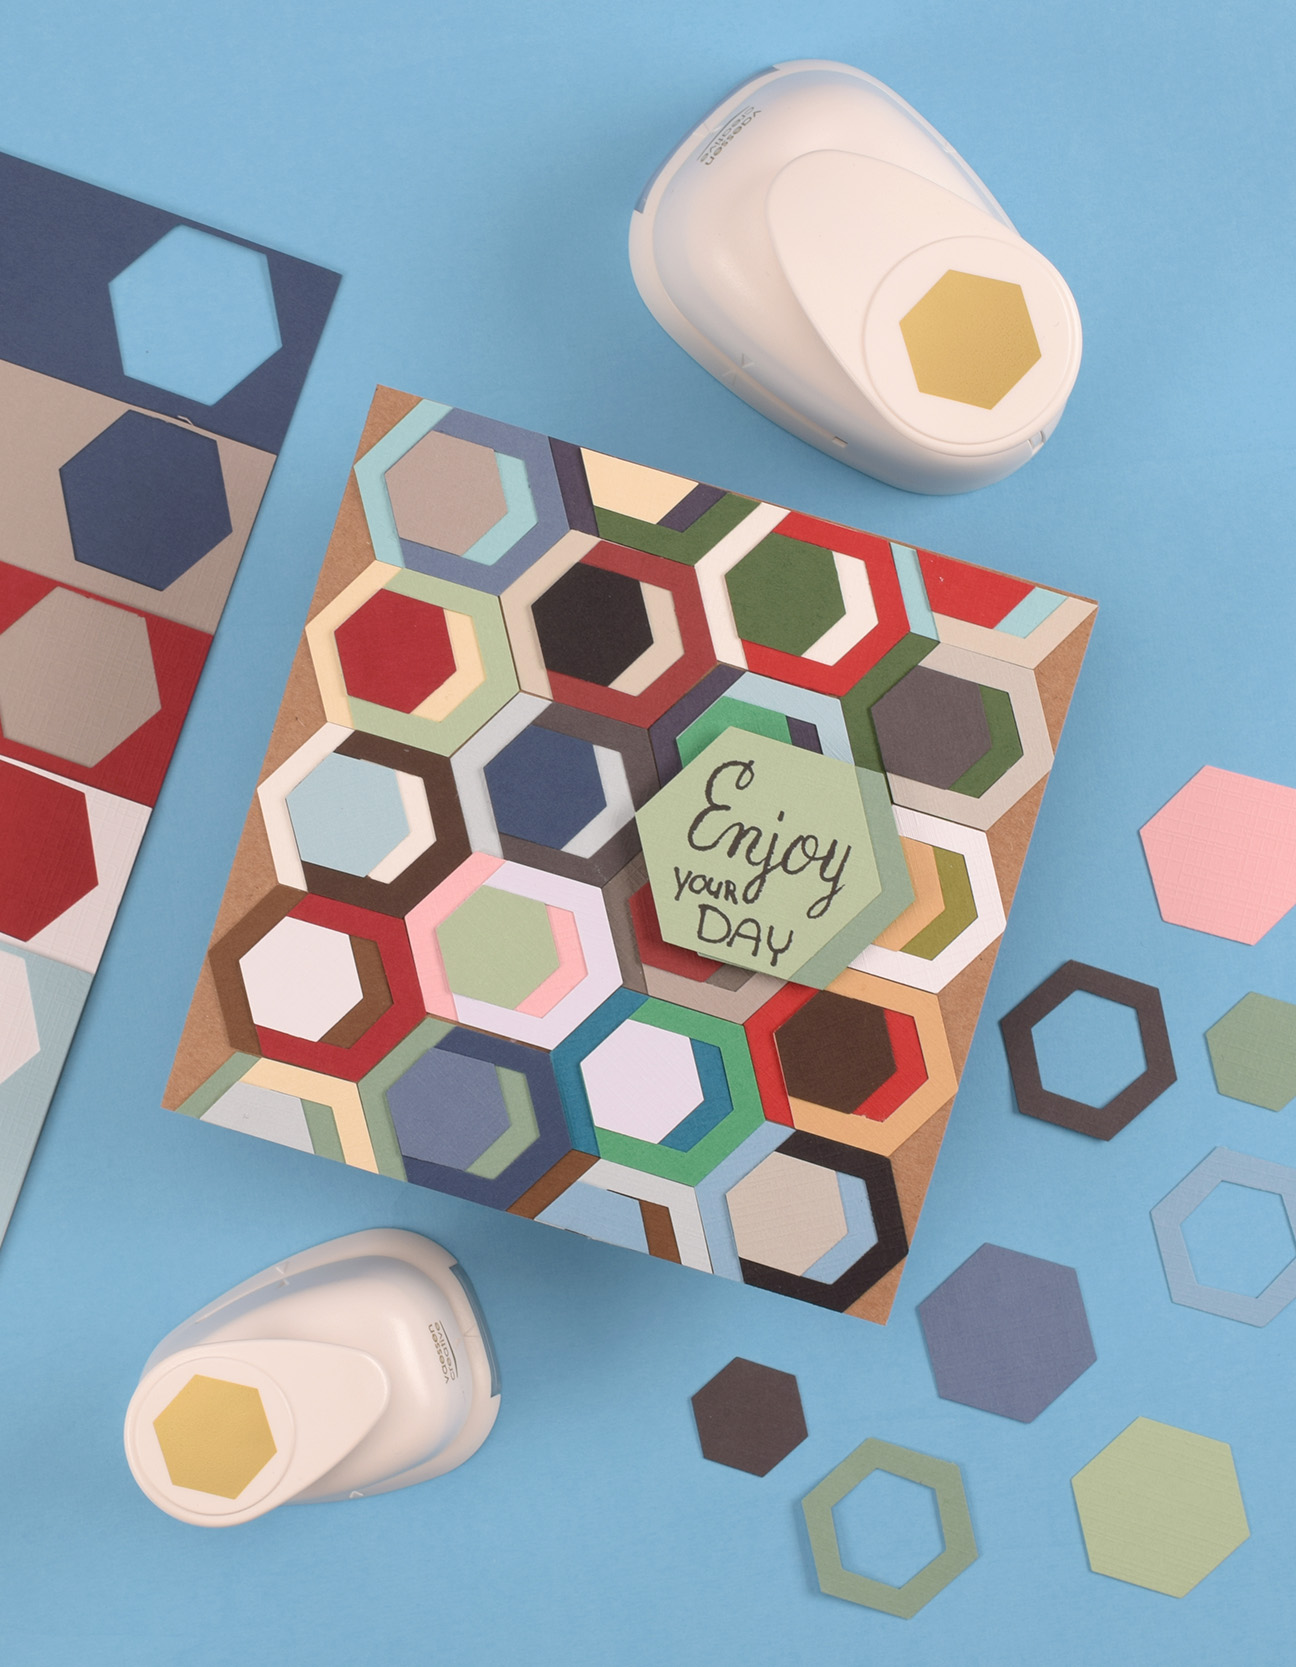
Punch out a supply of different figures.
3
G the punched figures on half of cut 5x5cm squares to fit your own taste. The other half will be used as the back side. Start with 1 figure on the 1st paper, 2 figures on the 2nd paper, etc. For the 7th and 14th day (Advent Sundays) use size 6x6cm. The last square will eventually hold 24 figures. The largest yellow squares (7x7cm and 9x9cm) are for the special stars to count down the last 3 days.
4
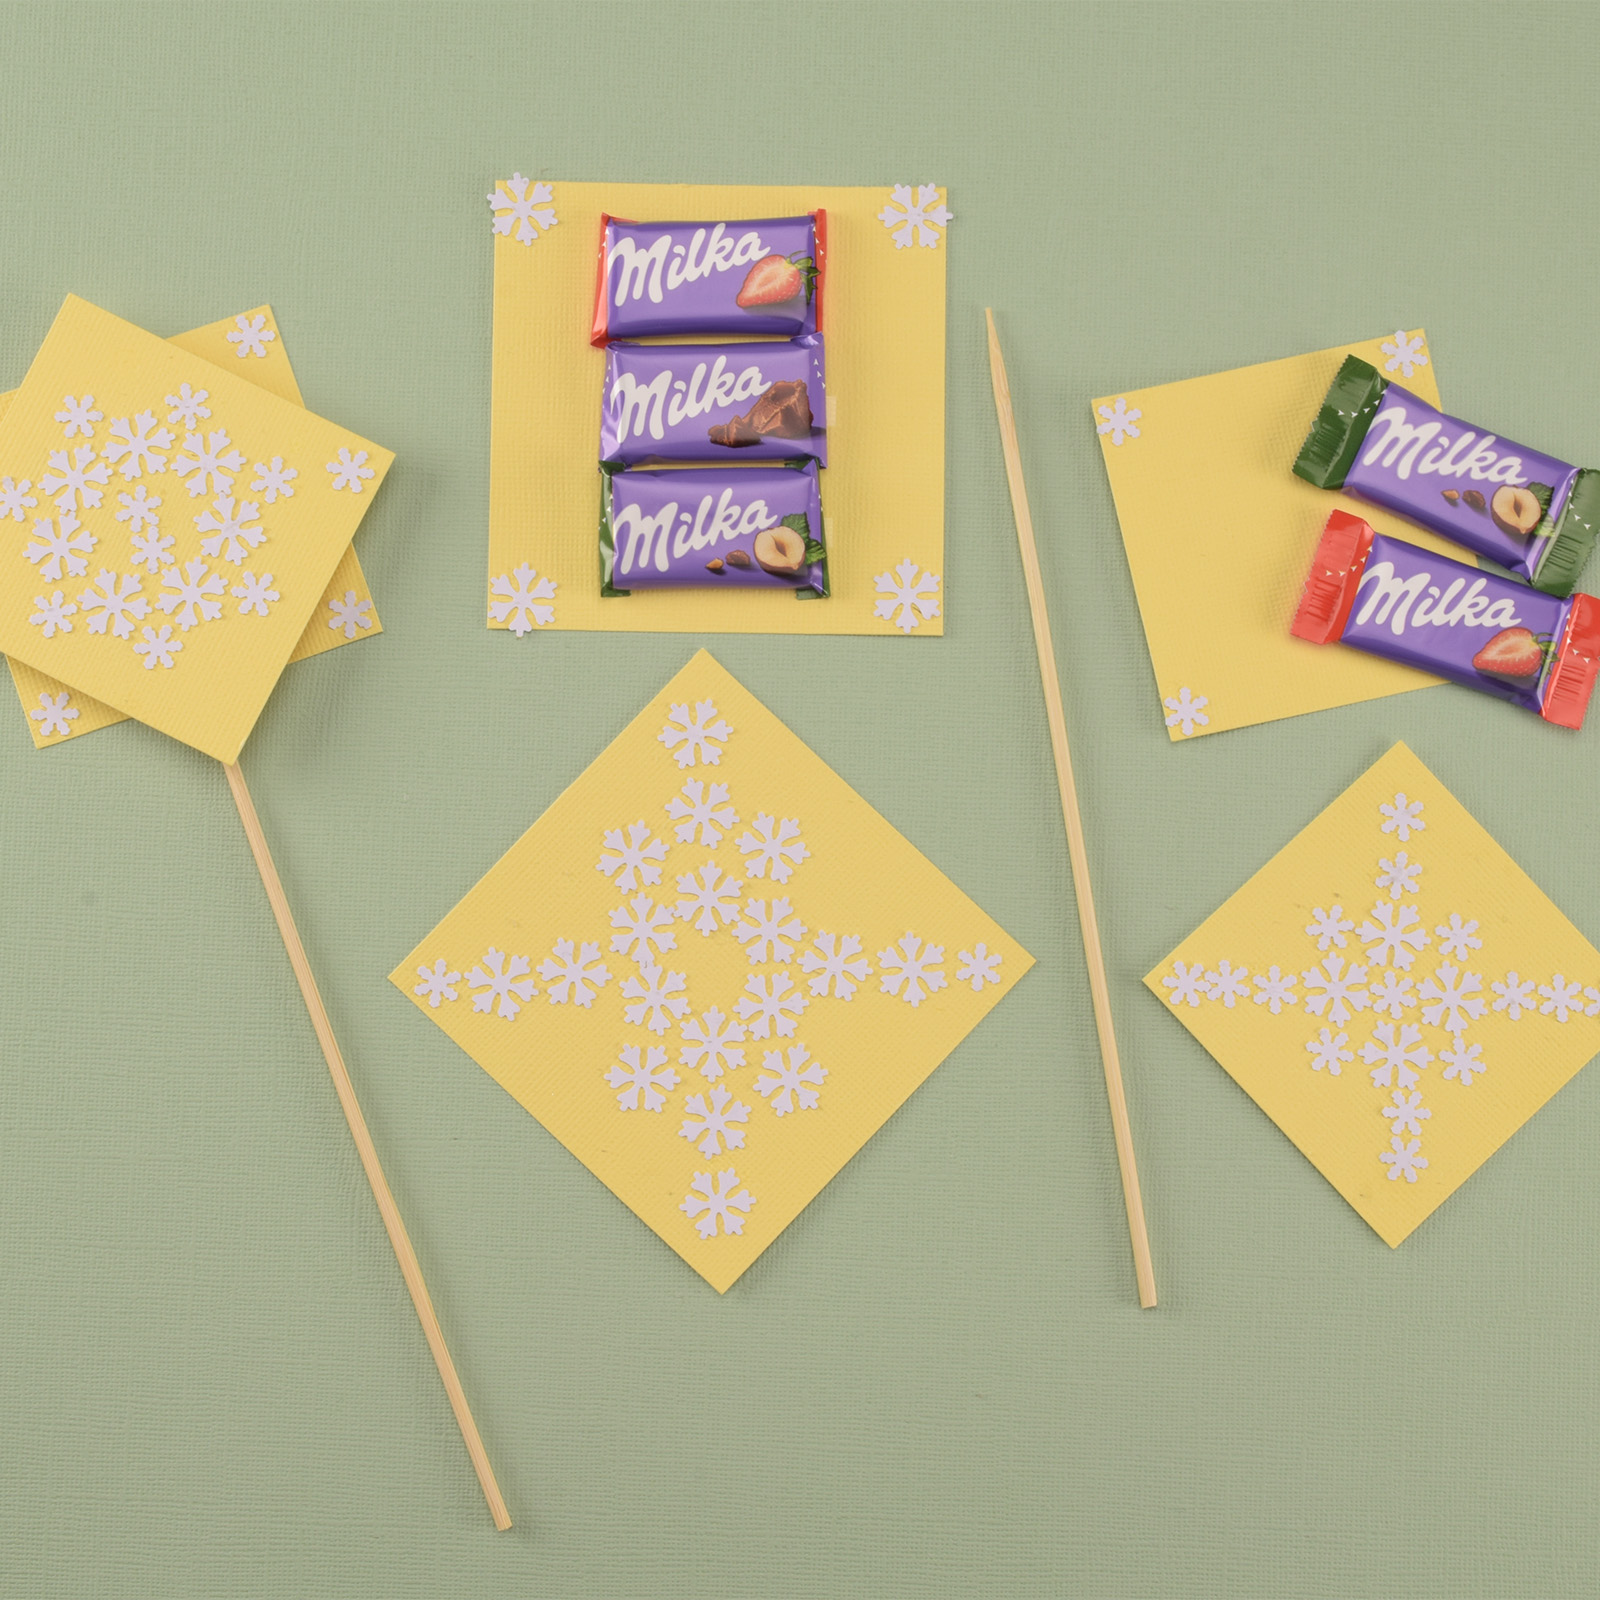
Now it is time to stick the advent surprise in between the layers. For the last 3 days stick an extra surprise. Using double-sided tape, stick the surprise on the yellow paper. Turn the second paper with figures 90 degrees and stick it on the surprise. A star is created. Slide the skewer in between.
5
Also paste the remaining back sides (of 5x5 and 6x6cm) and add a surprise. Cover the surprises with the glued top layers with figures. Slide the skewers in between. Now you have 24 advent surprises ready.
6
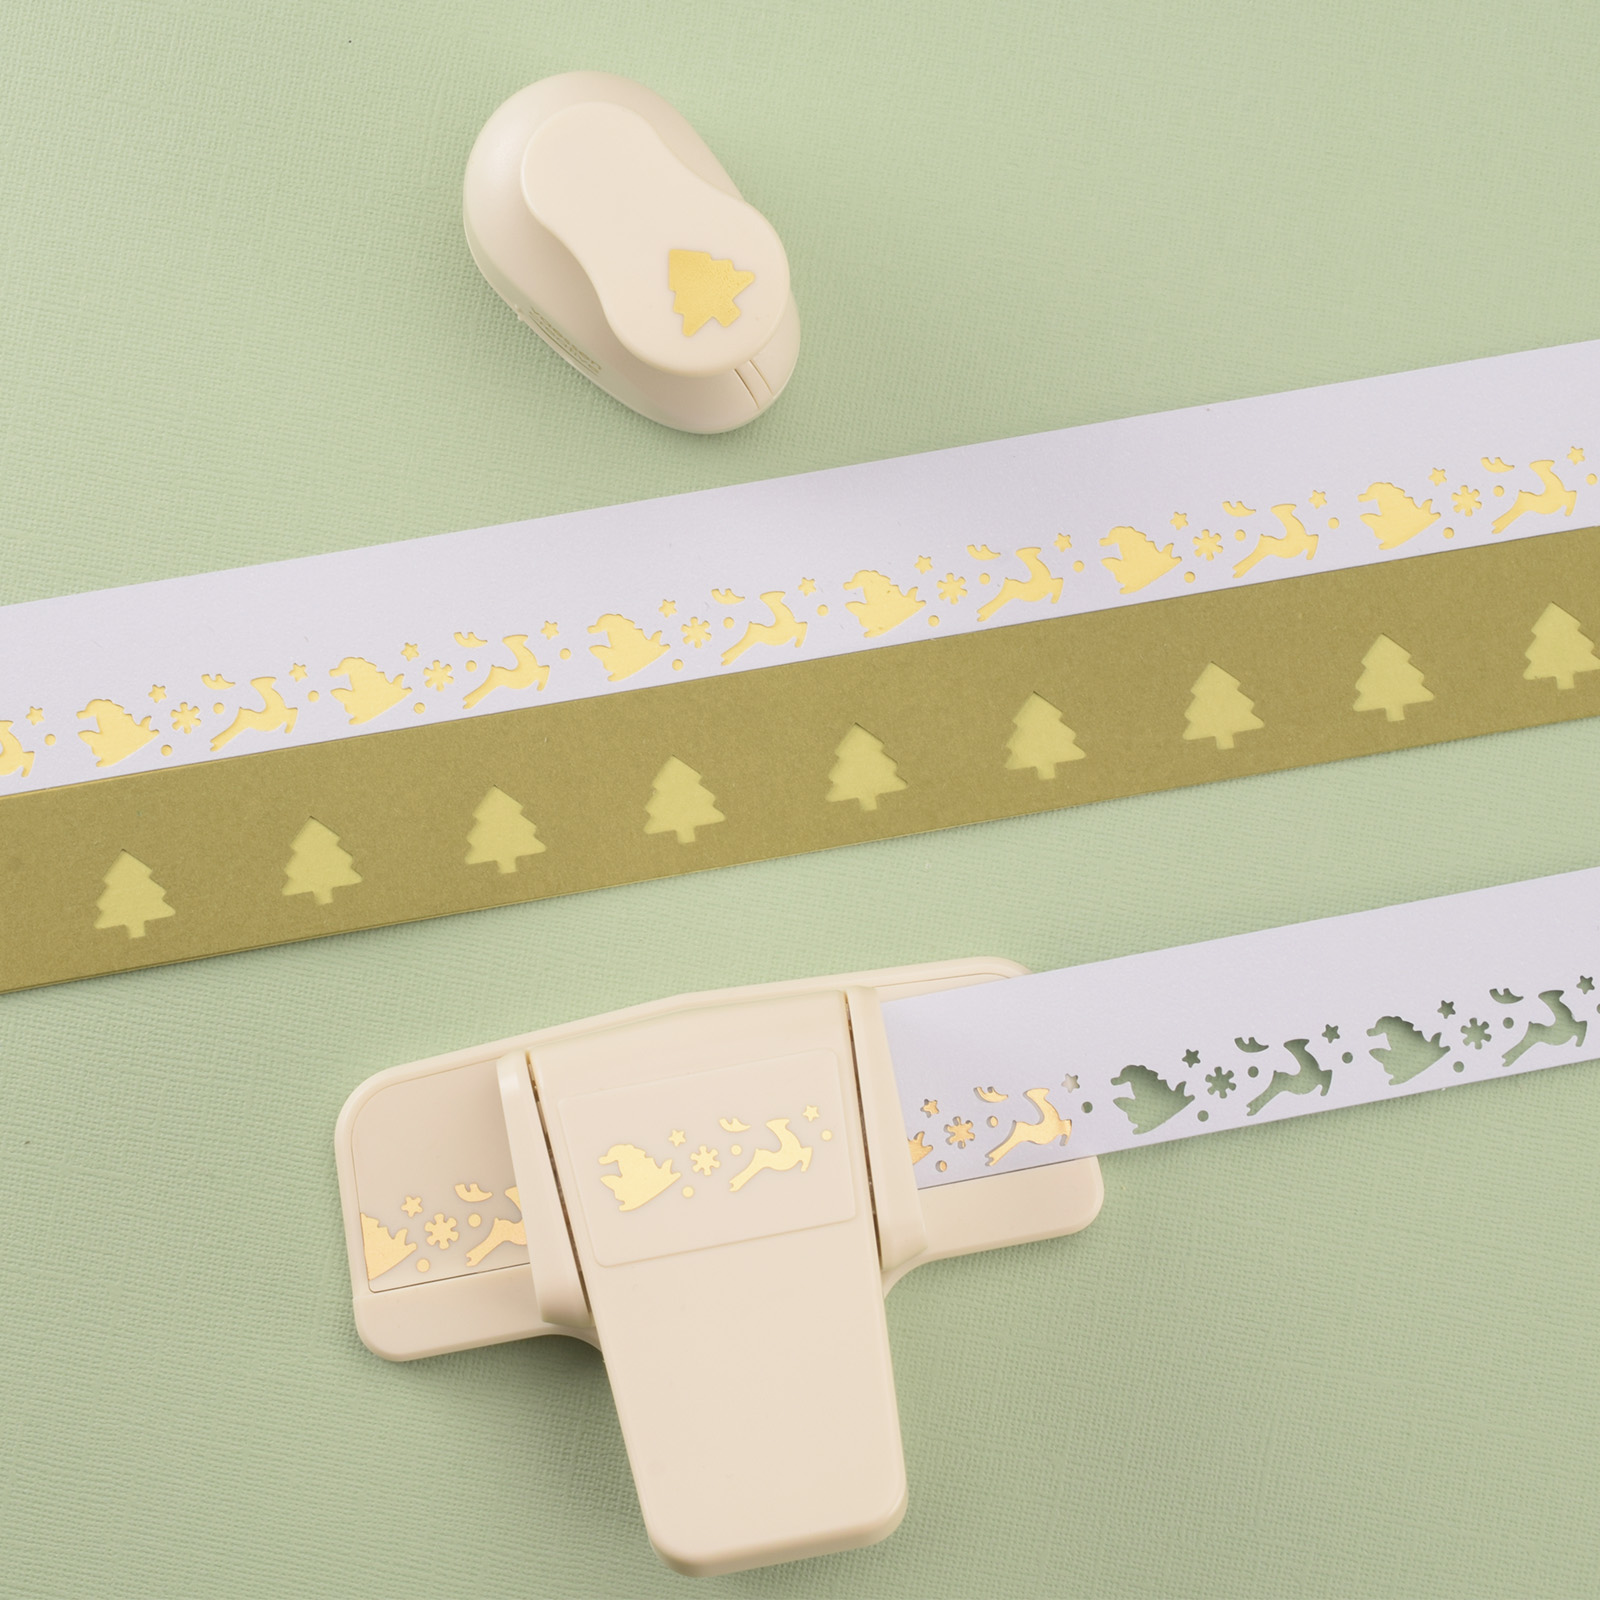
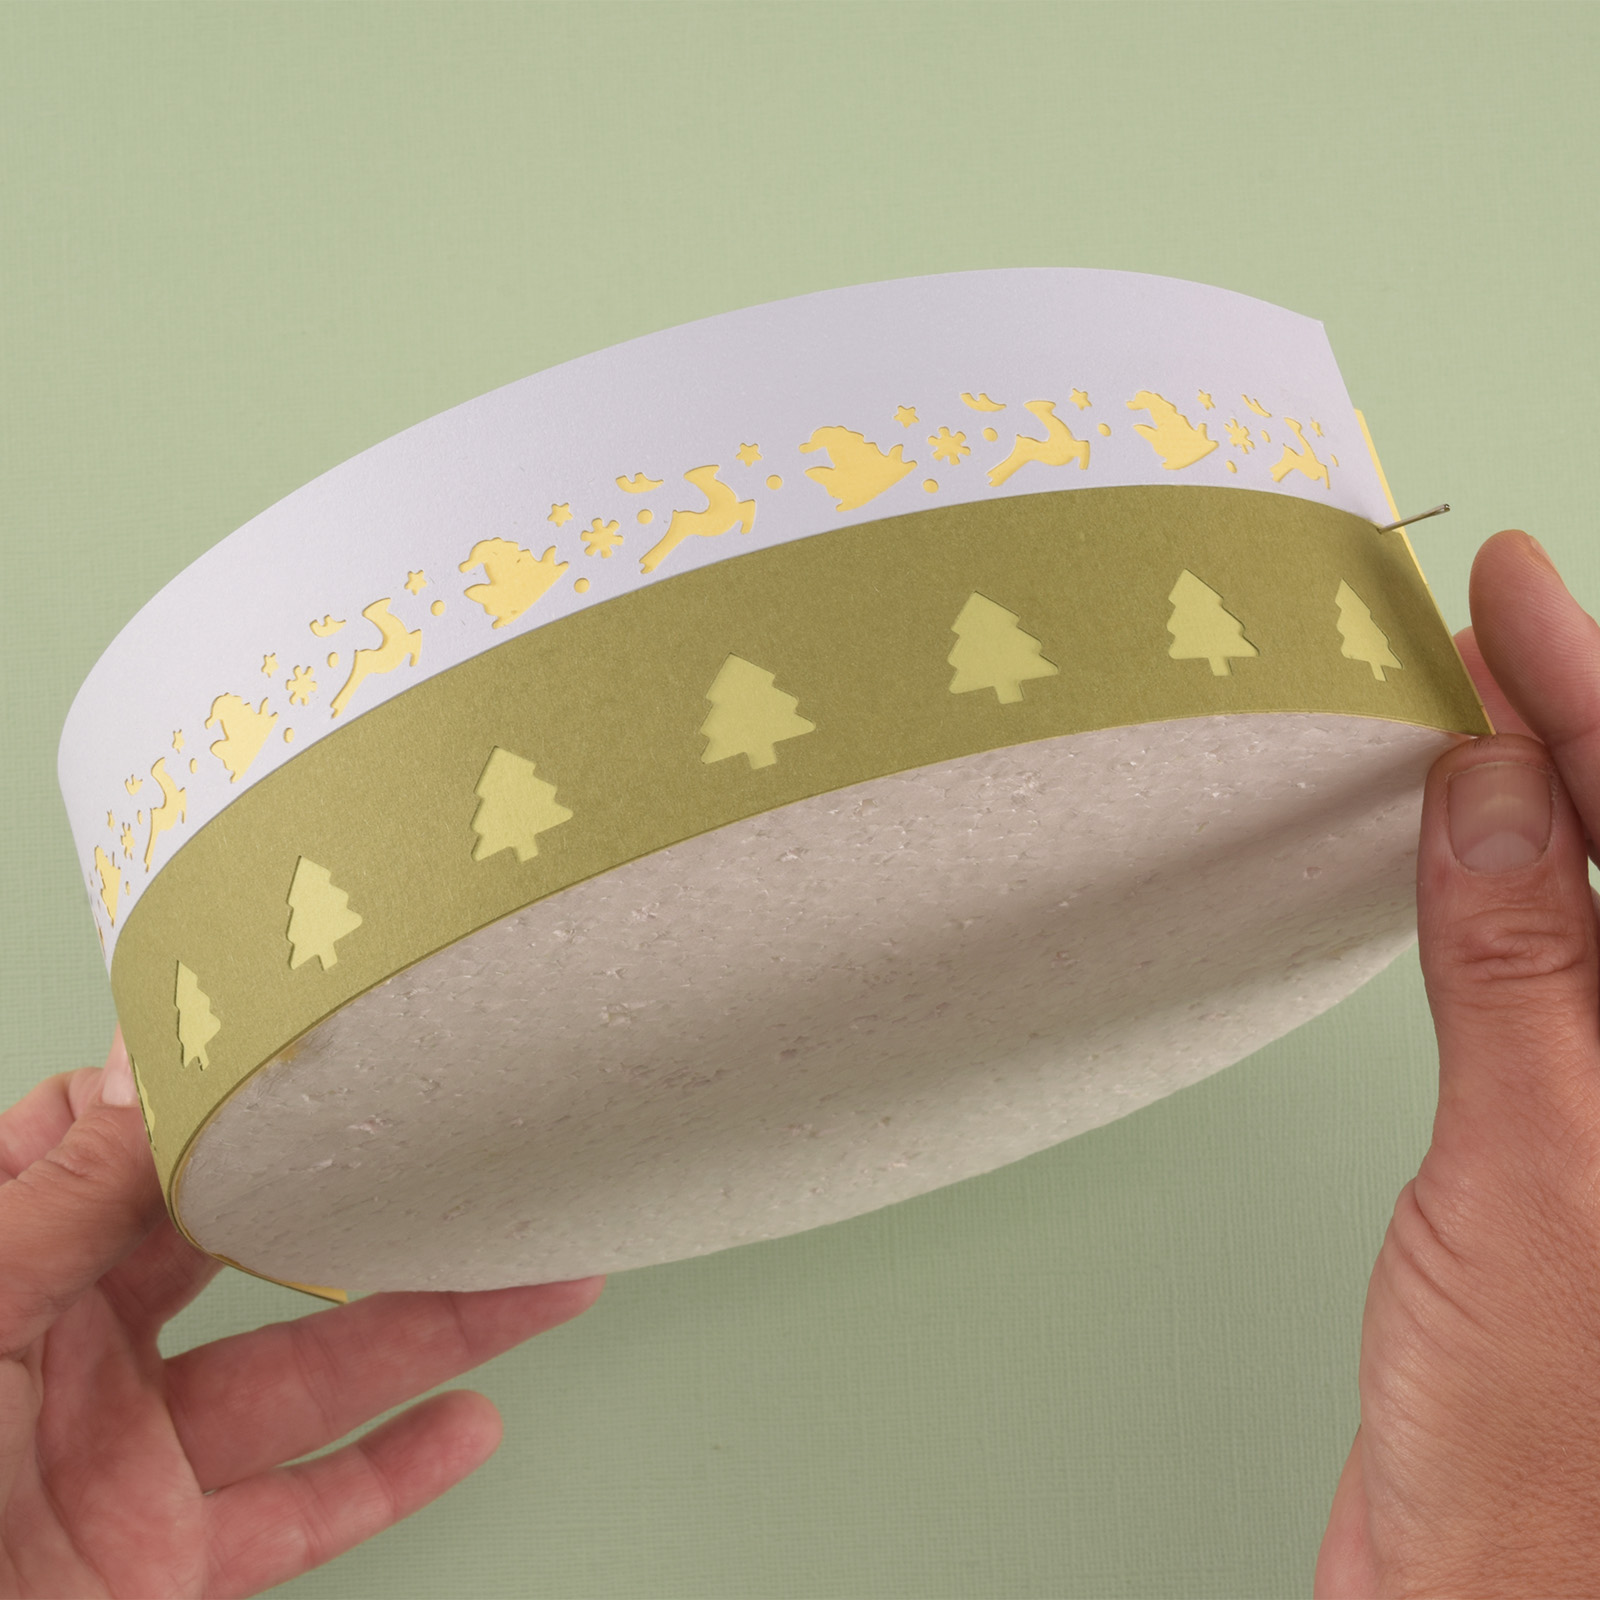
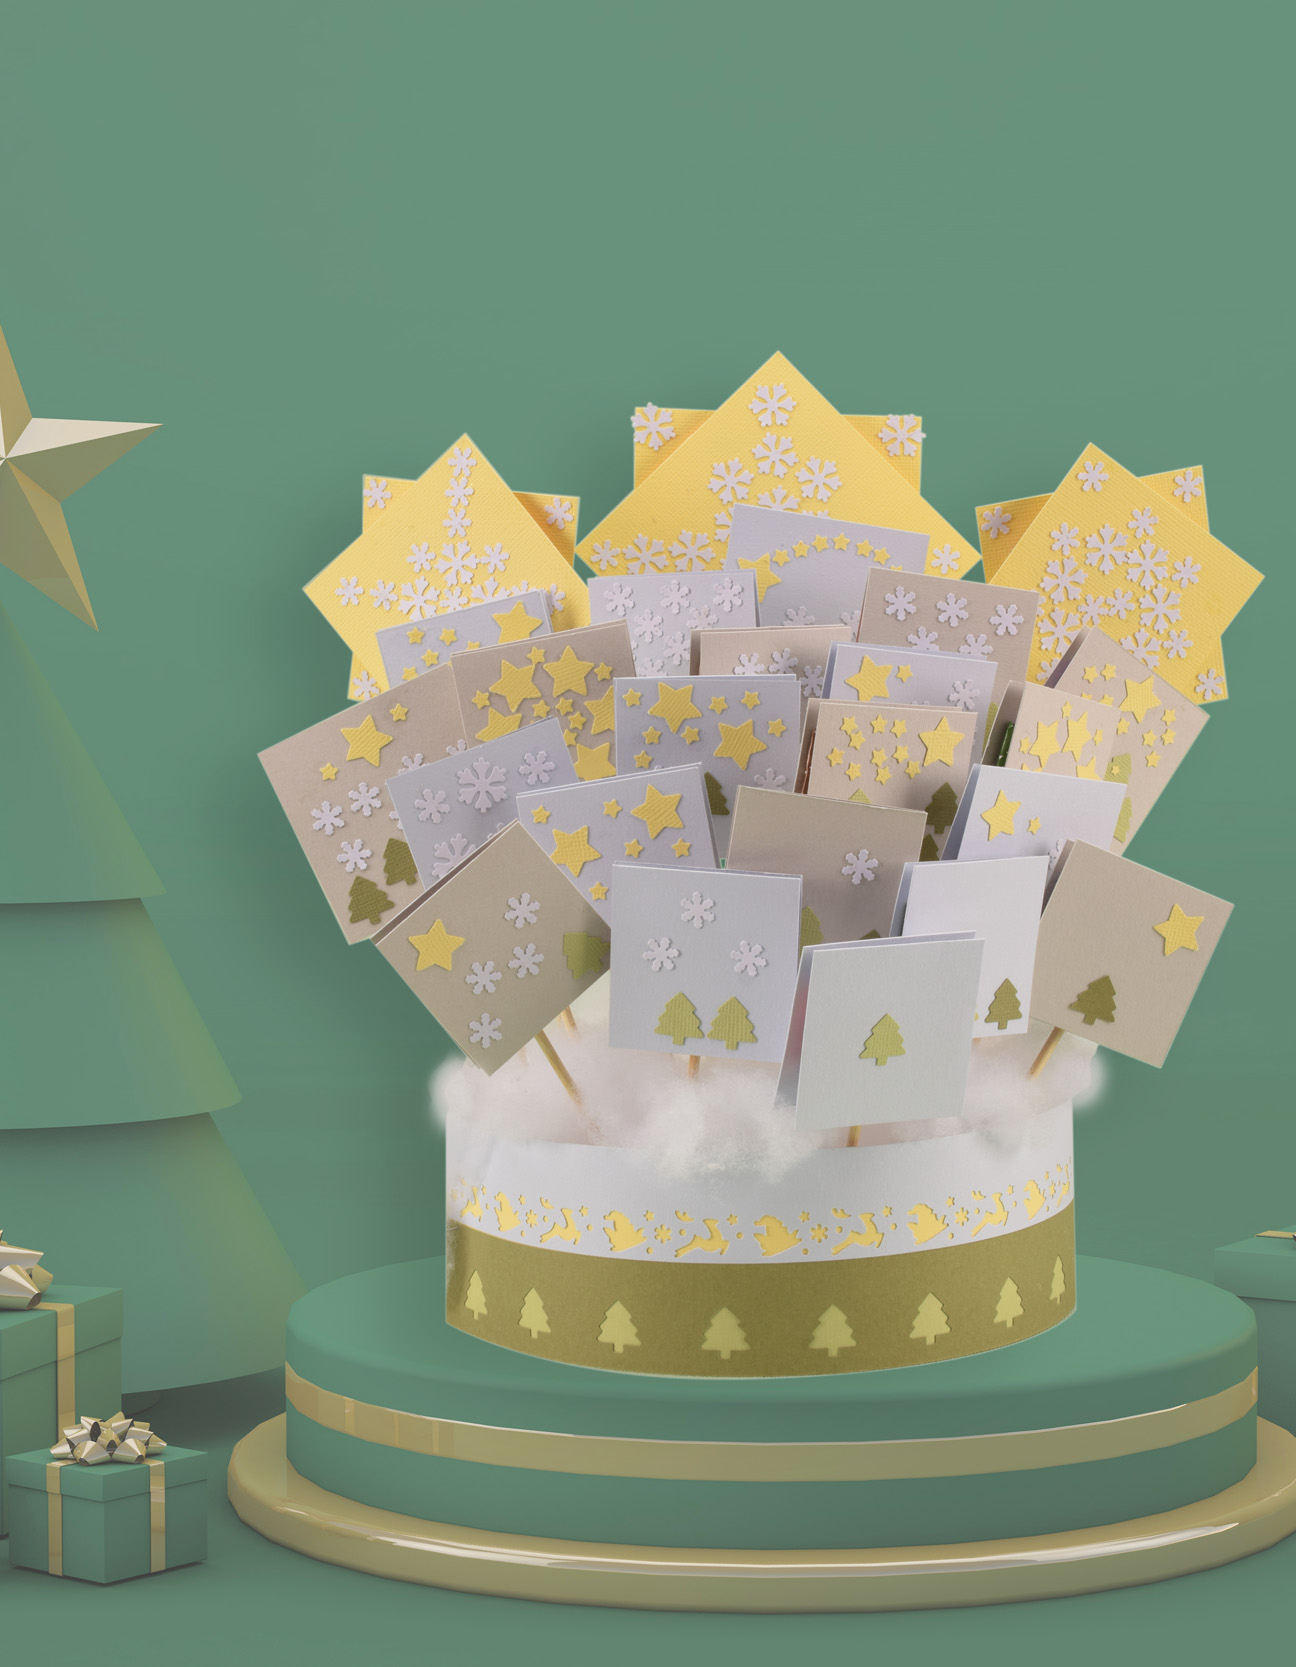
Punch out pine trees over the long side of the dark green paper. Cut these off at 3 cm. Stick a light green strip behind this one. Through the punched out pine trees you can now see the lighter green color. Stick these together along the bottom of a yellow strip of 6 x 27cm. Using the edge punch, punch a decorative border on a 3 x 27cm strip. Use a color you also used for the advent surprises. Paste this strip on top along the yellow strip. See the example for additional information.
7
Make 2 strips as described in step 6. Secure these with pins around around the styrofoam circle.
8
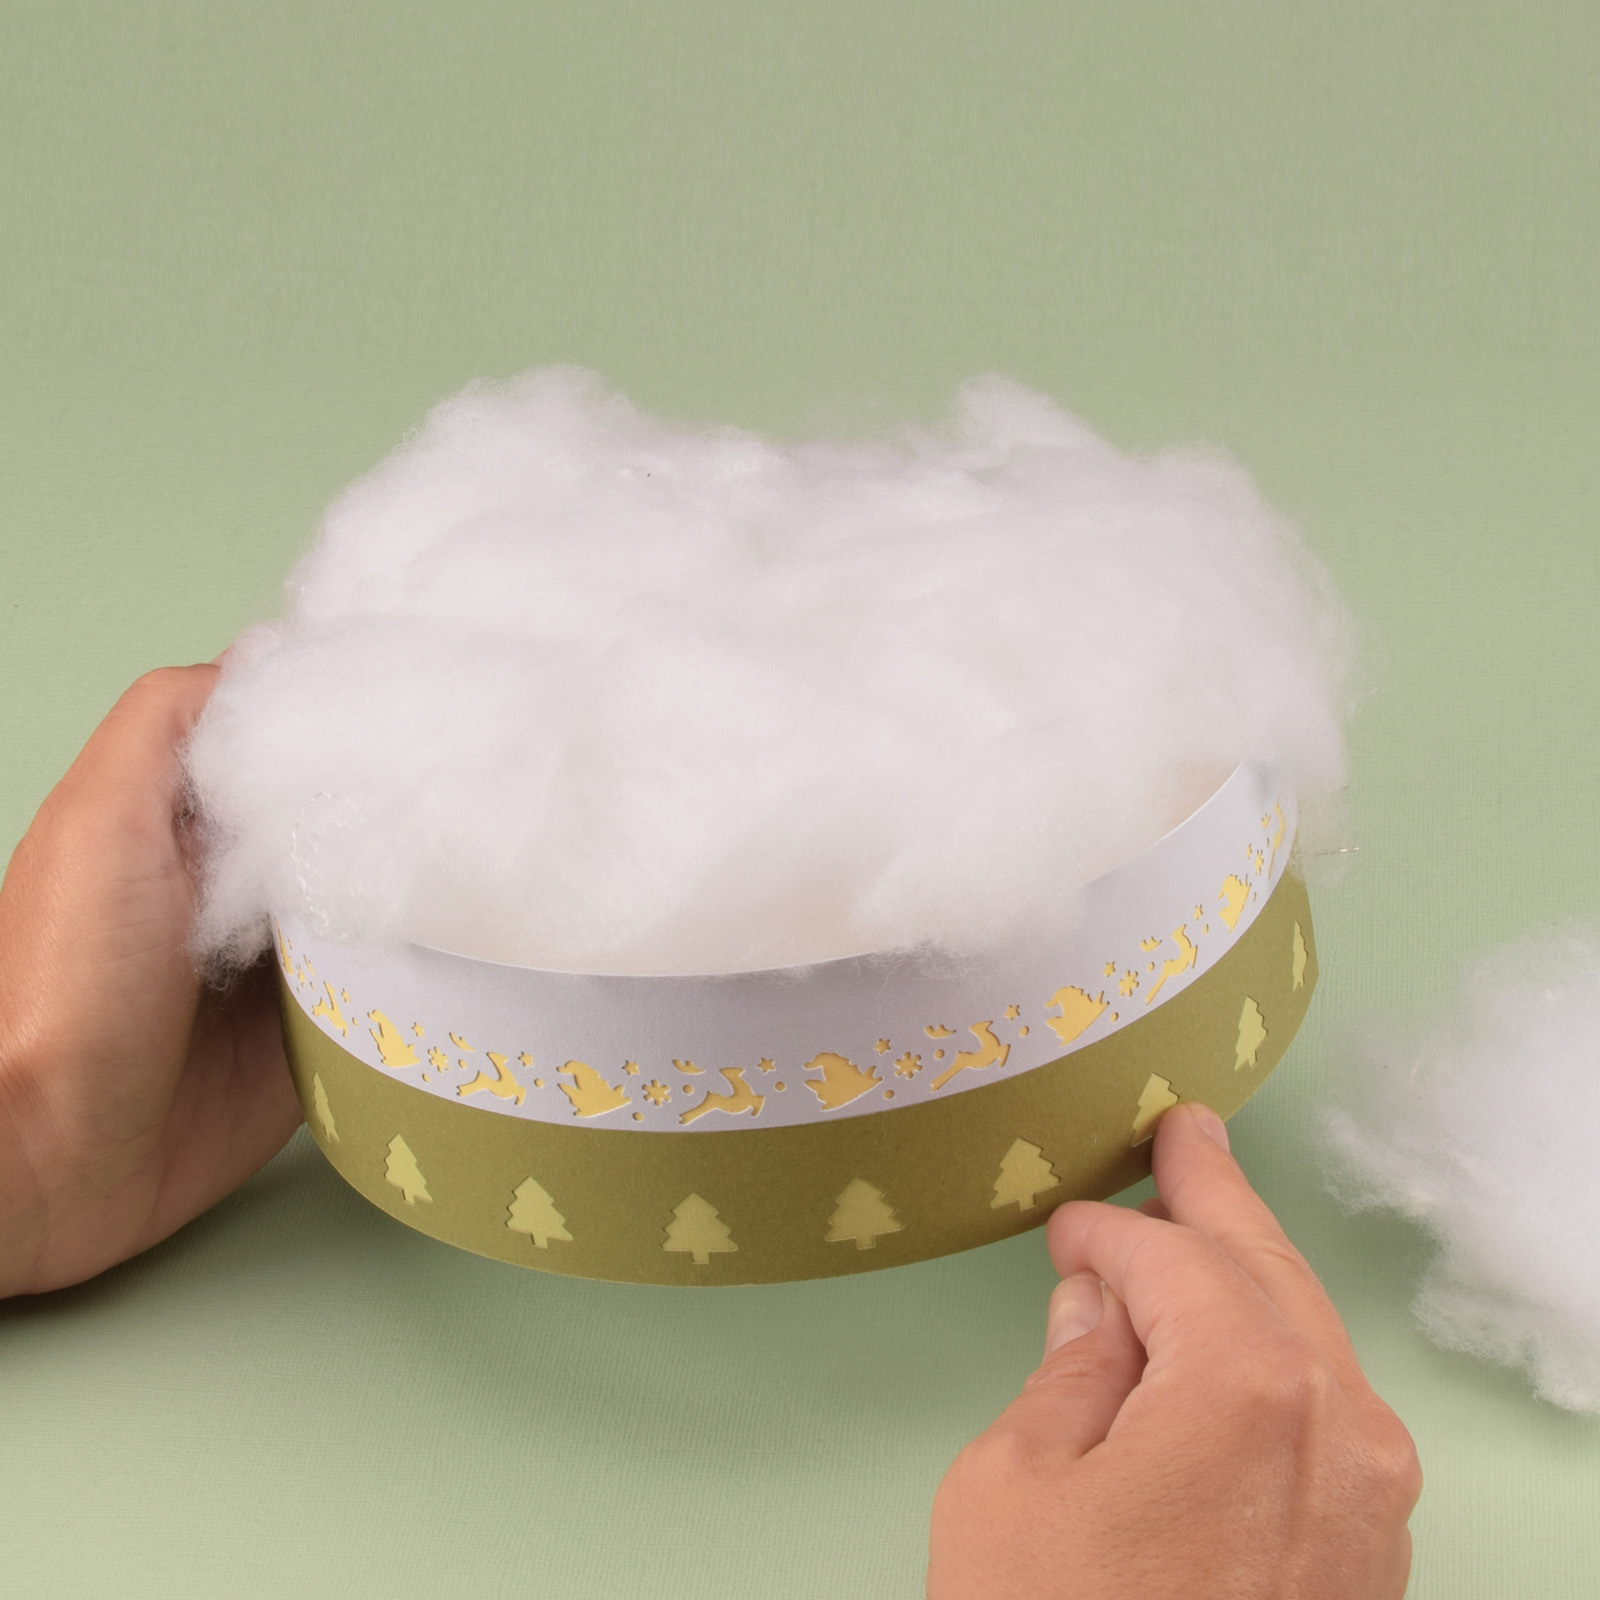
Put a layer of white filling on top.
9
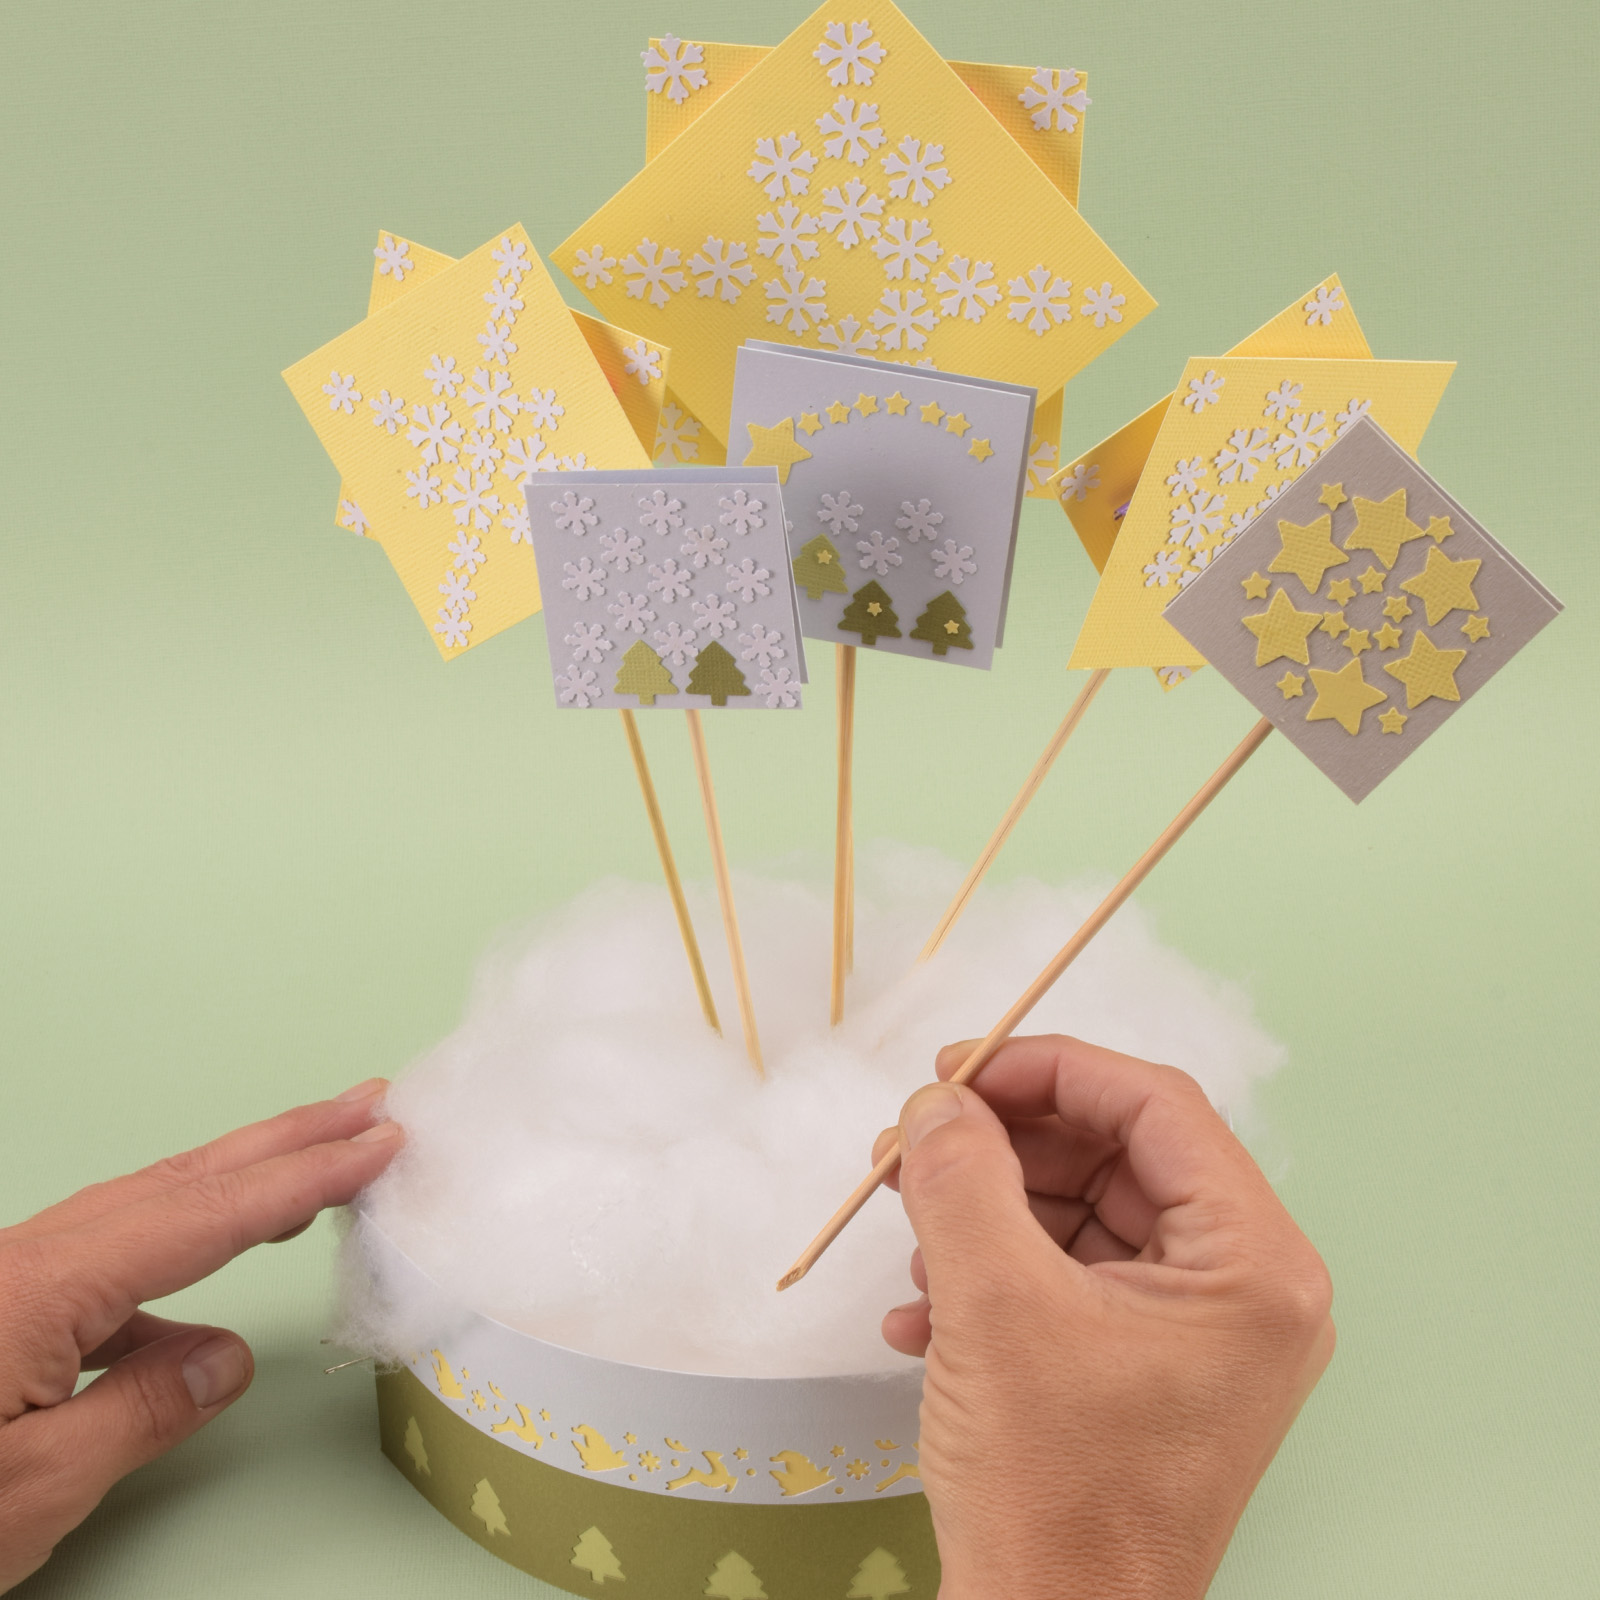
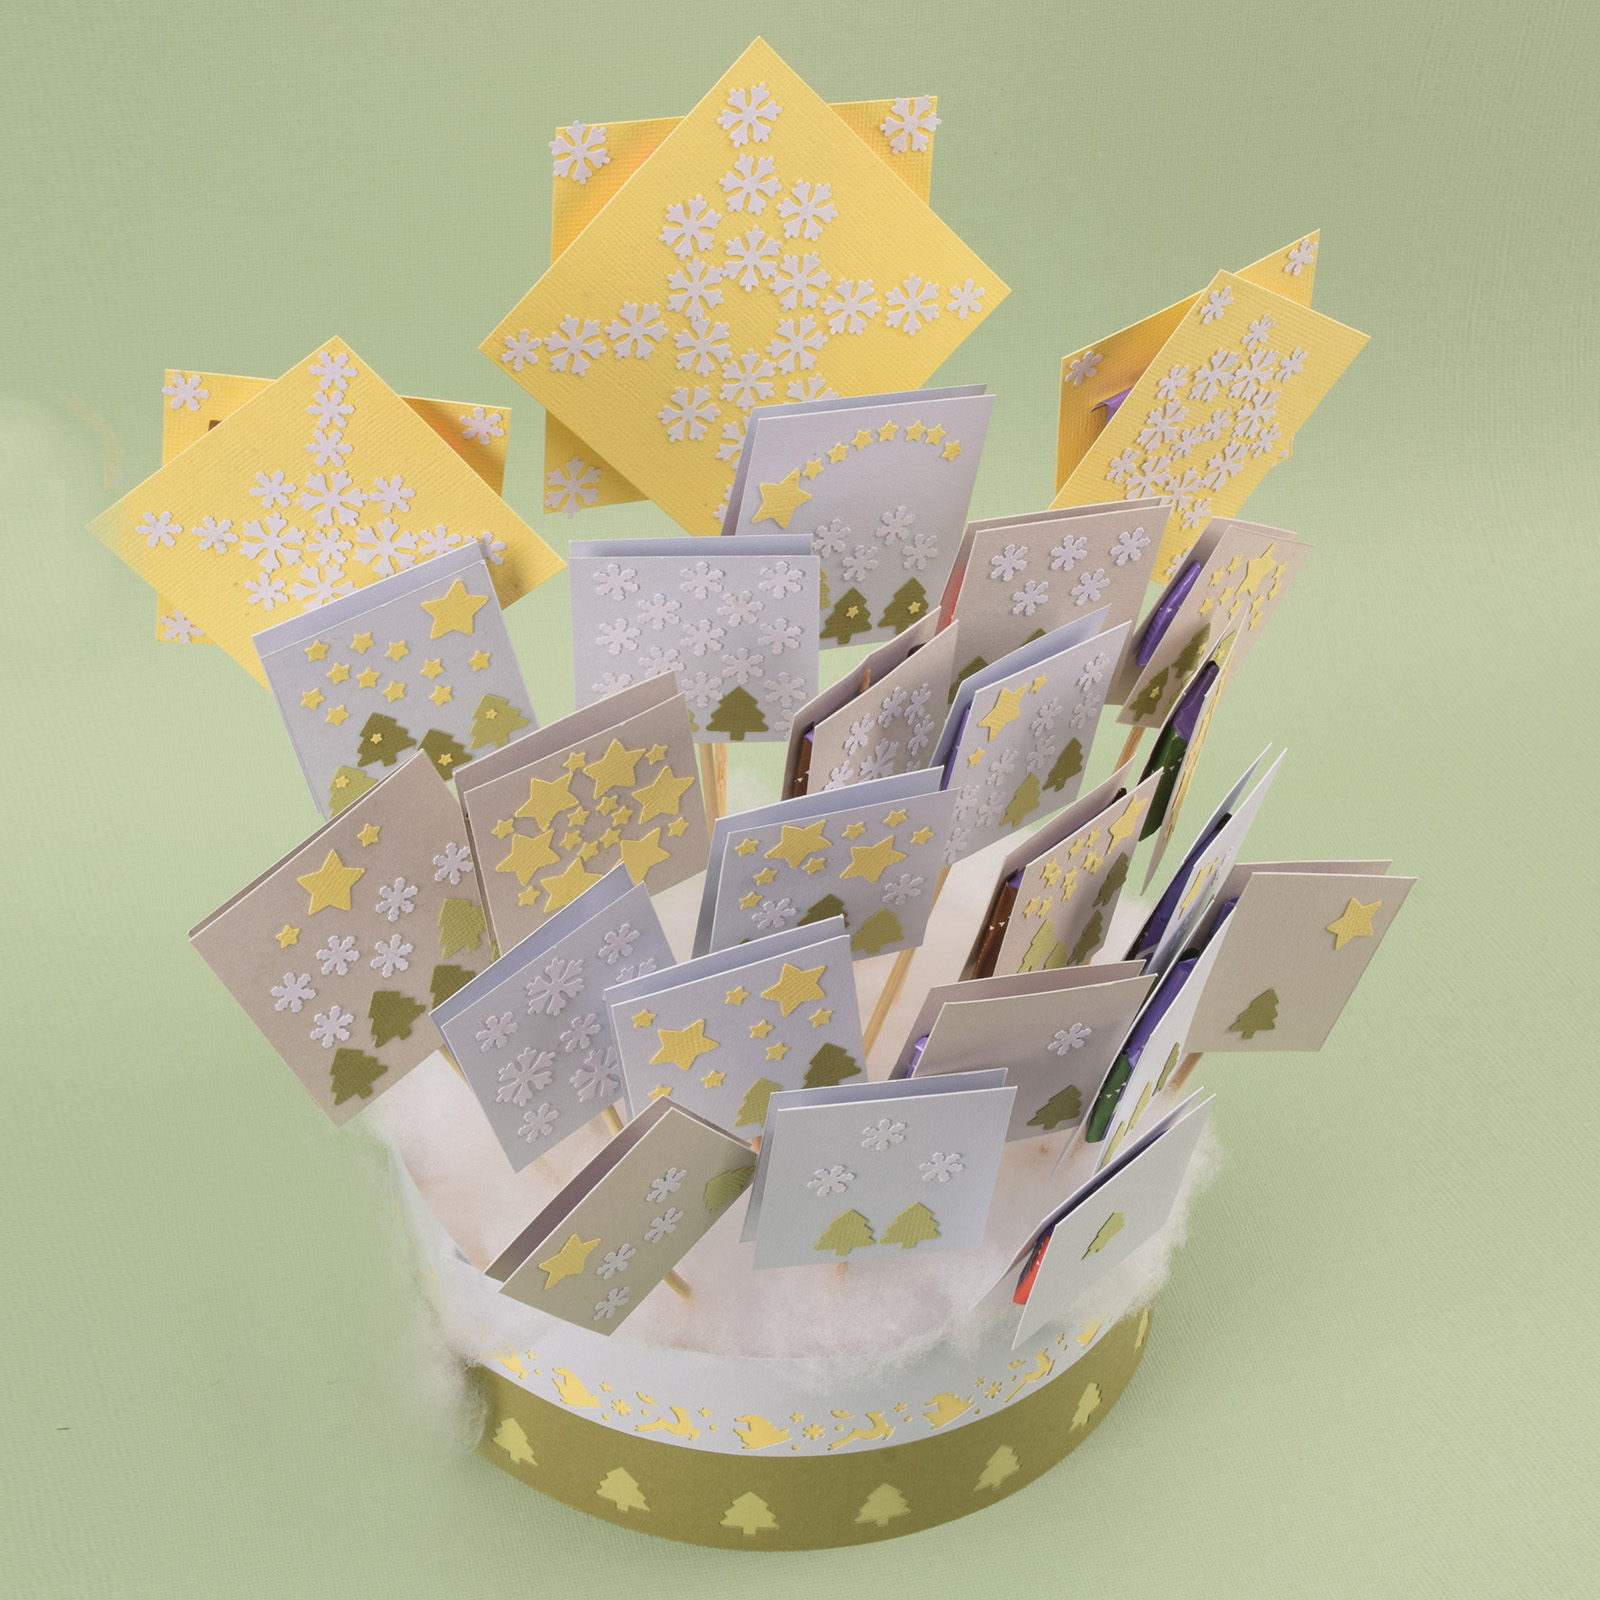
Now stick the advent surprises into the top of the styrofoam circle. Start with the stars and work forward. Cut the skewers a little bit off each time. The first days of Advent should be at the front and will be the least tall.
10
Make sure they are well distributed. By counting the punched figures on the advent surpris-es, you will know which advent surprise is next. The first day has 1 figure, etc.