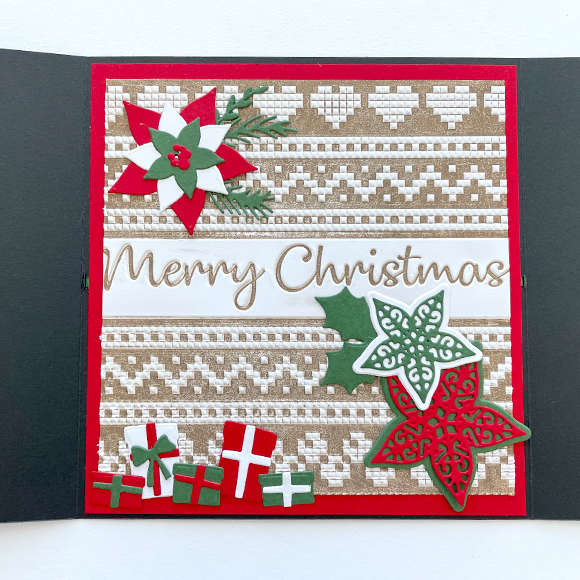
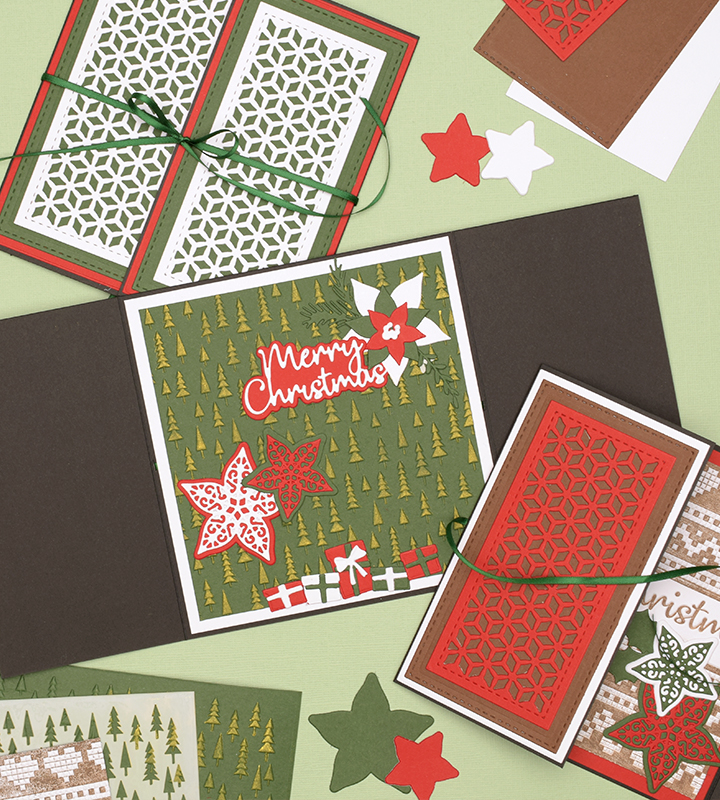
Create a Christmas card with the Big Shot A4 Starter Kit
Create a Christmas card with the Big Shot A4 Starter Kit
In this DIY, we'll show you how to create a beautiful Christmas card using the
Sizzix Big Shot A4 Starter Kit. Make this special tri-fold card with
Christmas-themed sticker cardstock paper, cutting dies, and embossing folders.
Of course, you can also use this tutorial for inspiration and use different
cutting dies and embossing folders to create your own festive Christmas card.
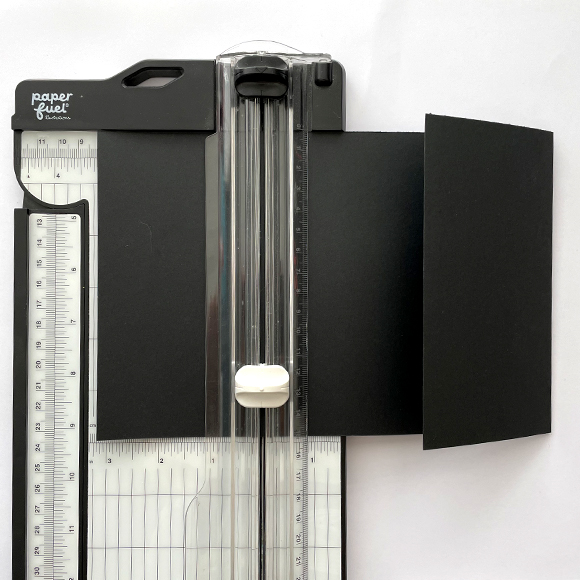
1
Start with a sheet of cardstock paper and cut it to a size of 5.9 x 12 inches (15 x 30.5 cm). Then, score the paper at 3.15 inches (8 cm) on both outer sides, creating a folded tri-fold card.
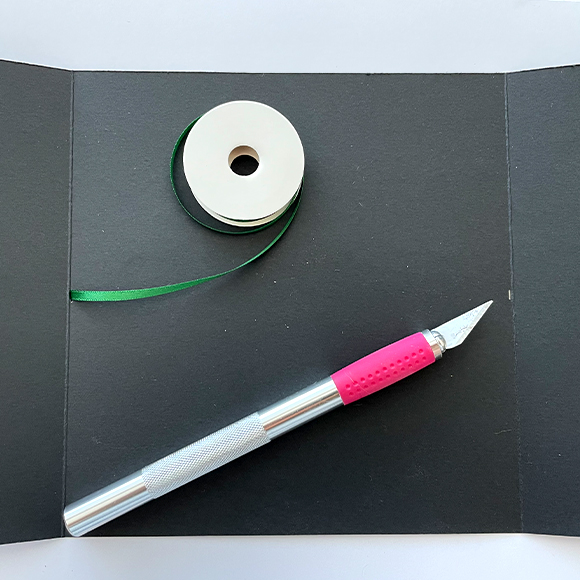
2
Make a small notch in the middle of each scoreline and thread a piece of satin ribbon through them. From this step onwards, we will demonstrate two card designs: A) embossing folder with a brayer and B) embossing folder with a stencil (see step 11+12).
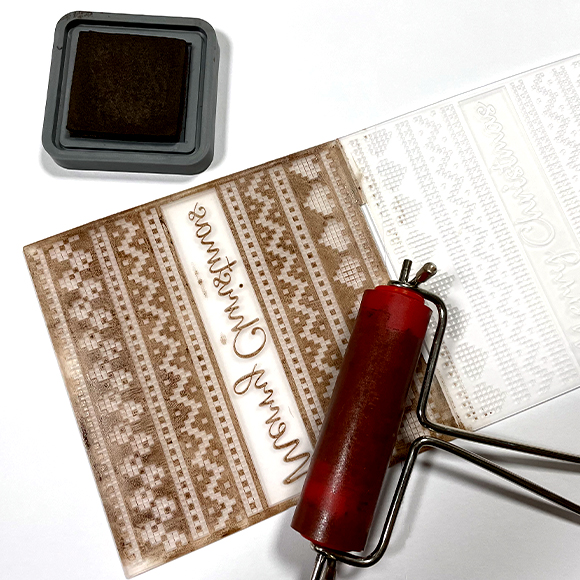
3
Option A: For this option, you will need an embossing folder, a brayer and ink. Using the brayer, apply ink to the side of the embossing folder that will be on top of the paper.
4
Option A: Take a sheet of sticker cardstock paper and place it in the embossing folder. Then pass the paper through the Sizzix Big Shot until you get the above result.
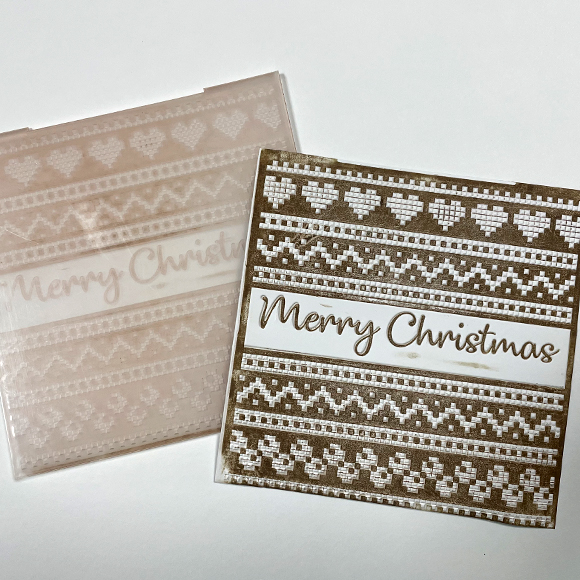
5
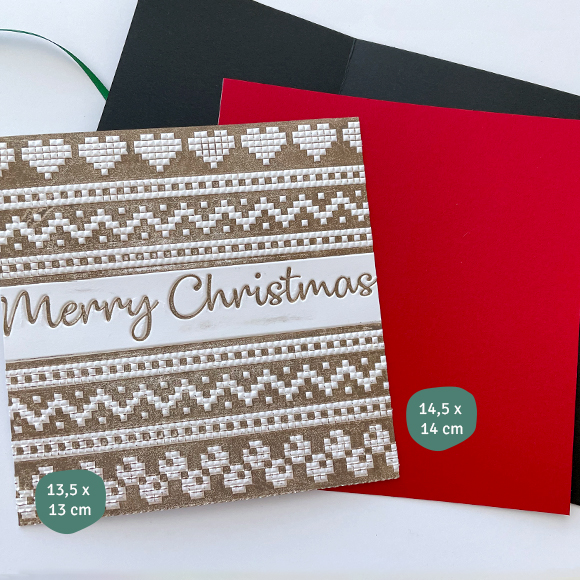
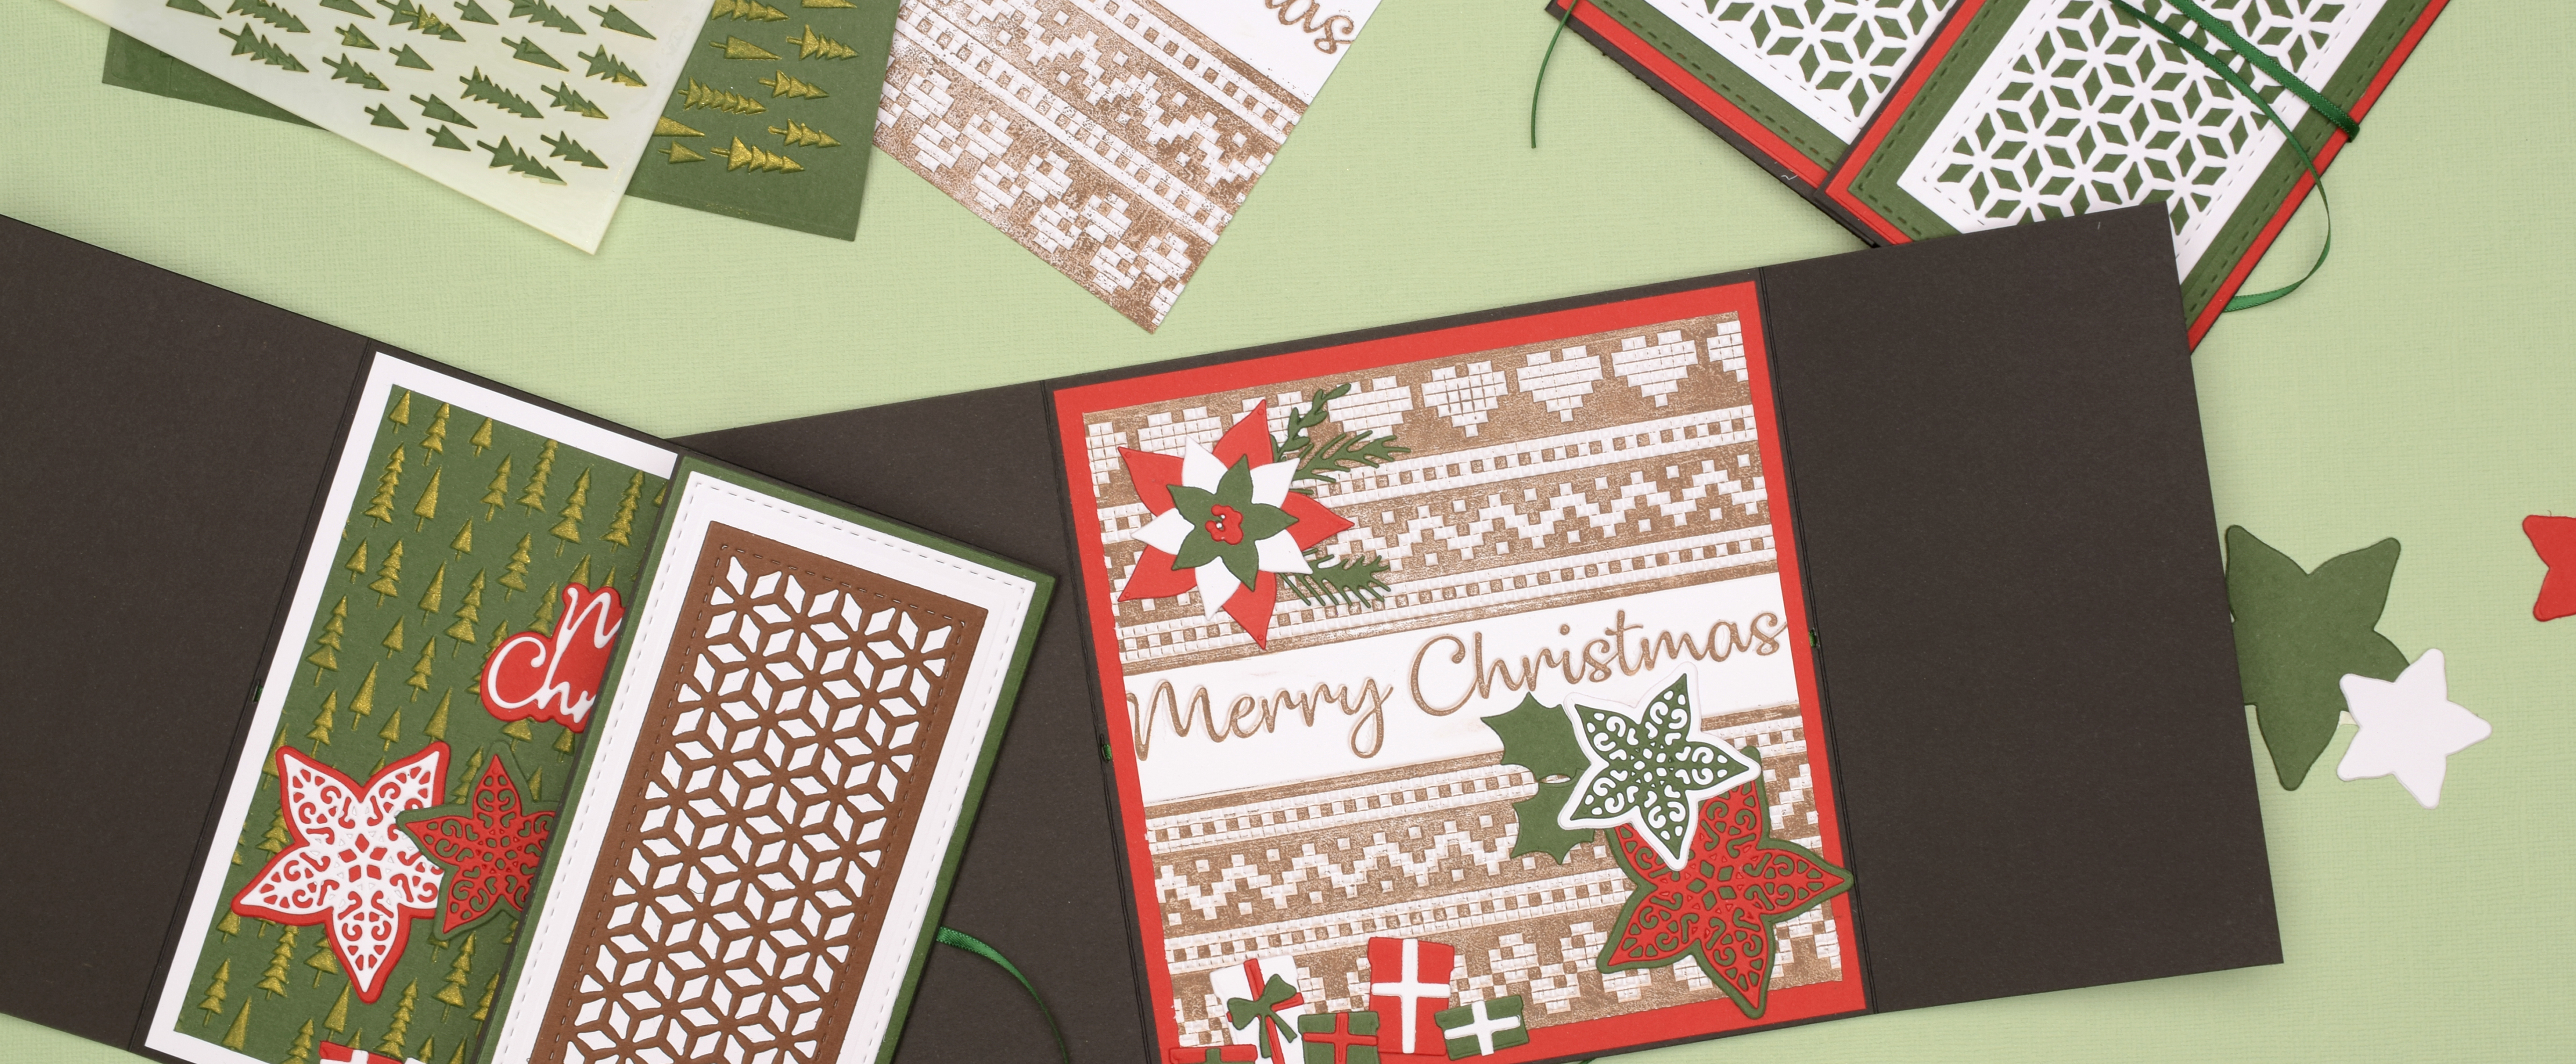
Note: From this point, the steps are the same again! Cut the embossed paper to 5.31 x 5.12 inches (13.5 x 13 cm) (height x width). Cut an additional sheet of sticker cardstock to 5.7 x 5.5 inches (14.5 x 14 cm) (height x width). Now, adhere all layers together in the middle of the card.
6
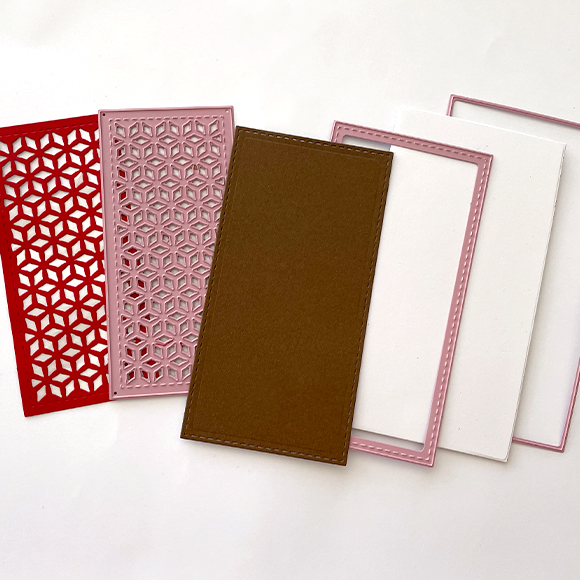
Use the multi-frame cutting dies to cut out three different colours of sticker cardstock using the Sizzix Big Shot. Repeat this once more.
7
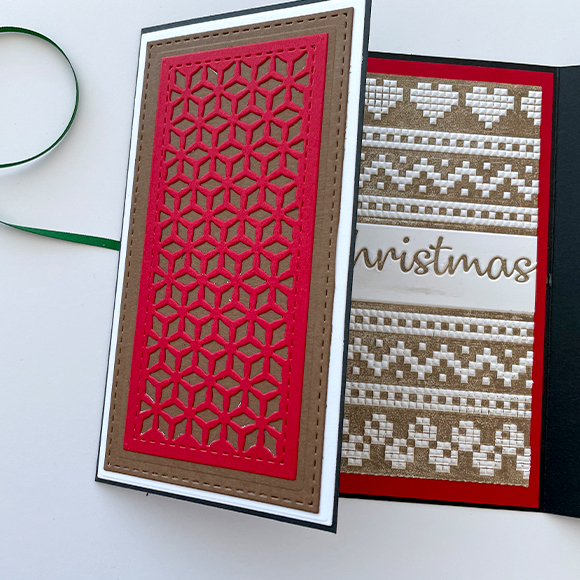
Adhere the three cut-out shapes on top of the base card to create decorative flaps.
8
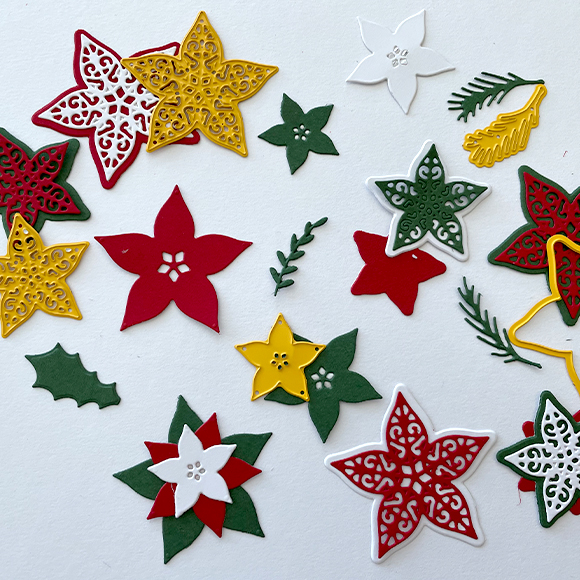
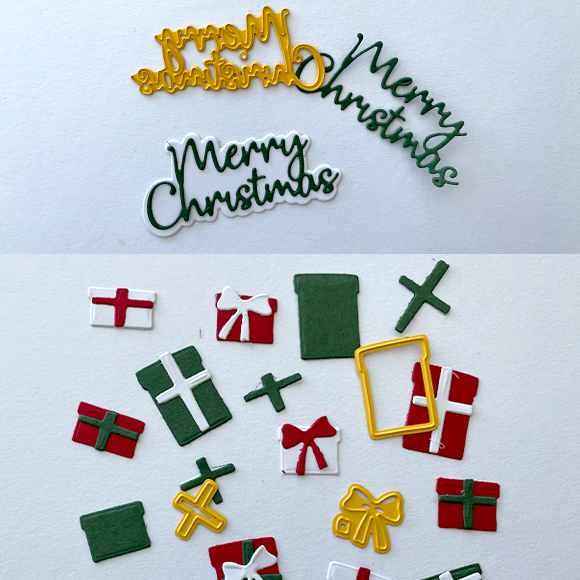
Use the shape dies to cut out various Christmas flowers. Once again, use different sticker cardstock colours so you can easily assemble the flowers.
9
Do the same for the text cutting dies and the present cutting dies.
10
Once all the decorations are ready, attach them to the middle of the card as additional embellishments.
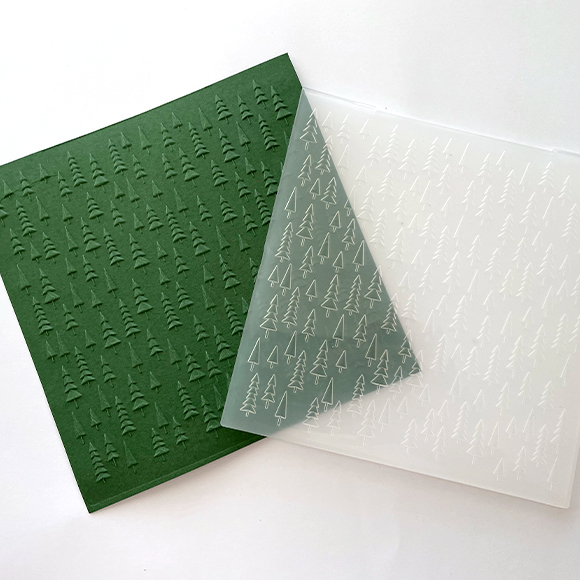
11
Option B: Place a sheet of sticker cardstock in an embossing folder. Pass the paper through the Sizzix Big Shot.
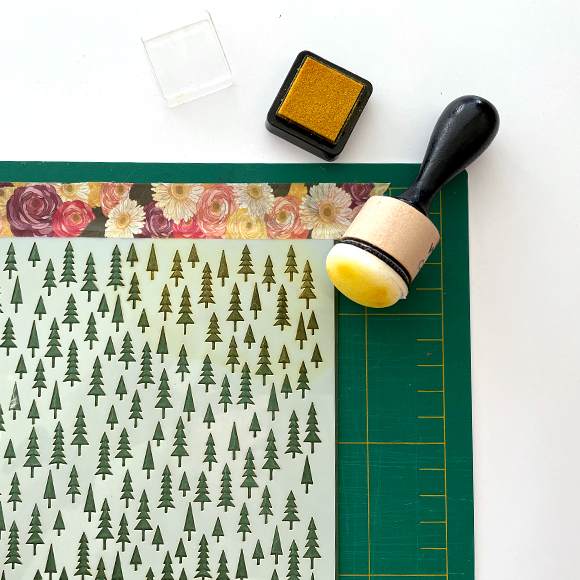
12
Option B: Now, take the corresponding stencil and place it over the embossed paper. Secure it with washi tape on your work surface. Next, use a blending tool to apply ink until all areas within the stencil are coloured. Then, remove the stencil.