Vuoi creare tu stesso una confezione regalo speciale? In questo DIY impari a piegare una busta utilizzando un tagliacarte circolare come base. Con coriandoli fatti a mano e dettagli decorativi trasformi la carta in un packaging elegante e personale.
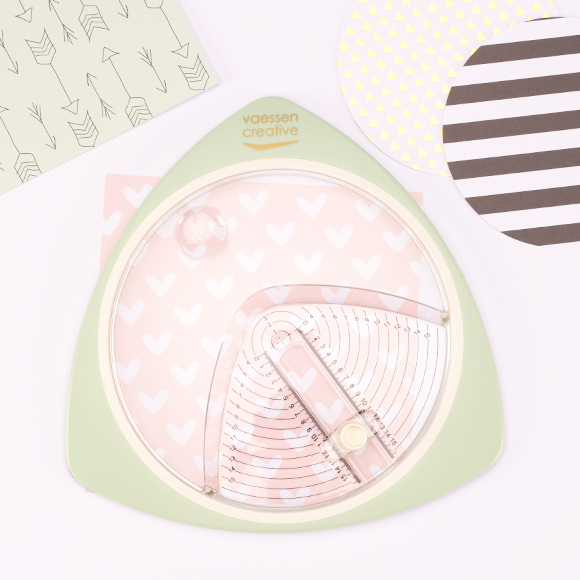
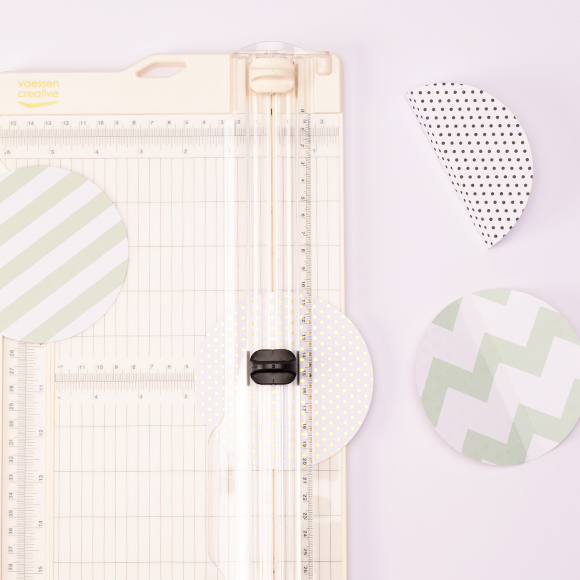
Scegli diversi fogli di carta Love-it e ritaglia 4 cerchi con un tagliacircoli. Noi abbiamo scelto un diametro di 12 cm.
2
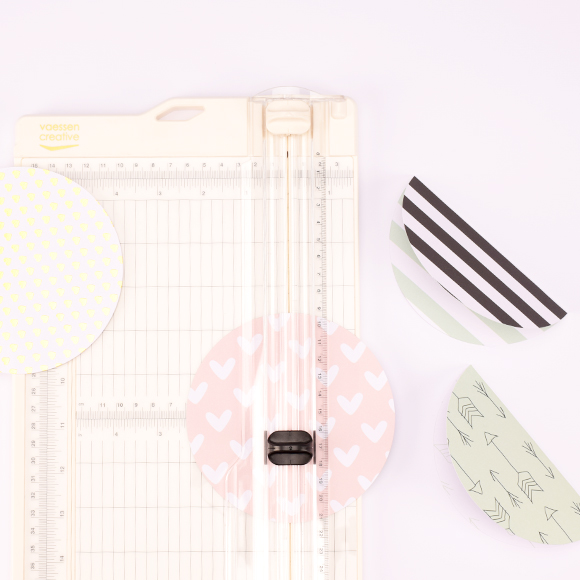
Piega i cerchi a metà. Per ottenere una bella linea di piega, cordona prima la carta con un righello da taglio esattamente al centro, a 6 cm.
3
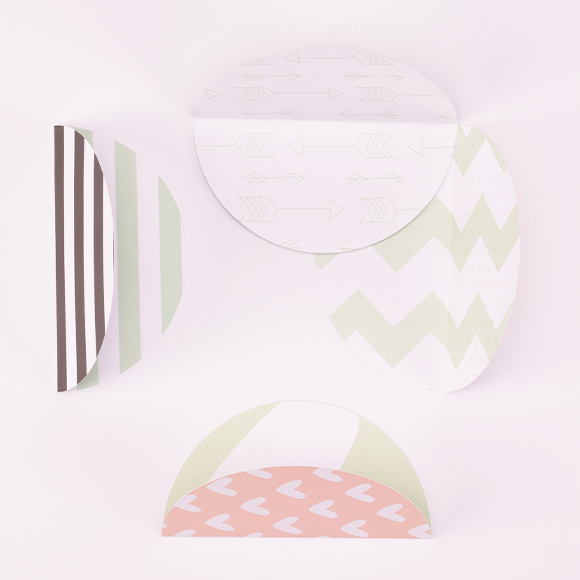
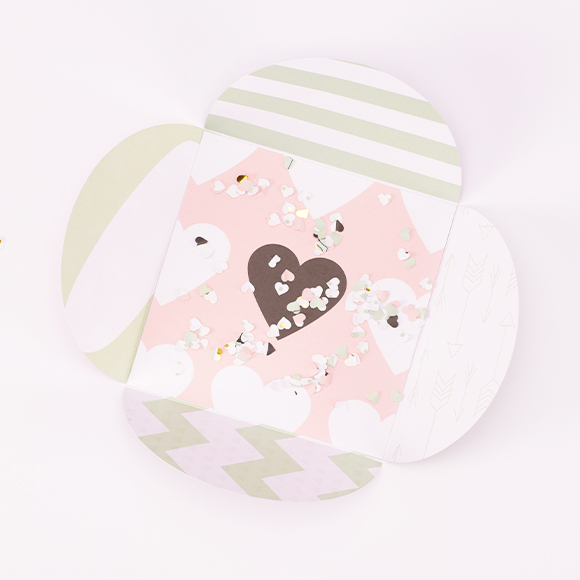
Sovrapponi i cerchi come tegole, con le linee di piega perpendicolari tra loro, in modo da formare un quadrato. Segna con una matita la parte sovrapposta per vedere dove incollare i cerchi tra loro.
4
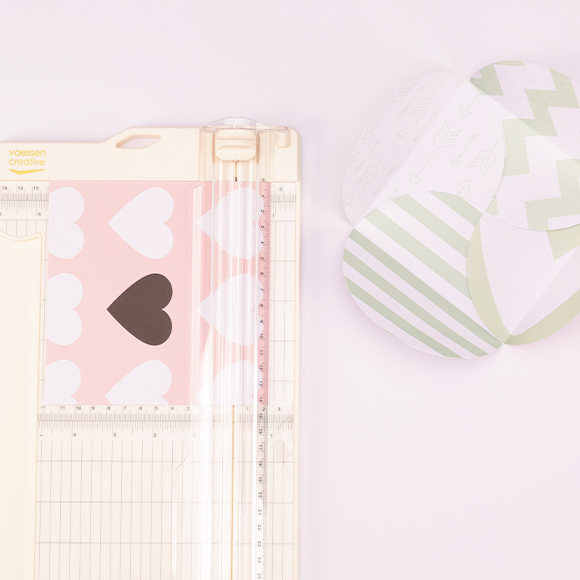
Incolla i cerchi tra loro. Per completare la bustina, puoi incollare all’interno un quadrato di cartoncino da 12 x 12 cm.
5
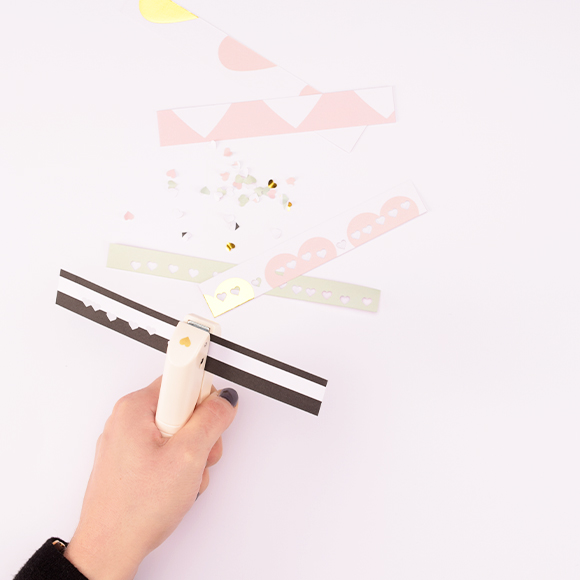
Prendi alcuni ritagli di carta e una perforatrice a figure. Fustella una buona quantità di piccole sagome da usare come coriandoli.
6
Aggiungi i coriandoli nella bustina prima di chiuderla, per un ulteriore effetto sorpresa.
7
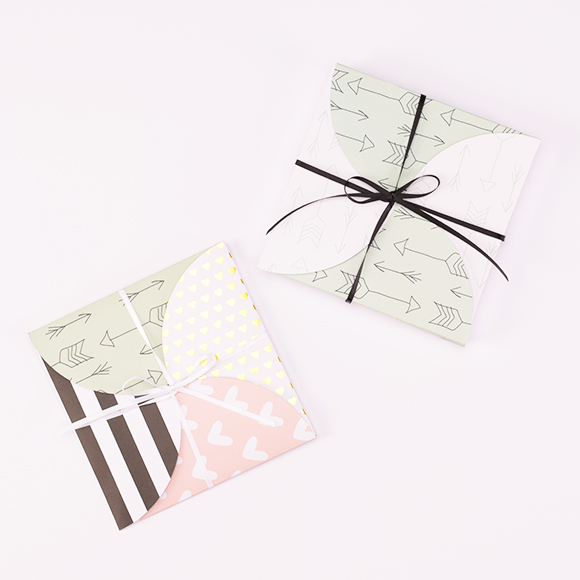
Inserisci un bigliettino o un regalino nella bustina e chiudila piegandola. Se vuoi, puoi anche incollare la parte superiore per evitare che i coriandoli cadano. Completa il tutto con un fiocchetto di nastro di raso o spago baker twine.
8
Vuoi una bustina un po’ più spessa? Sostituisci allora il passaggio 2 con questo. Determina lo spessore della bustina, ad esempio 1 cm. Cordona la carta con un righello da taglio a 5 e 6 cm. Il lato corto formerà la parte inferiore. Poi continua dal passaggio 3; gli altri passaggi restano uguali.