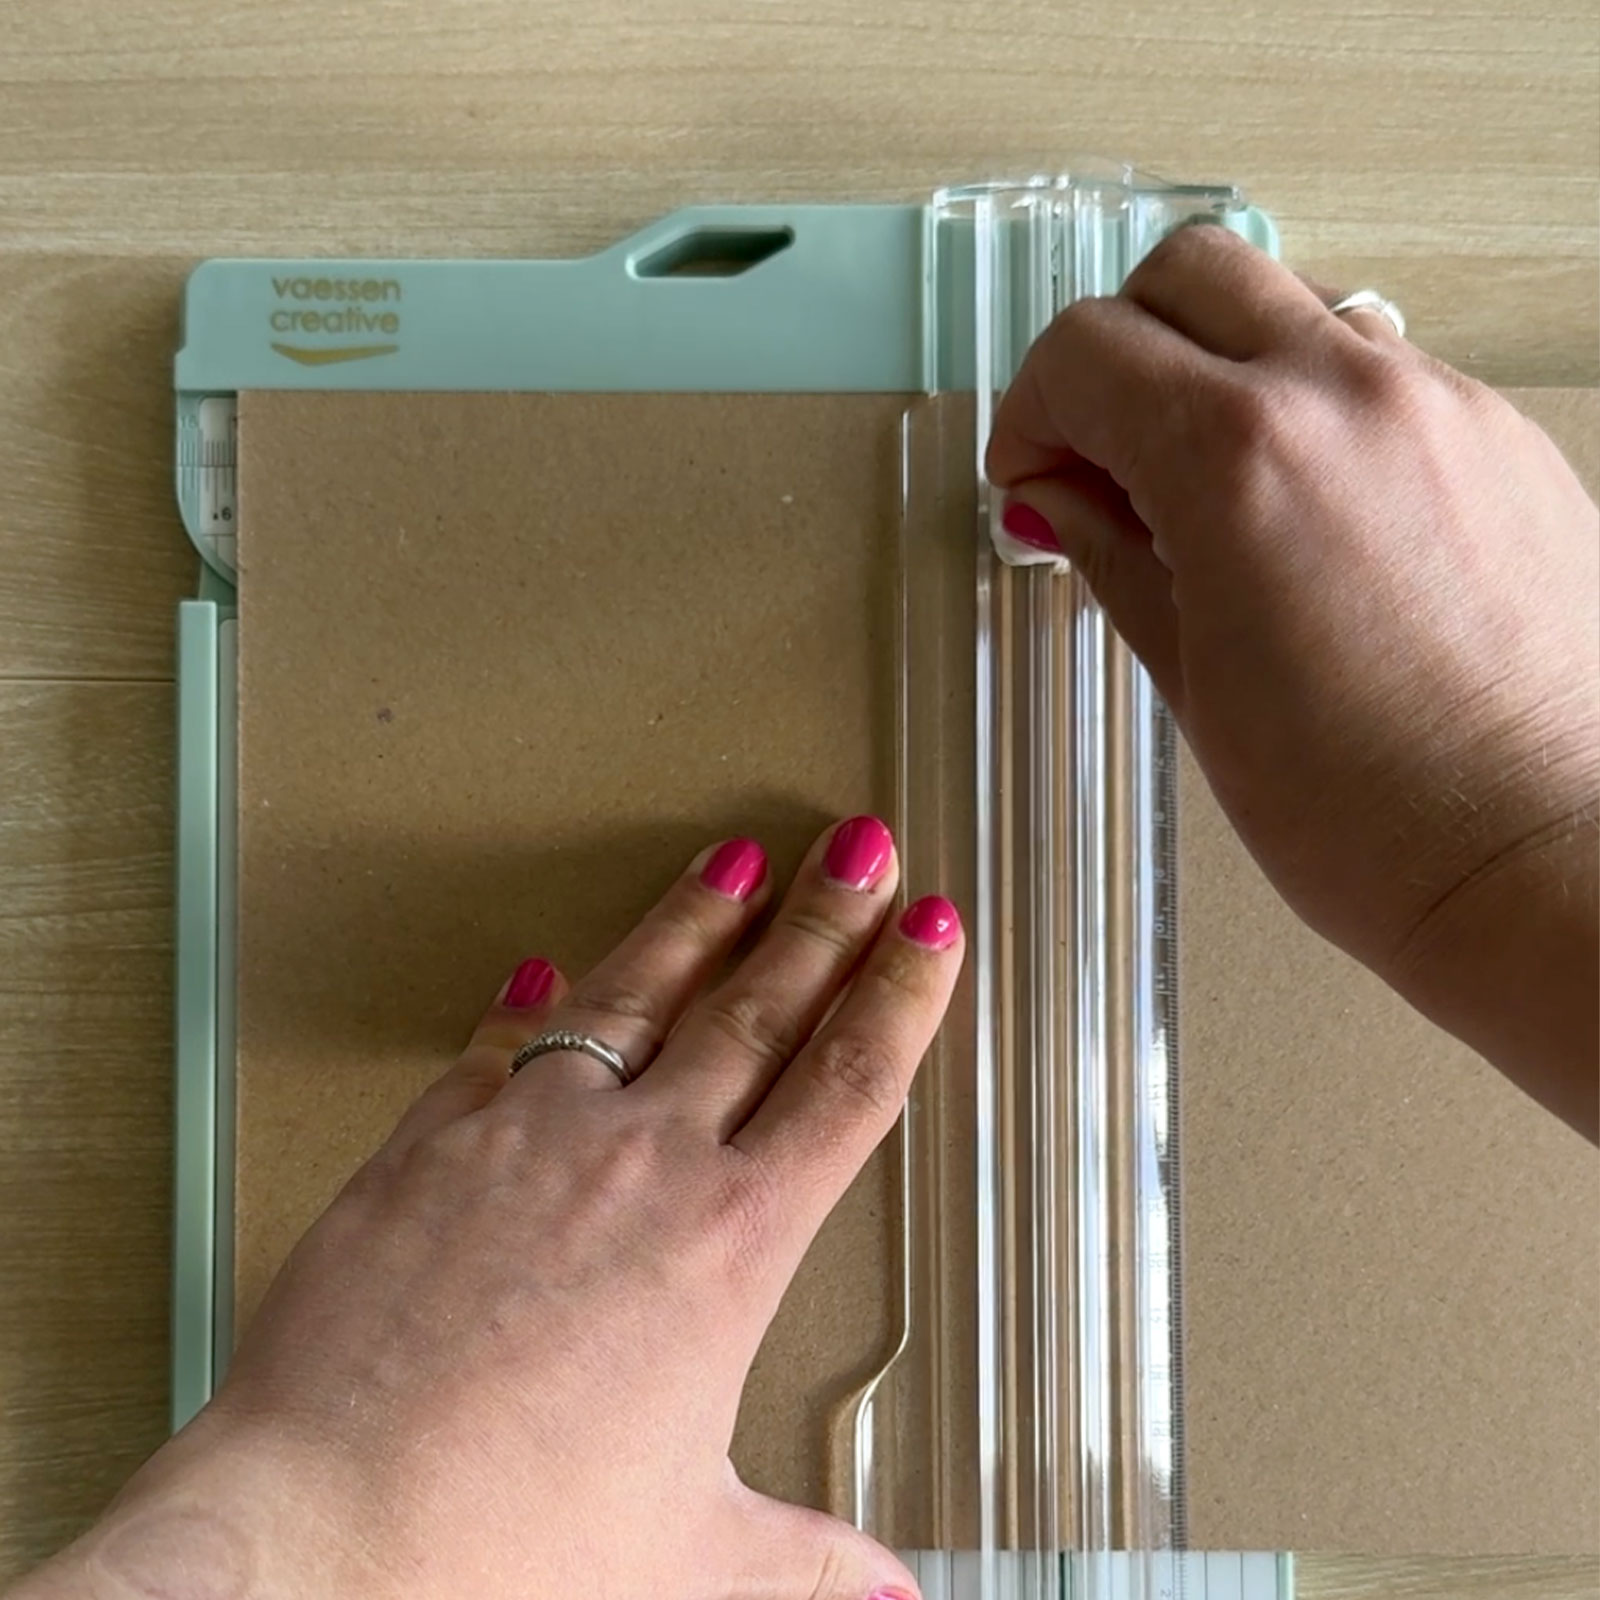
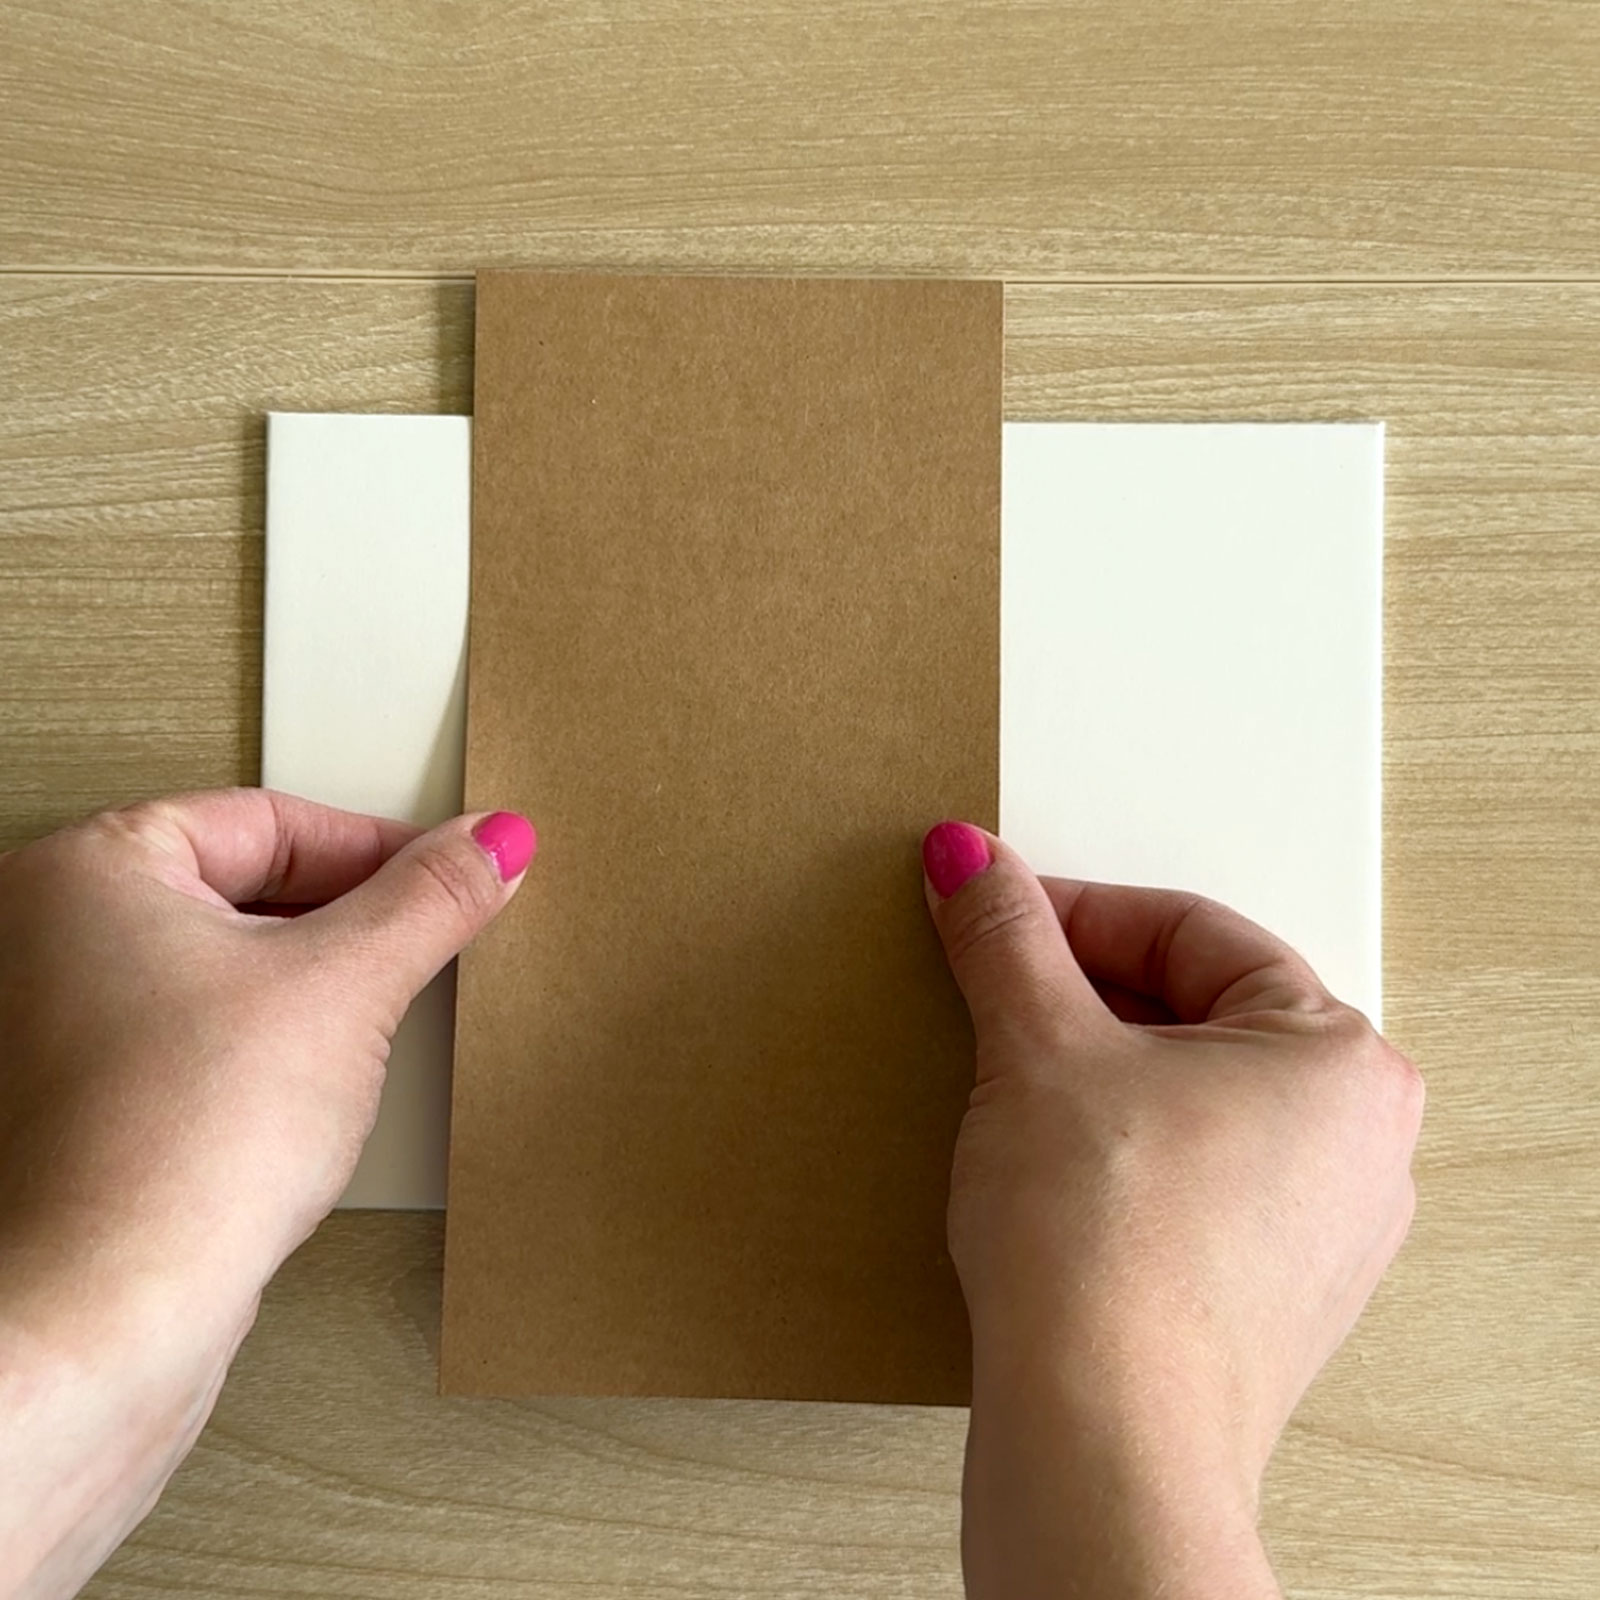
Take an A4 sheet of kraft chipboard and cut it into two equal A5 pieces (8.3 x 5.8 inches / 21 × 14.8 cm) using a paper trimmer. Score the board several times—turn it over if necessary—to achieve a clean cut through both sides.
2
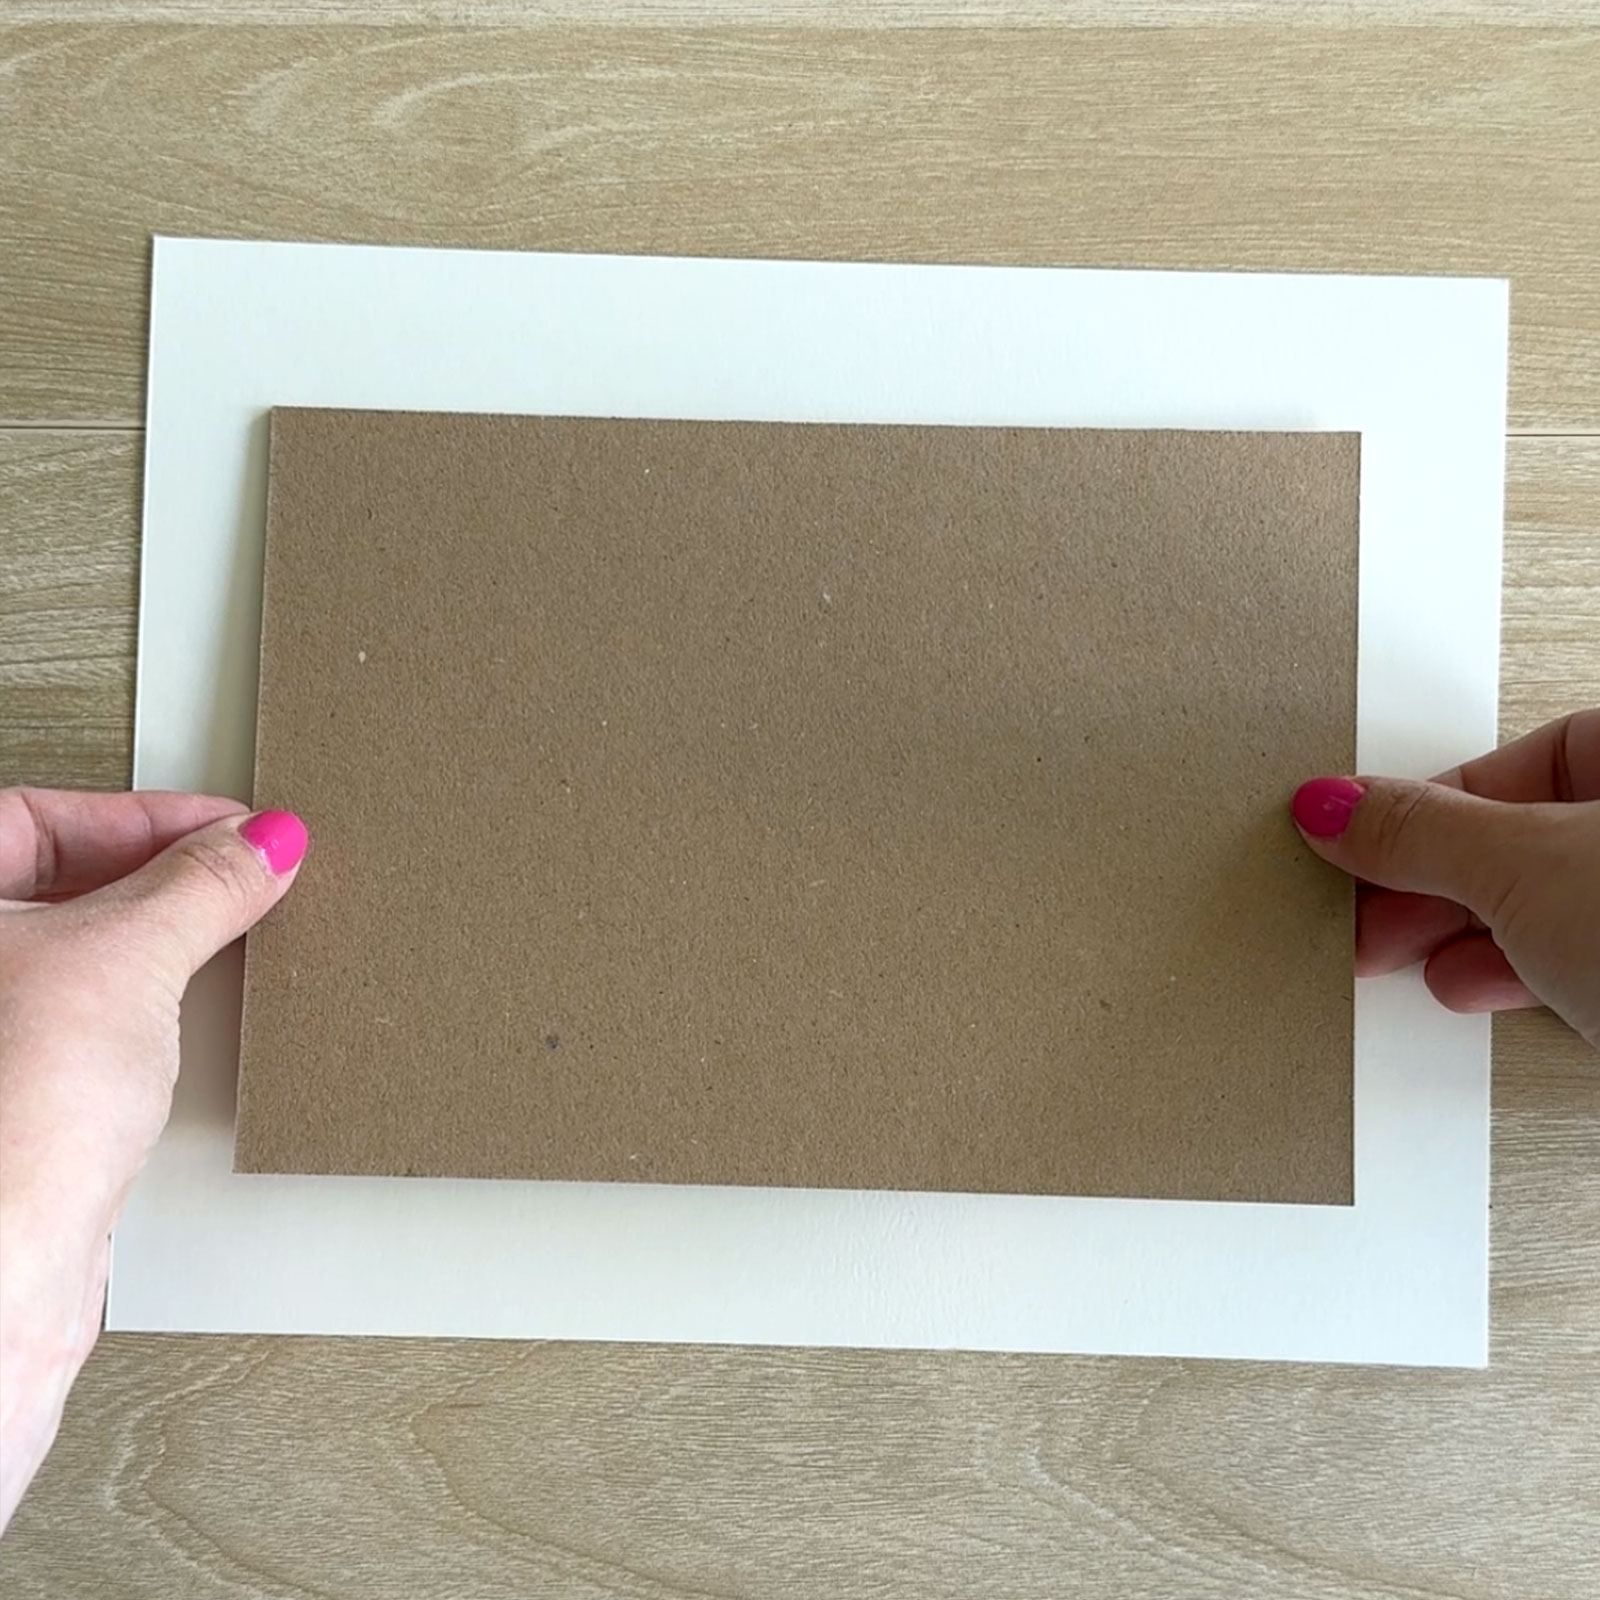
For this project, we use only ivory and kraft coloured sticker cardstock. Trim an ivory sheet to 9.4 x 8.3 inches (24 × 21 cm) for the cover base, then centre and adhere one piece of kraft chipboard onto it.
3
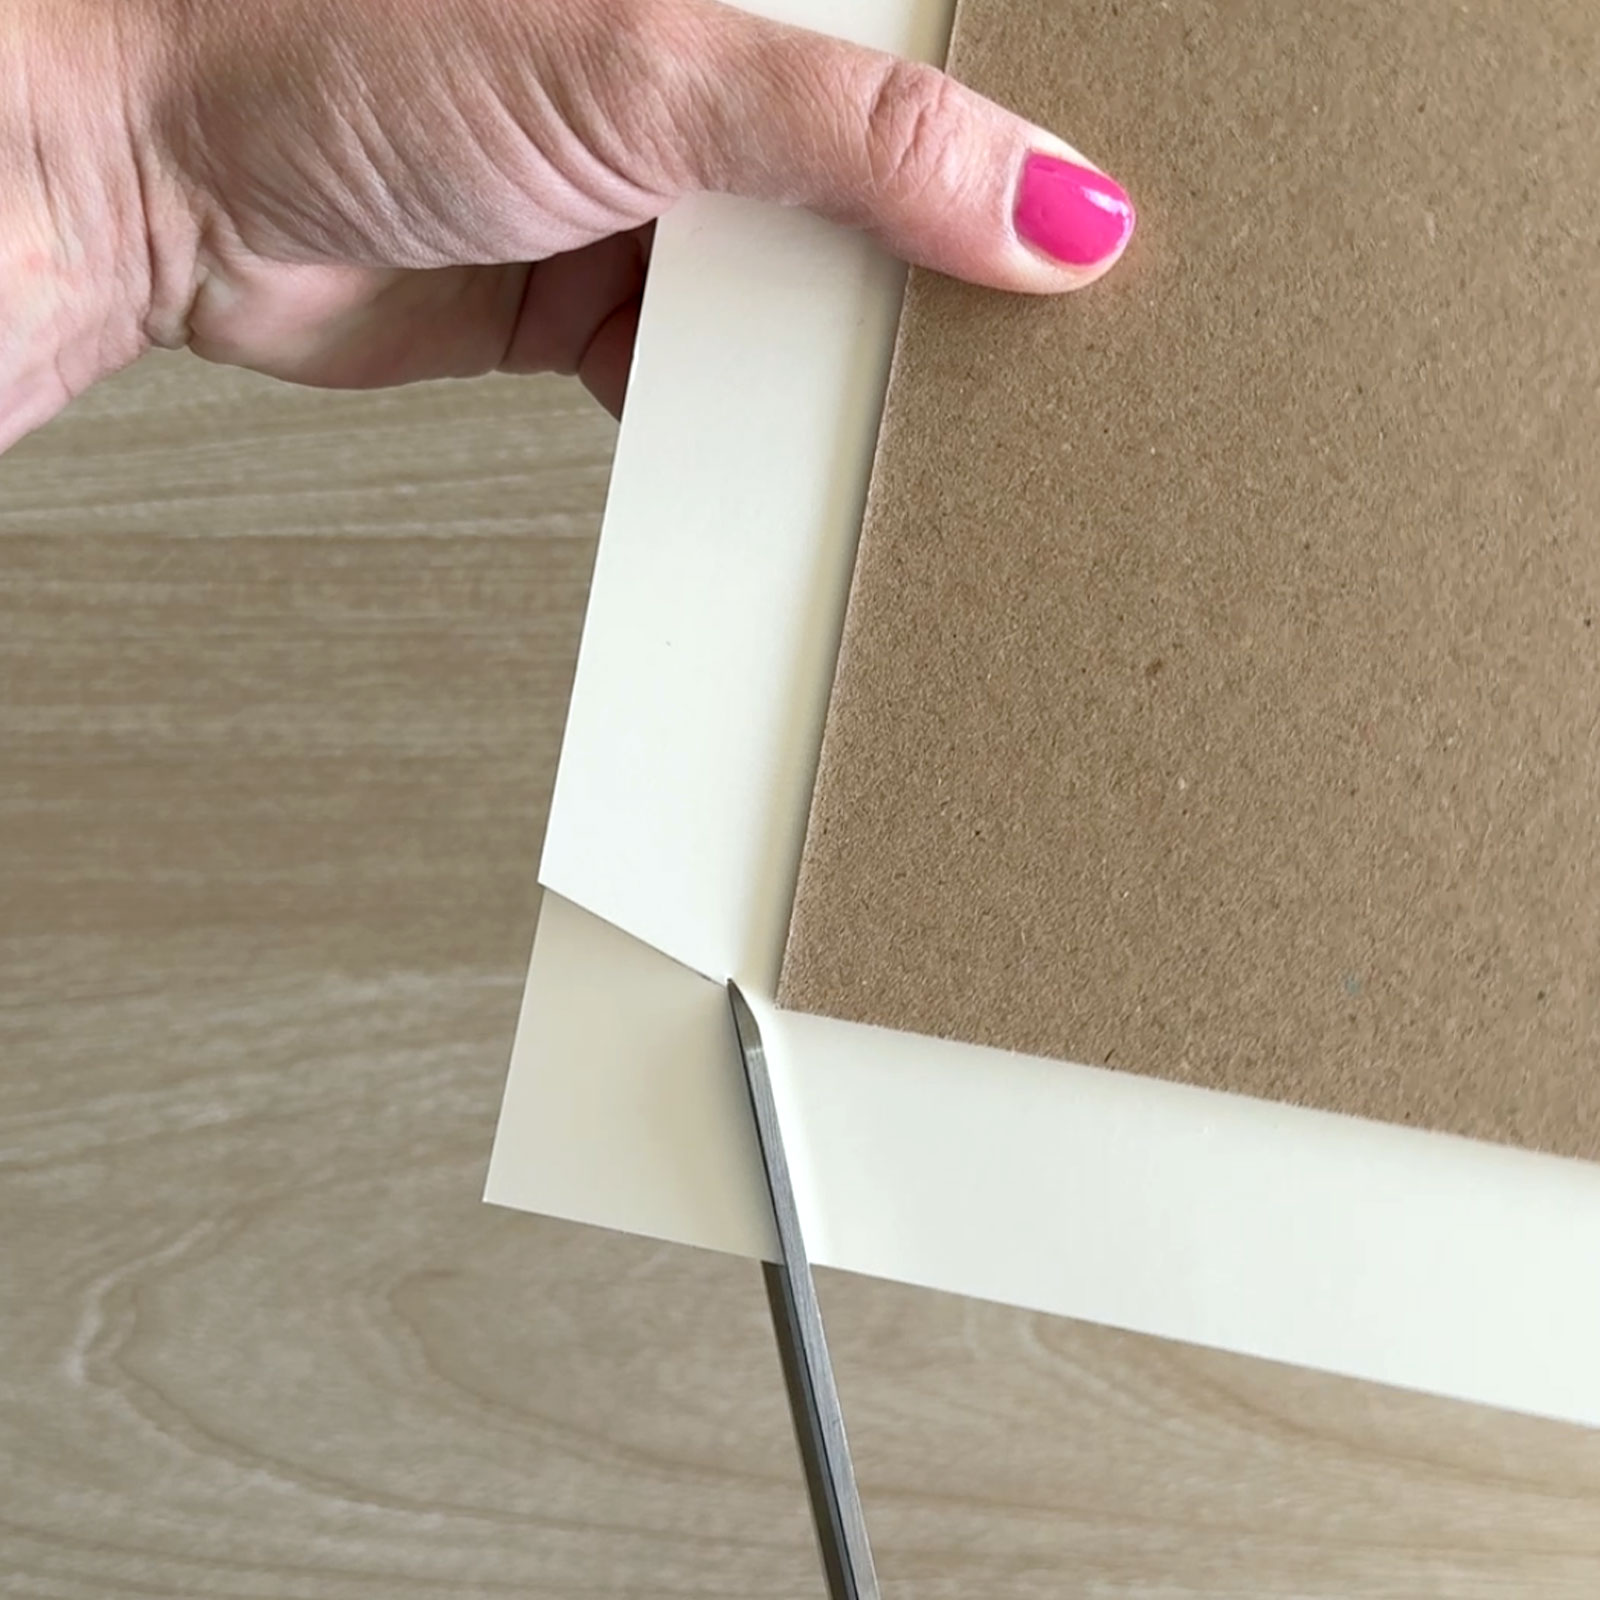
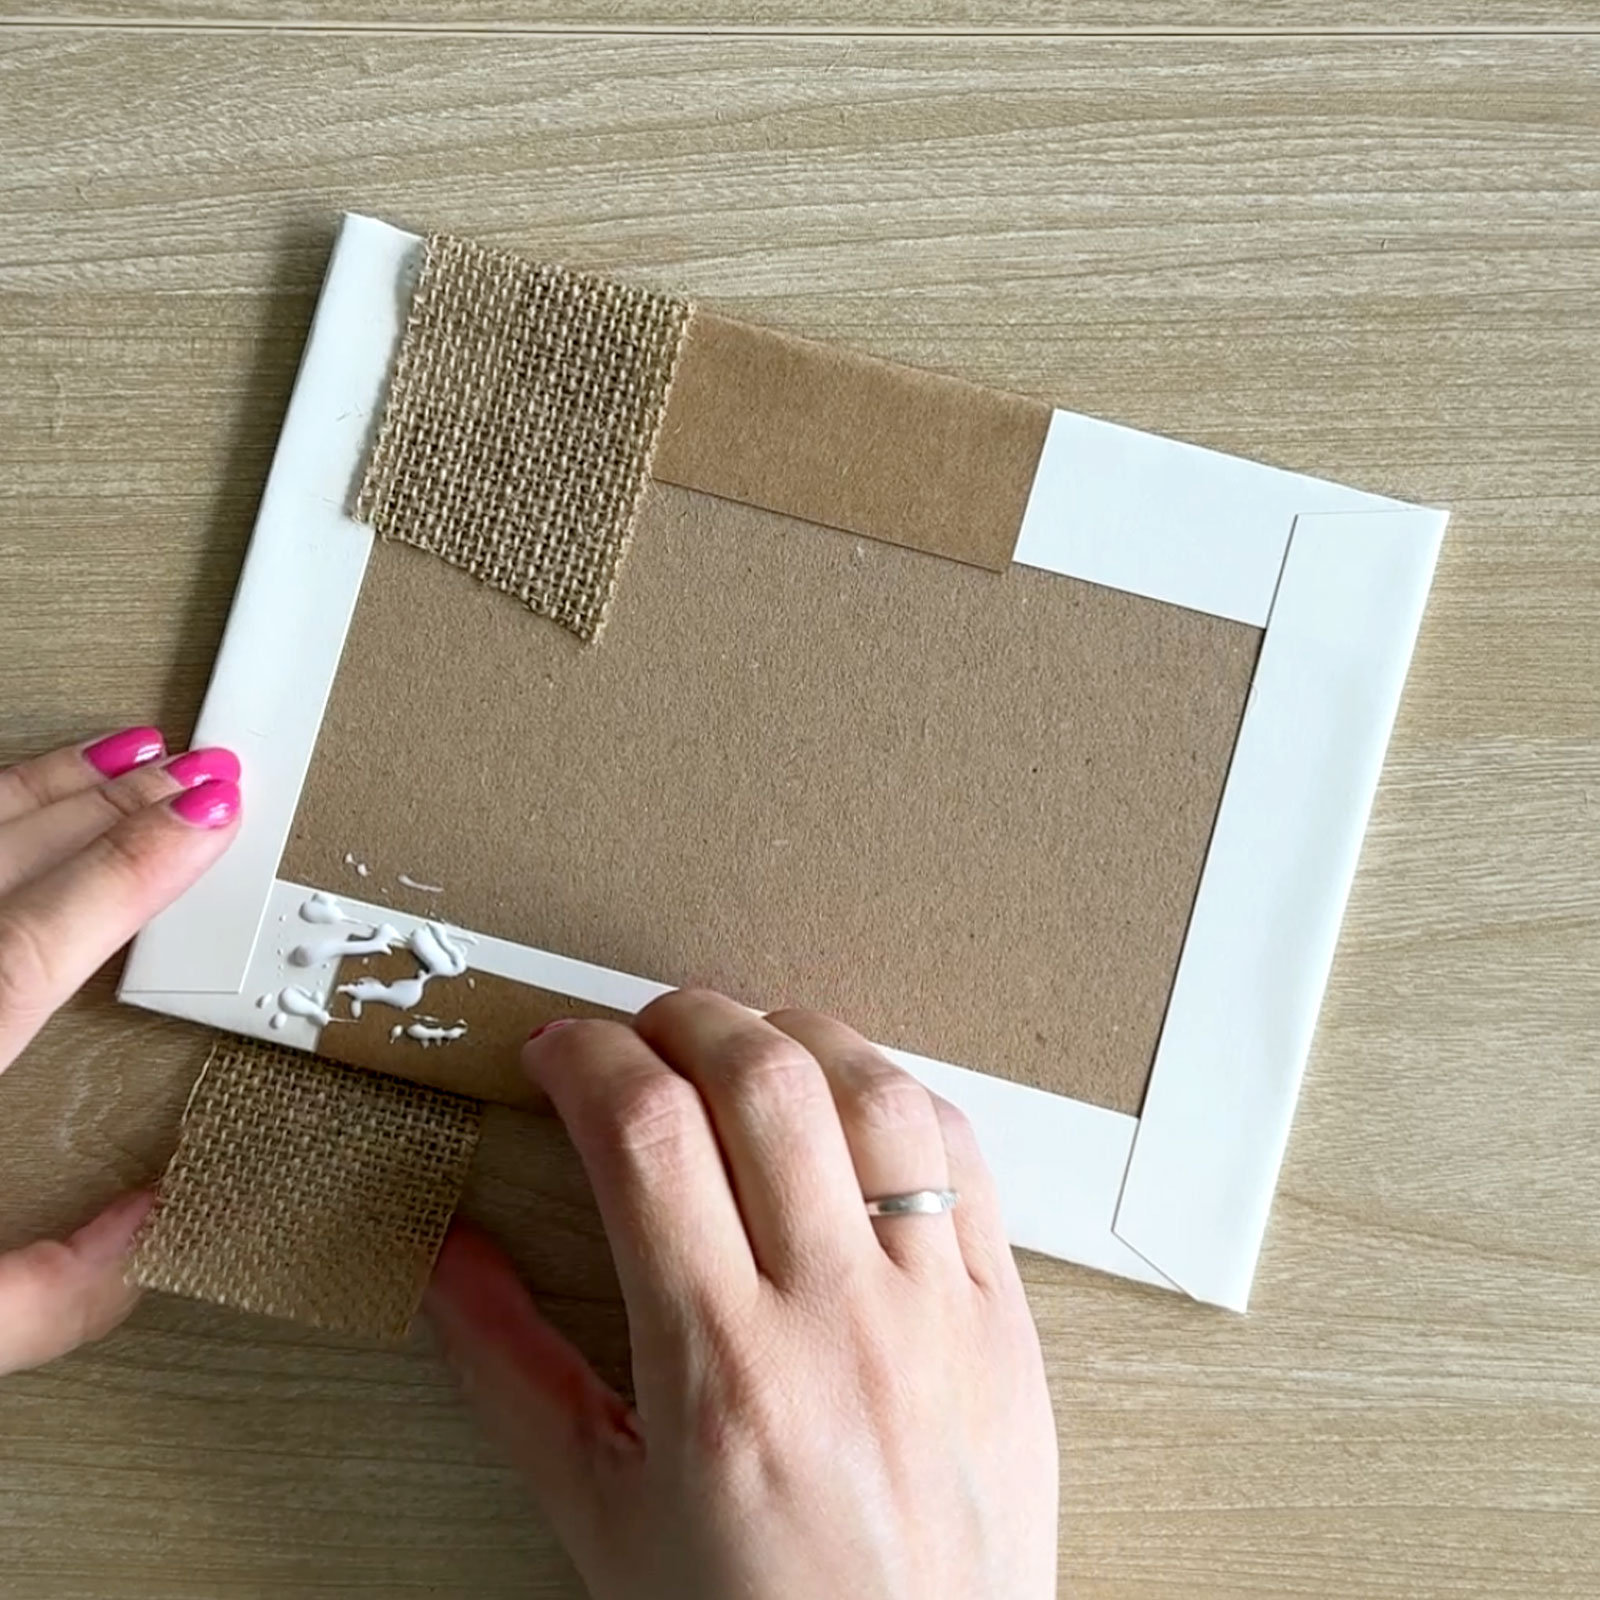
Trim the paper corners at an angle, leaving a small margin of paper up to the board—do not cut right to the edge.
4
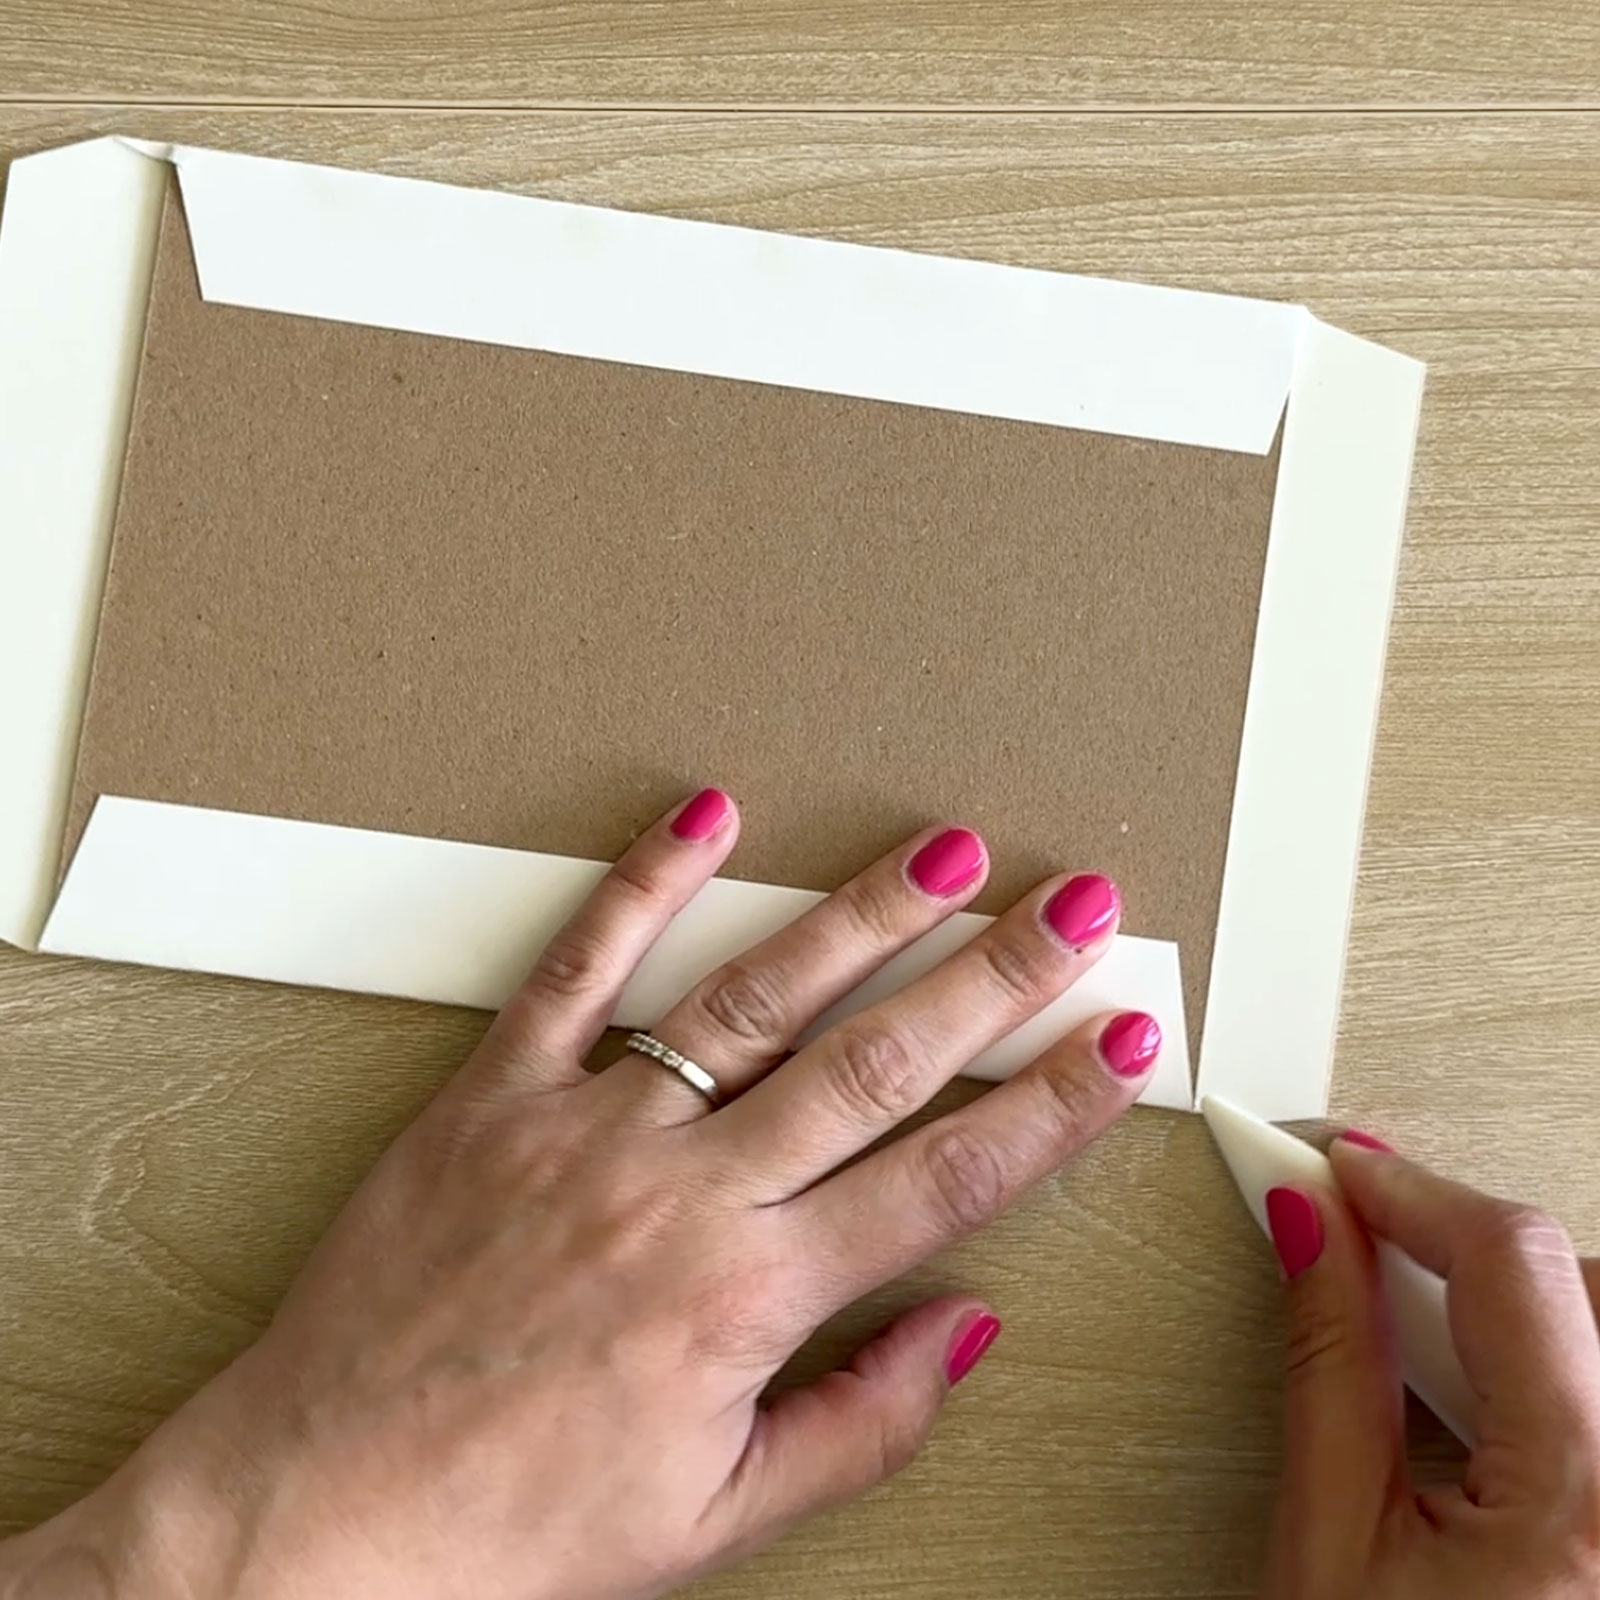
Fold over the long edges first, using a bone folder if needed to create crisp folds. Glue the flaps down. Repeat the same folding and gluing on the short edges. Then carry out steps 2–4 on the second board piece. You will now have a front cover and a back cover.
5
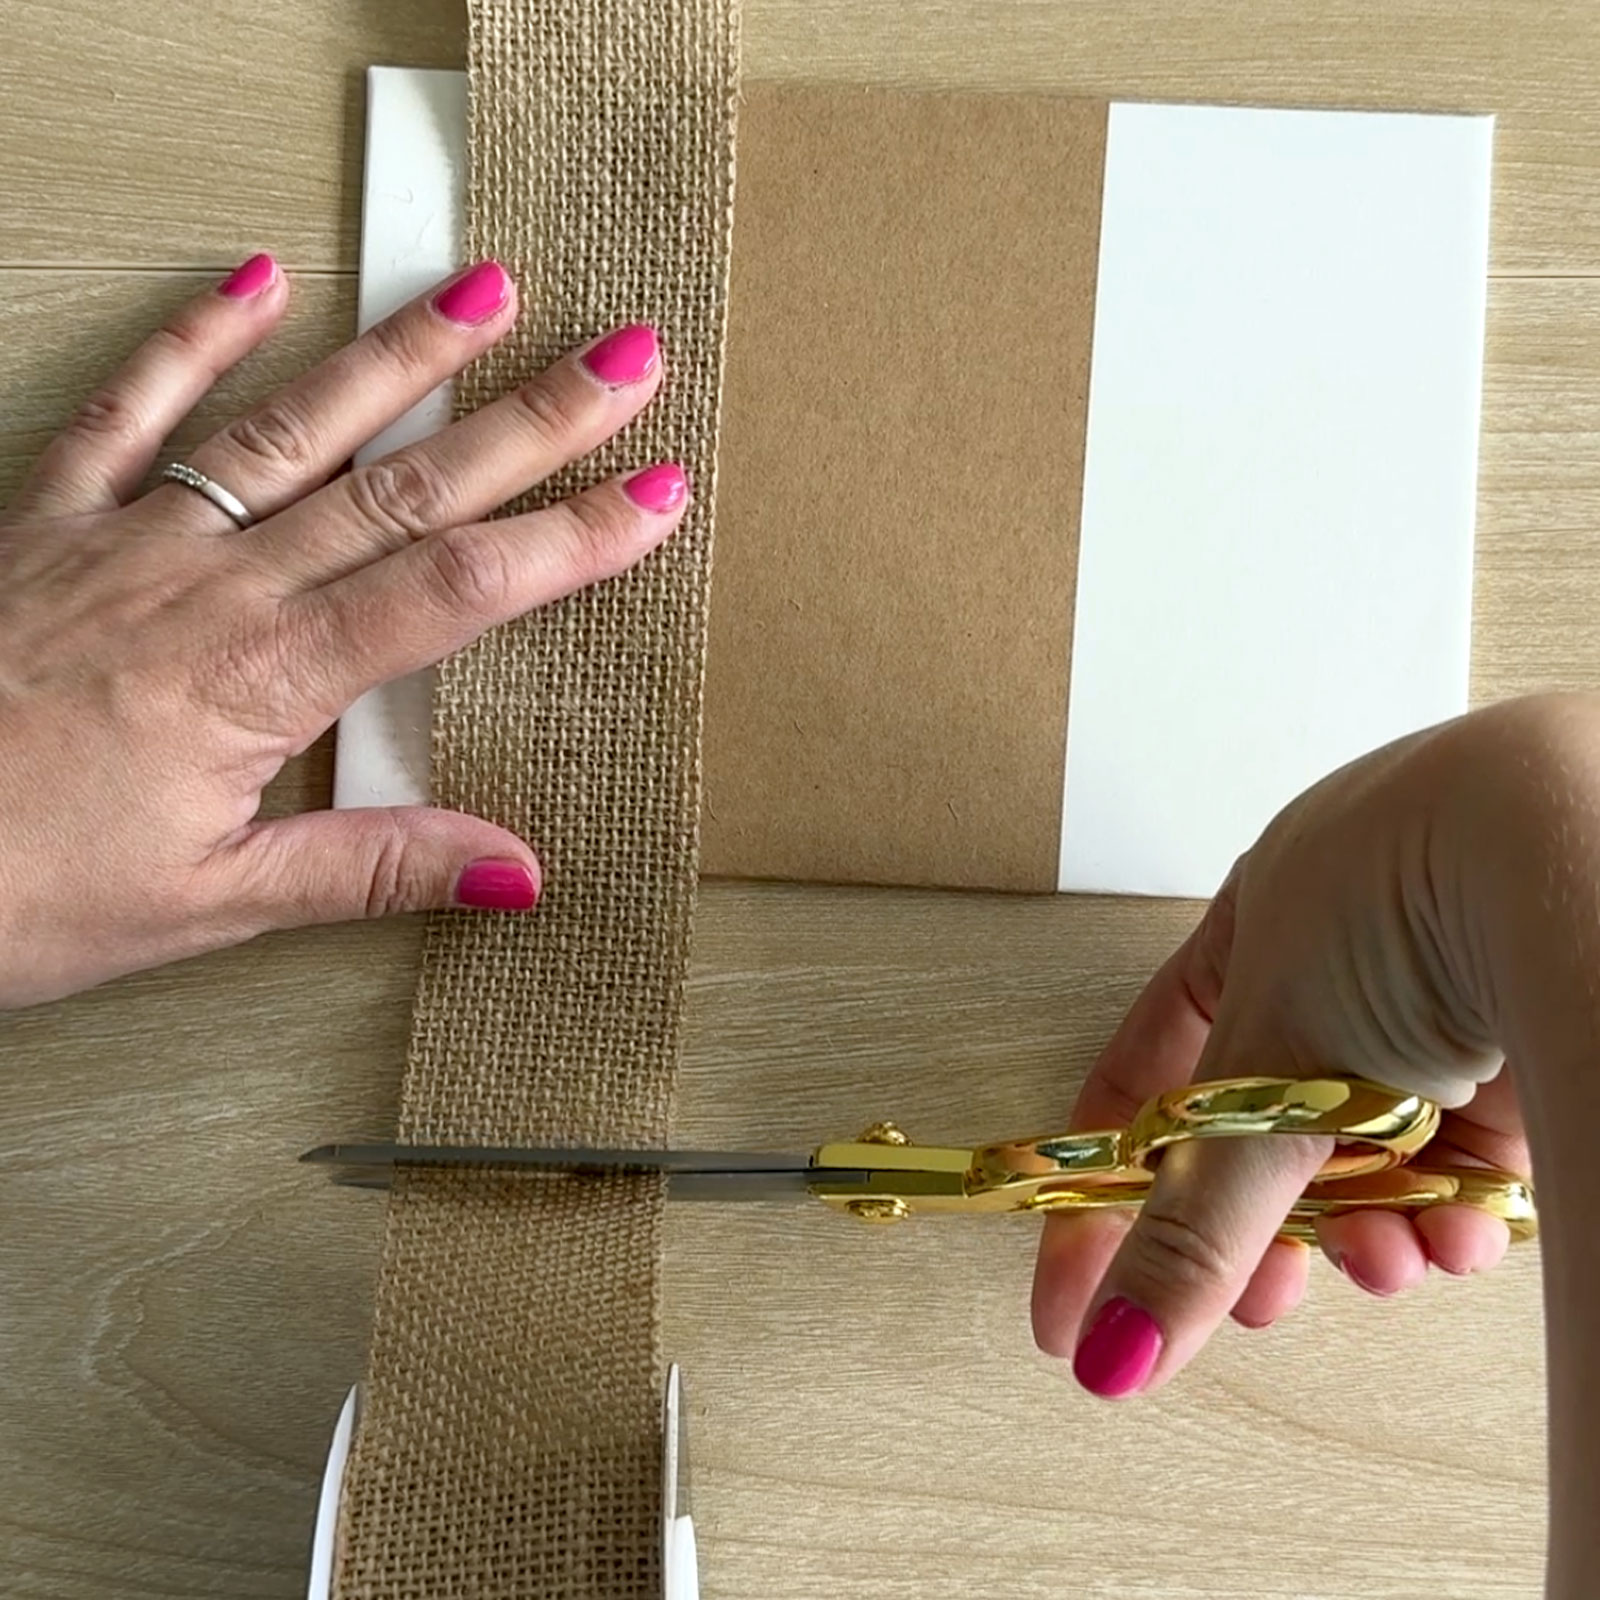
Cut a strip of kraft coloured sticker cardstock to 4 x 8.3 inches (10 × 21 cm). Adhere it slightly off centre on one cover. Fold the overhanging edges around to the back and secure with glue.
6
Lay a length of jute ribbon across the cover, leaving extra at each end. Trim the ribbon to fit.
7
Pull the ribbon taut and glue it to the back of the cover.
8
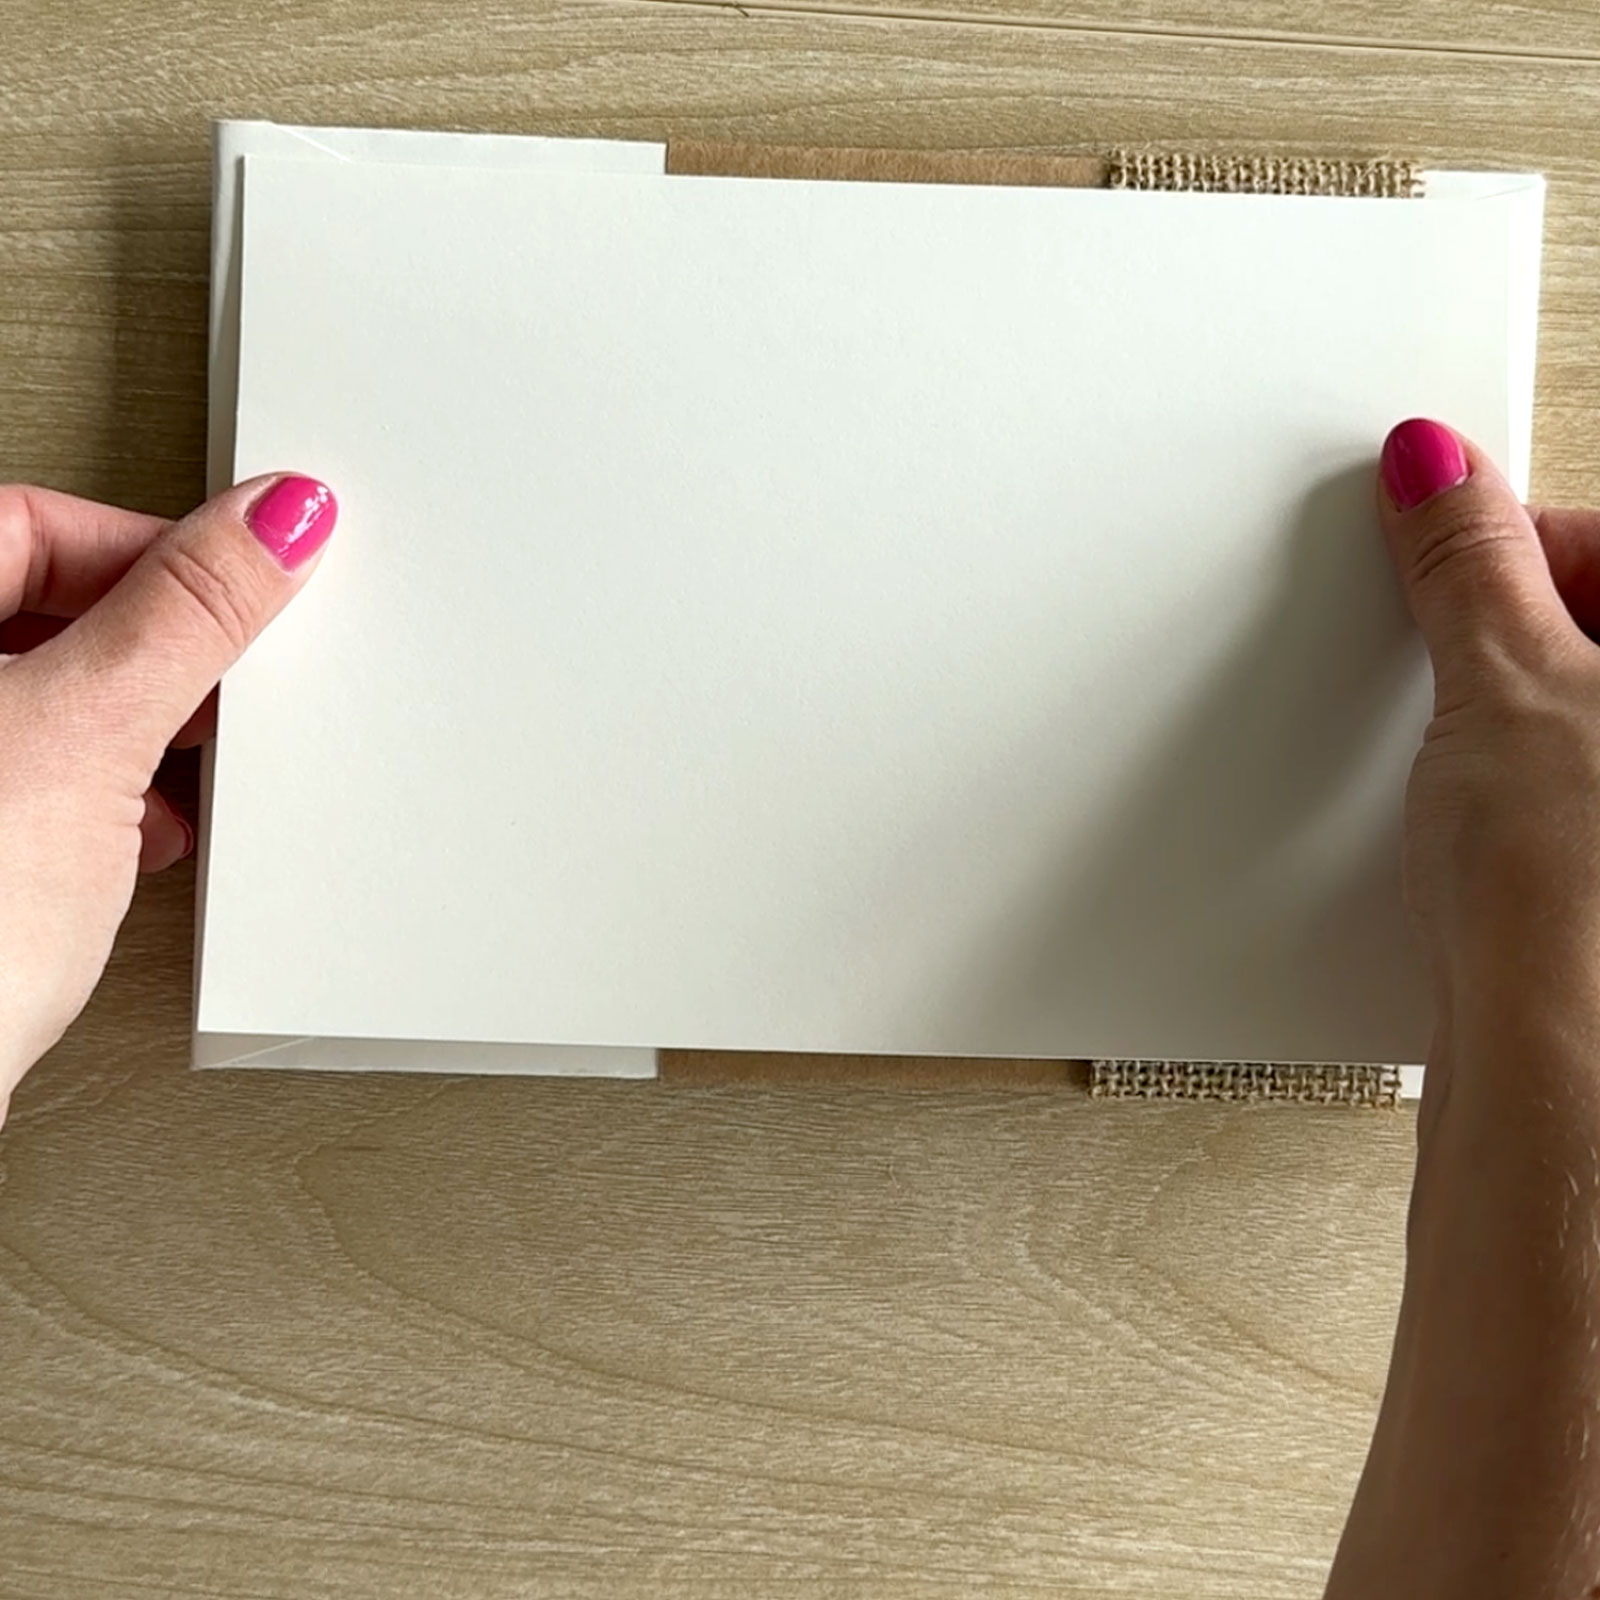
Trim an ivory sheet of paper to 5.5 x 7.8 inches (14 × 20 cm) and stick it over the back of the cover for a neat finish. Repeat for the other cover. You now have a front (with jute) and a back cover for your guest book.
9
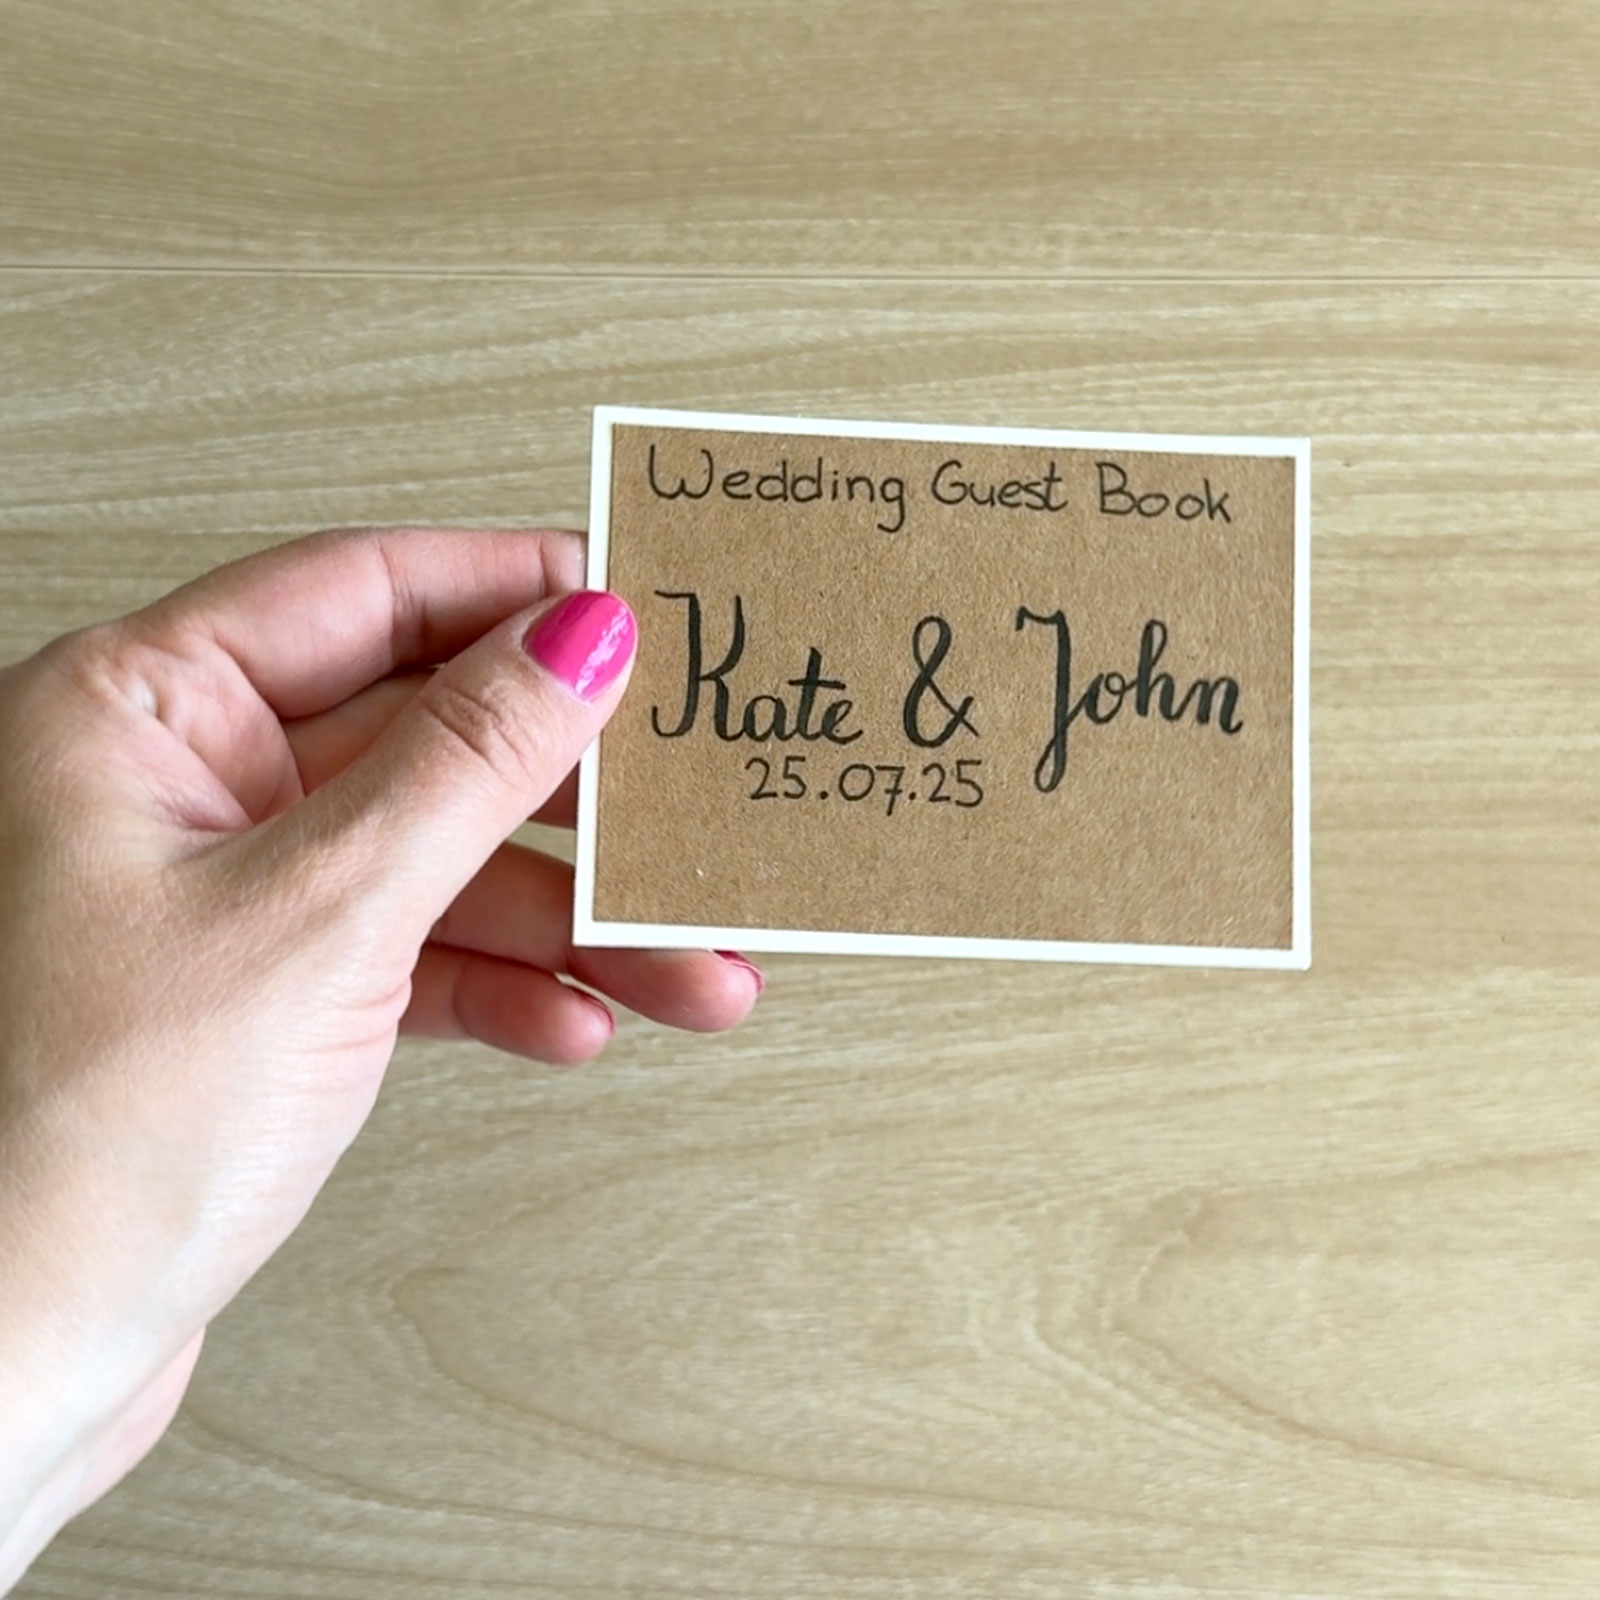
Cut a piece of ivory cardstock to 4.0 x 4.3 inches (10 × 11 cm) and a piece of kraft paper to 3.7 x 4.1 inches (9.5 × 10.5 cm). Adhere the kraft piece onto the ivory piece. Write your desired text, leaving room at the bottom for ribbon.
10
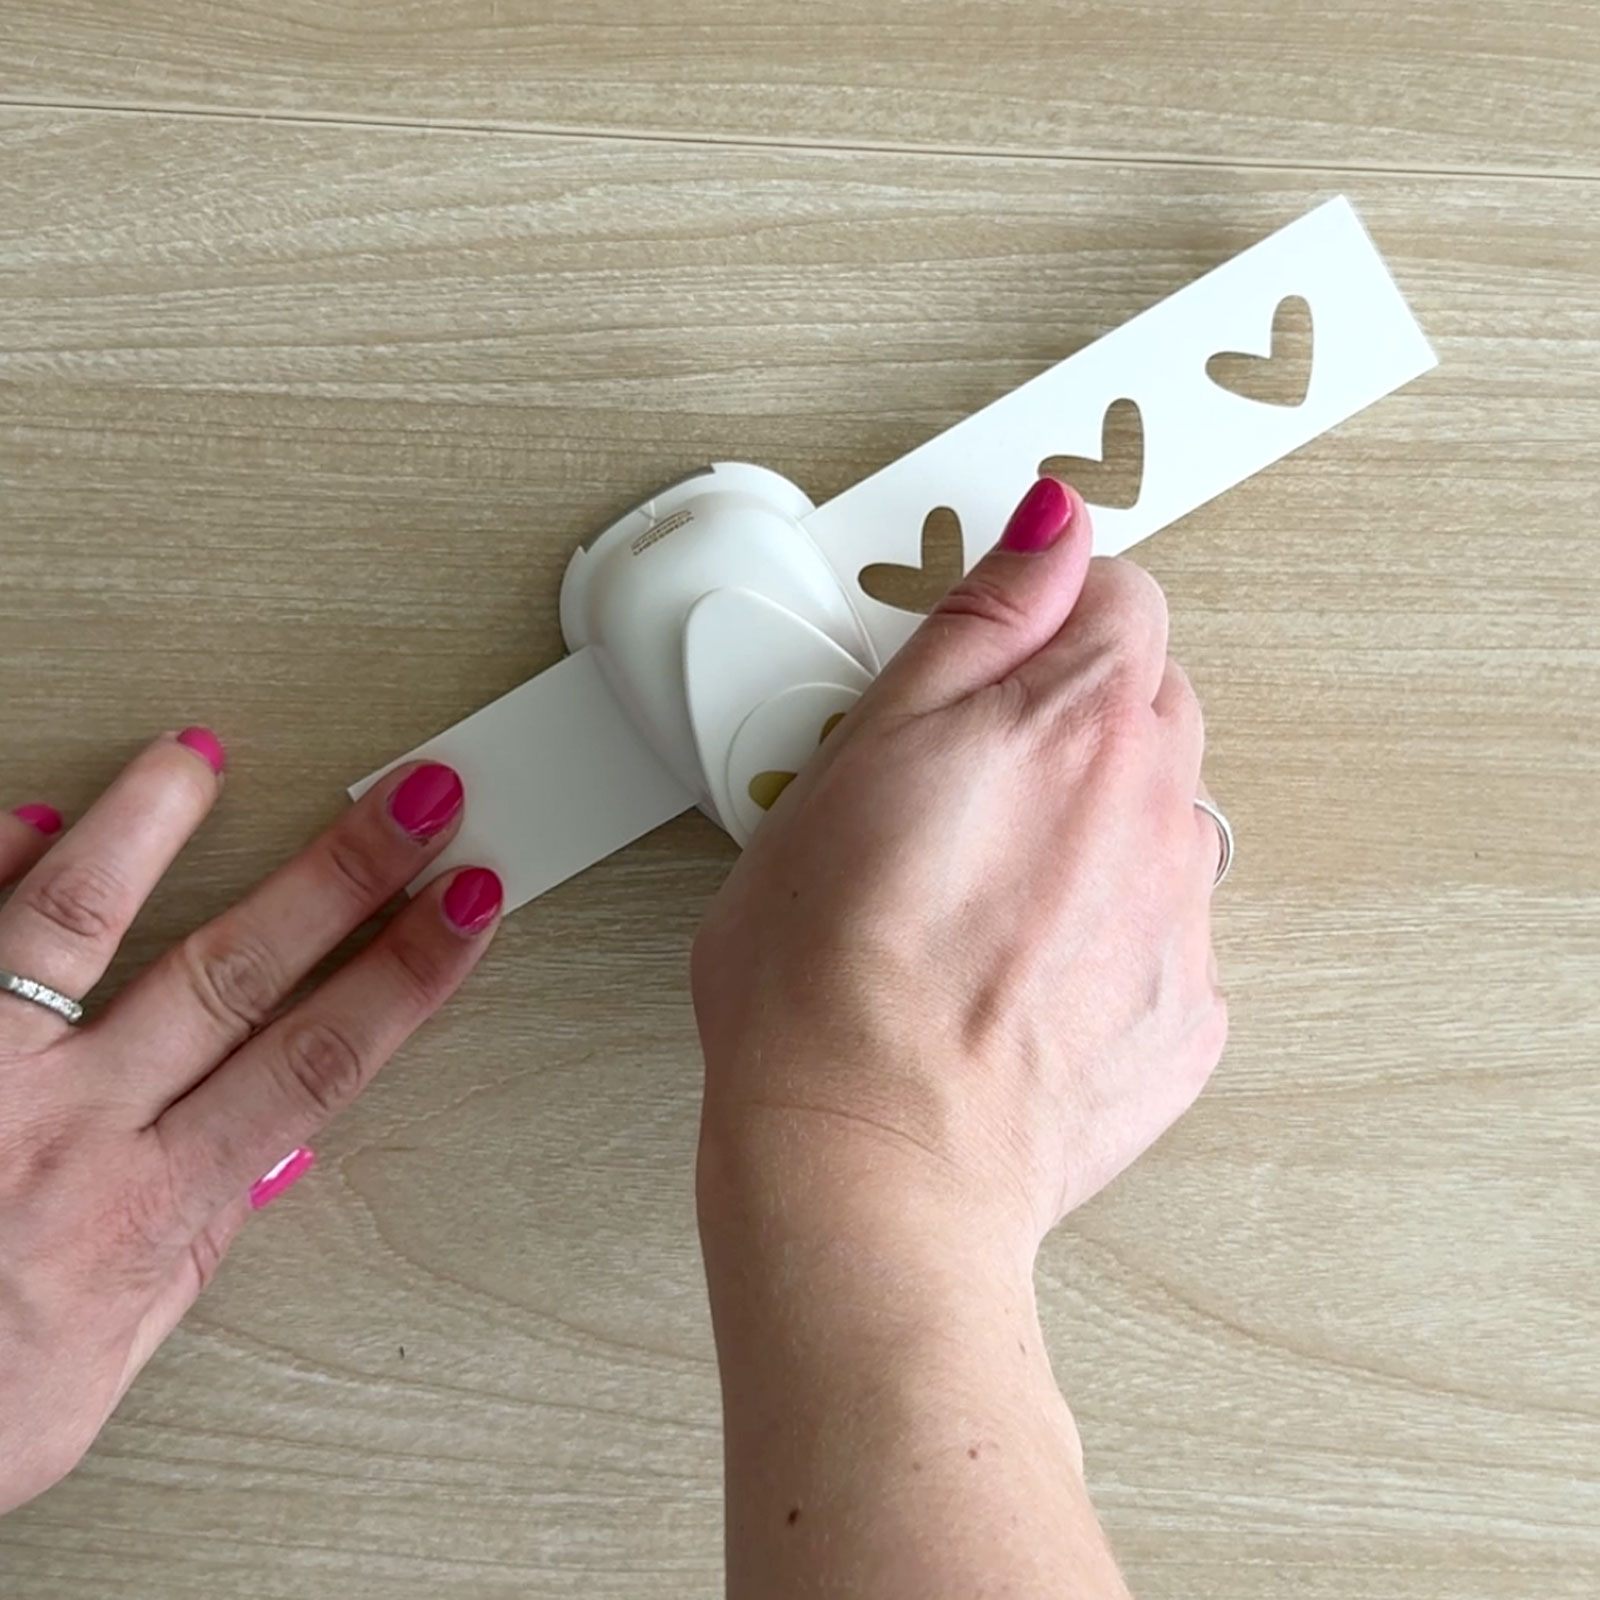
Punch out around seven hearts from a scrap of ivory paper.
11
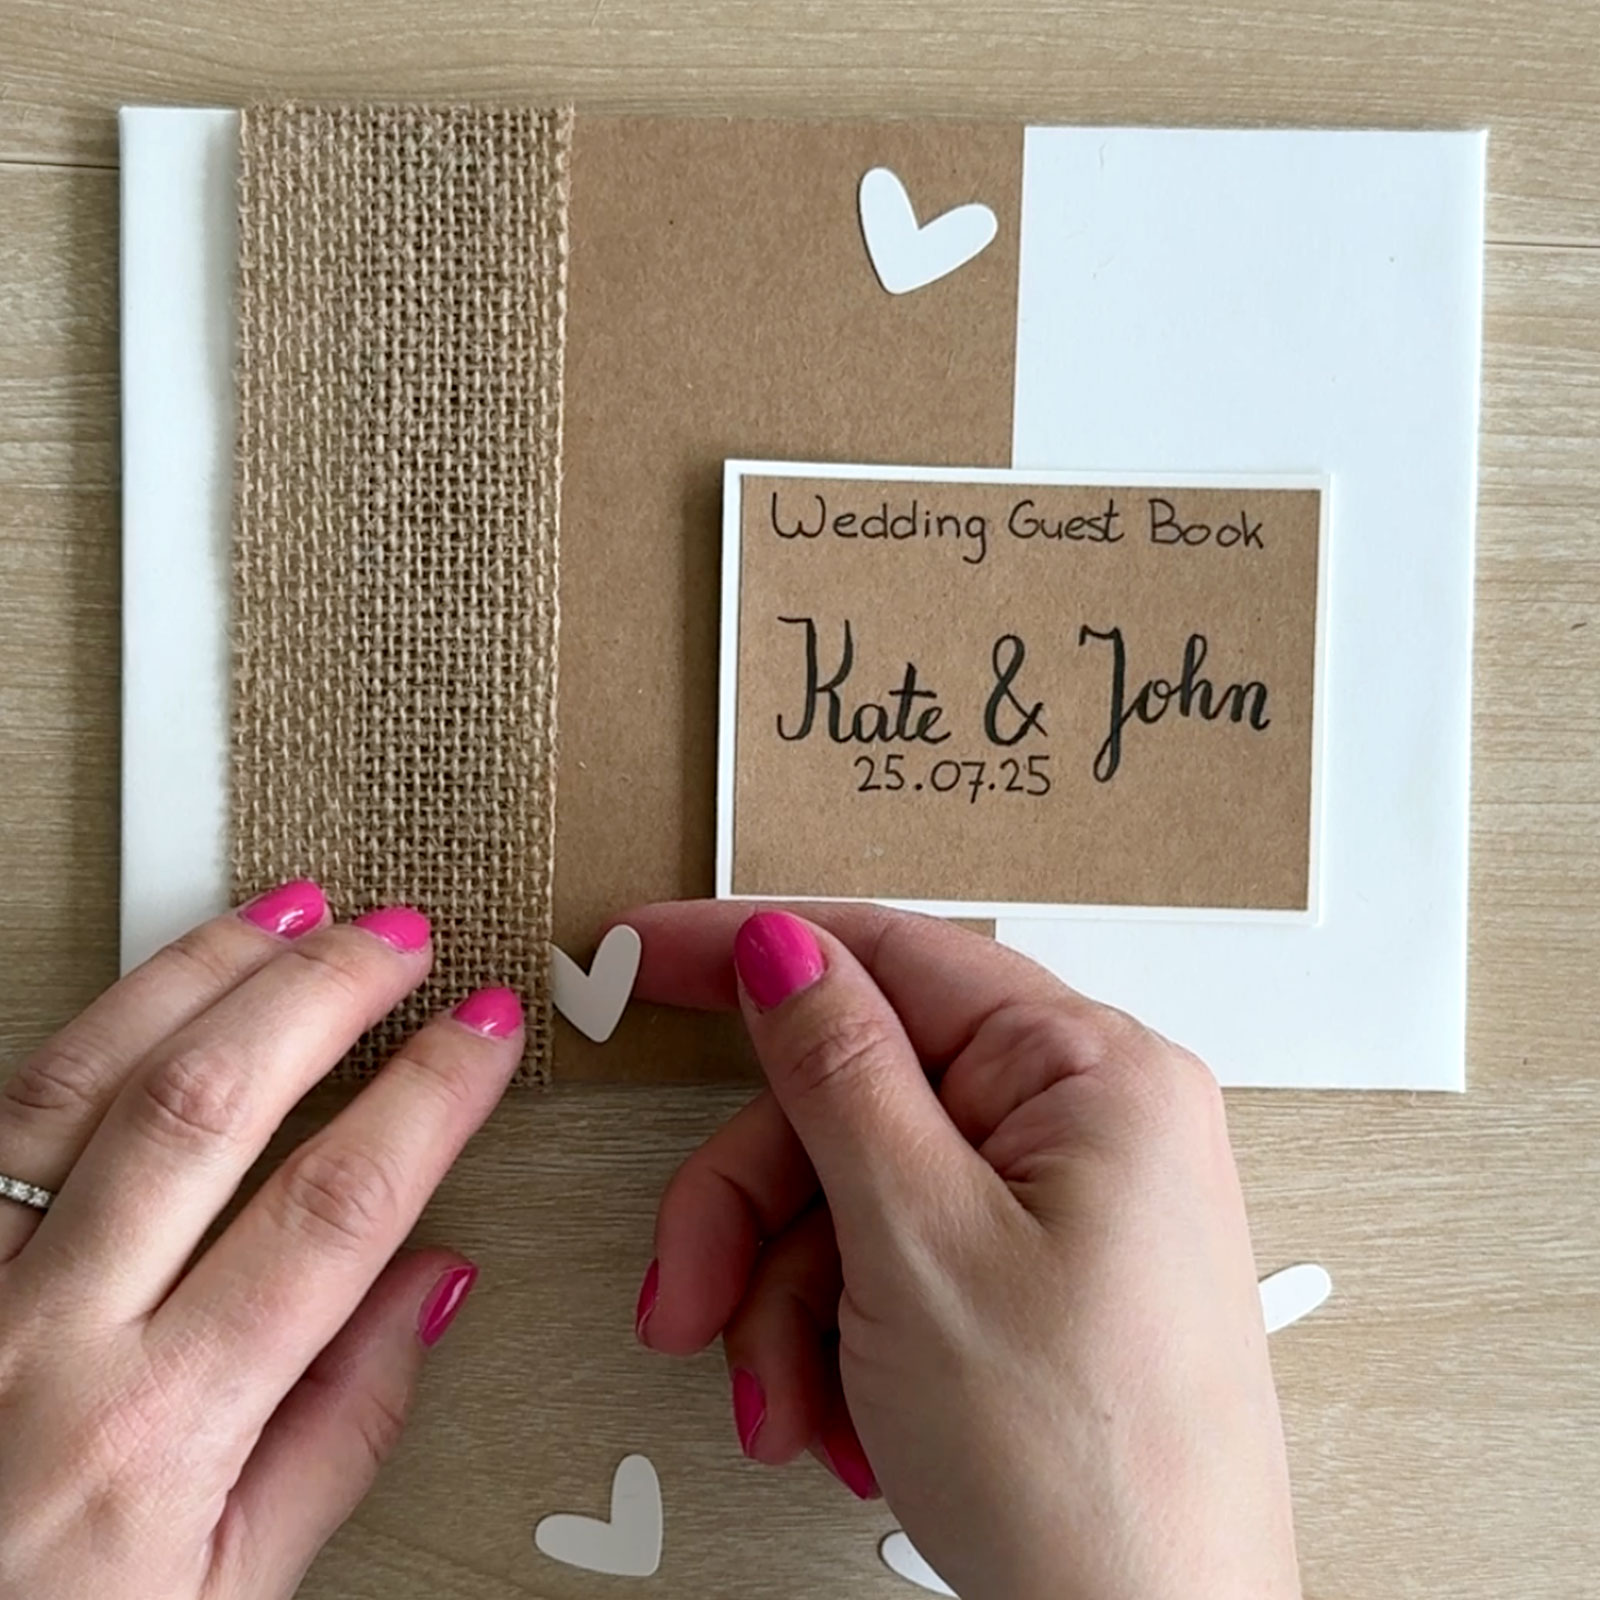
Decide where to position the text card, but don’t stick it down yet. Arrange and glue the hearts in place first, letting some peek out from under the card for a playful effect.
12
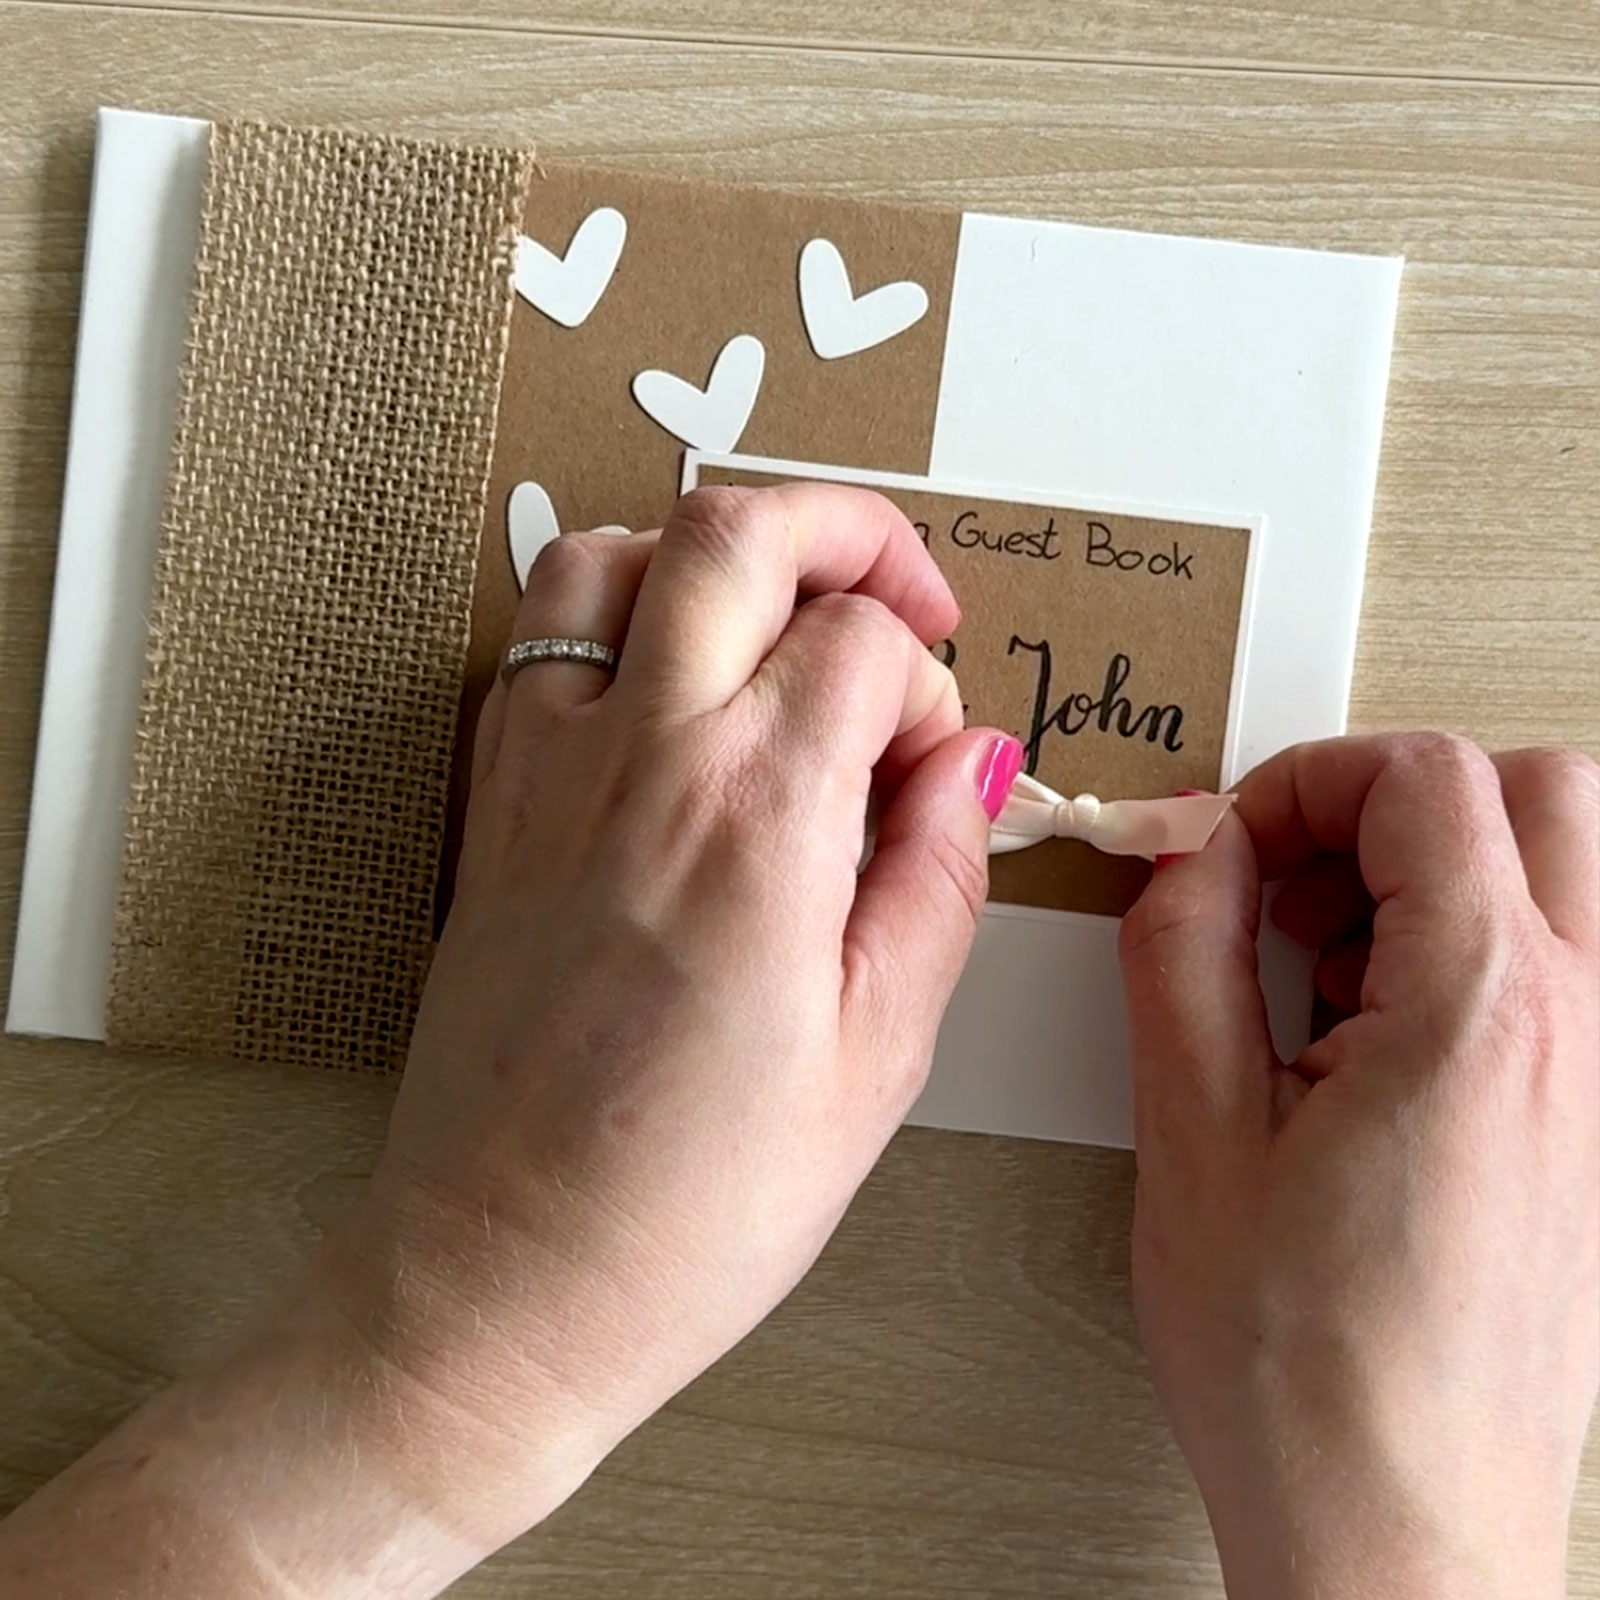
Cut a length of ivory satin ribbon—about 12 inches (30 cm). Attach it to the back of the text card, then stick the card onto the cover and tie the ribbon in a bow.
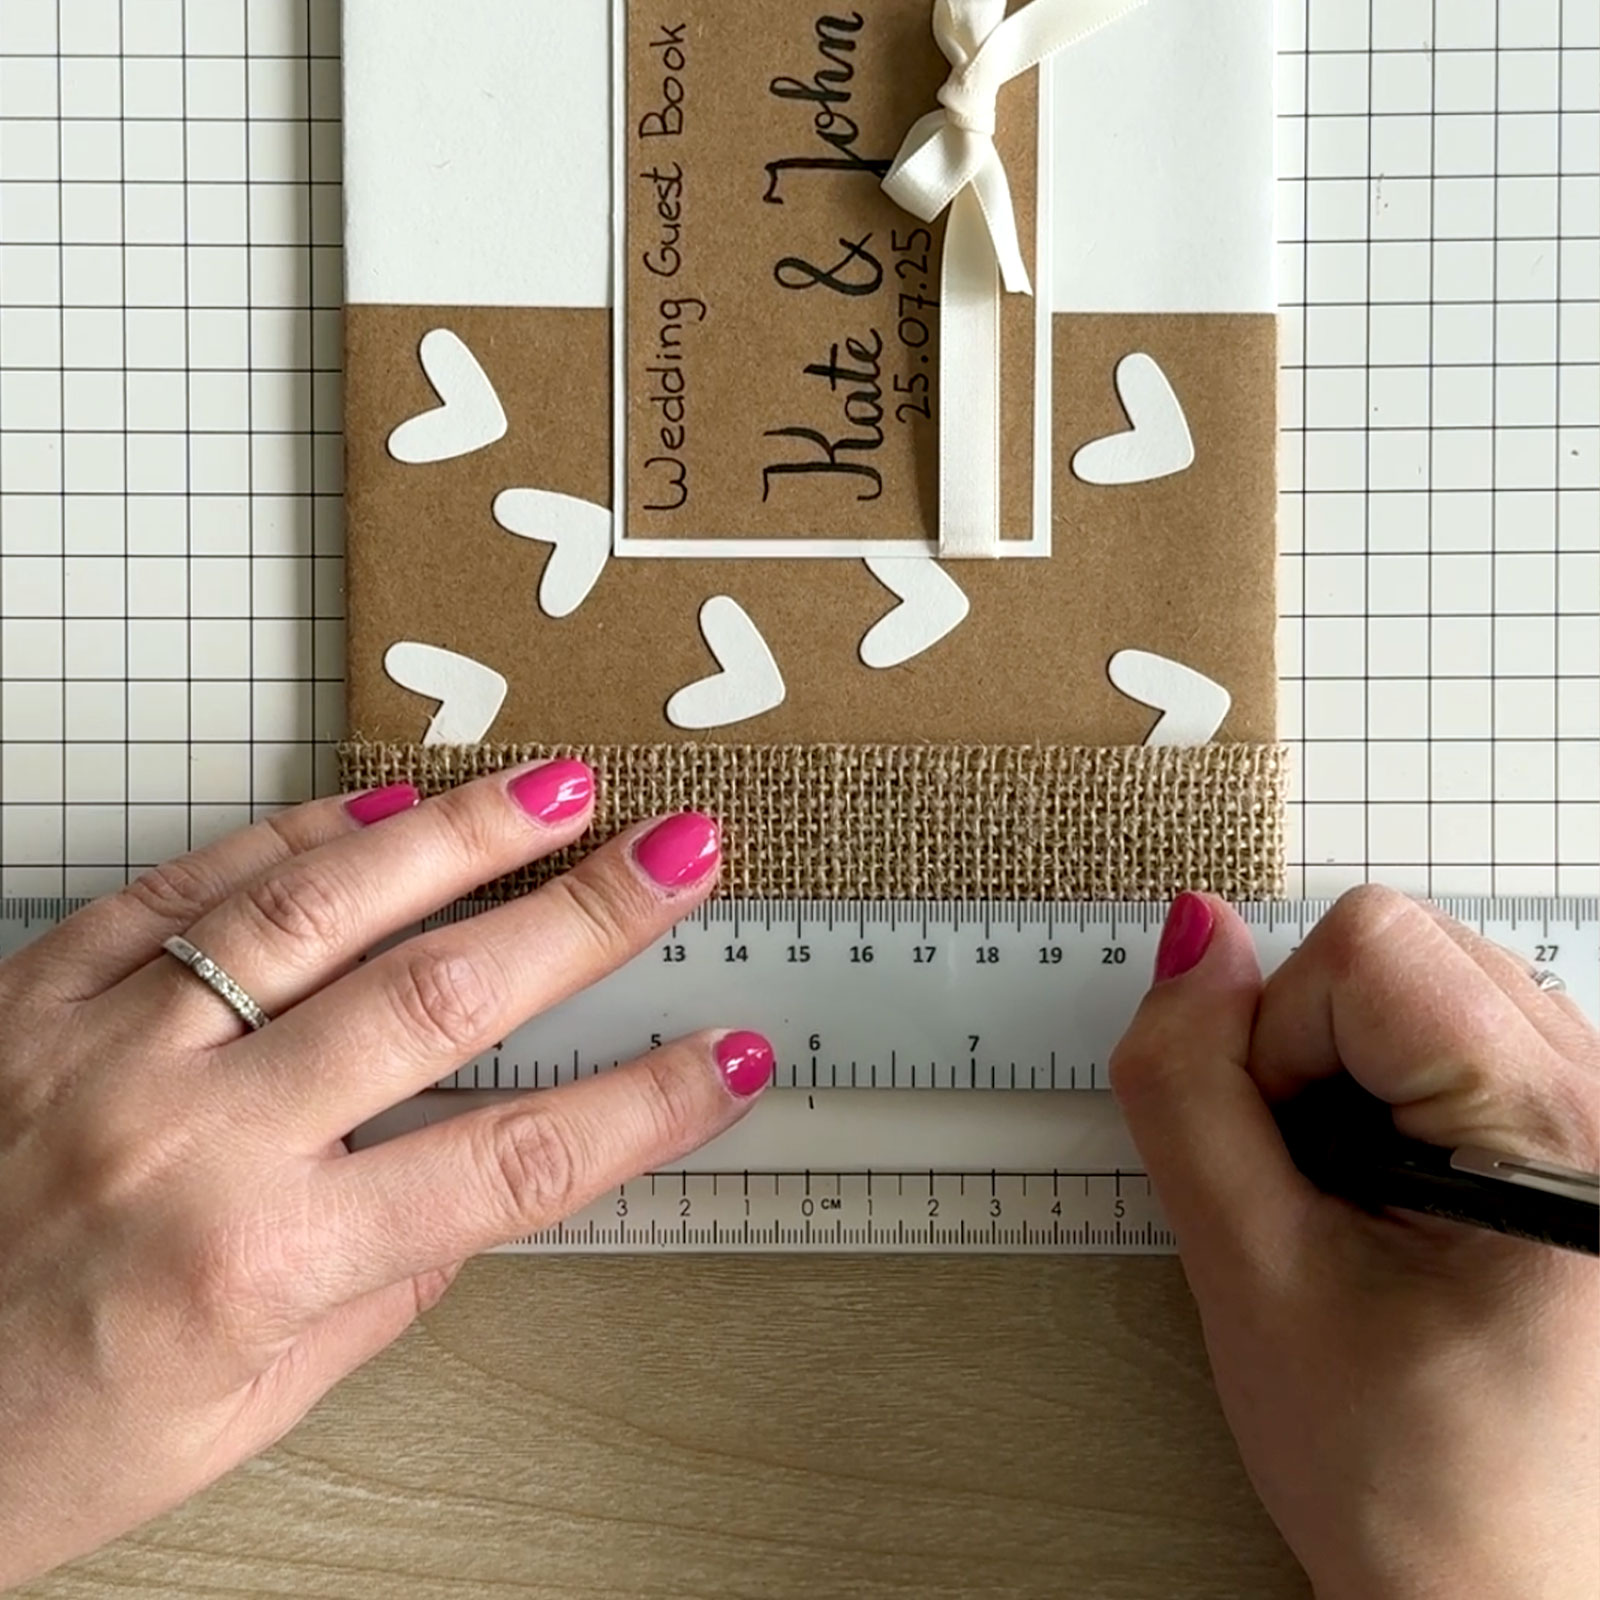
13
To prepare for binding, place the front cover centre on your cutting mat, using the 0 cm mark as reference. Mark at 0 cm and again at 5 cm either side.
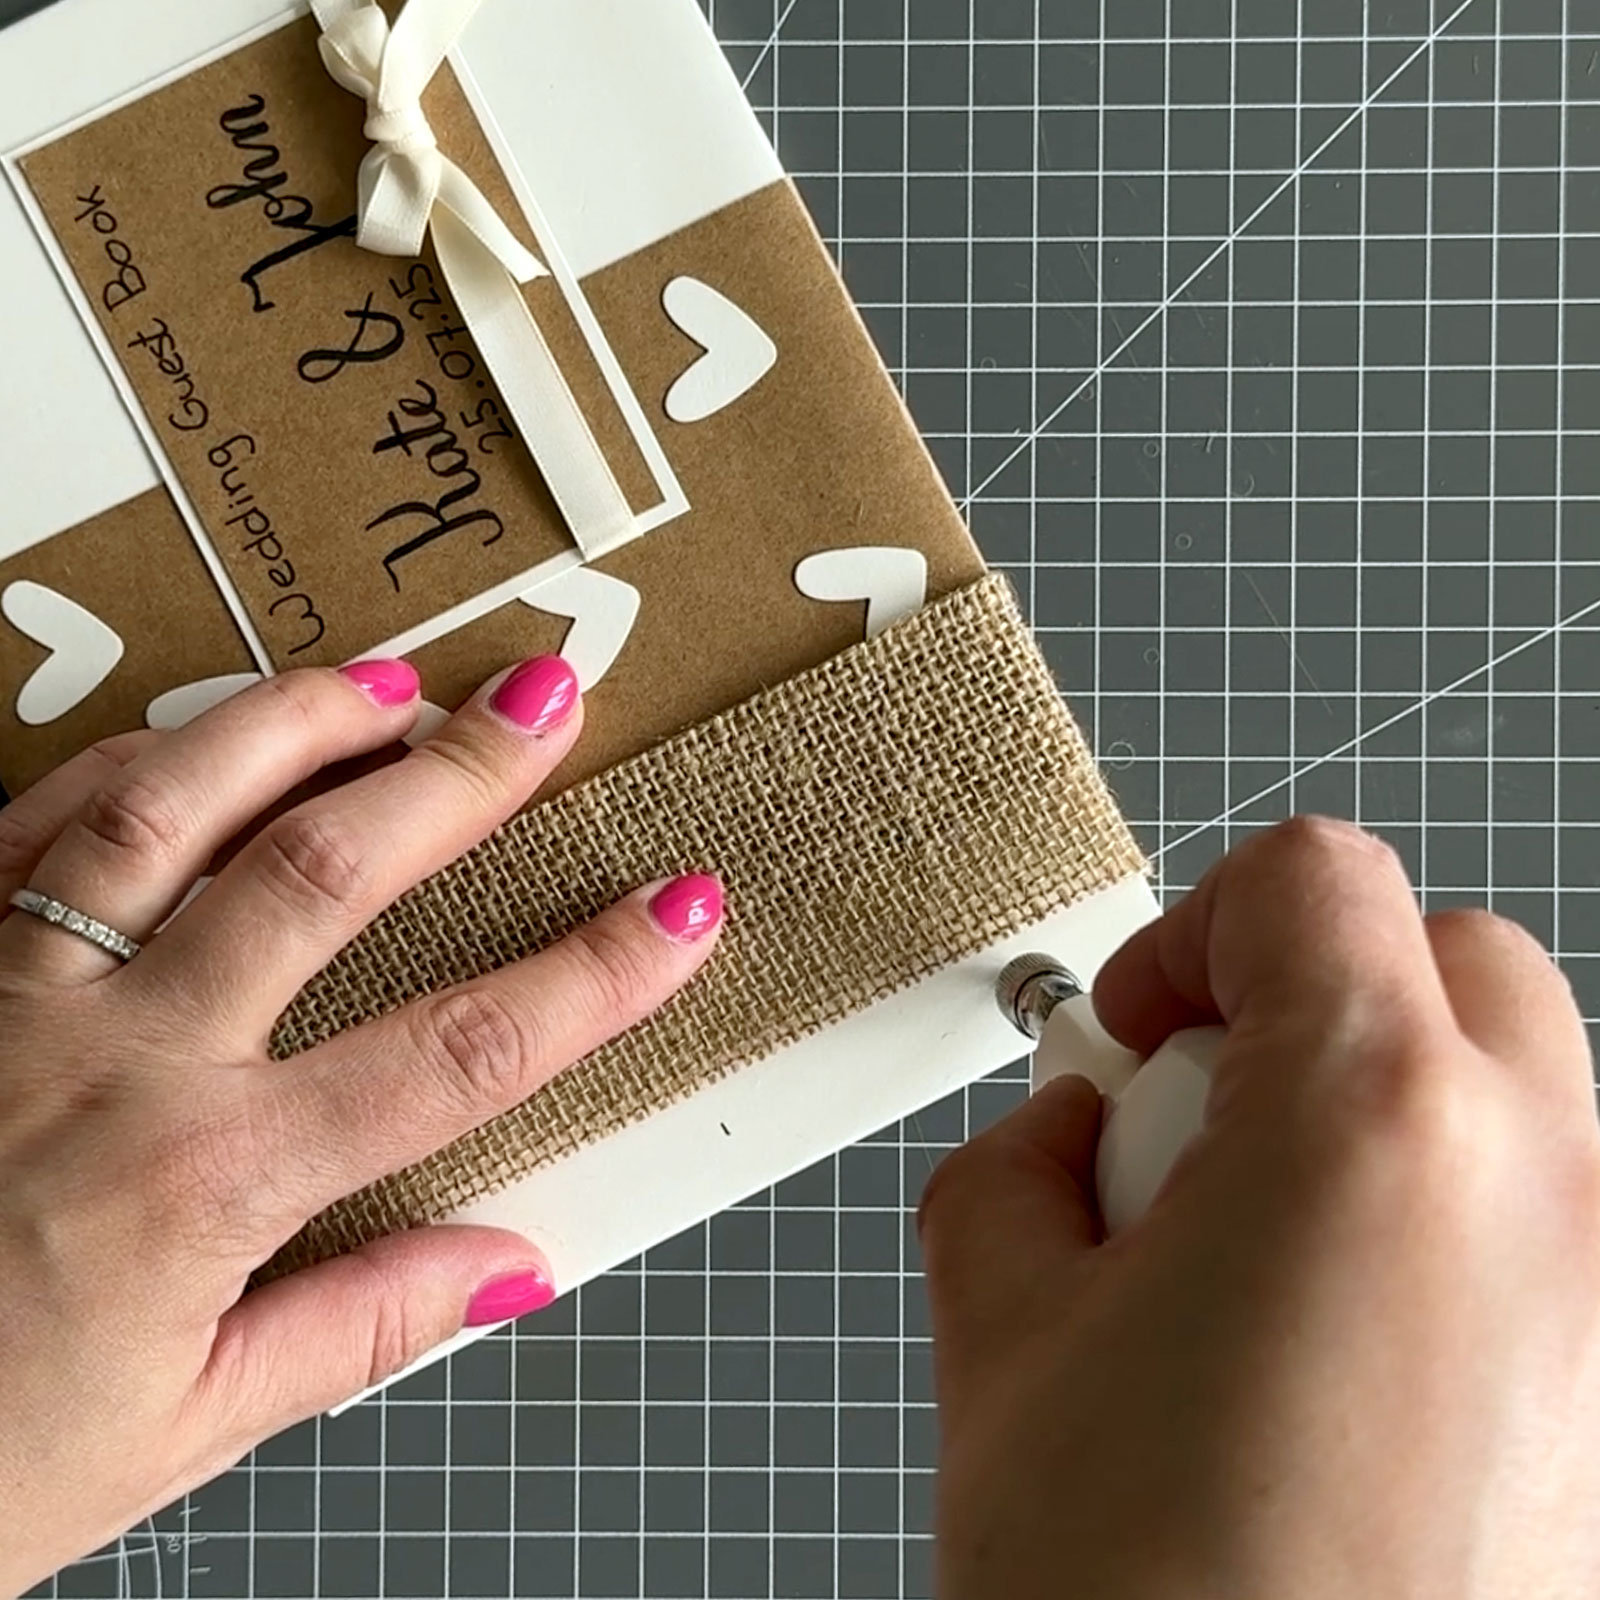
14
Flip your mat to its cutting side and use a screw punch to make holes at the marked points. Because the chipboard is thick, you may need to punch each hole several times.
15
Lay the front cover over the back cover and transfer the hole positions. Repeat for the inner pages of your guest book—choose any paper type and number of sheets you like. Punch corresponding holes in these pages with the screw punch.
16
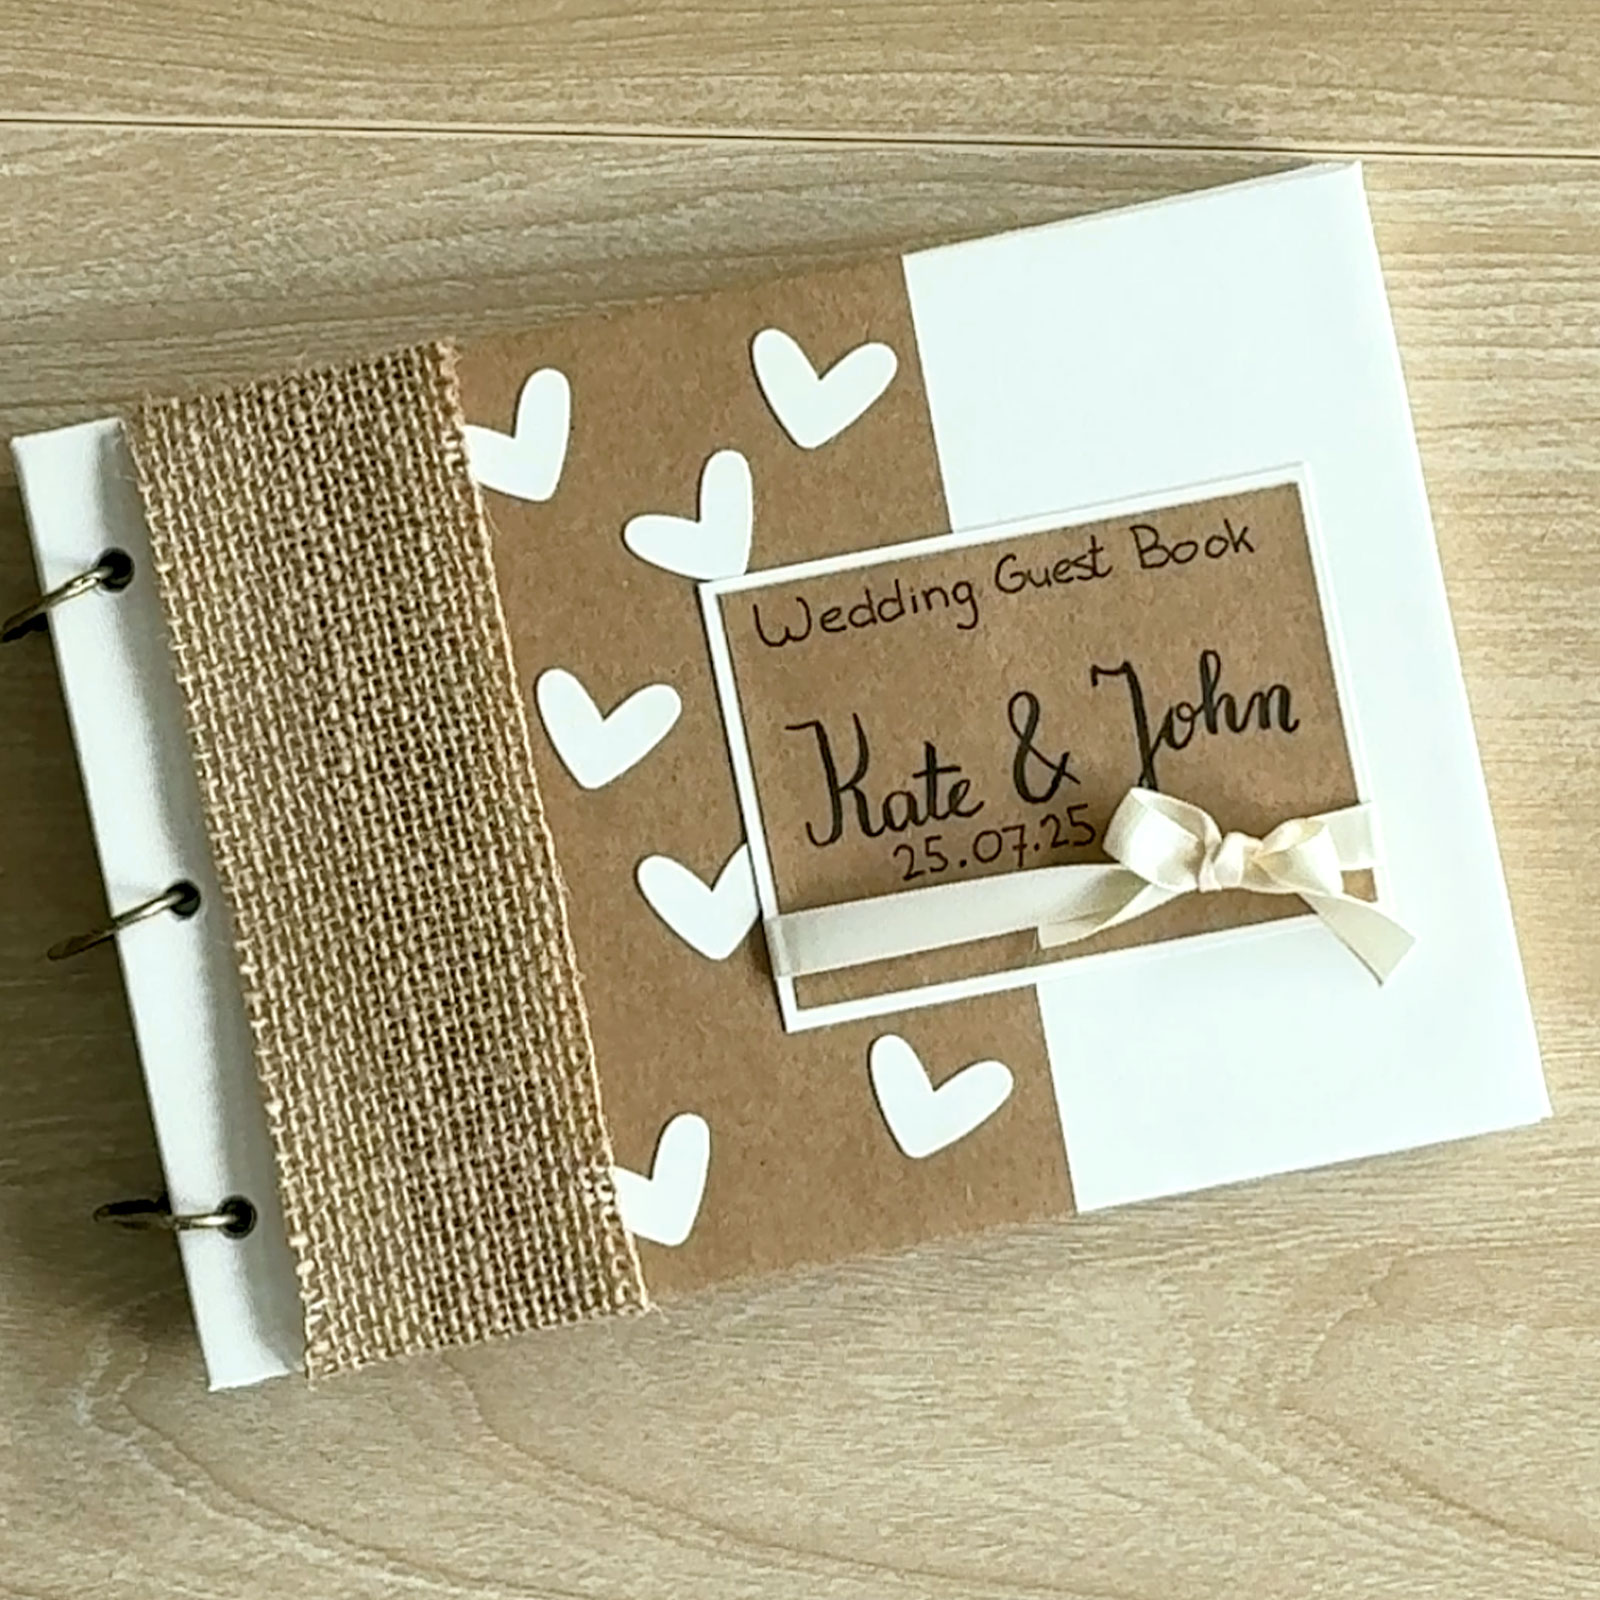
Stack in order—back cover, inner pages, then front cover. Thread book rings through the holes and clamp them shut. The more pages you include, the larger your rings will need to be. Your guest book is now complete!