In this Christmas DIY, we show you step by step how to make your own snow globe Christmas card — also known as a shaker card. Inside the window, tiny winter figures, glitter, or confetti move when you shake it. This handmade card is perfect for sending your personal Christmas wishes.
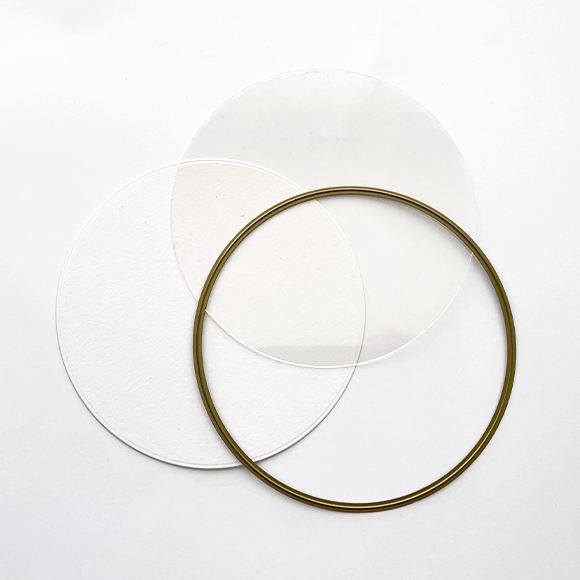
Run an acetate sheet and a white cardstock through a die-cutting machine using a circular cutting die.
2
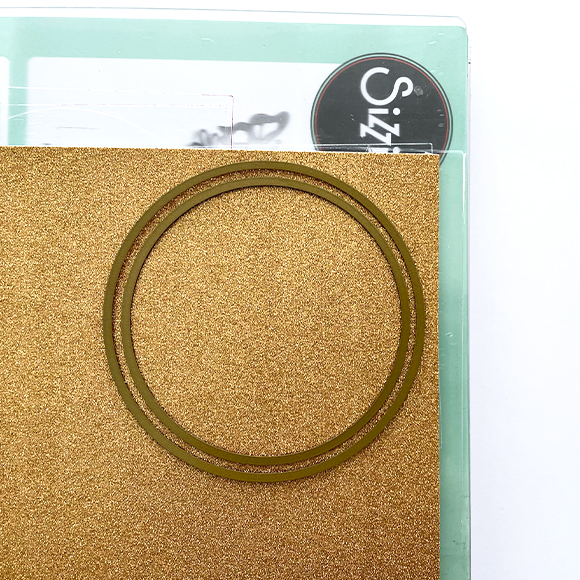
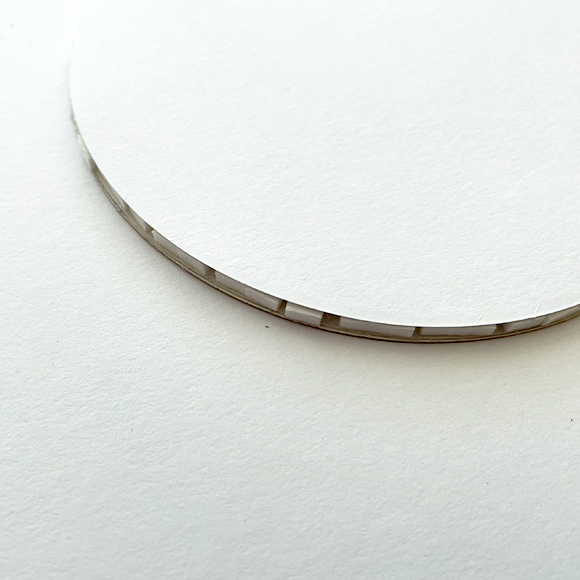
Create a glittery circle using the same circular cutting die and a slightly smaller one. Place both on a sheet of glitter paper and pass them through the die-cutting machine.
3
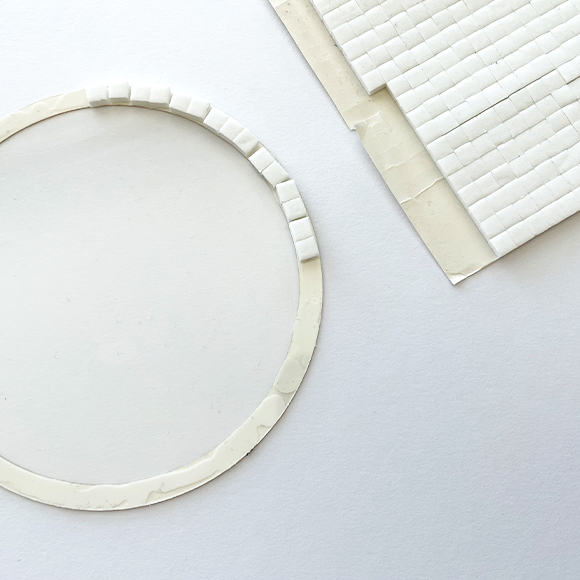
Attach the acetate sheet to the back of the glitter circle using glue. Then, stick a border of 3D foam pads onto the acetate sheet.
4
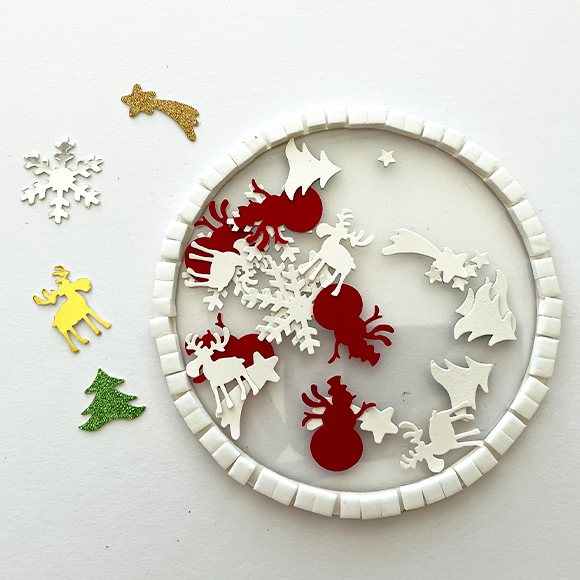
Next, use the Christmas-themed punch set and various paper types, such as metallic, pearl, and glitter paper. Punch out five different shapes from each paper type, which makes a total of 25 shapes. Place these shapes with the decorated side (which is the side with glitter or metallic) facing towards the acetate.
5
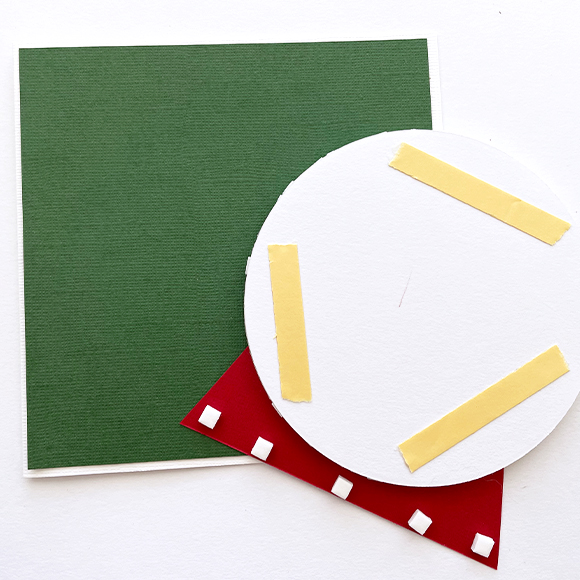
Peel the protective backing from the foam pads. Place the white cardstock circle from Step 1 on the foam pads’ edge to ensure the punched-out shapes can’t fall out of the snow globe circle.
6
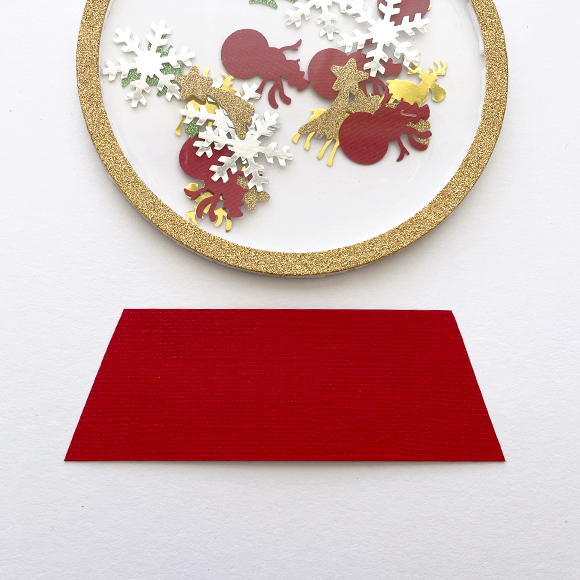
Cut a trapezoidal shape from cardstock to create the base of the snow globe. Glue it to the front of the snow globe.
7
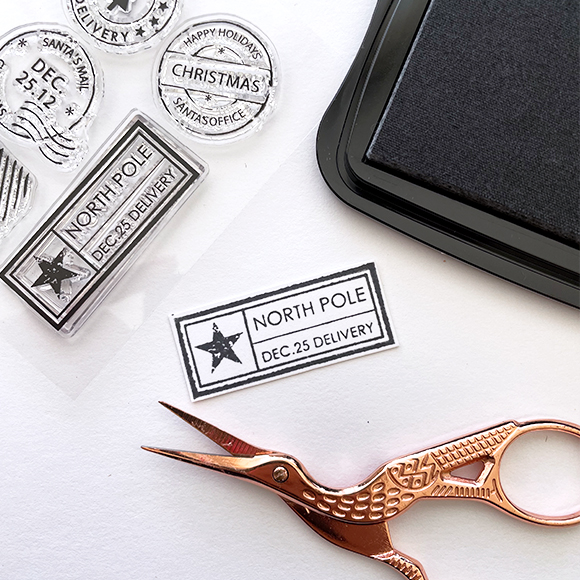
Use the North Pole stamp from Nellie Snellen's snail mail stamps on white cardstock. Cut out this figure and glue it to the base of the snow globe.
8
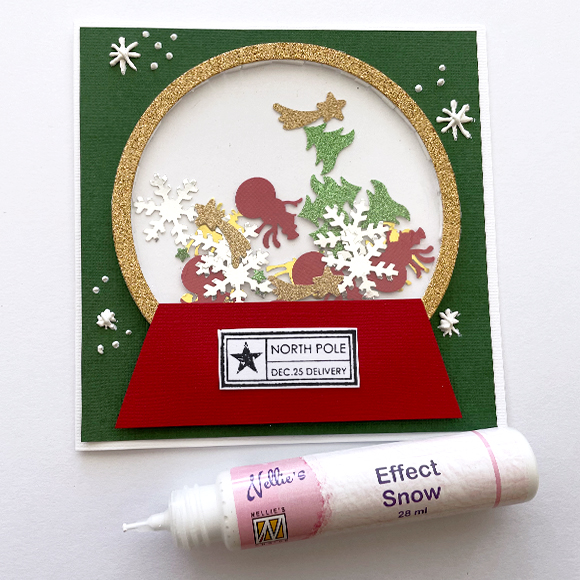
Grab a Florence card measuring 5.3 x 5.3 inch (13.5 x 13.5 cm) and a sheet of cardstock paper measuring 5.1 x.5.1 inch (13 x 13 cm). Glue the cardstock sheet to the card. Apply double-sided tape to the back of the snow globe and place 3D foam pads on the base of the snow globe. Affix the entire assembly in the centre of the card.
9
Add a finishing touch by drawing a few snowflakes on the card using the snow effect pen.