What could be more delightful than sharing your Christmas wishes with handmade Christmas crafts? In this Christmas DIY, we’ll show you step by step how to easily make your own Christmas card with a cheerful wreath. Using a stamp and a die, you can create a festive card in no time — or use this DIY as inspiration for a design with a different stamp!
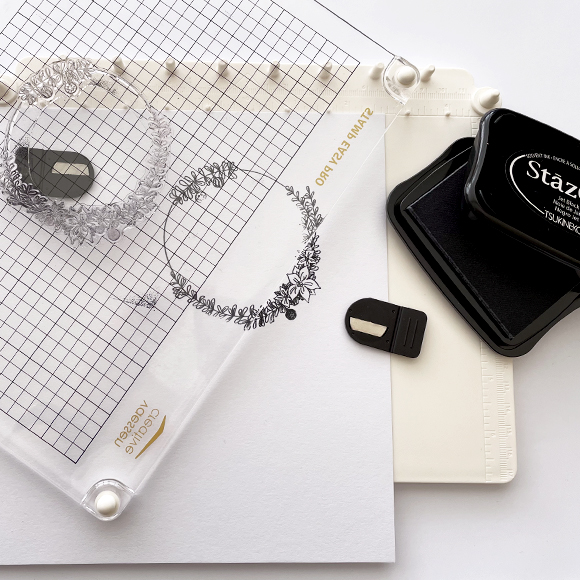
Start with smooth watercolour paper and a Christmas wreath stamp (or another Christmas stamp). We’re using the Cuties Clear Stamps Wreath by Nellie Snellen. Make an impression of the stamp on the paper with waterproof ink, such as Stazon.
2
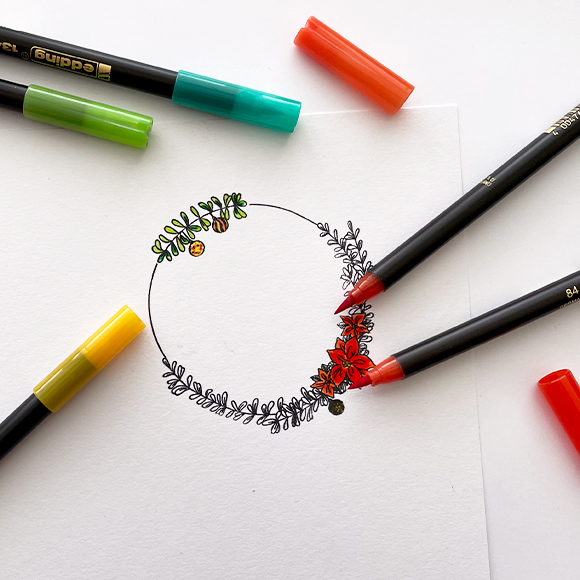
Next, use brush pens, coloured pencils, or watercolours to colour in the design.
3
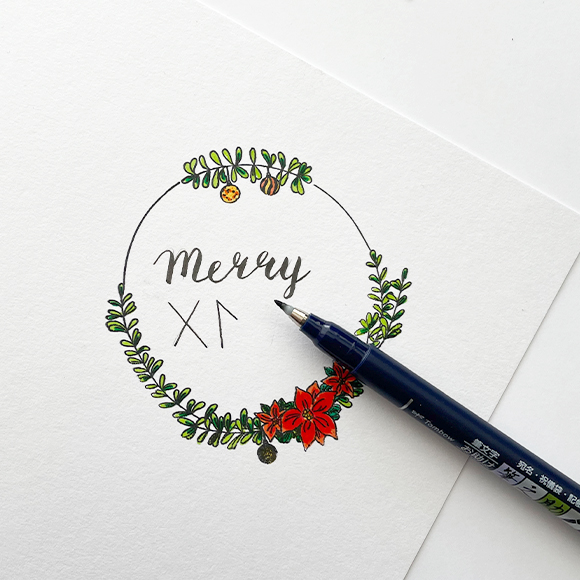
Write a Christmas message in the centre of the circle with a hand lettering pen. If you have a different design, you could place the message above or below, for example.
4
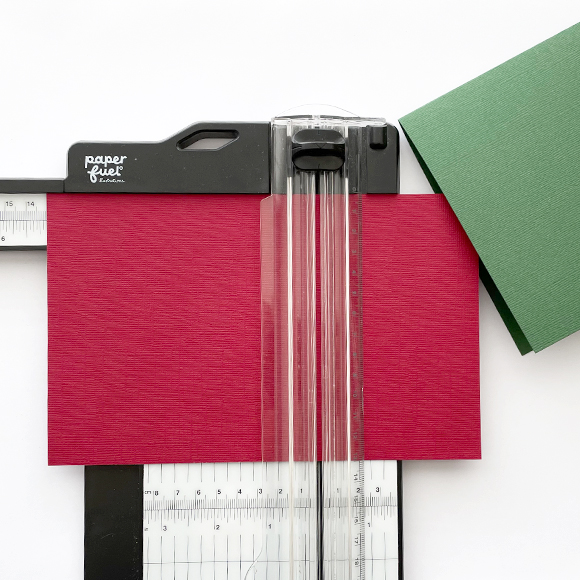
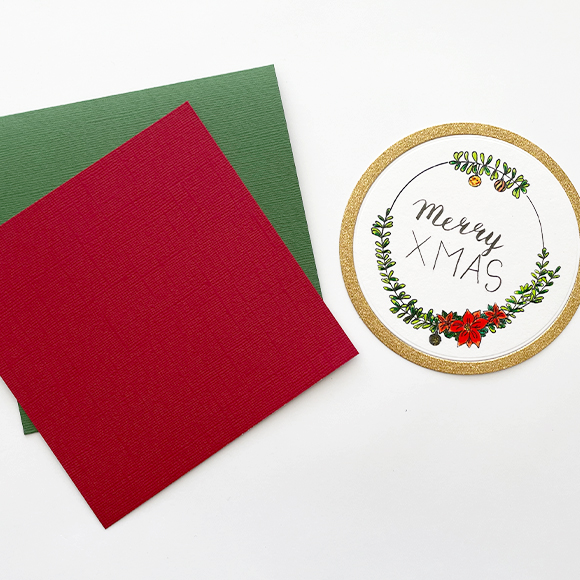
Take a 5.3 x 5.3 inch (13.5 x 13.5 cm) Florence cardstock card (green) and cut a sheet of red cut a sardstock paper to 5.1 x 5.1 inch (13 x 13 cm).
5
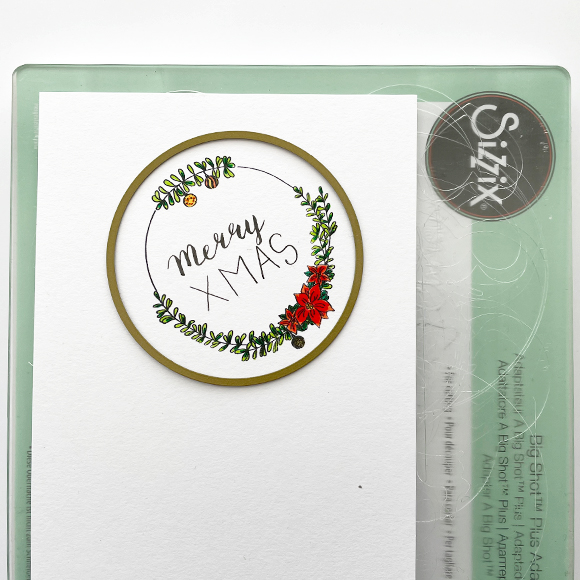
Die-cut your stamped image using a circular cutting die slightly larger than the design.
6
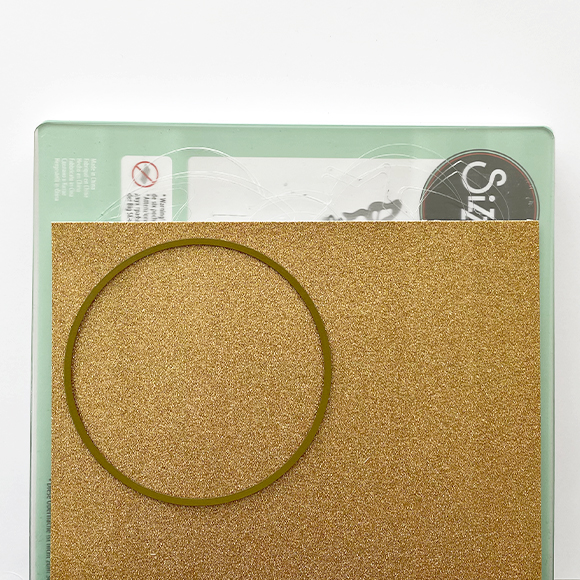
Using a slightly bigger cutting die, cut a circle out of glitter paper.
7
Now that all the components are ready, it's time to assemble them to create the card. Begin by gluing the red cardstock to the front of the green card. Next, take the circle with the design and glue it in the centre of the glitter circle. Finally, attach this whole piece in the middle of the card to complete the Christmas card.