Craft a charming shadowbox filled with flowers and grass using the Cut Easy die-cutting and embossing machine. A beautiful piece to display at home or to give as a handmade gift!
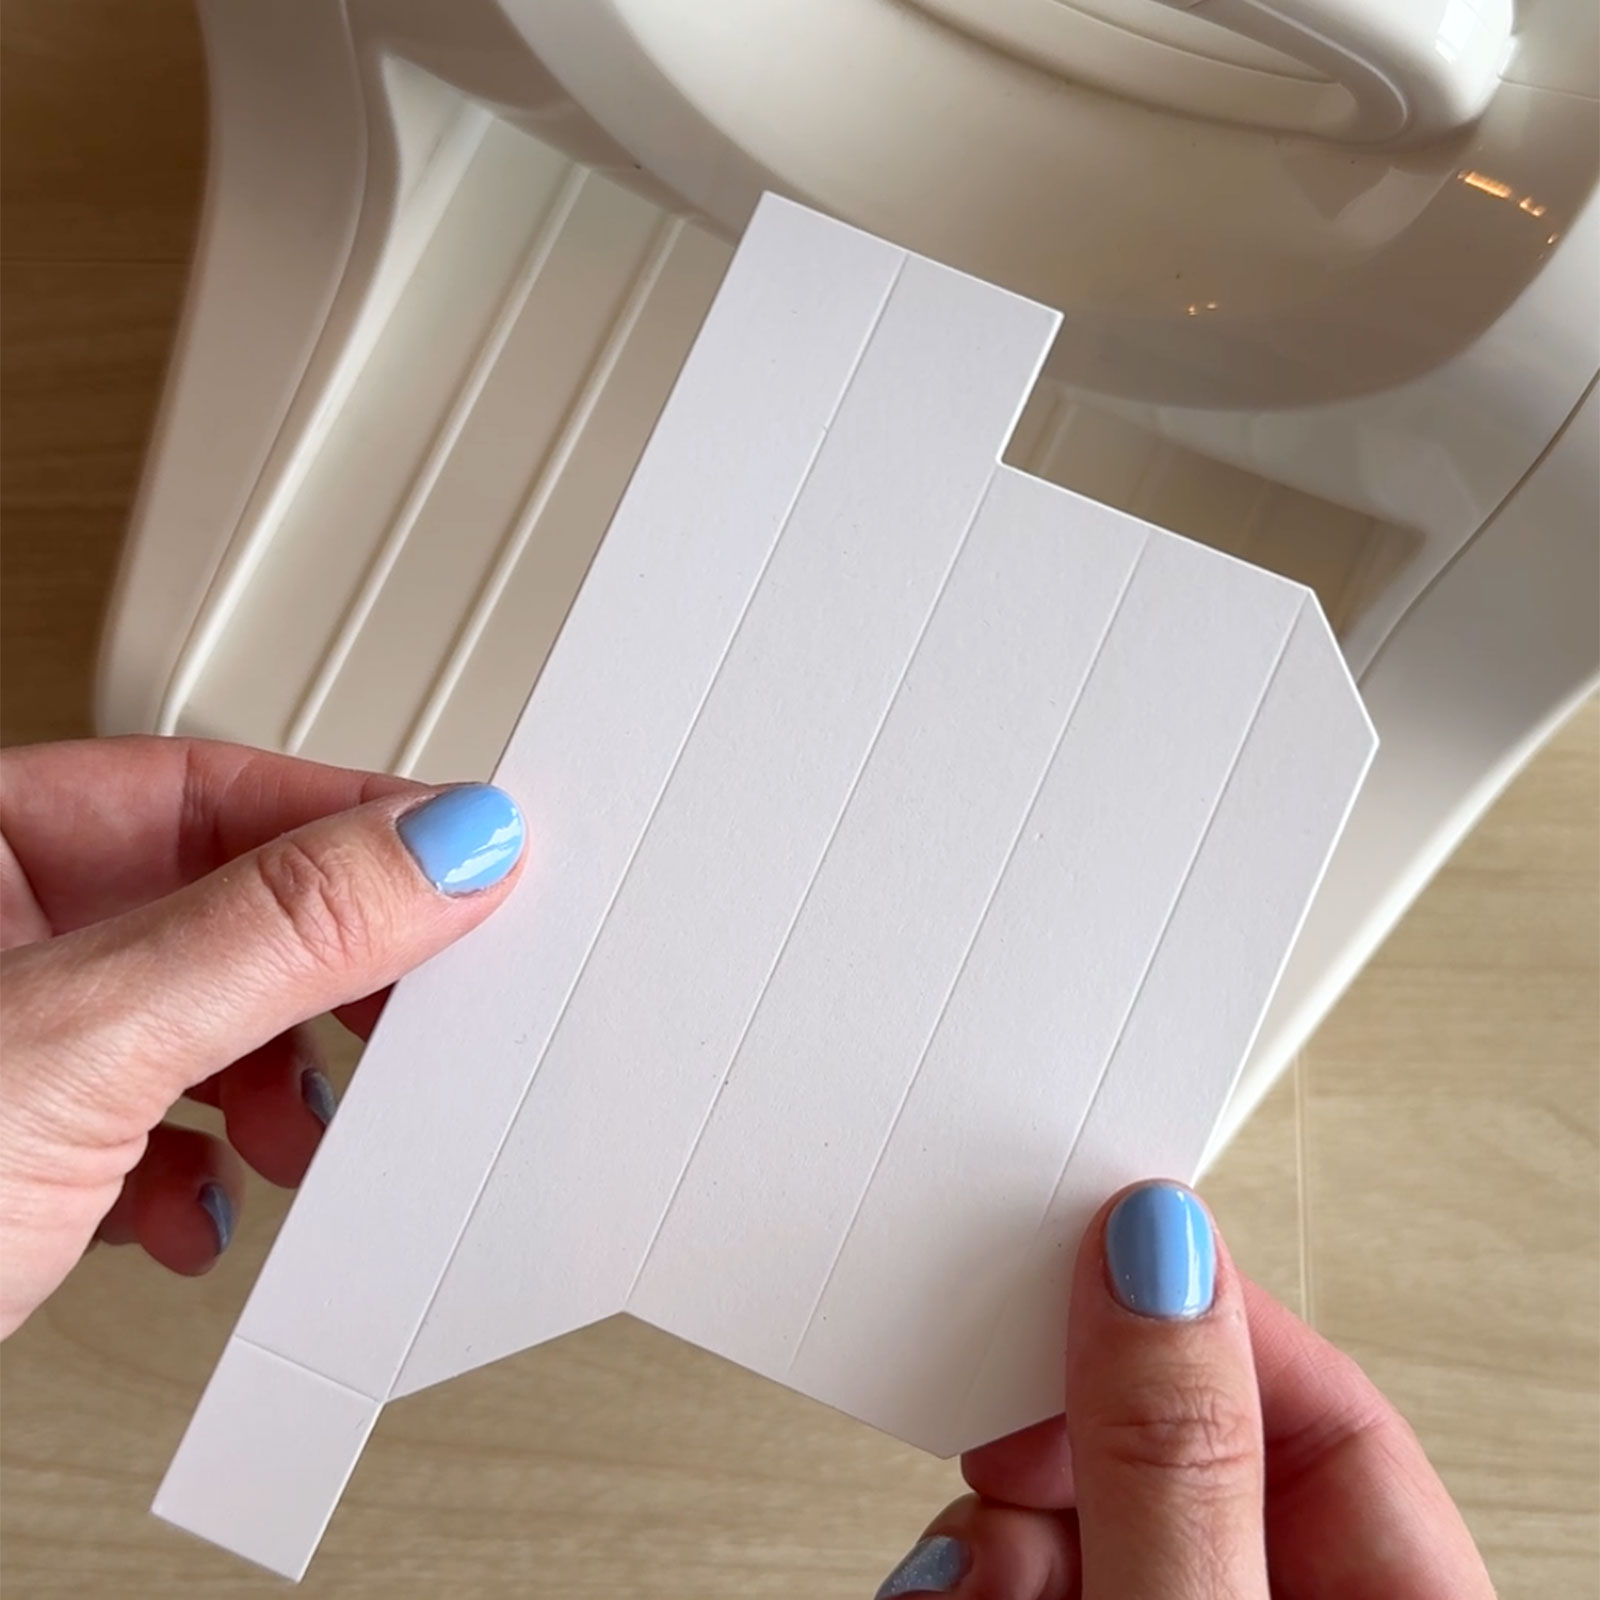
Start by taking the largest die from the shape dies shadowbox set. Place it on white cardstock and run it through the die-cutting machine. Repeat this step four times so you end up with four shapes.
2
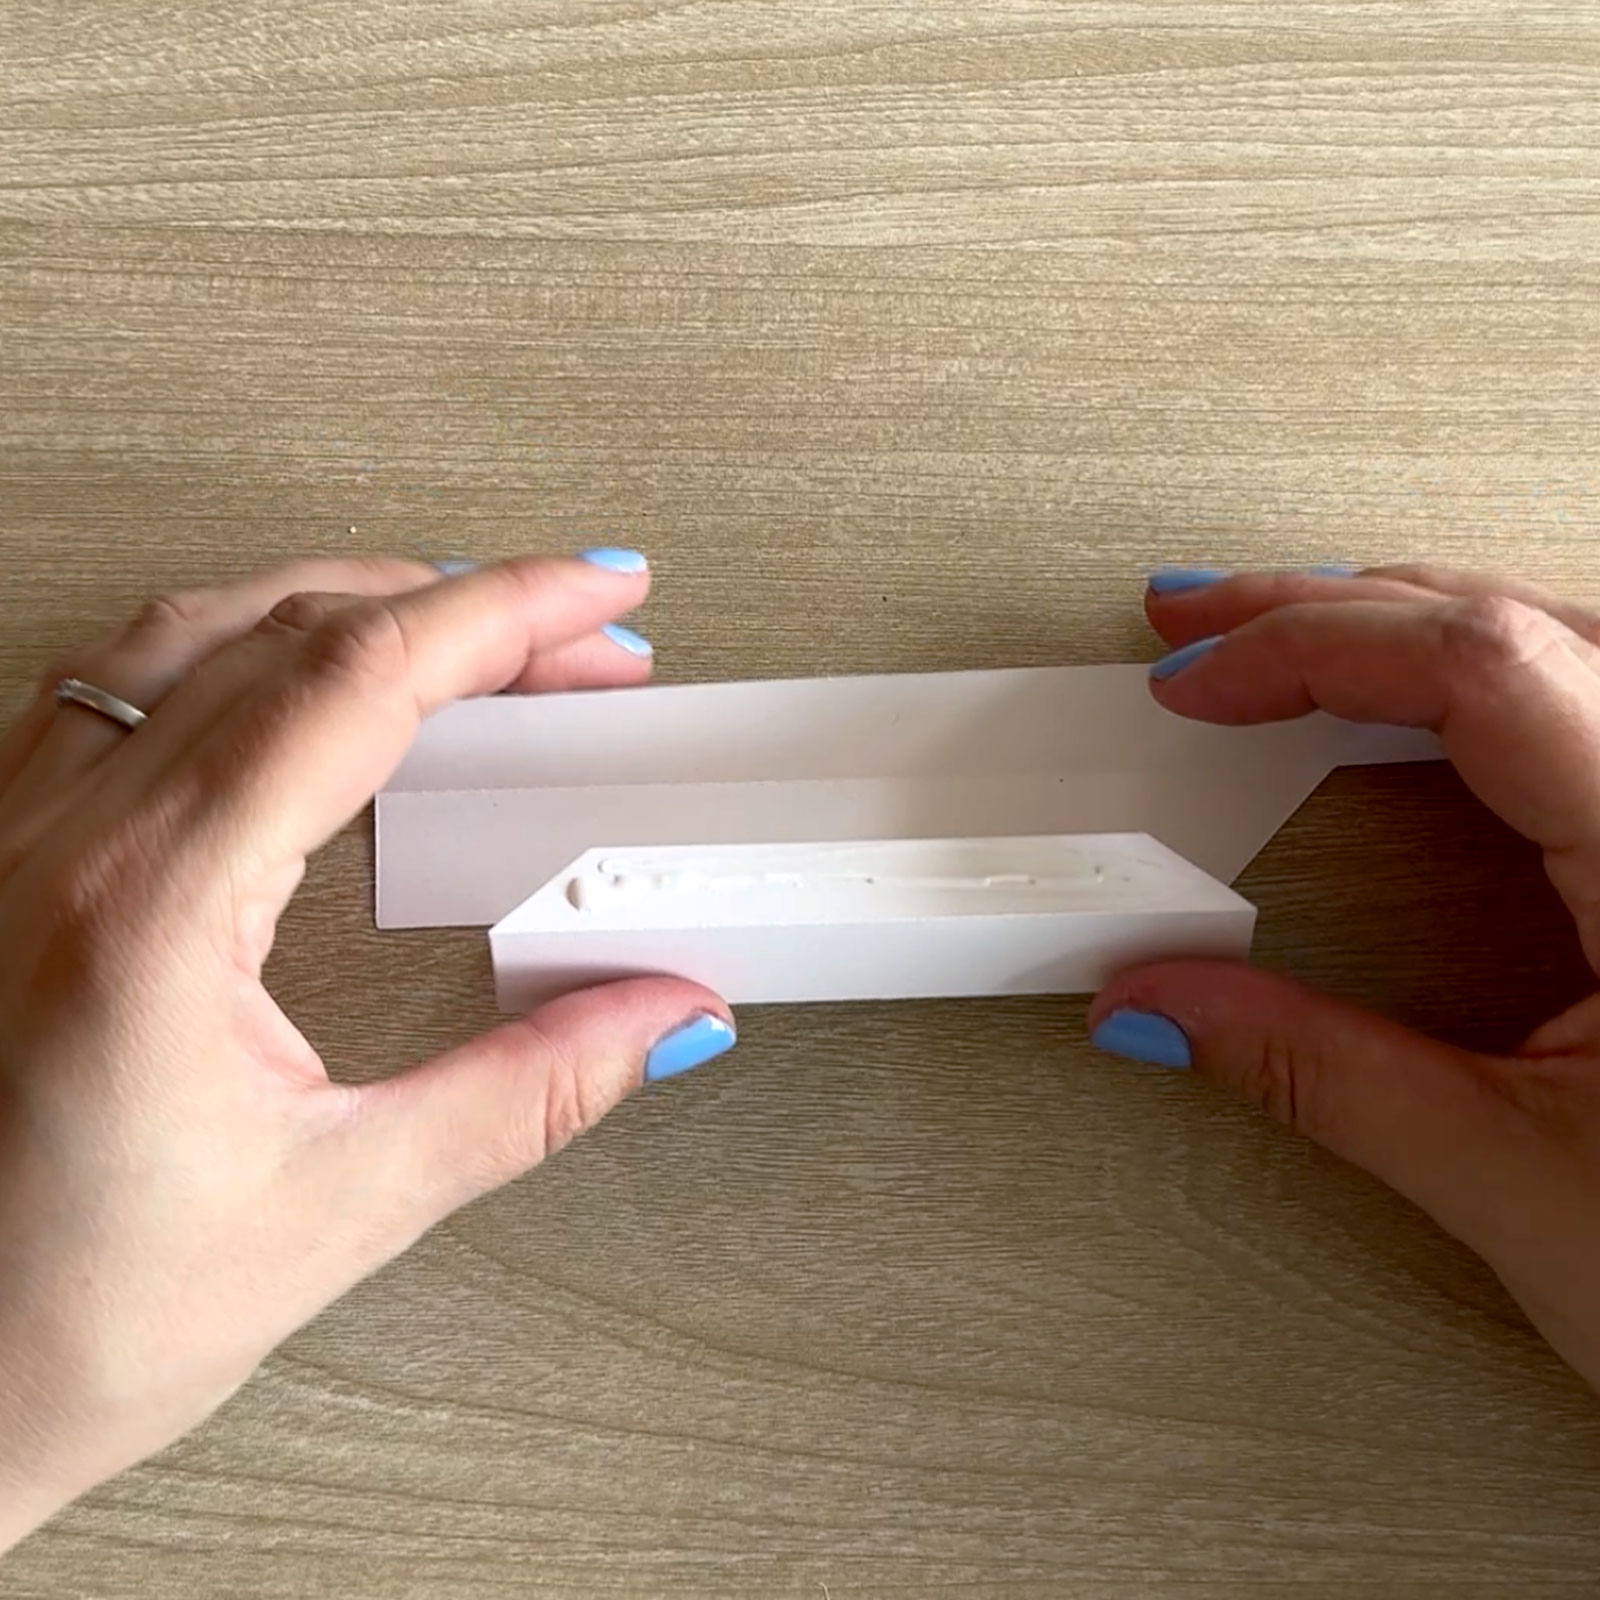
Fold along the scored lines to form square tubes. Use the adhesive flaps to glue each one closed securely.
3
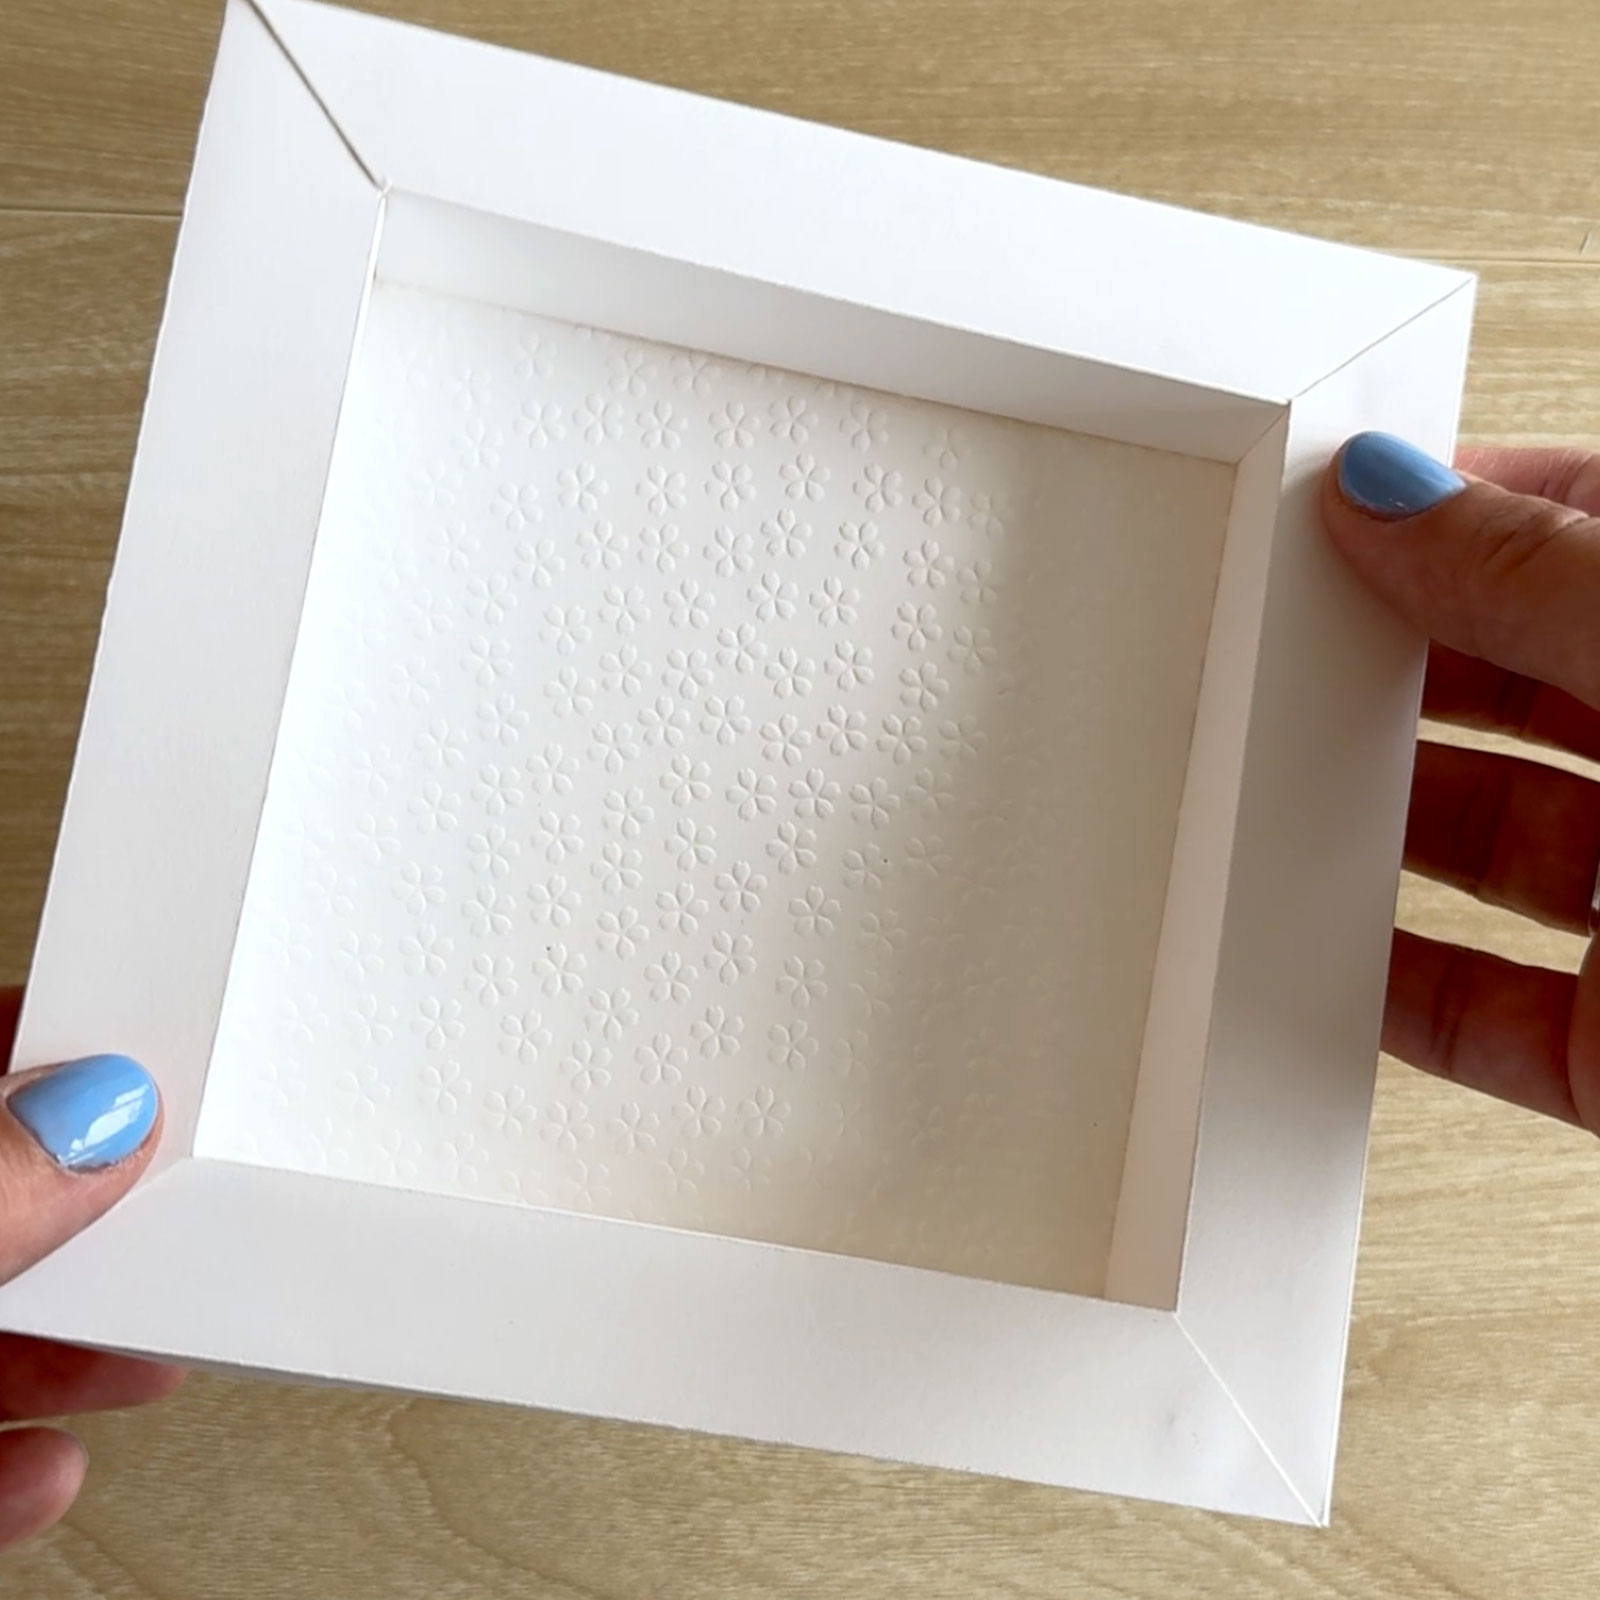
Assemble the four tubes into a square frame. Glue the flaps on the inside so they stay hidden. You’ll now have a window-like frame with angled corners.
4
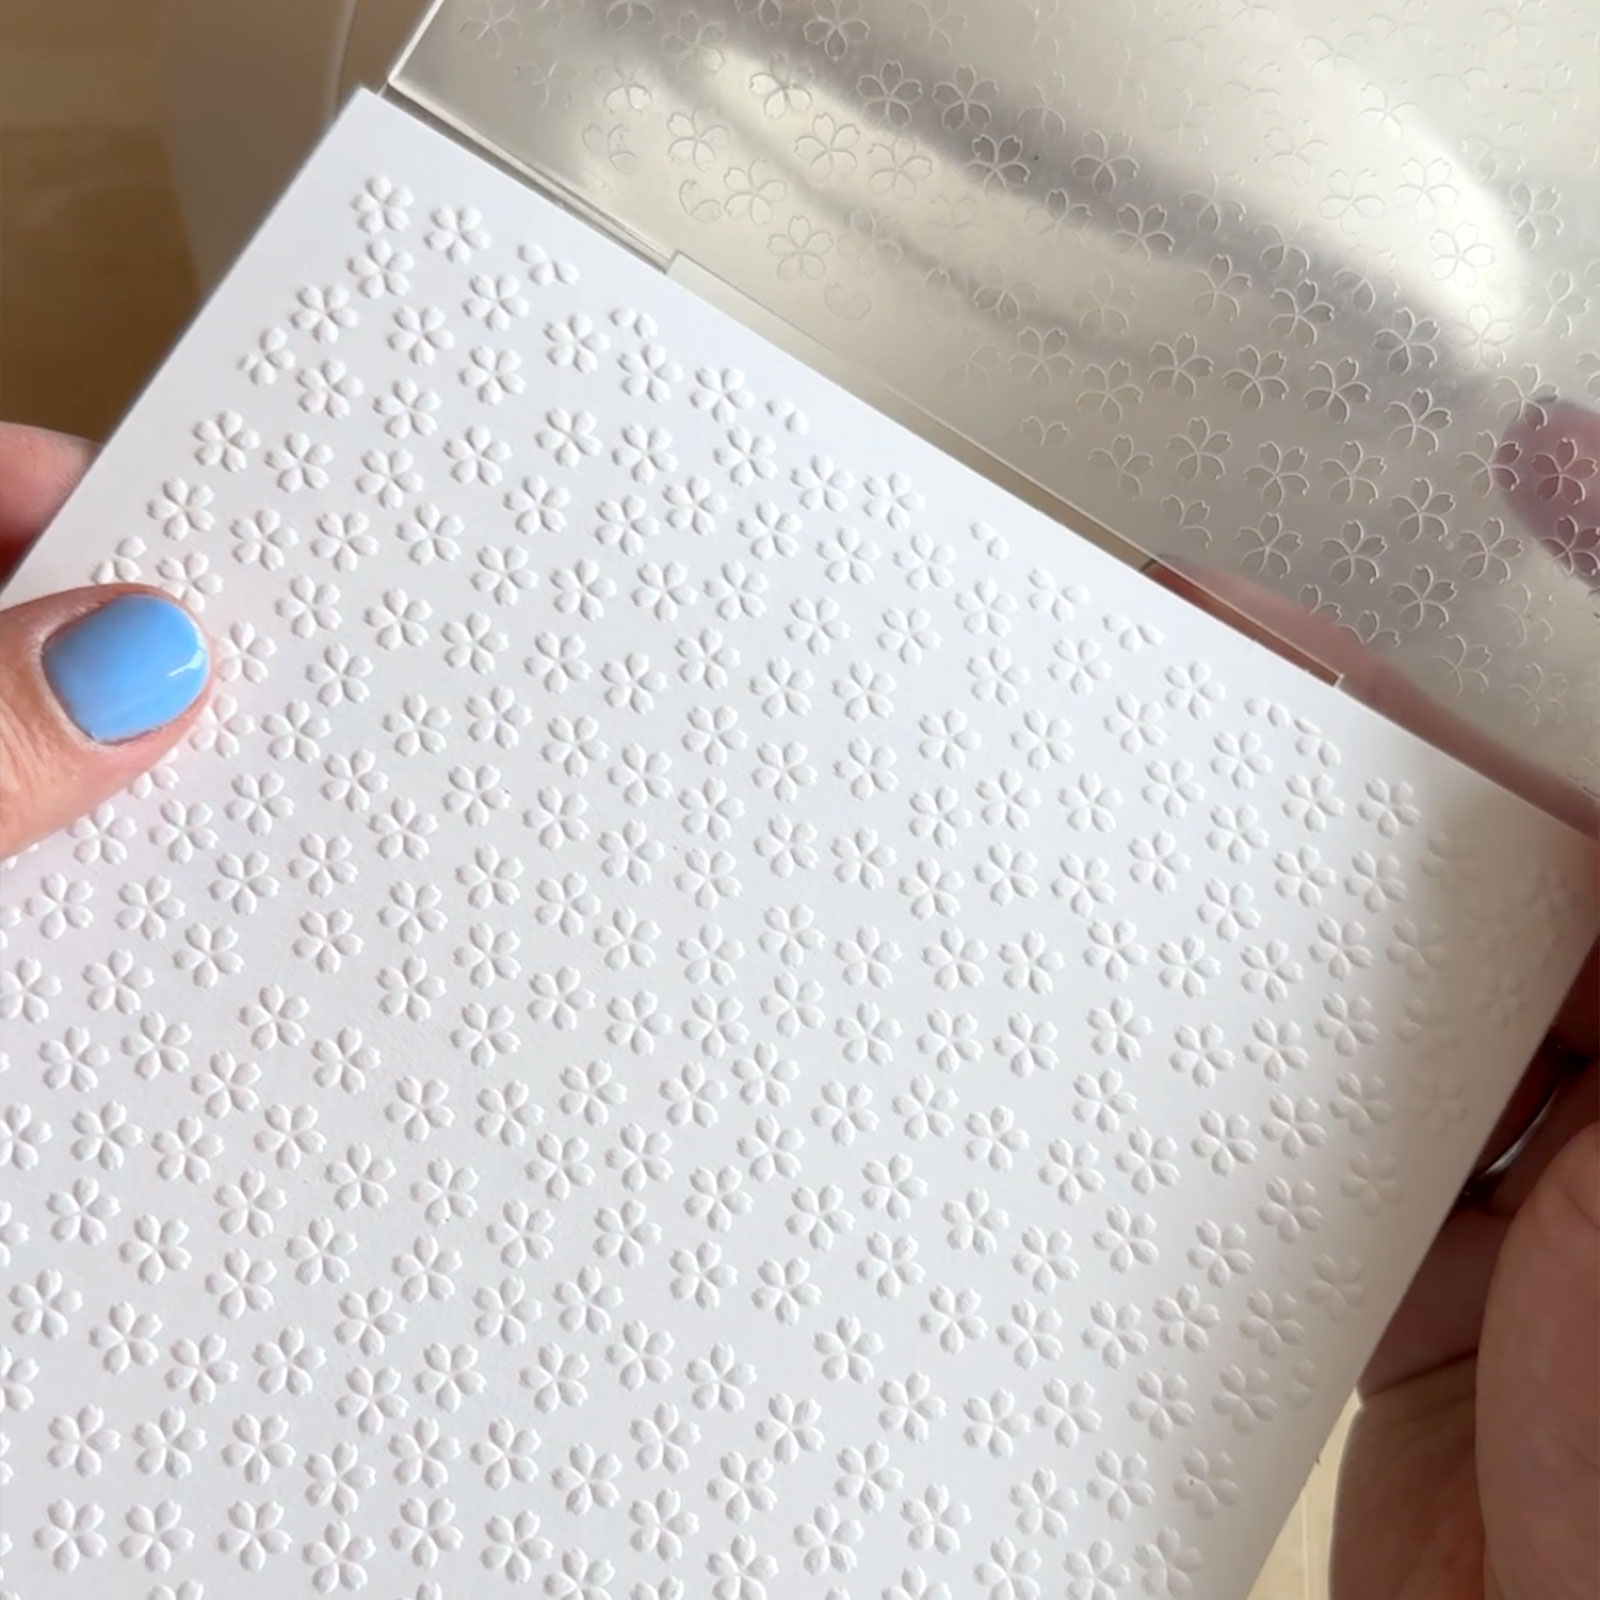
Take a 6 x 6 inches (15 x 15 cm) sheet of white cardstock and place it in an embossing folder. Run it through your machine to create a textured background.
5
Trim the embossed cardstock to fit neatly behind your frame and glue it in place.
6
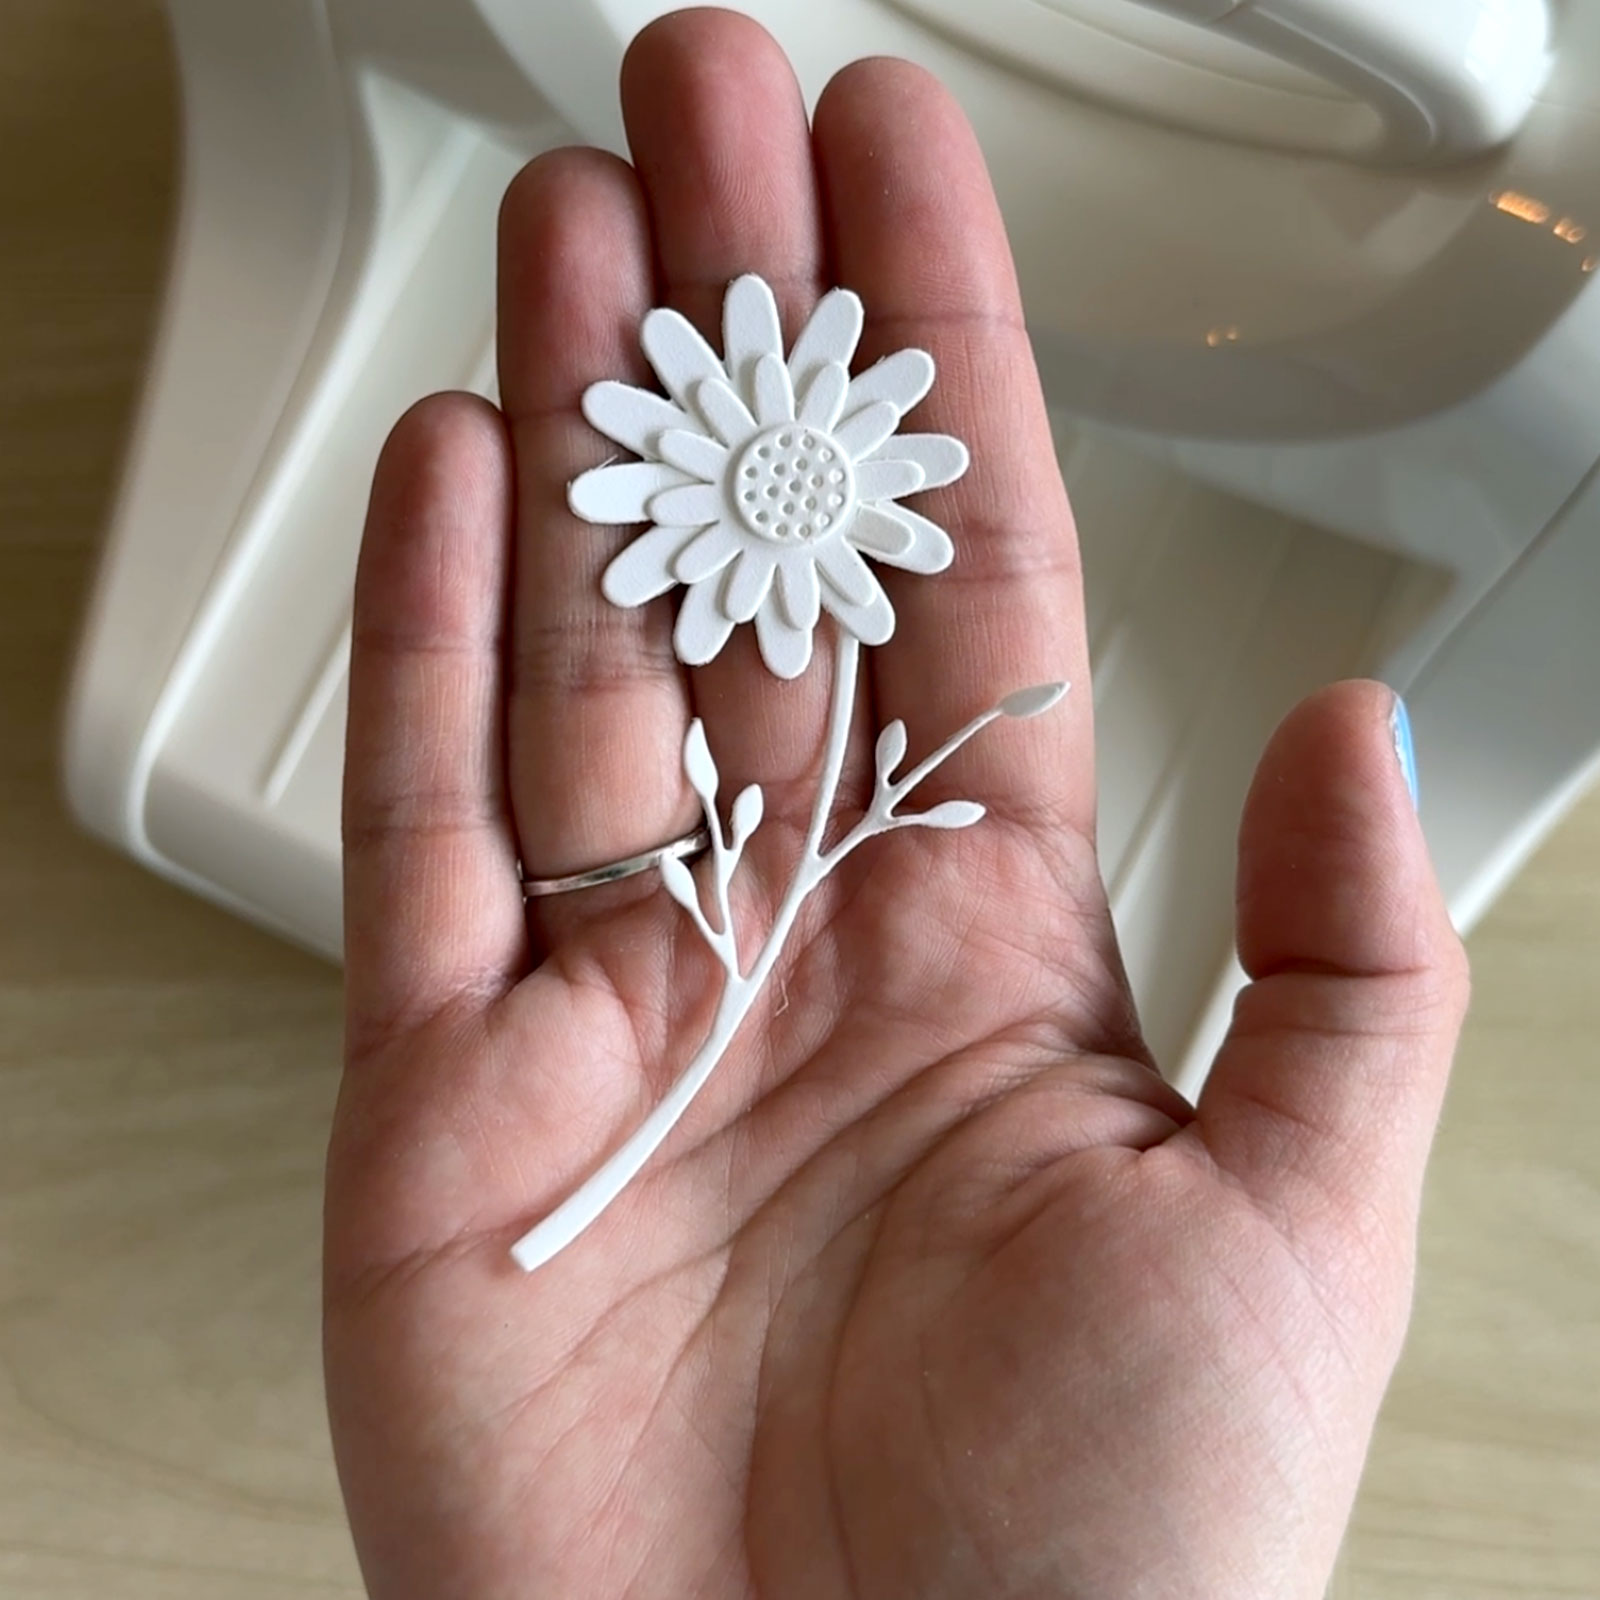
Die-cut a selection of flowers using the shape dies, so you can layer them later.
7
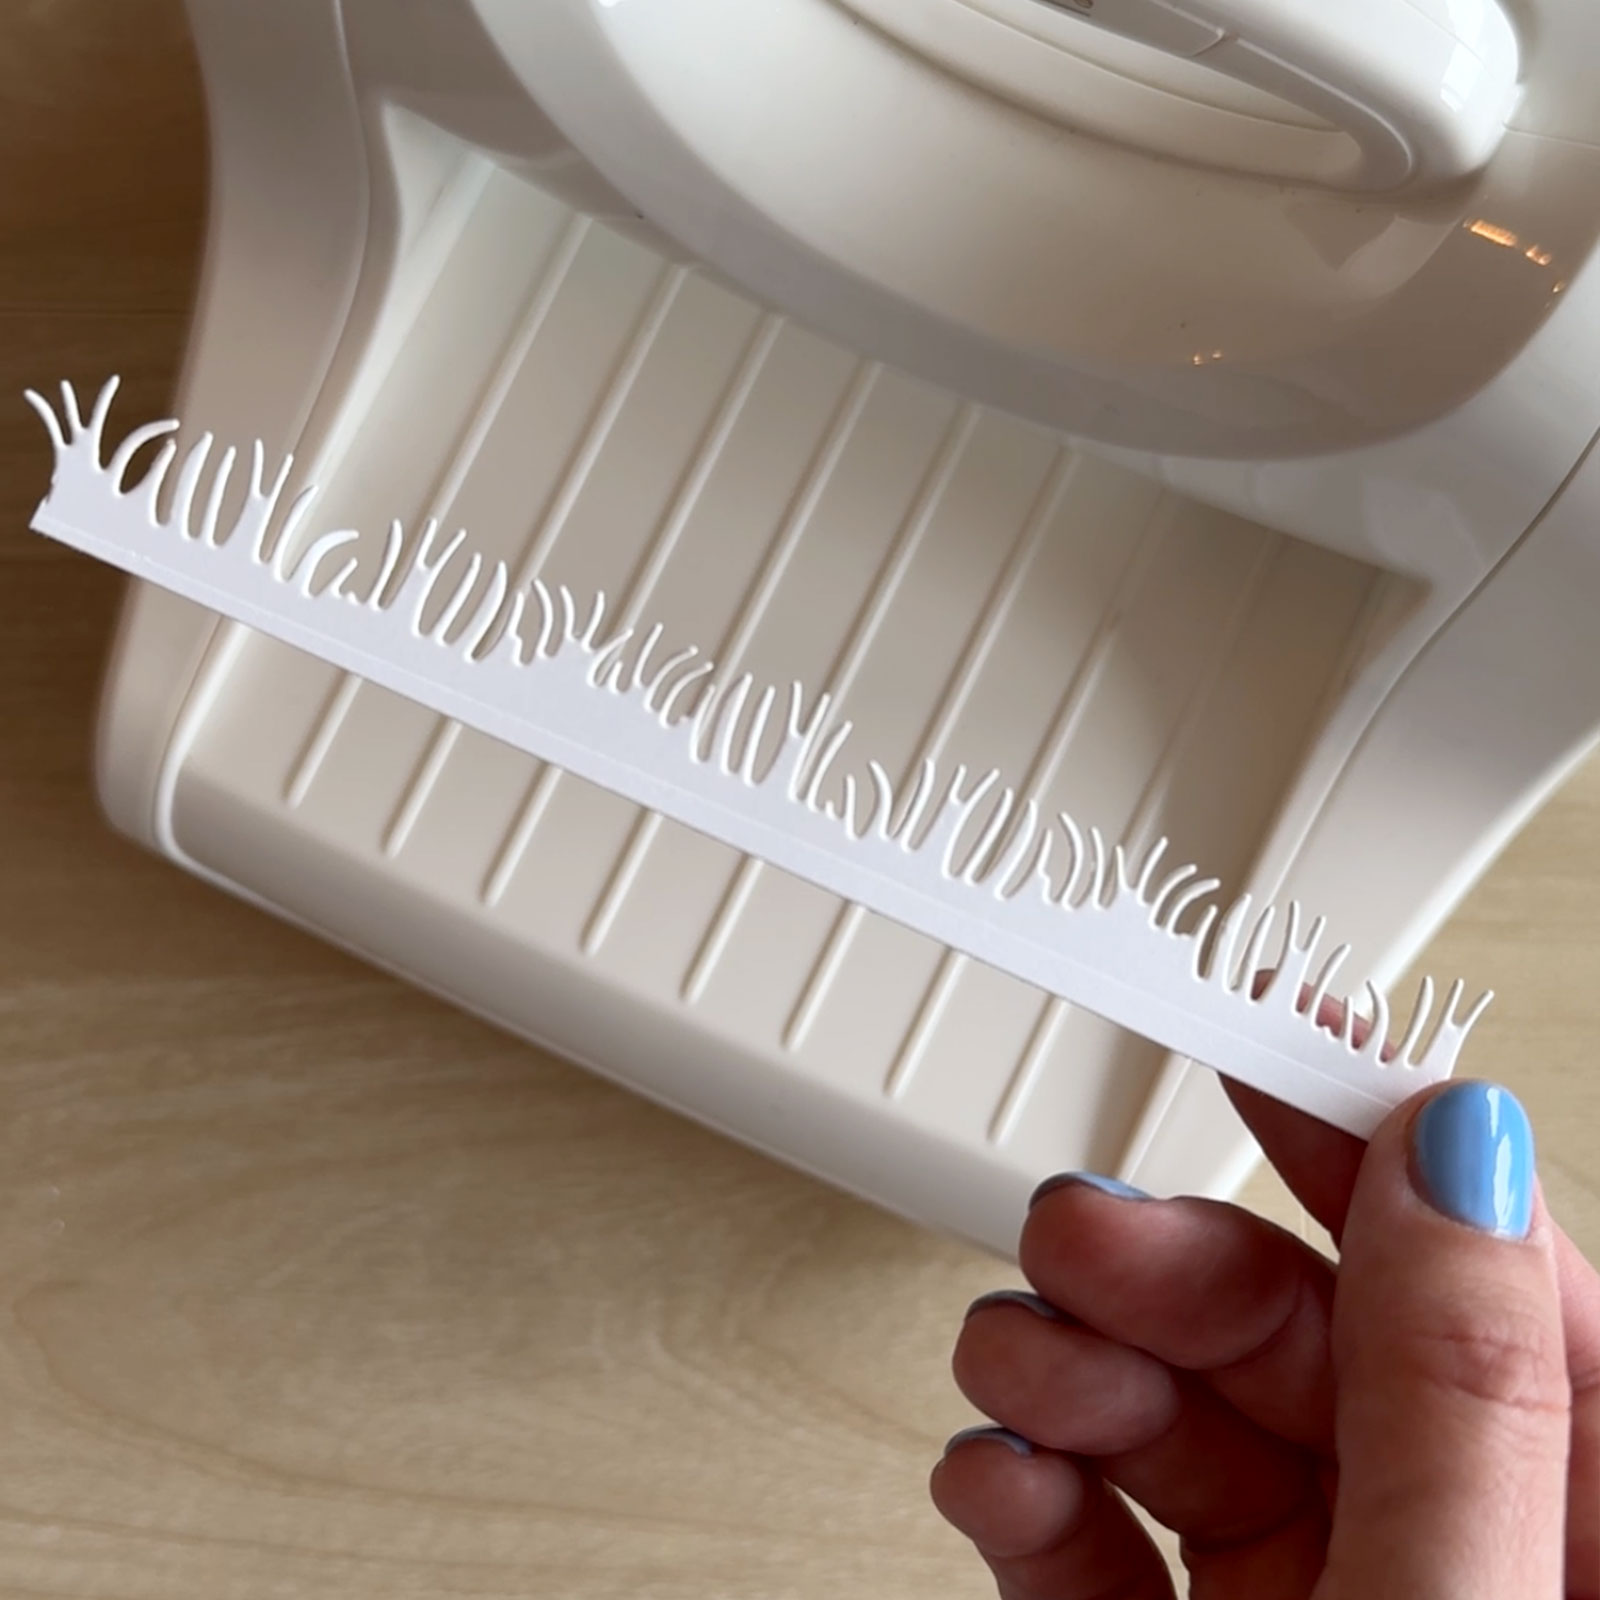
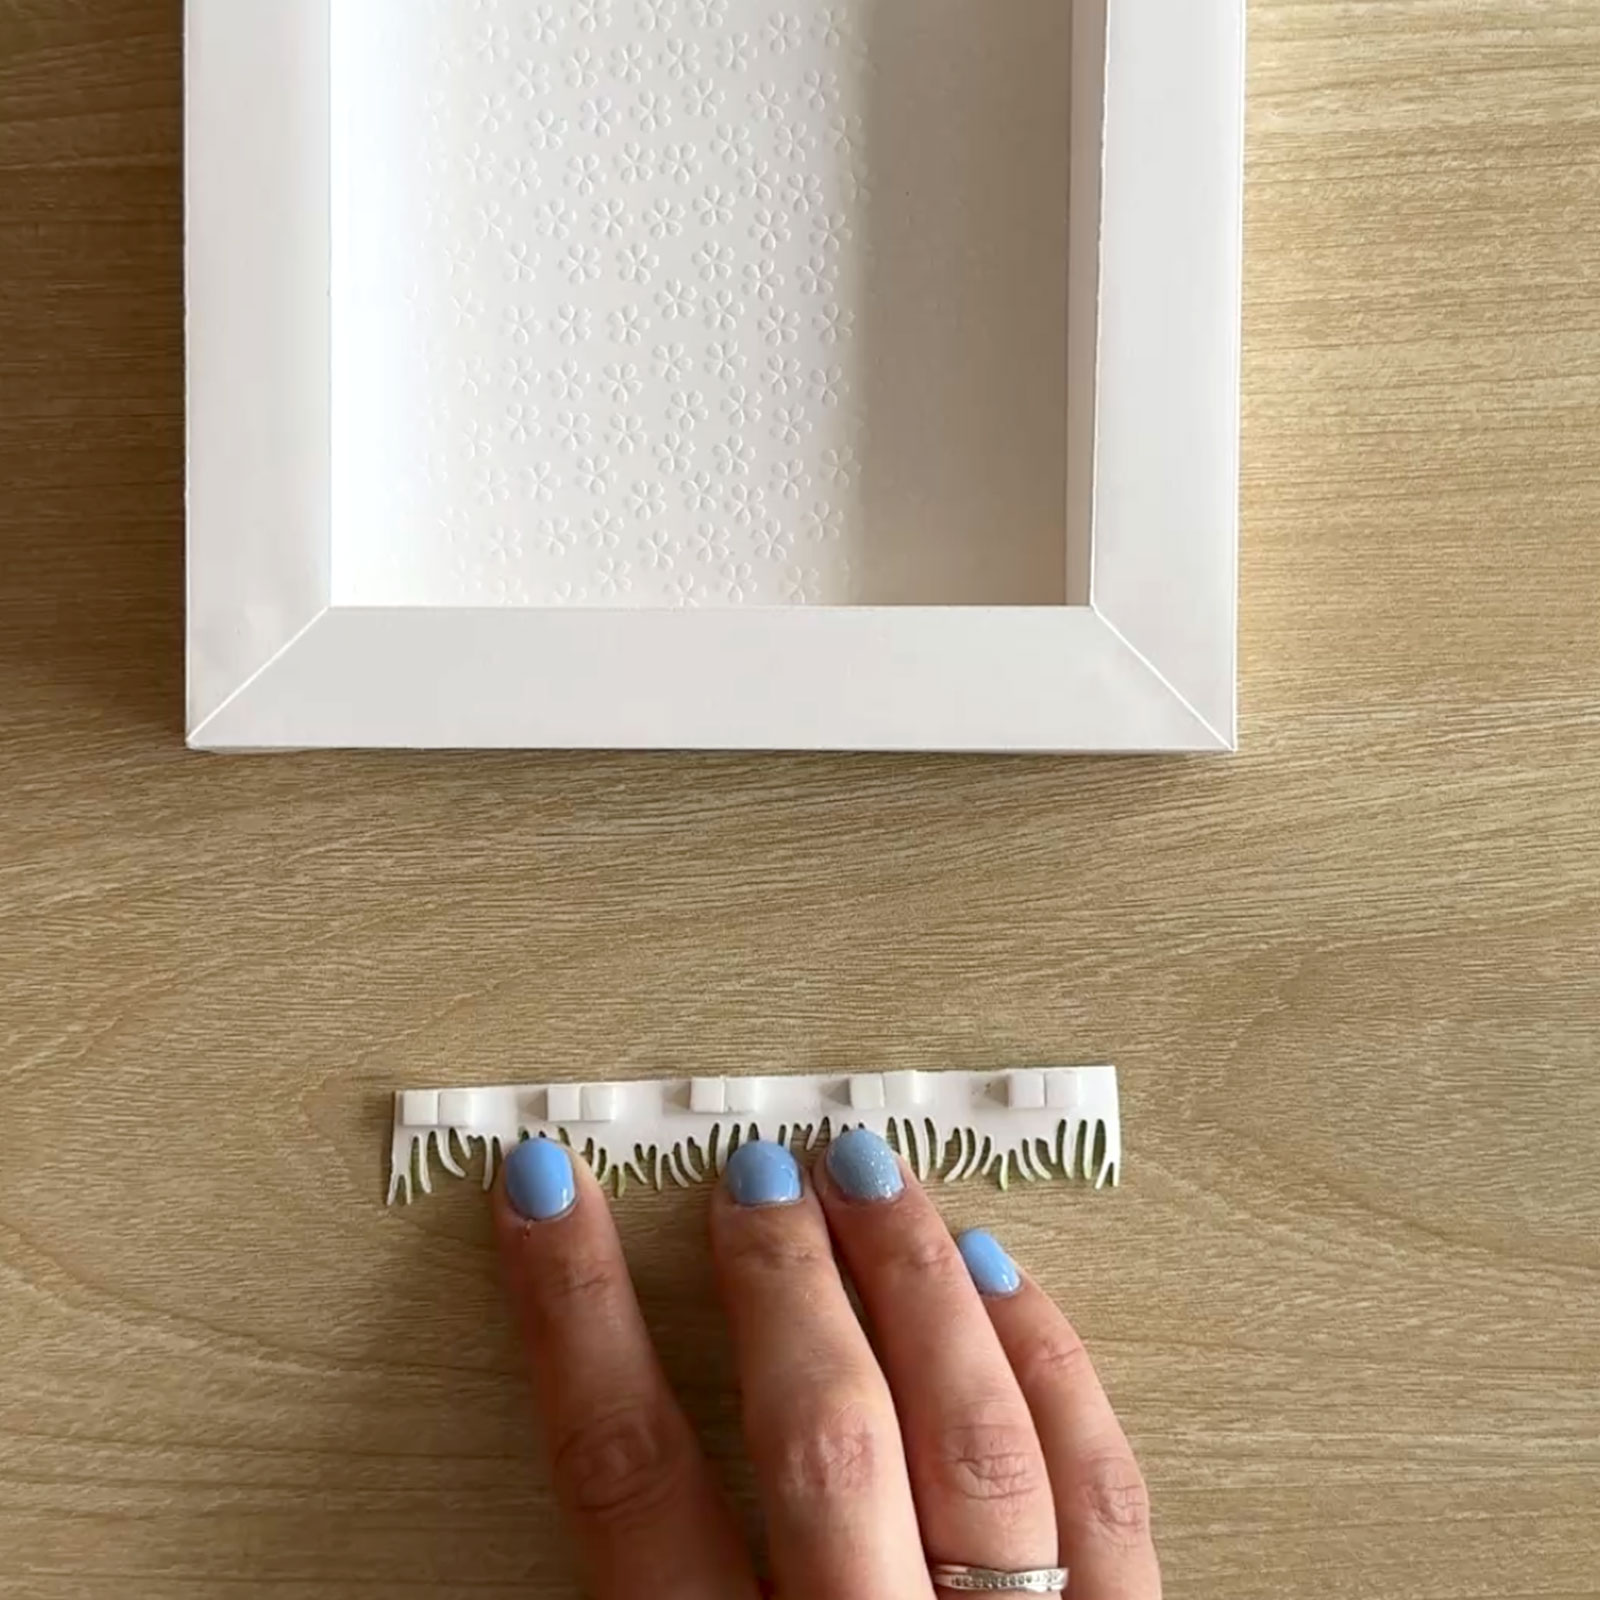
Use the grass die to cut two strips of grass from cardstock.
8
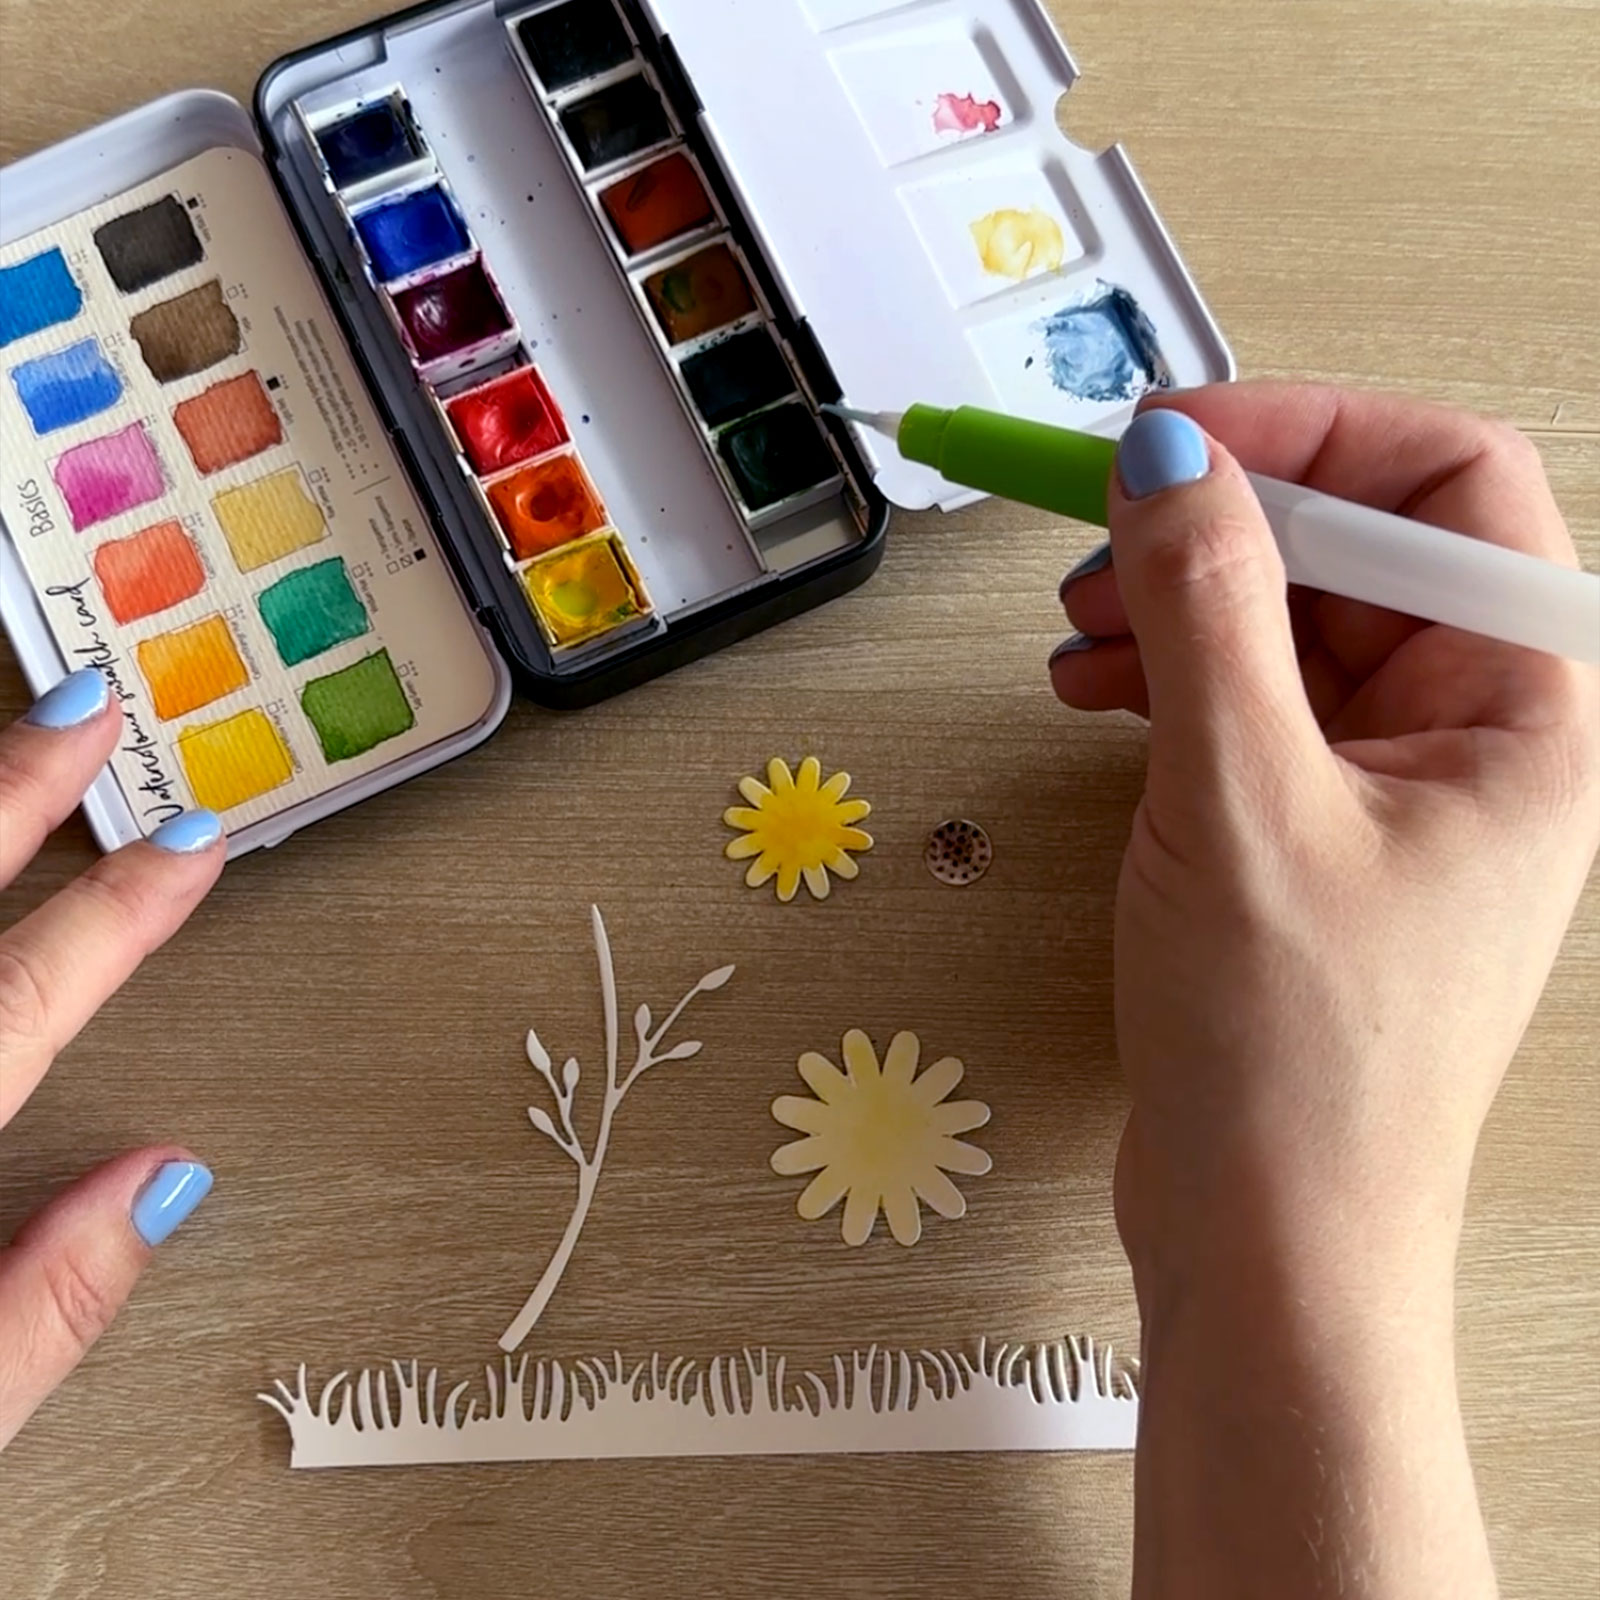
Paint the flowers and grass with watercolours and let them dry thoroughly.
9
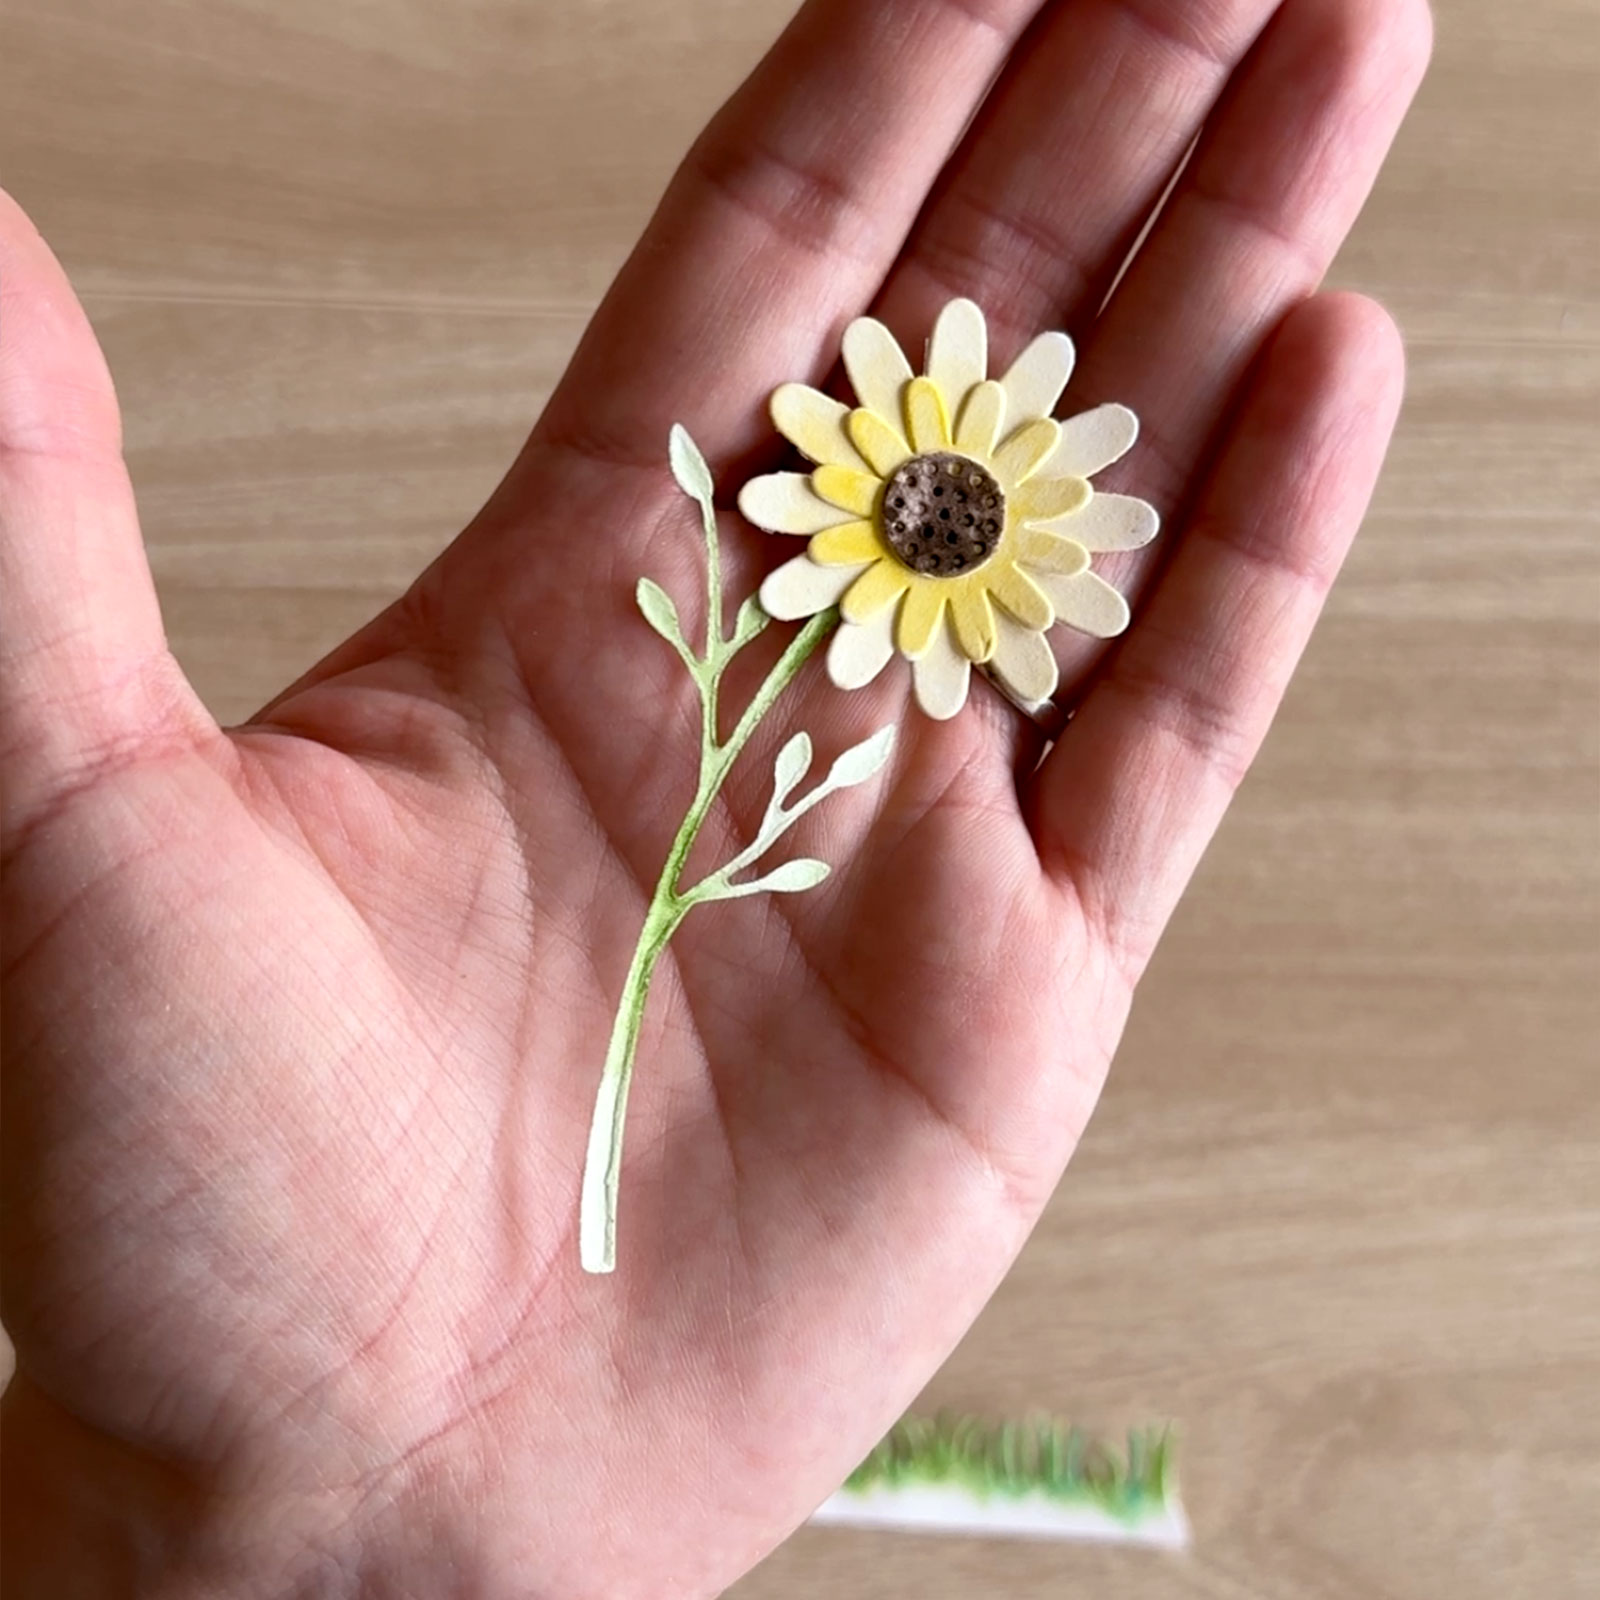
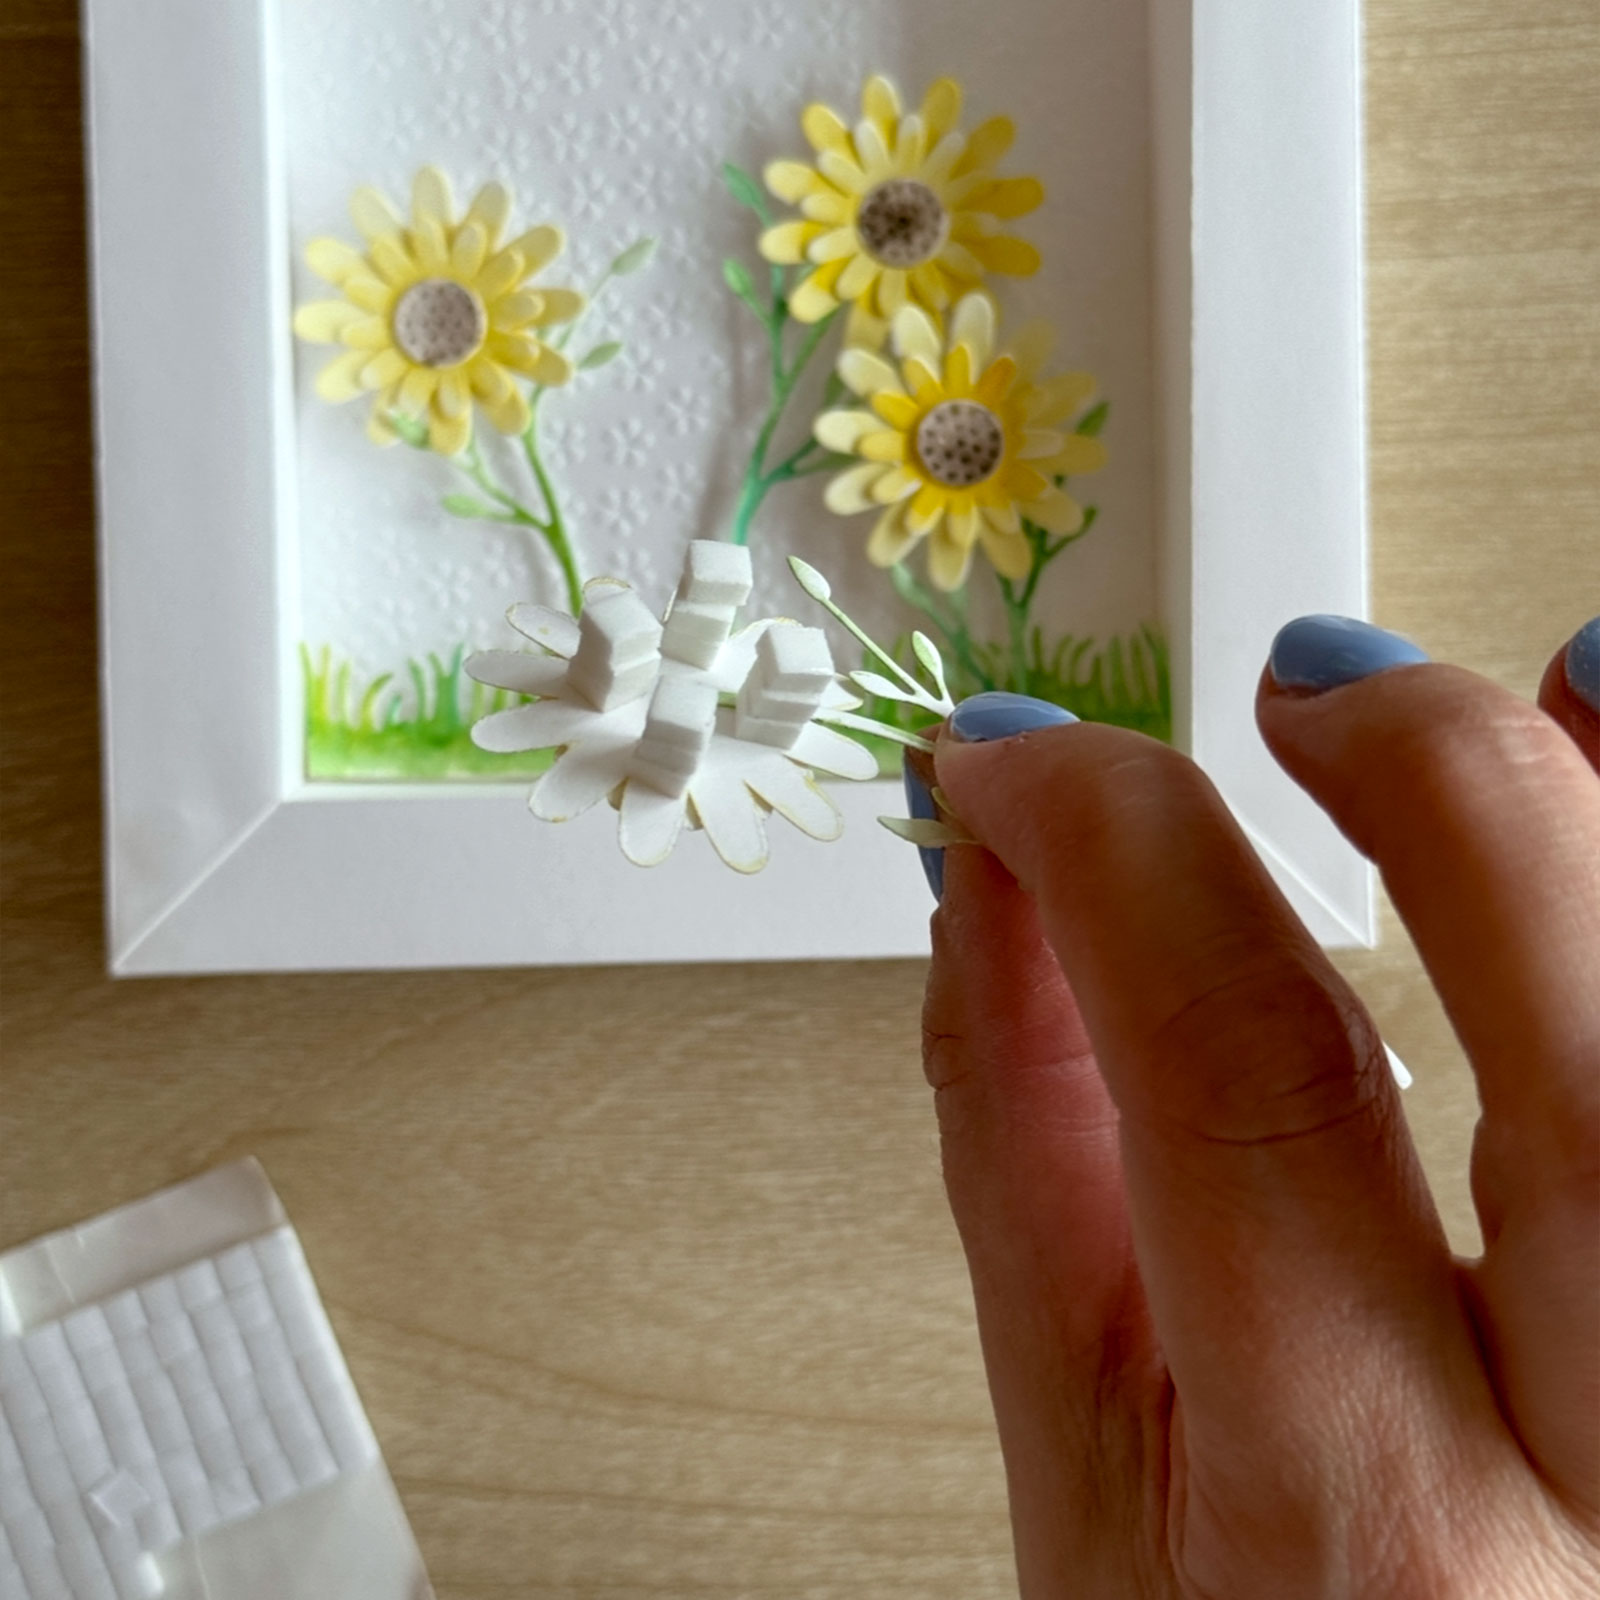
Arrange and glue the flower pieces together in a way that you like.
10
Take the frame and one grass strip, and attach it to the bottom back edge inside the frame using foam tape.
11
Stick the flowers in place with foam tape too. For extra depth, you can layer the tape so some flowers sit further forward.
12
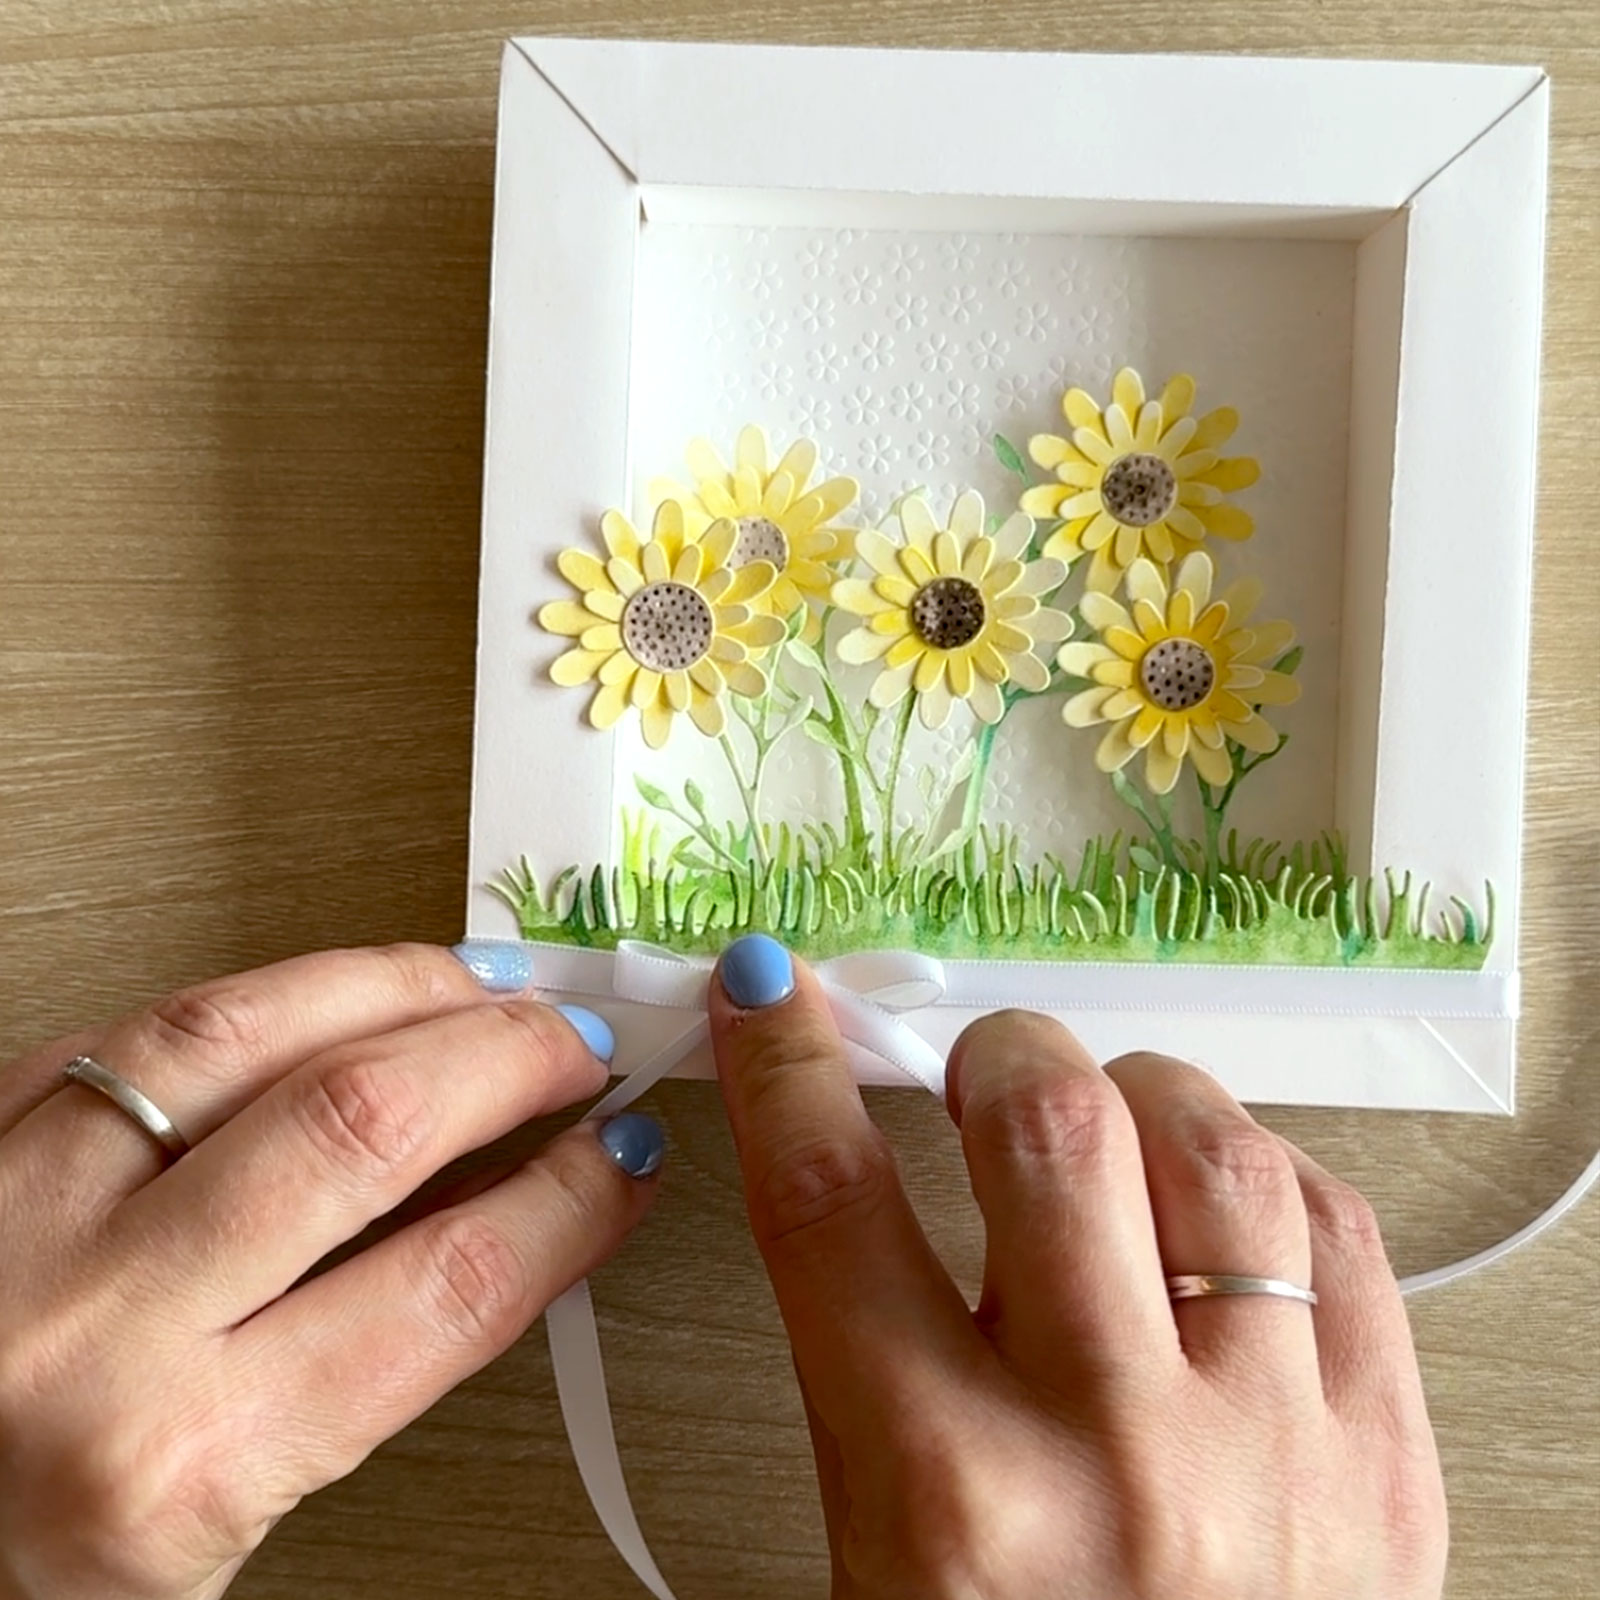
Finally, attach the second grass strip to the front of the shadowbox. Wrap a satin ribbon around the bottom (where the grass is) and finish with a pretty bow.