Create spooky plaster ghosts with this creative DIY for Halloween. Using plaster bandages, you can easily make playful ghost decorations to hang up or turn into a garland. Perfect for Halloween crafting and adding a spooky touch to your home.
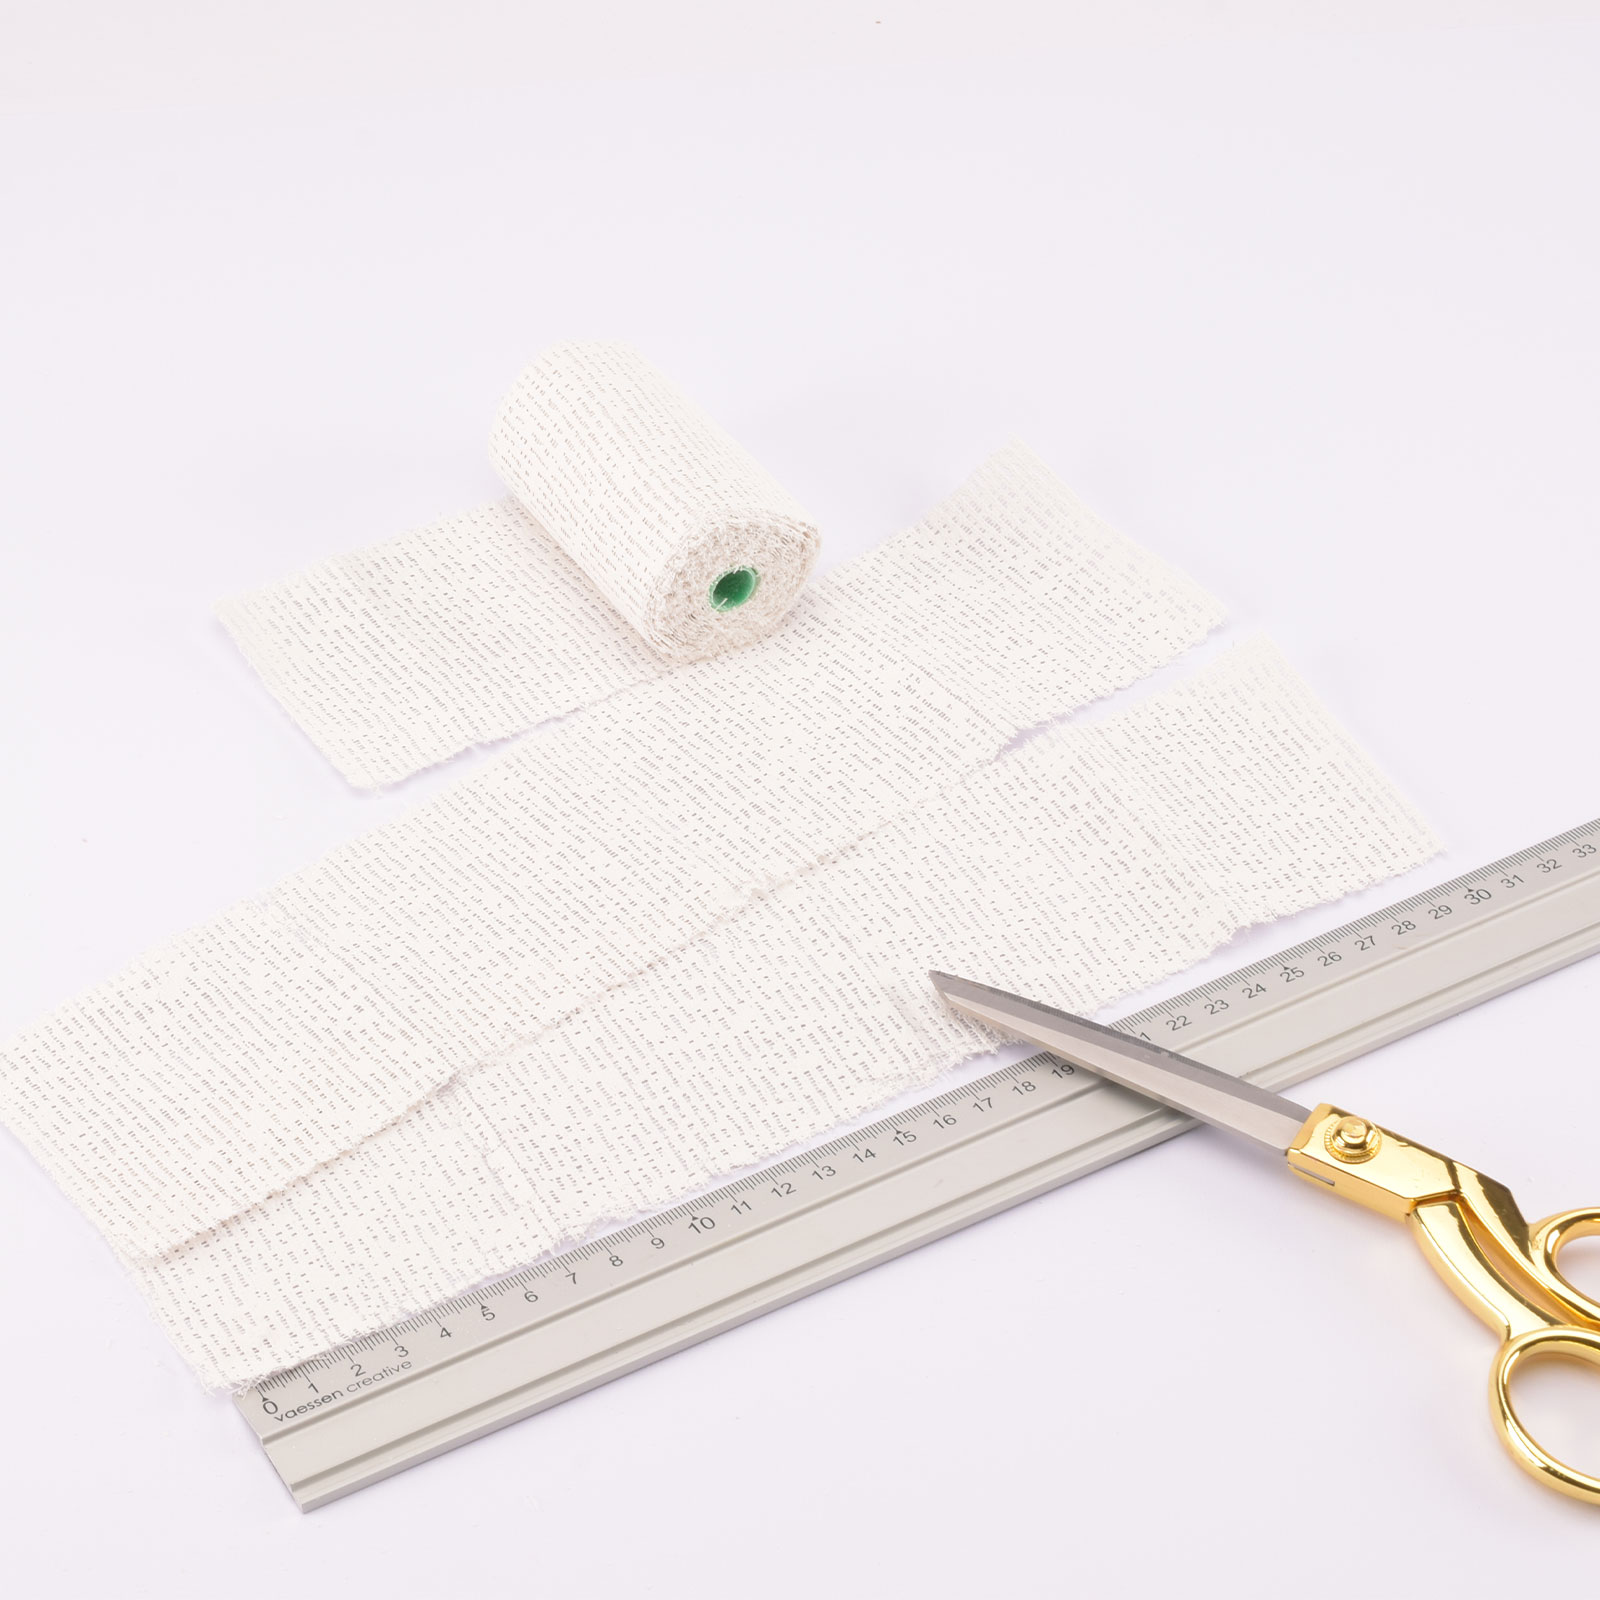
Start by cutting the plaster bandage into strips, each around 11.8 inches (30 cm) long. You will need 4 strips for each ghost.
2
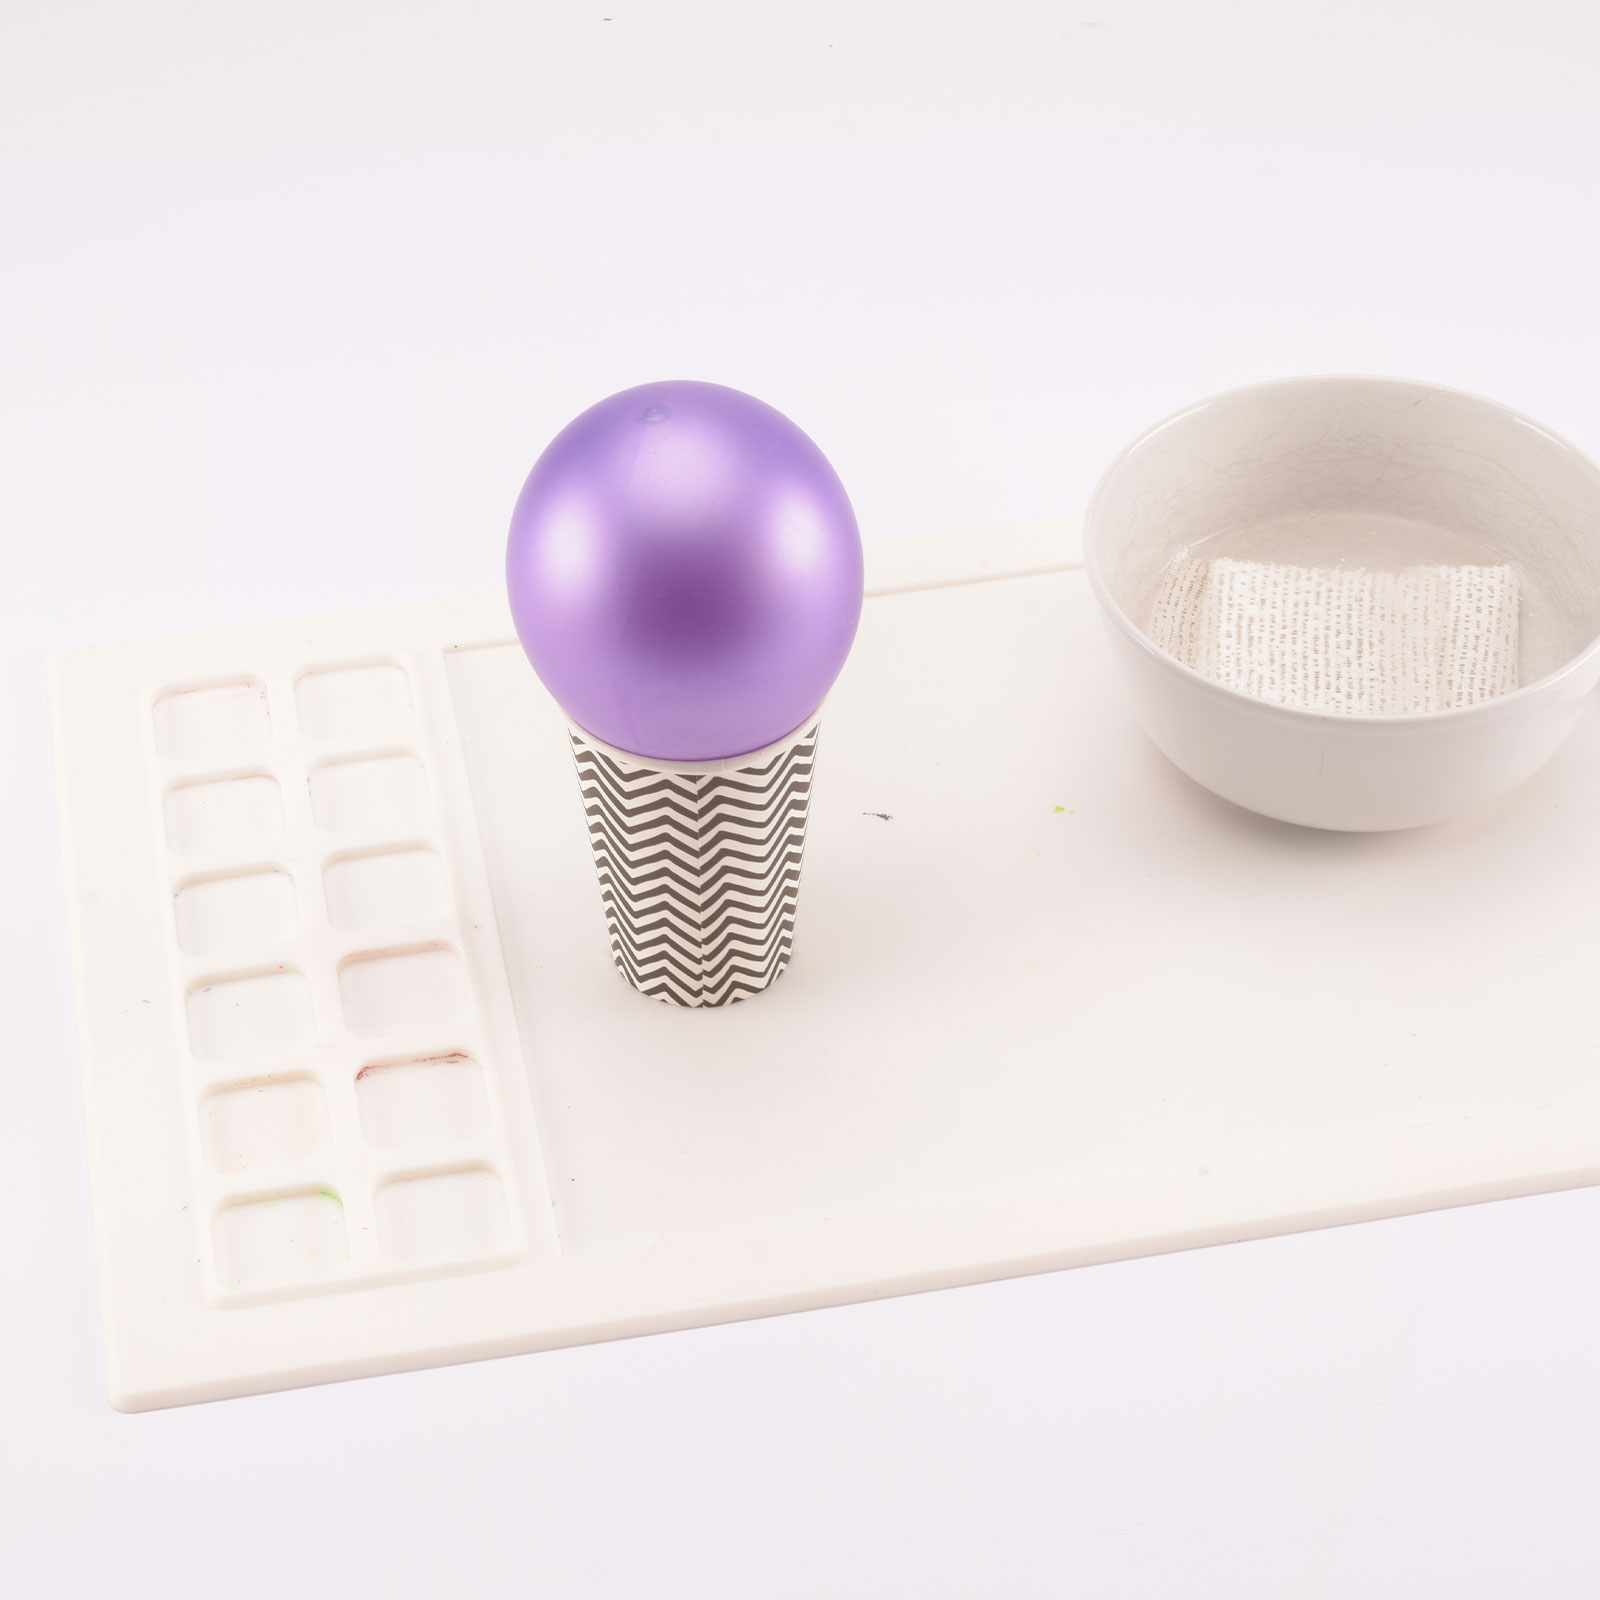
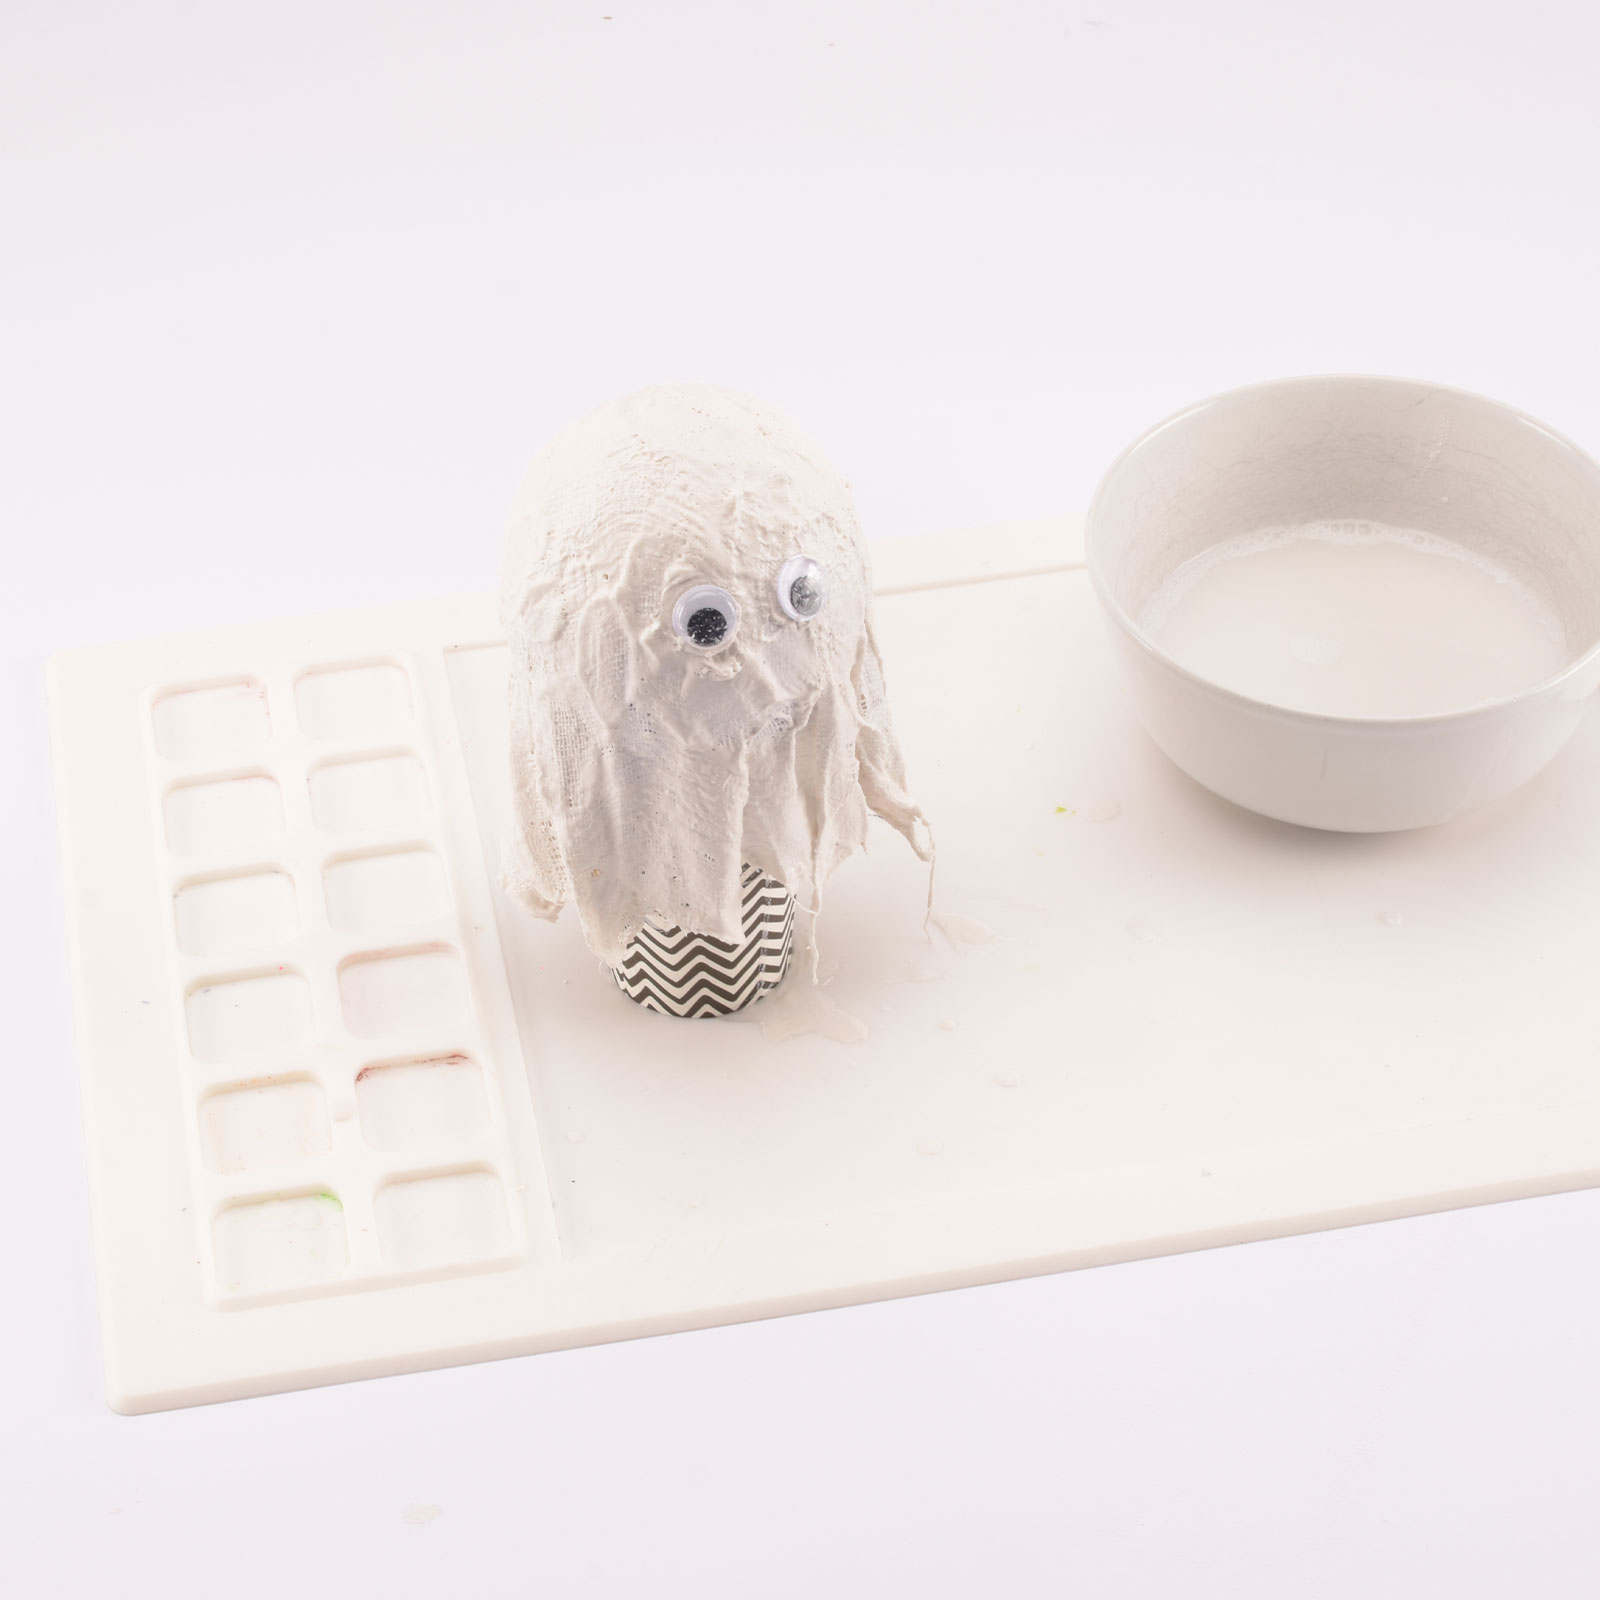
Prepare your workspace by laying down a mat and filling a bowl with lukewarm water. Inflate a balloon to about 3.9 inches (10 cm) in diameter and place it on a small cardboard cup.
3
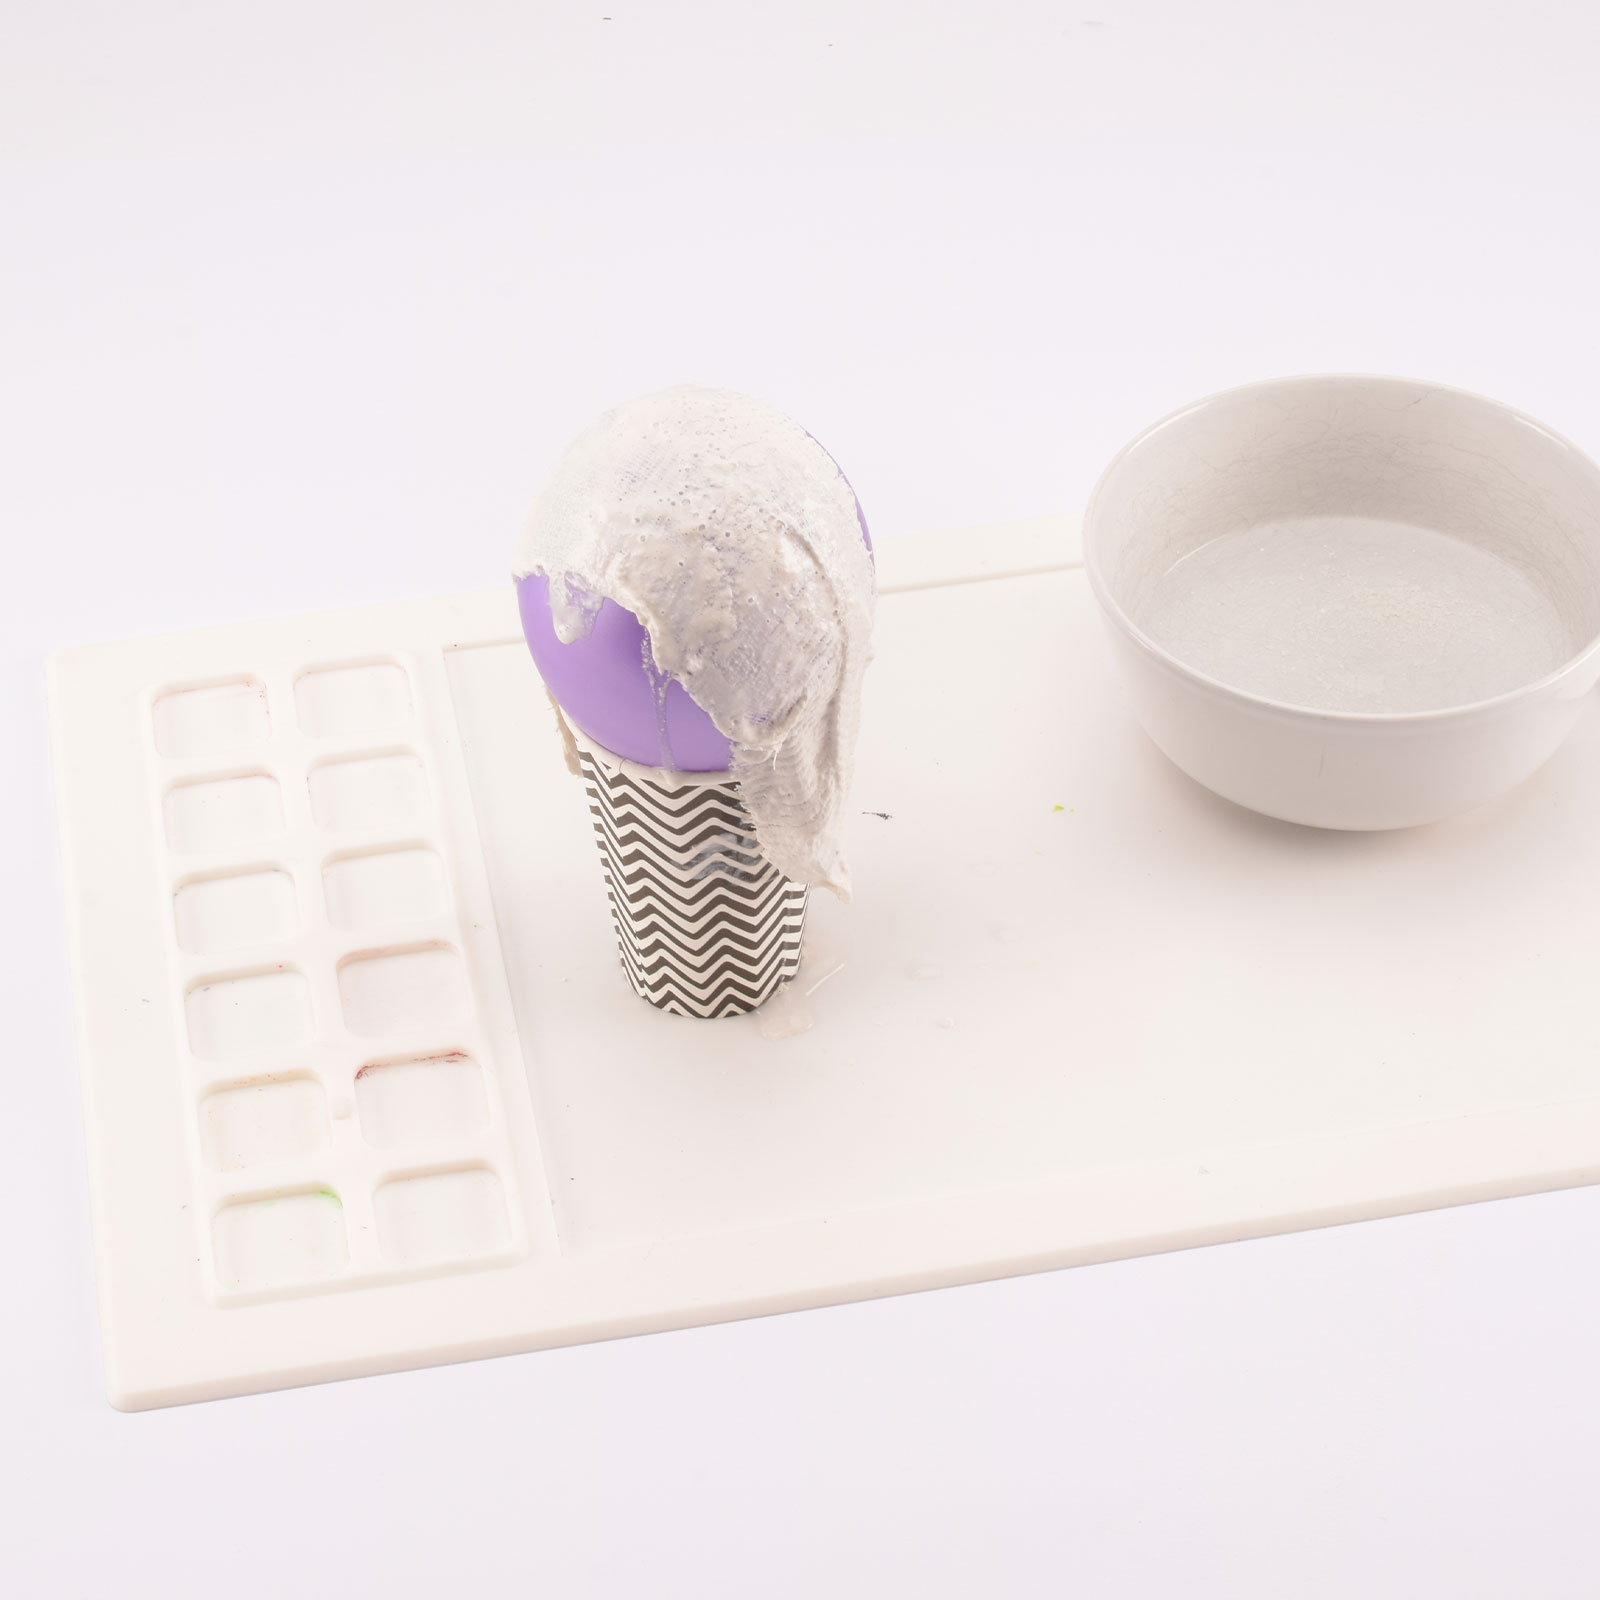
If you prefer, wear gloves for the next steps. Dip the first strip of plaster bandage into the water and allow it to absorb the liquid.
4
Gently squeeze out any excess water and drape the strip over the balloon, smoothing it out as needed.
5
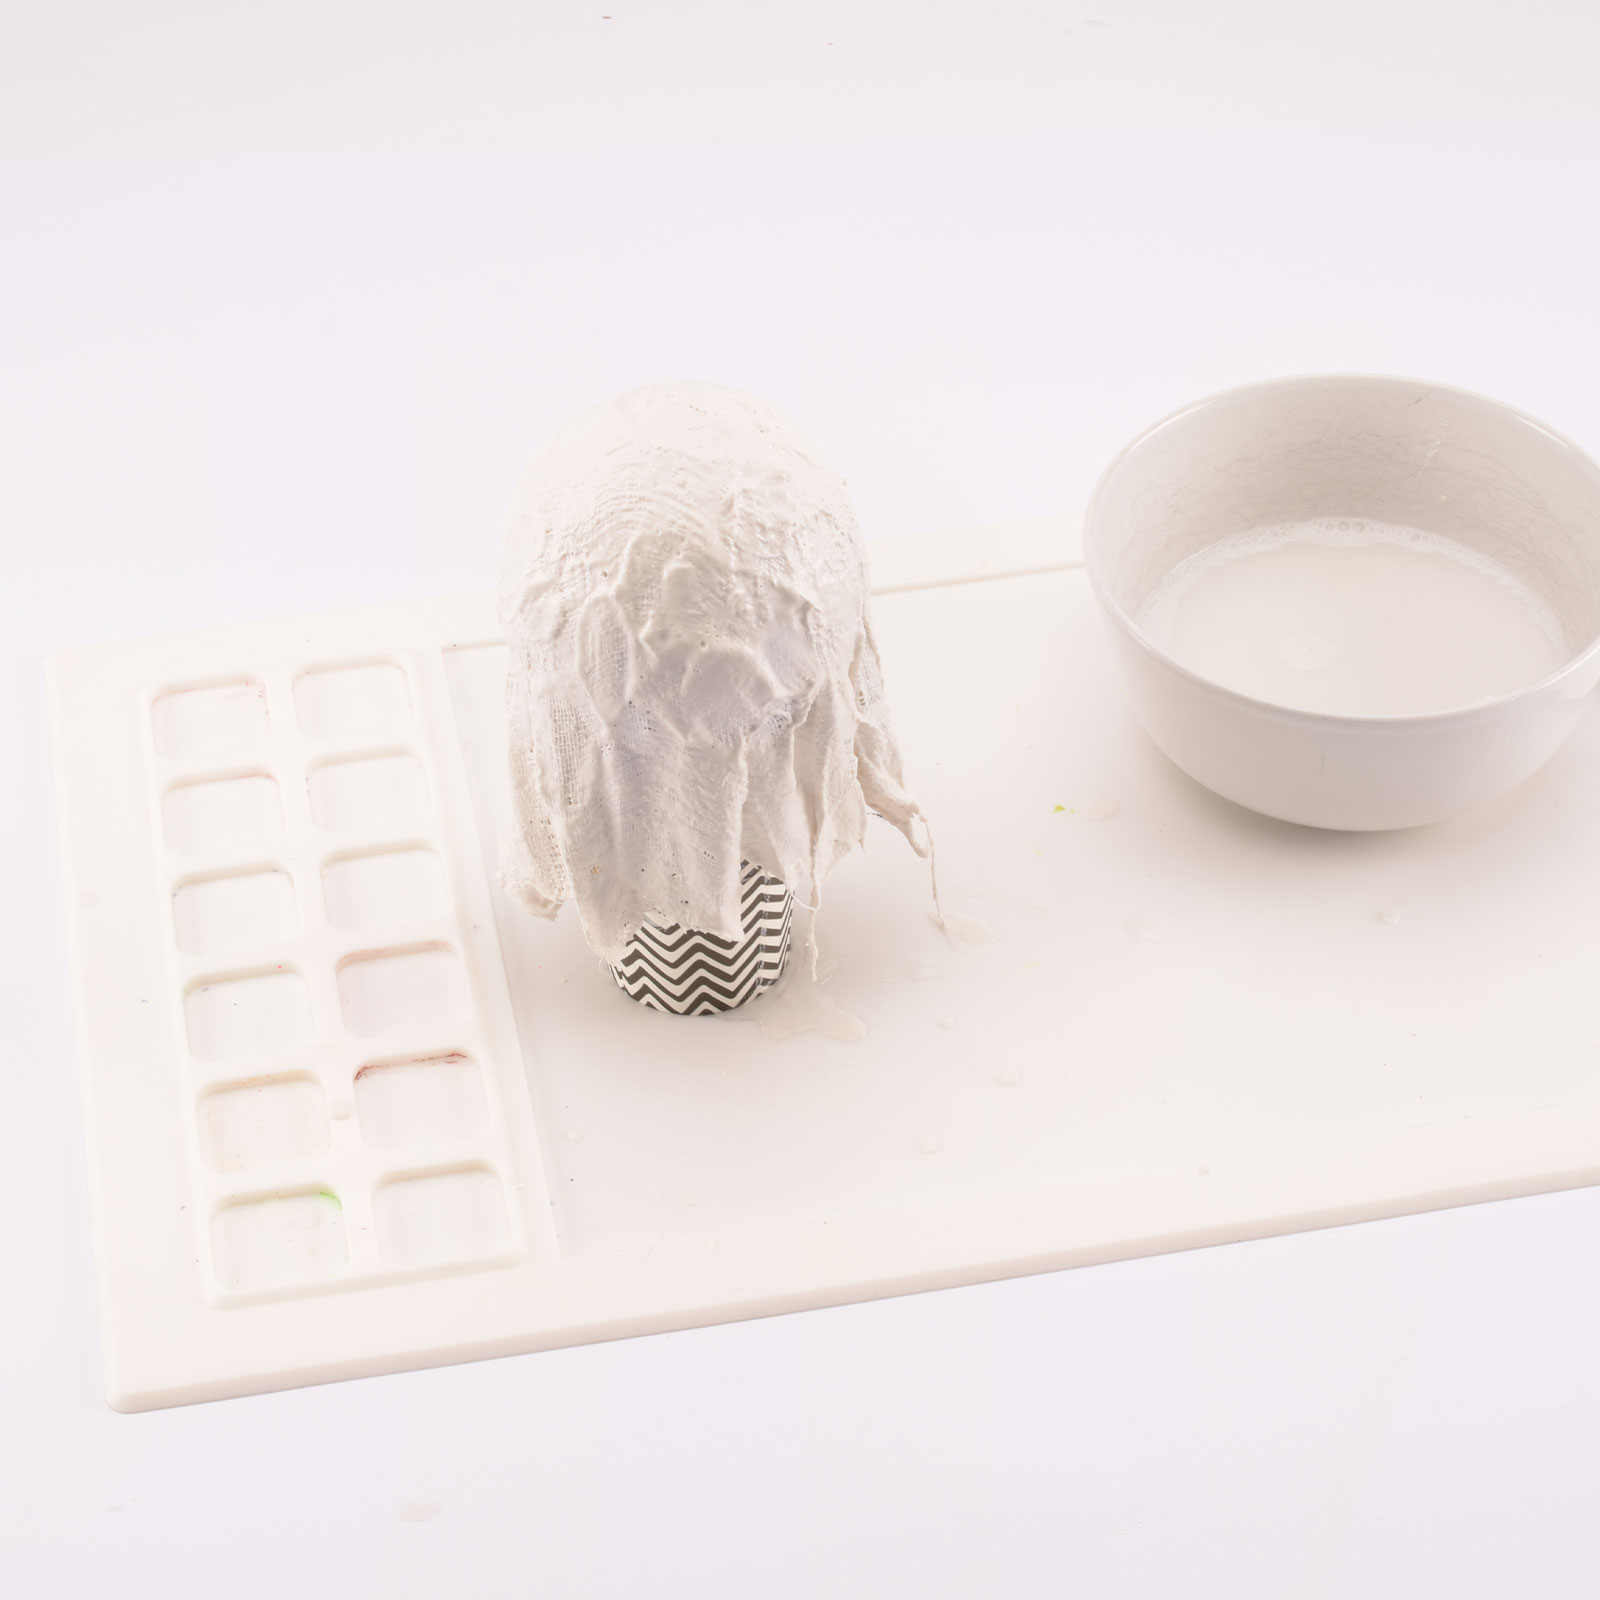
Repeat this process until all 4 strips cover the balloon. Shape the plaster as desired.
6
While the plaster is still wet, press two googly eyes into the bandage. Let the ghosts dry completely and harden. Once dry, carefully remove the balloon.
7
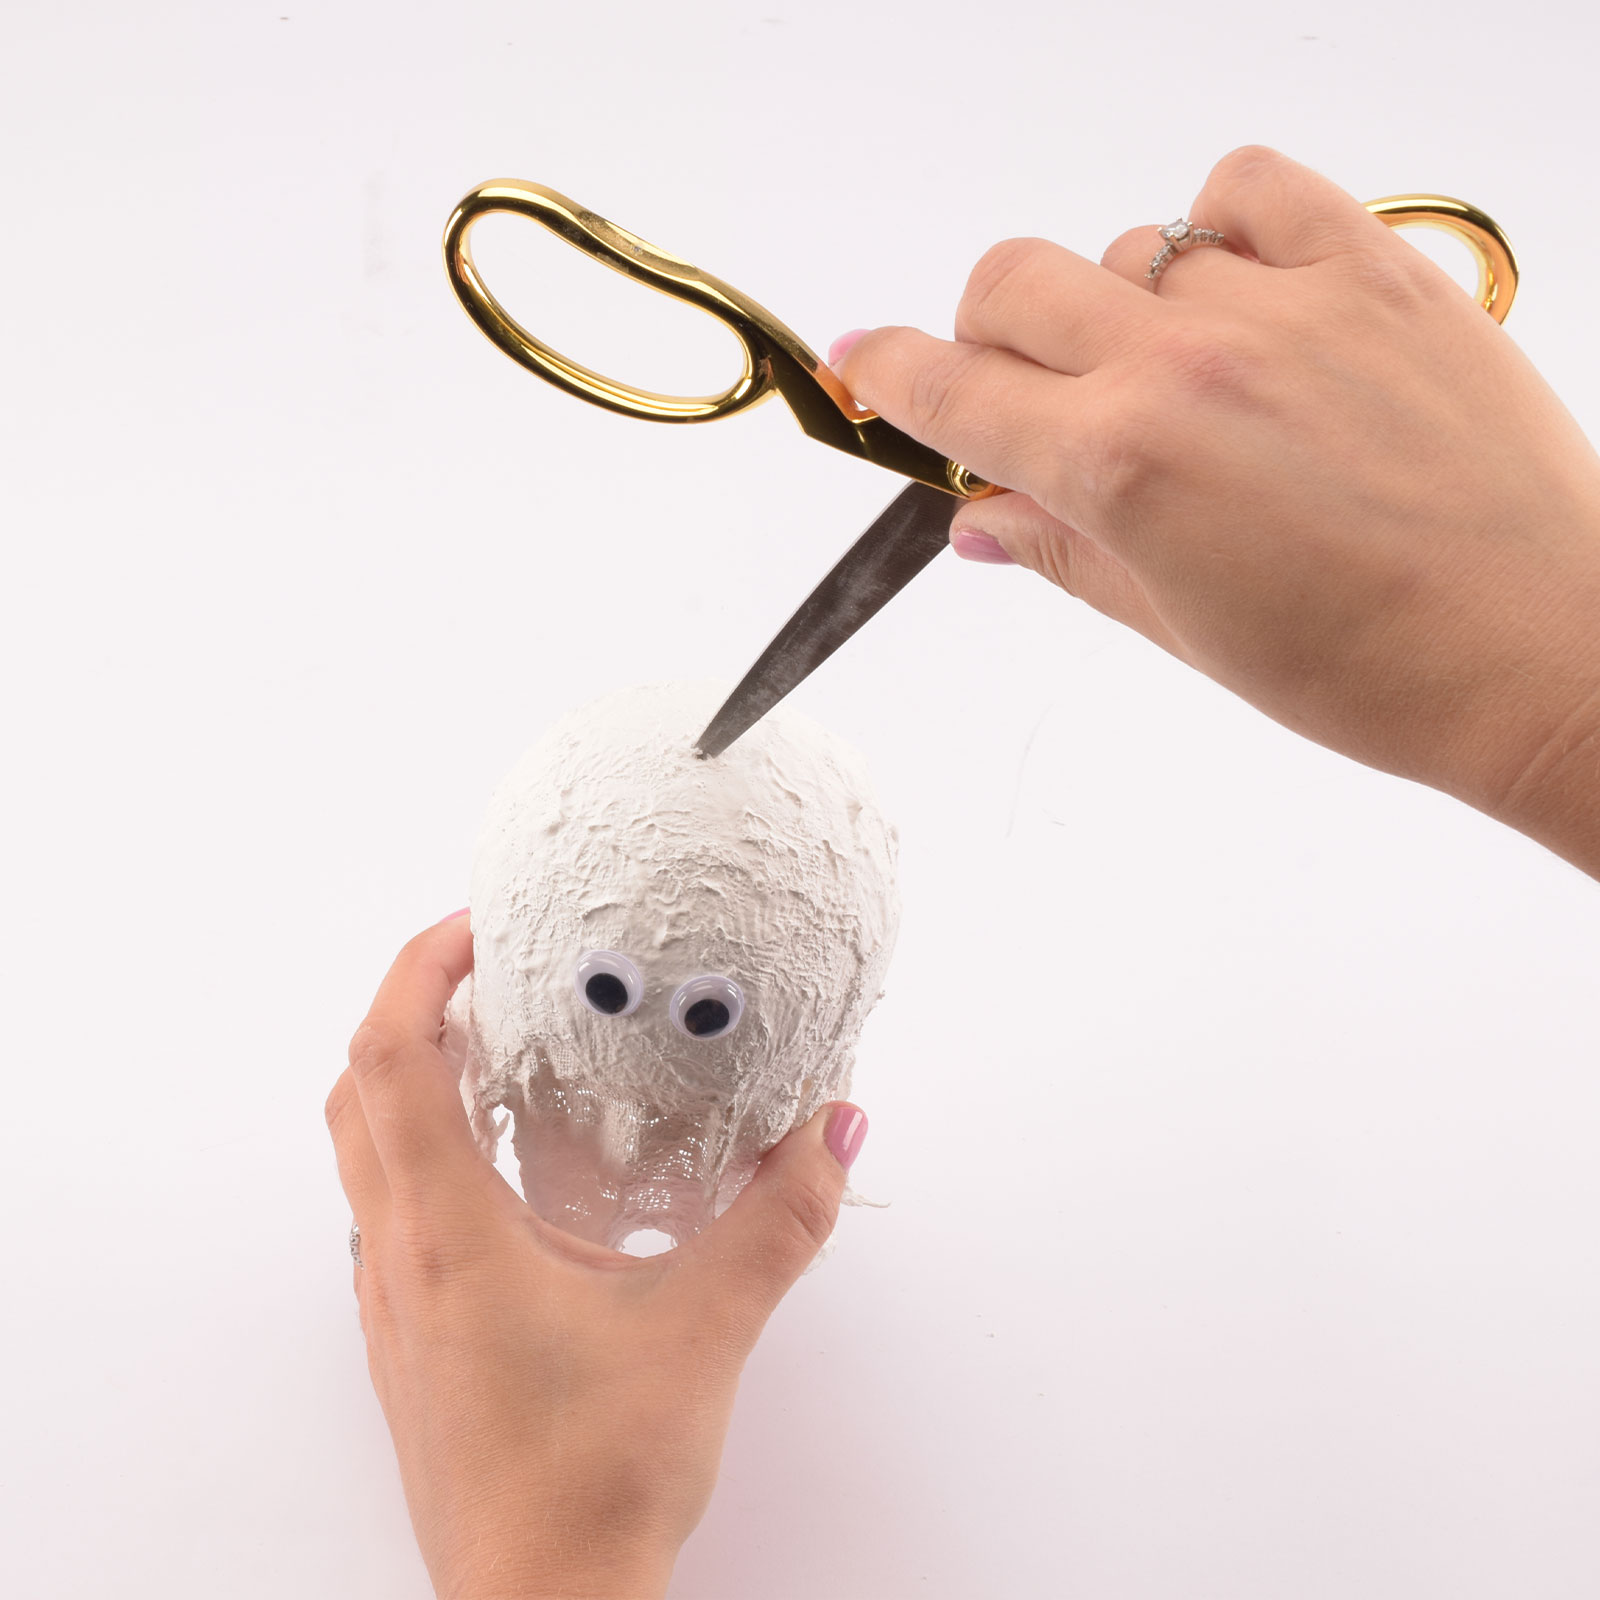
After the plaster has fully hardened, use scissors or a small knife to make a hole at the top of the ghost.
8
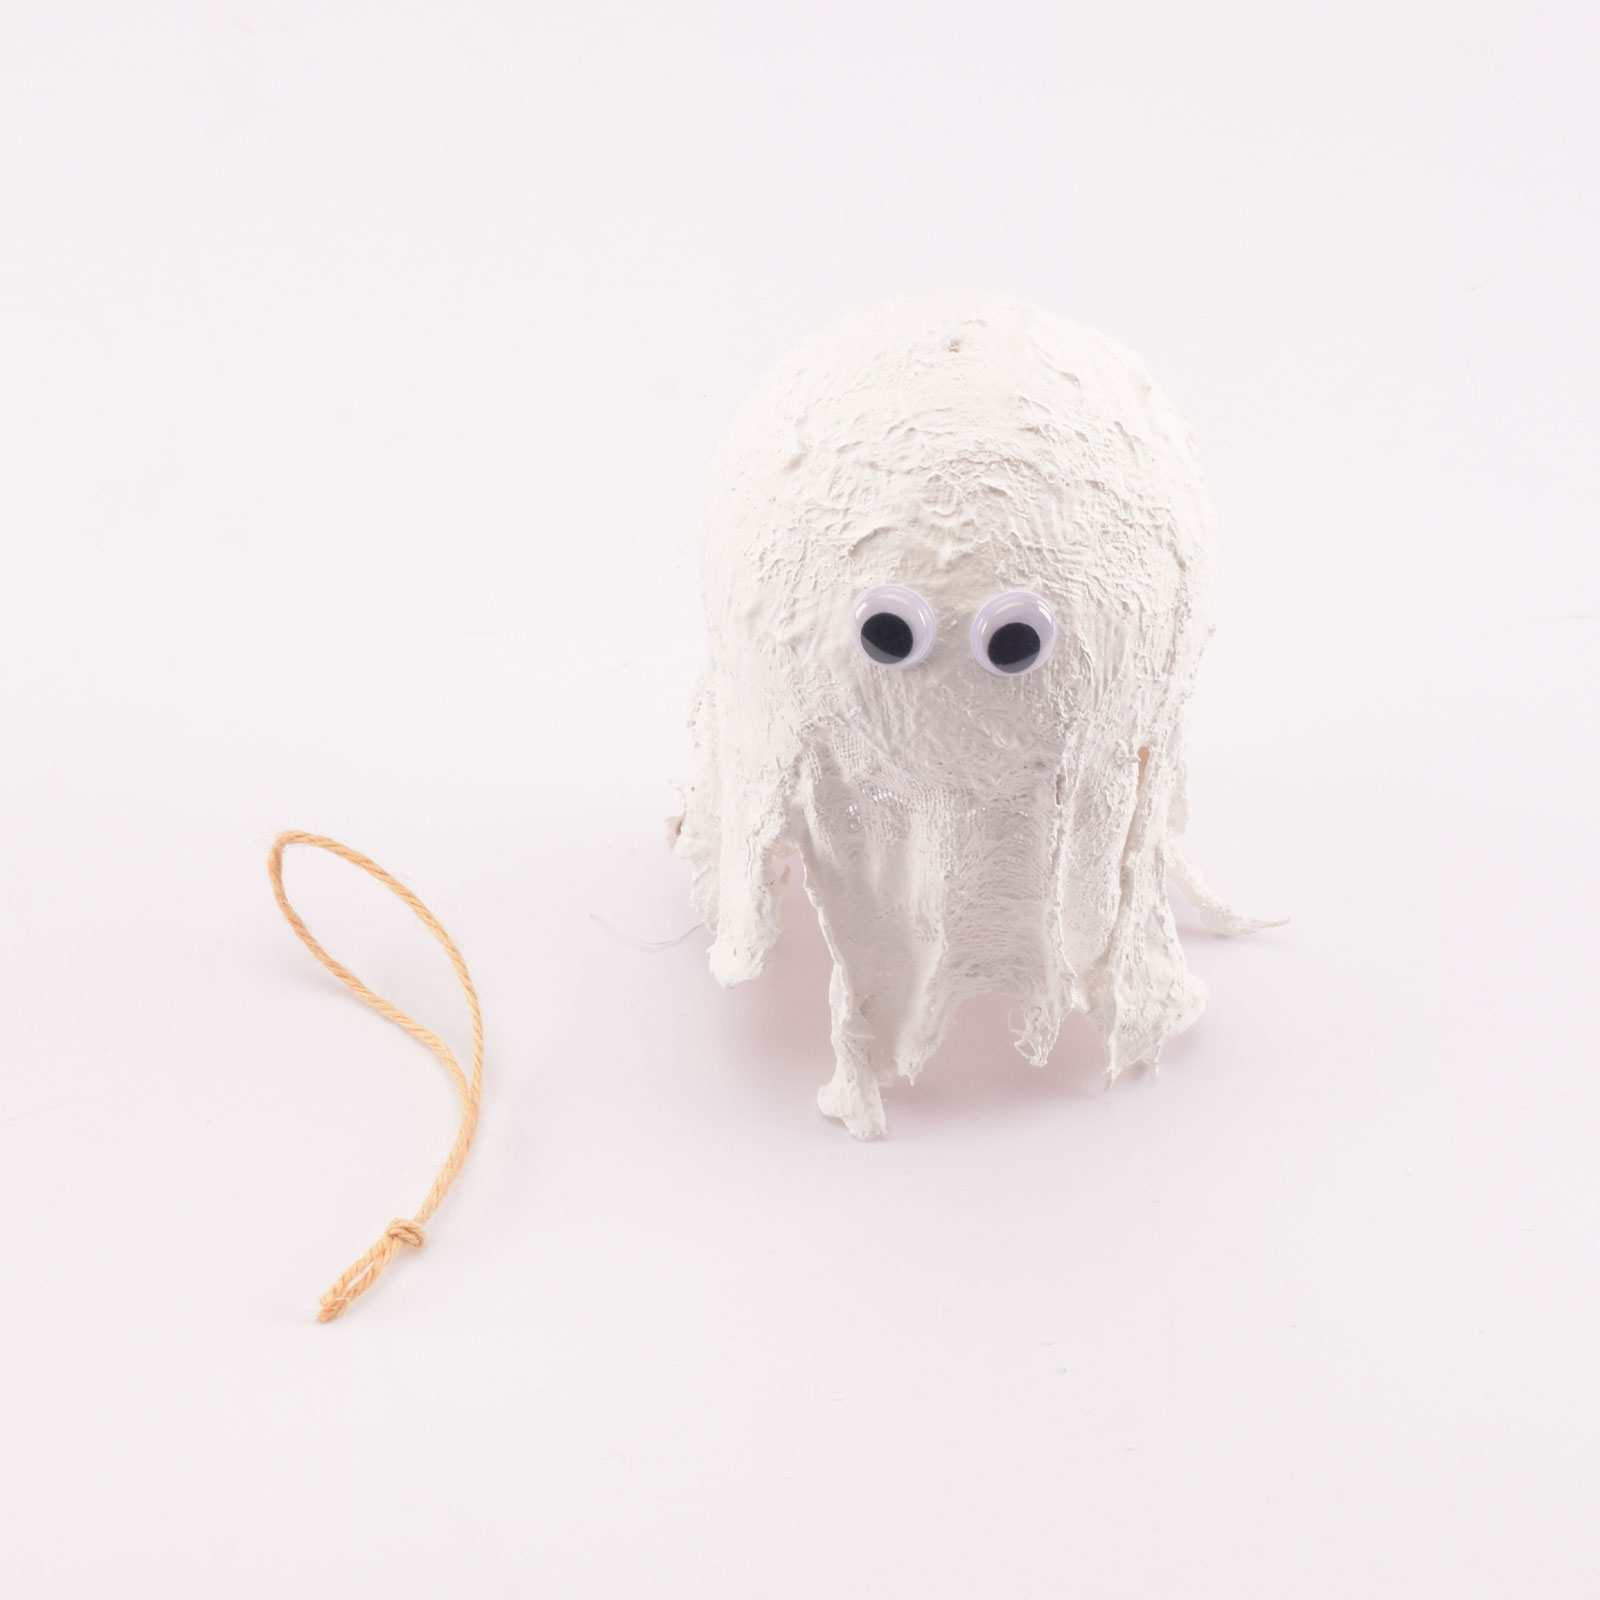
Create a loop with some (jute) cord and thread it through the hole. Your Halloween ghost is now ready. If you’ve made several ghosts, you can string them together to create a fun garland!