Card making is fun and easy with the Cut Easy Starter Kit! Use the included cutting dies, embossing folders, and paper for a cheerful and handmade birthday card.
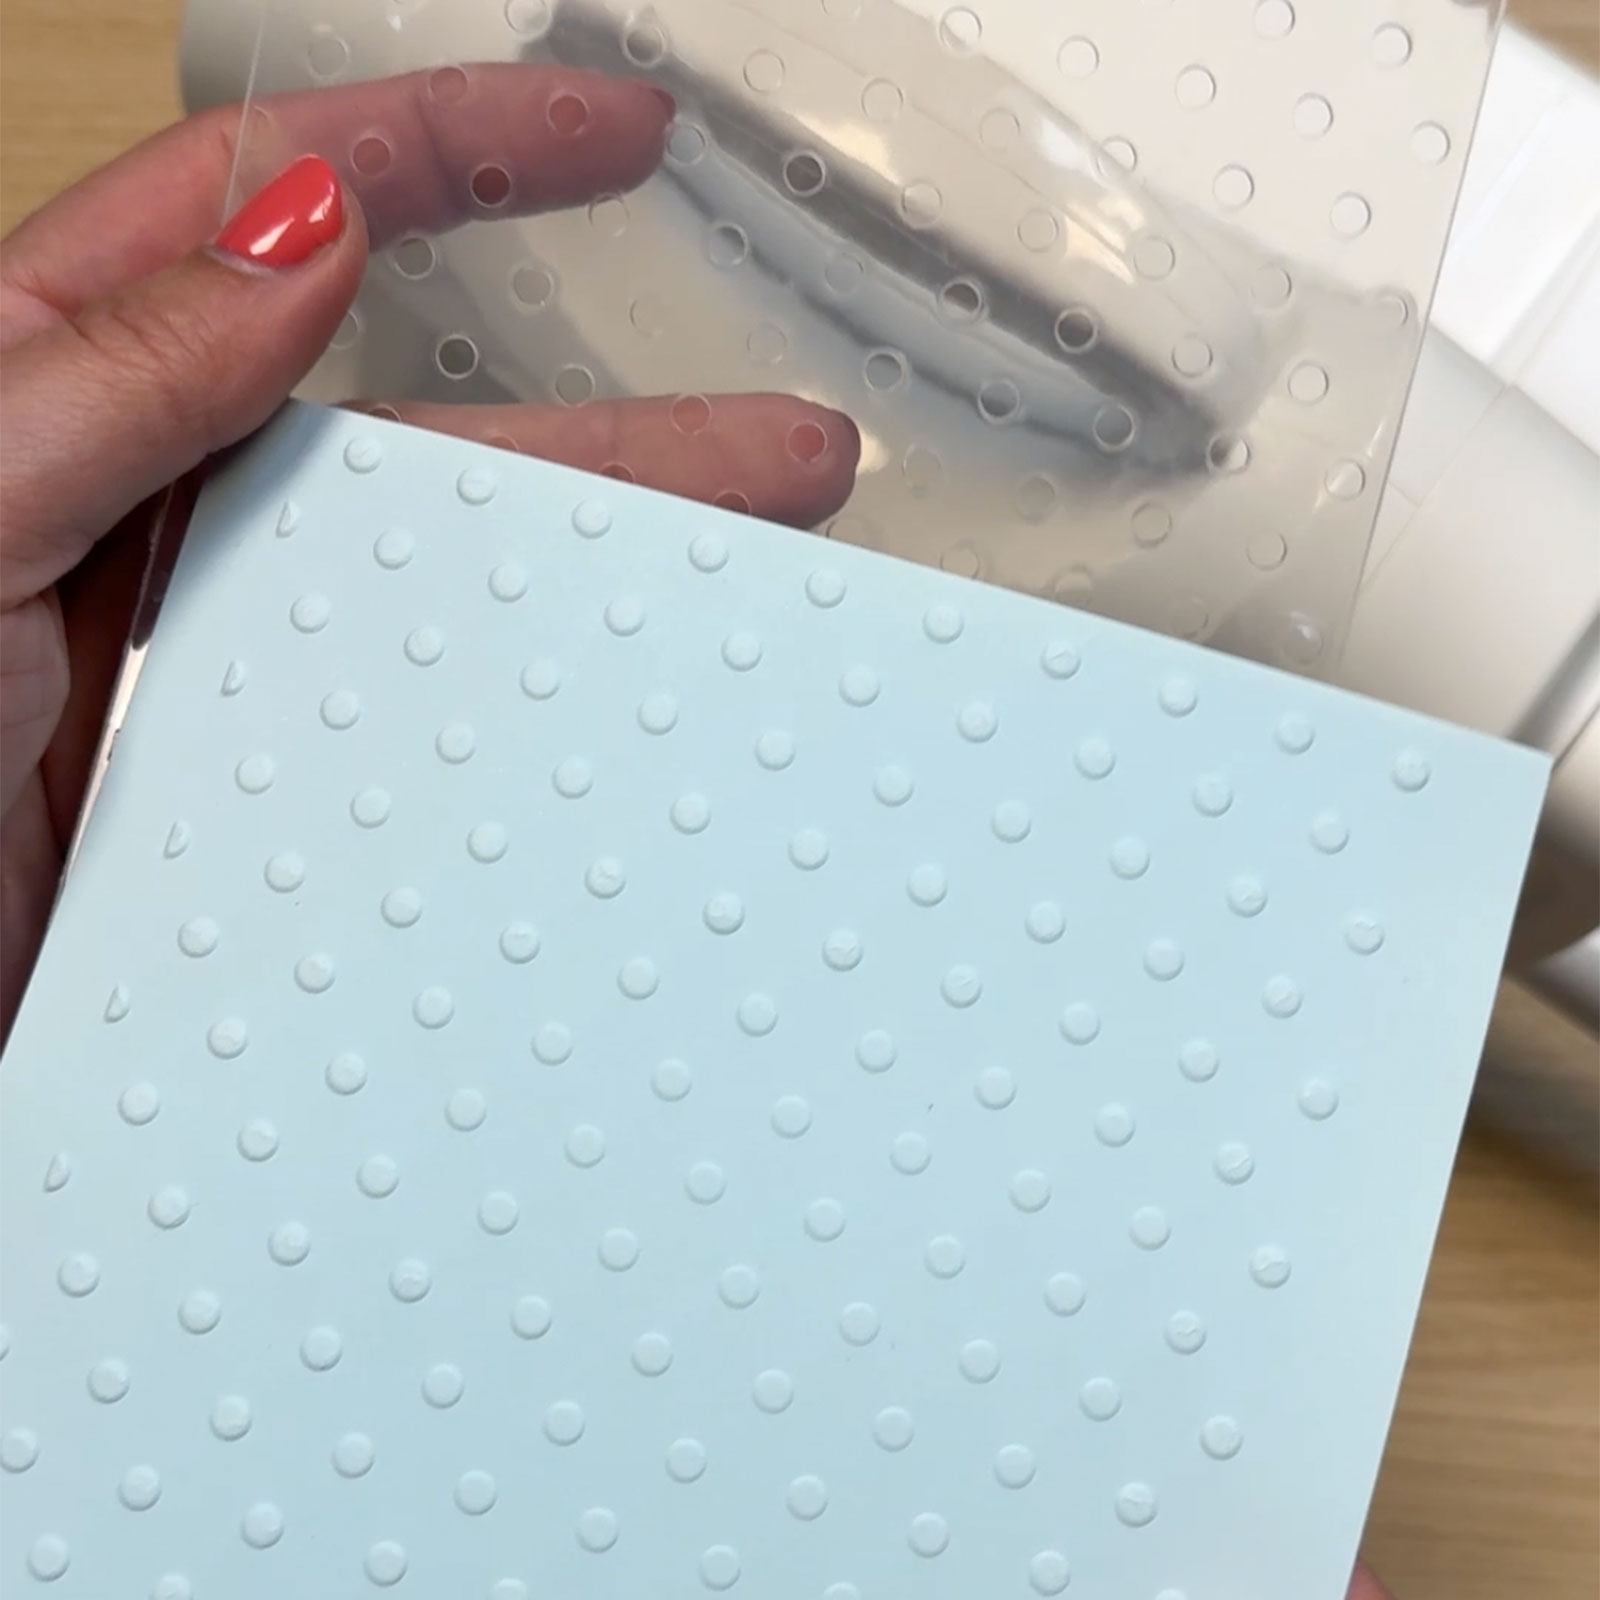
Place the blue paper inside the dotted embossing folder and run it through the die-cutting machine to create a textured effect.
2
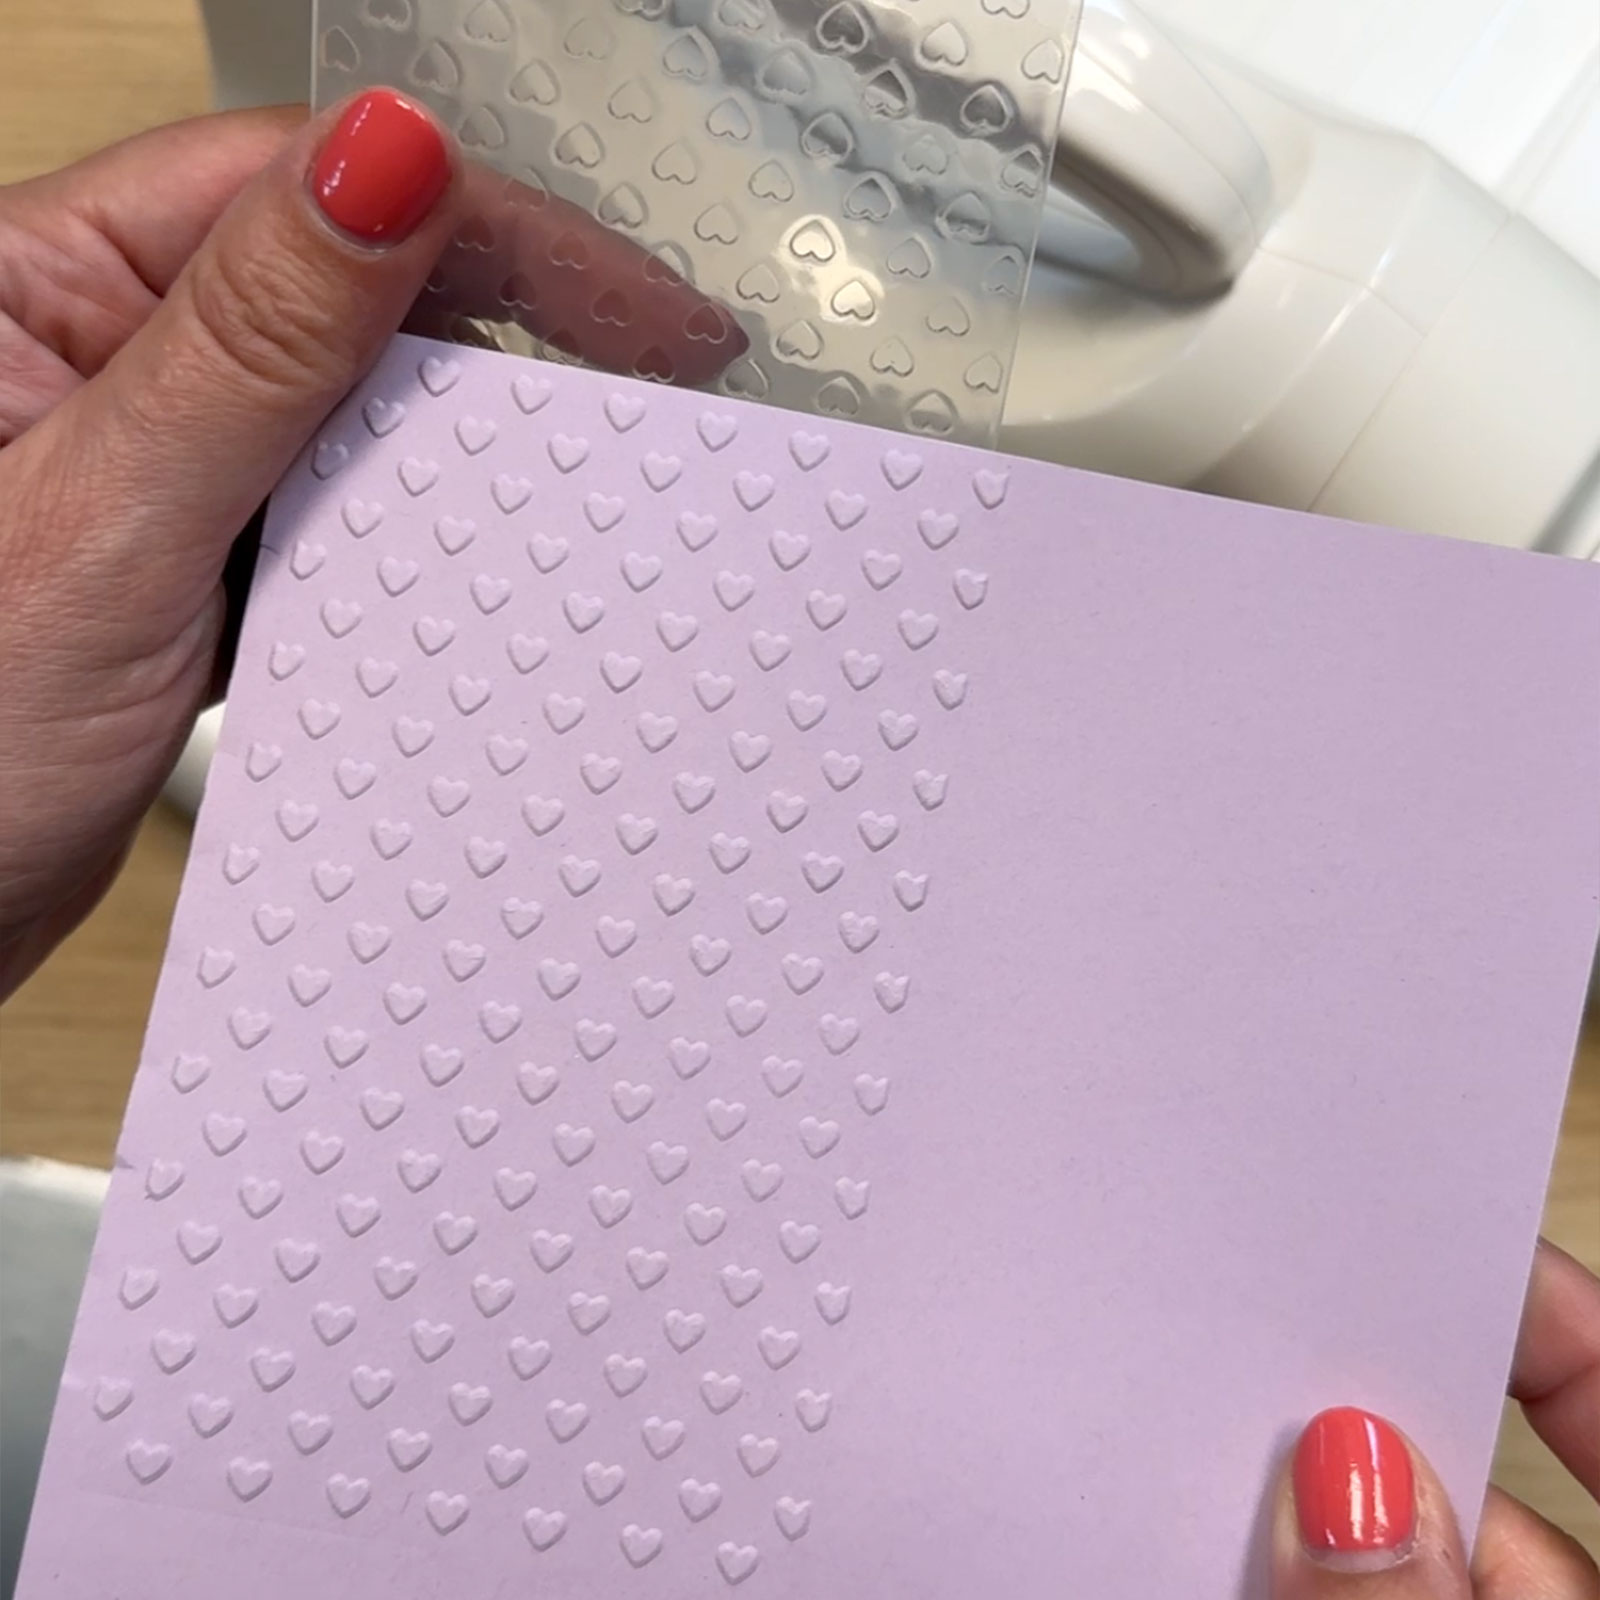
Do the same with the lilac paper, but use the smaller embossing folder with hearts.
3
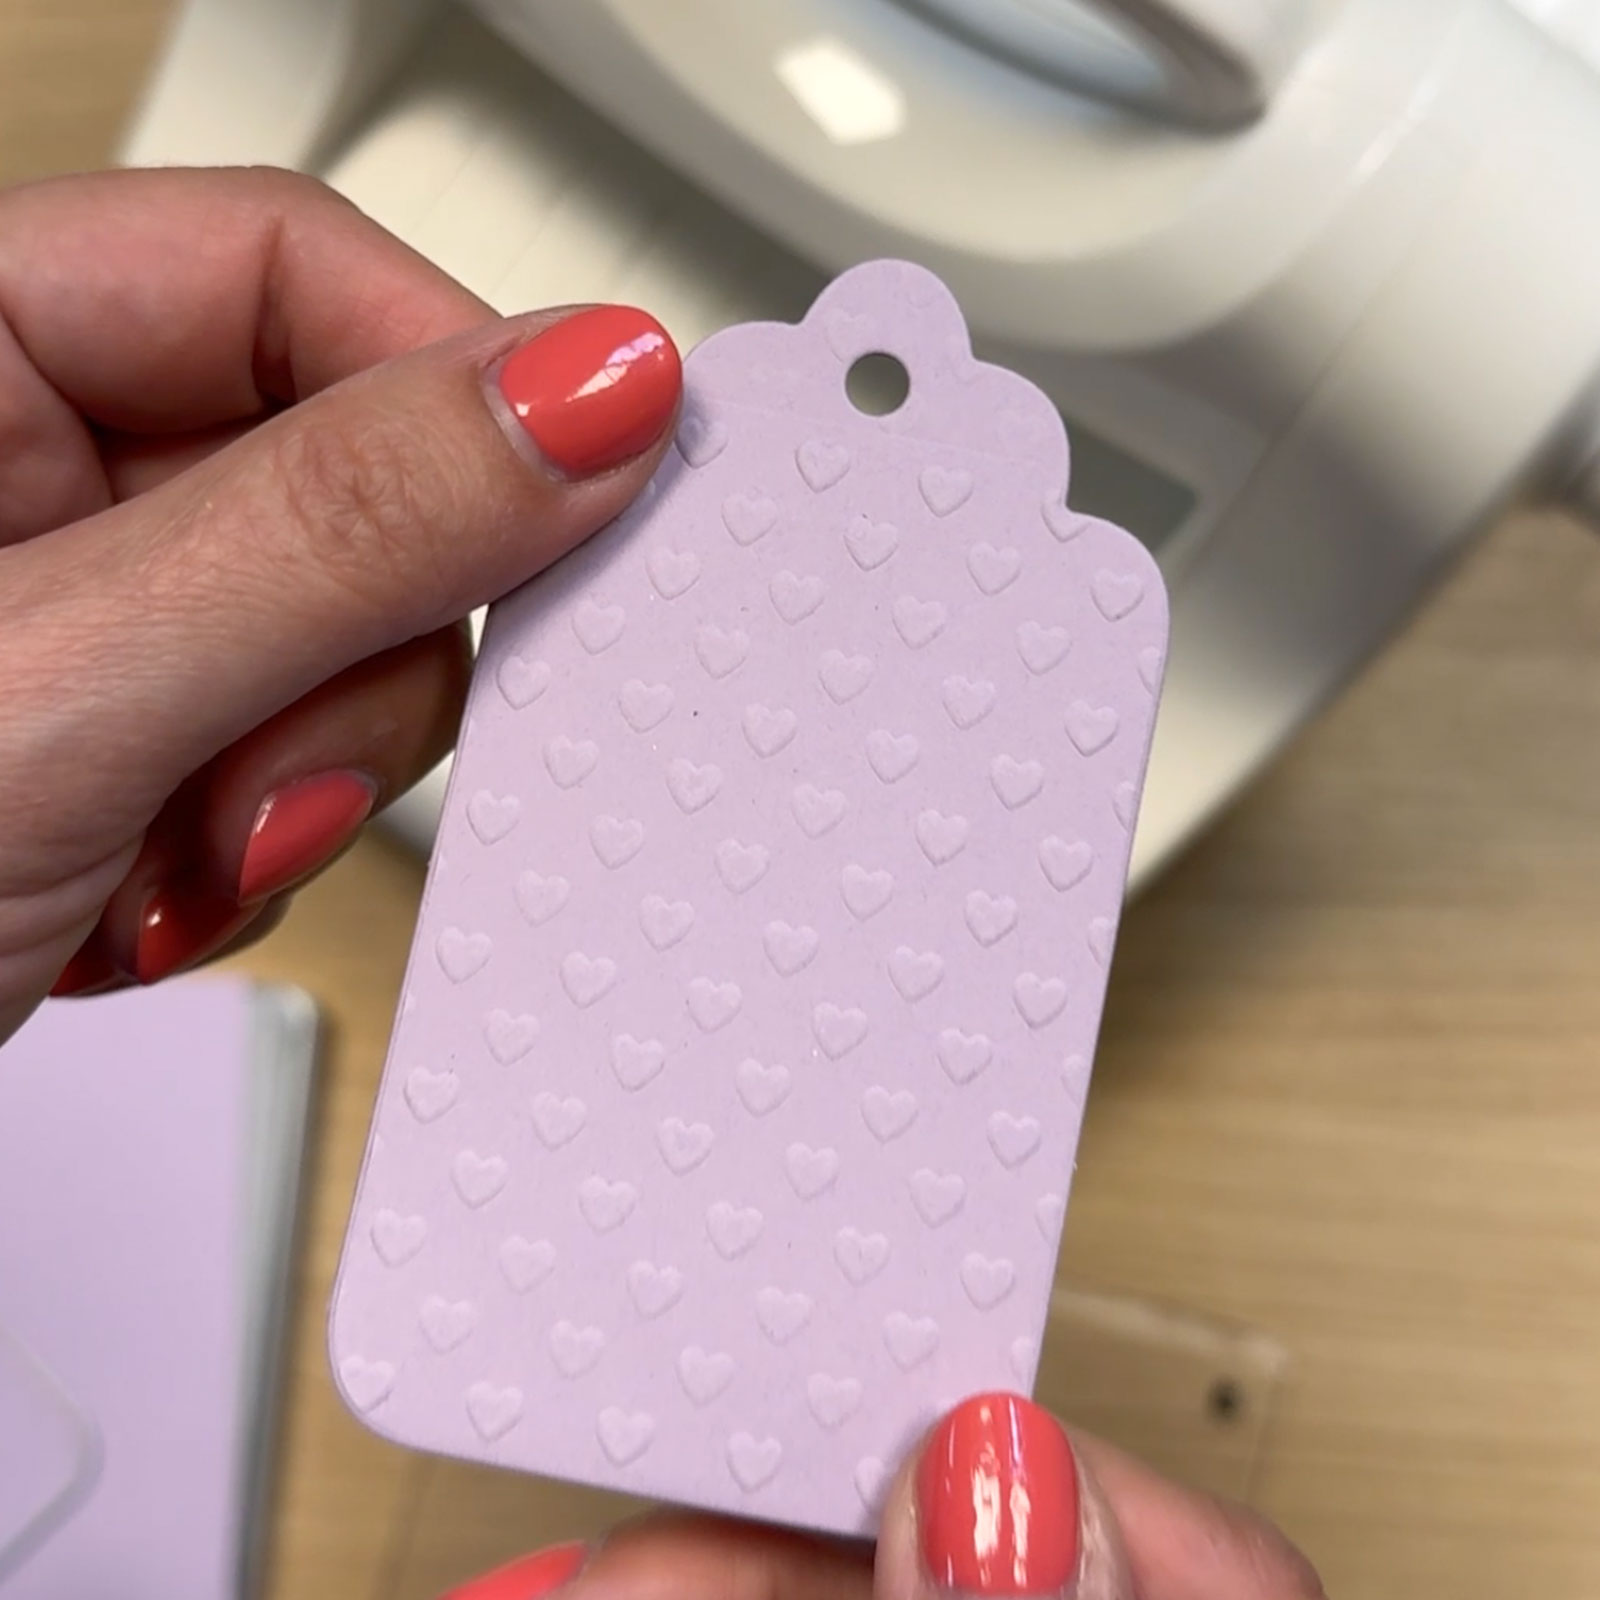
Place a label-shaped cutting die on the embossed lilac paper and run it through the machine to cut out a label.
4
Take the yellow paper and use the bunting die to cut out a banner with the machine.
5
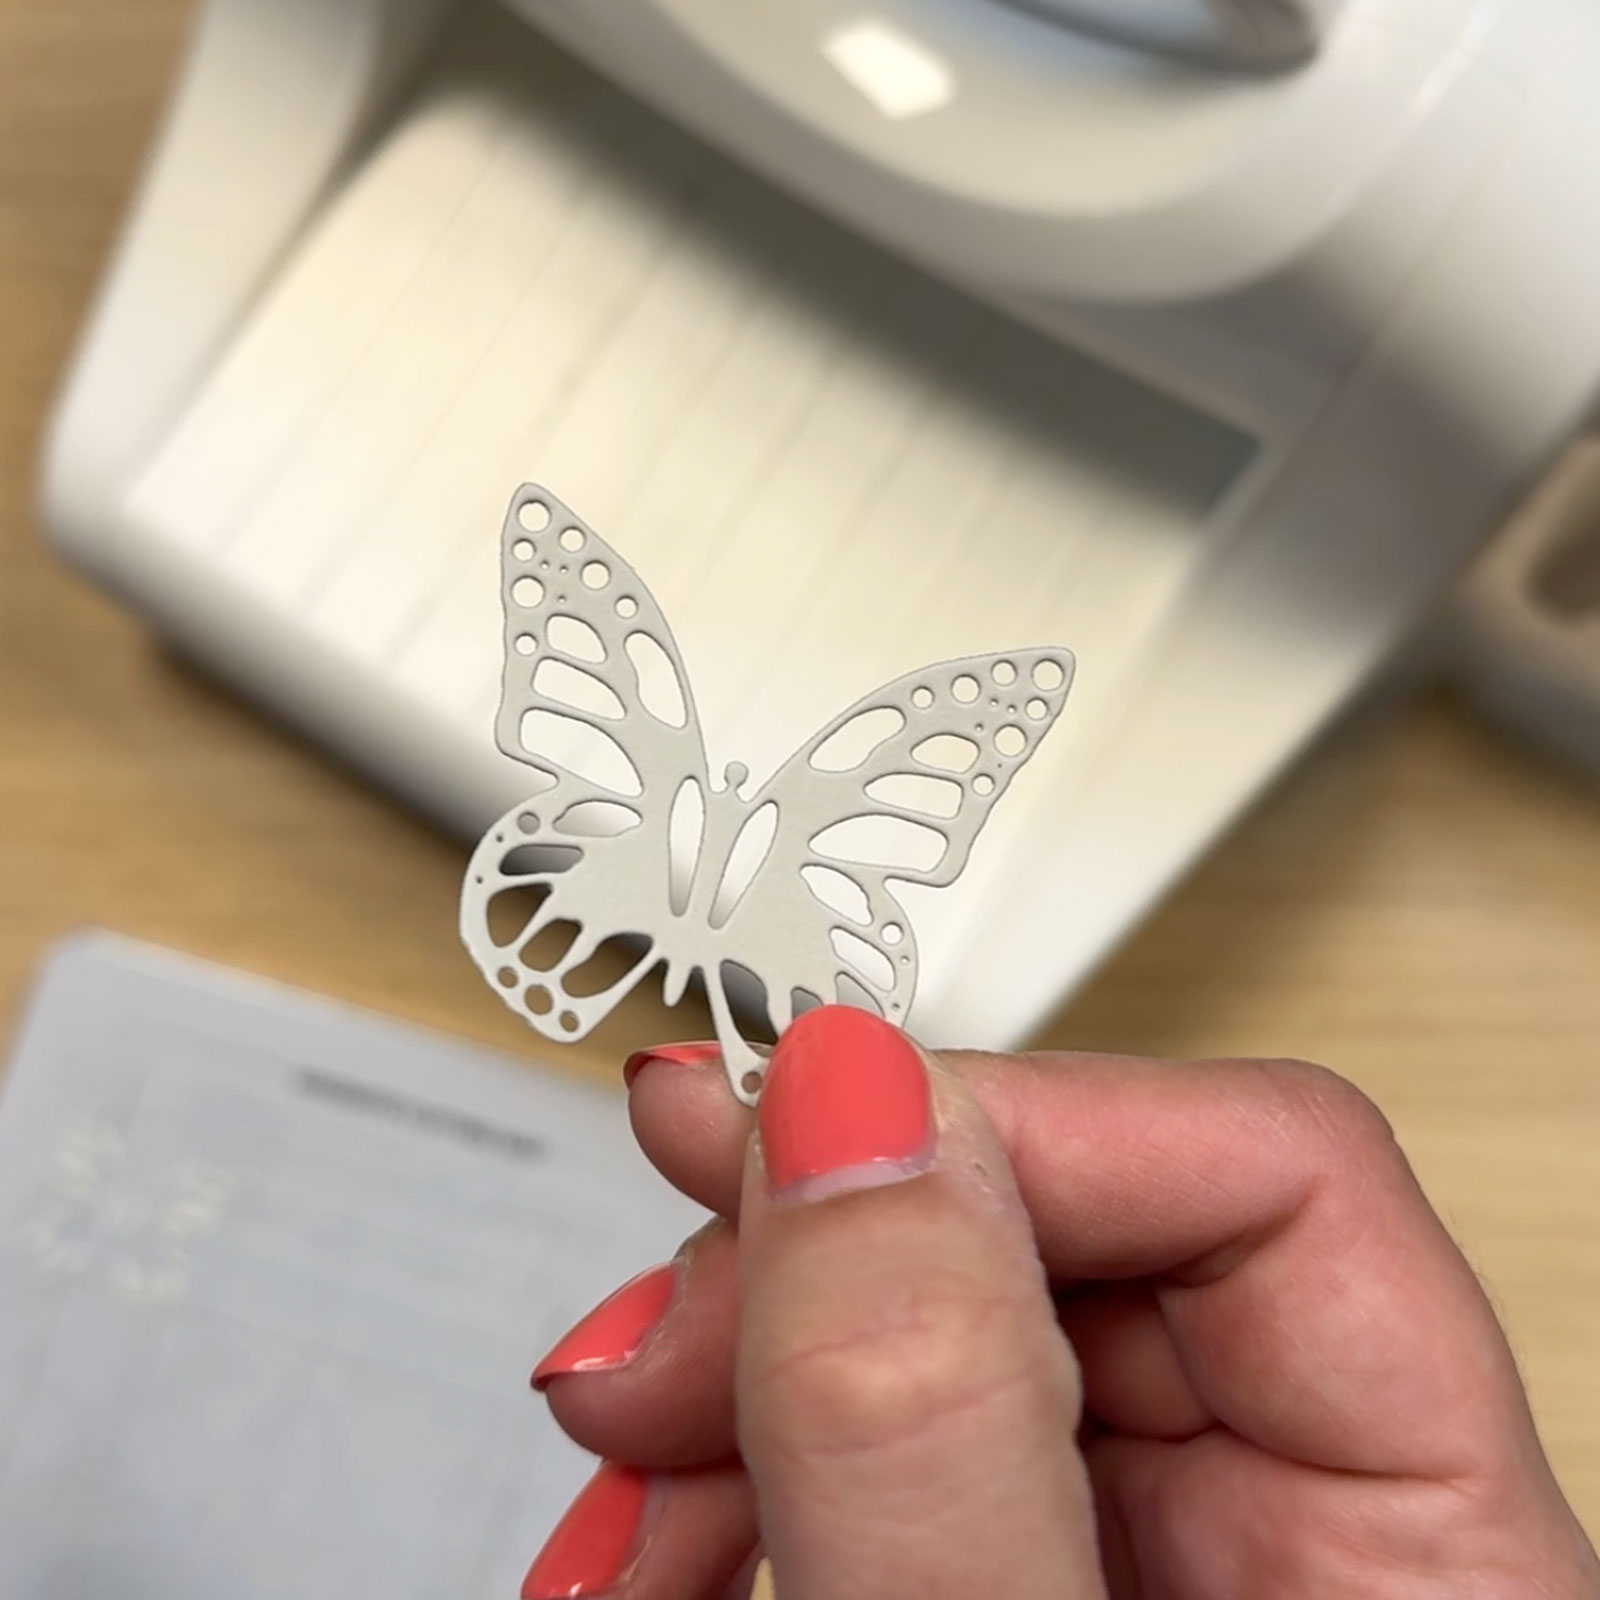
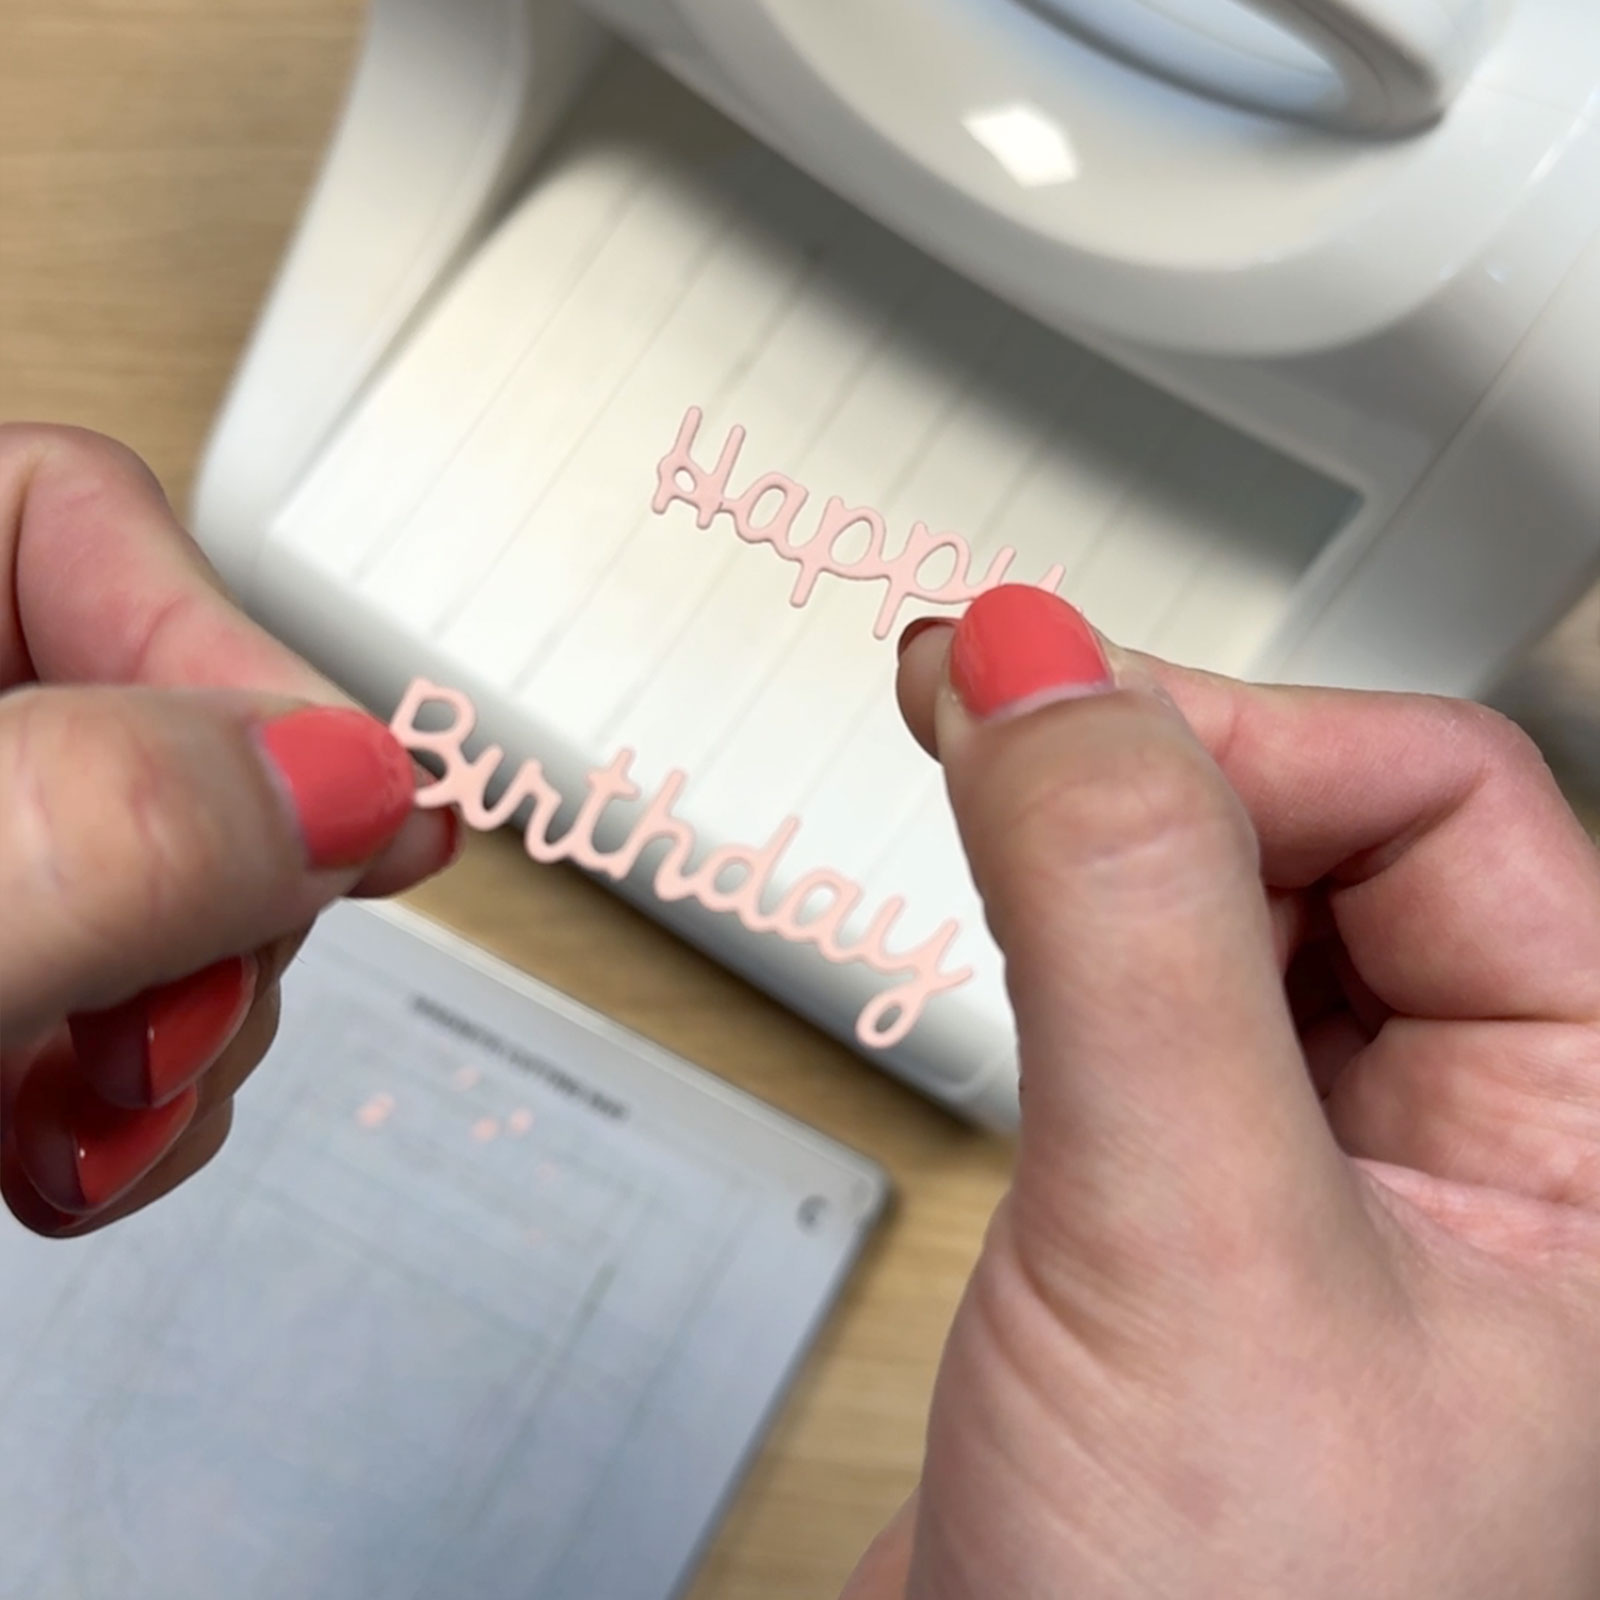
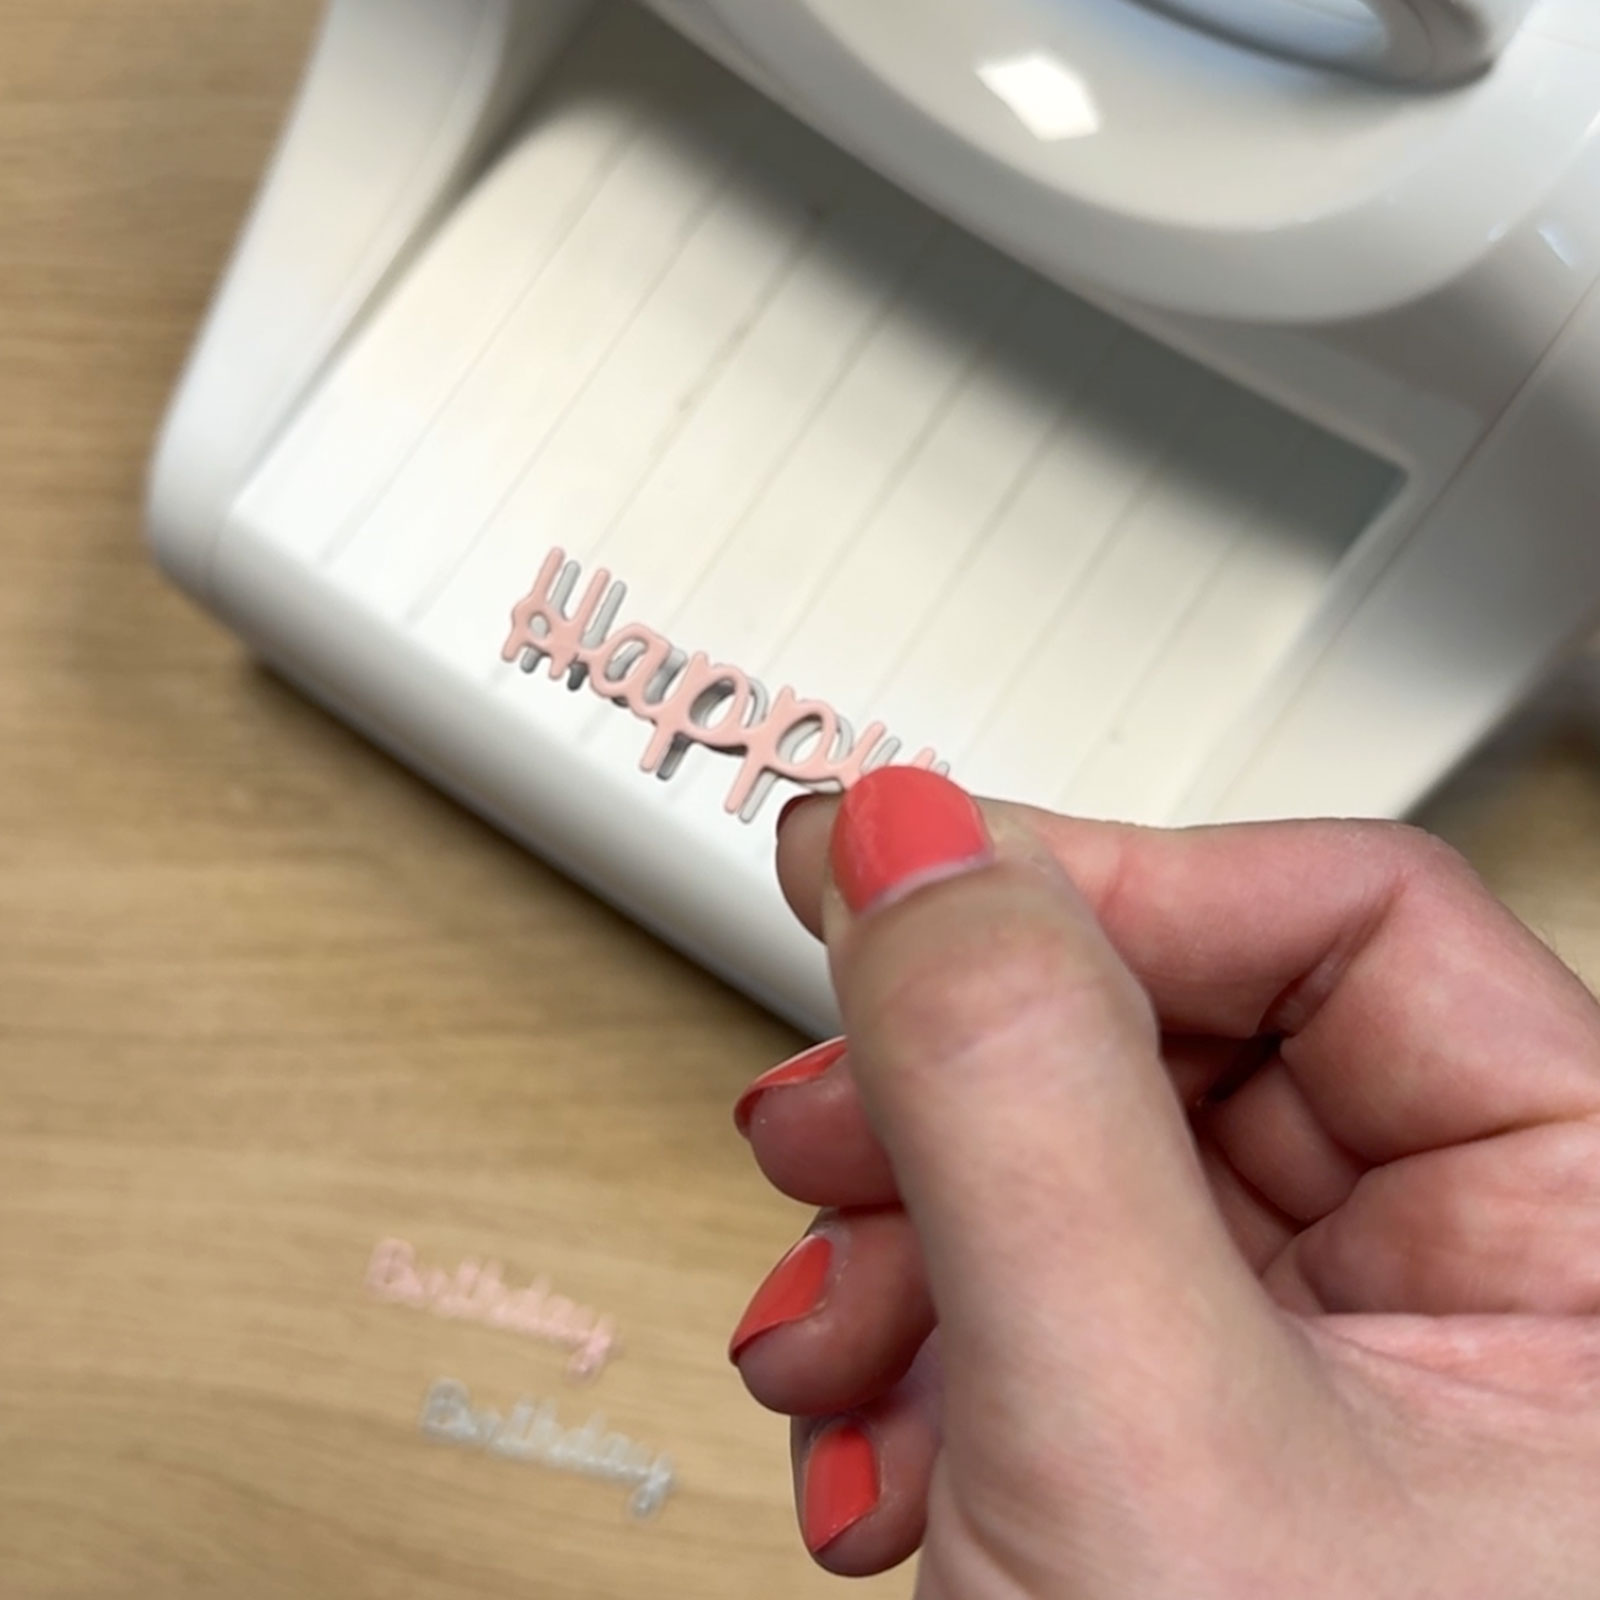
Cut a butterfly and the words "Happy Birthday" out of the grey paper.
6
Repeat this step with the pink paper, cutting out another butterfly and the "Happy Birthday" text.
7
Glue the pink and grey text pieces slightly offset from each other to create a shadow effect.
8
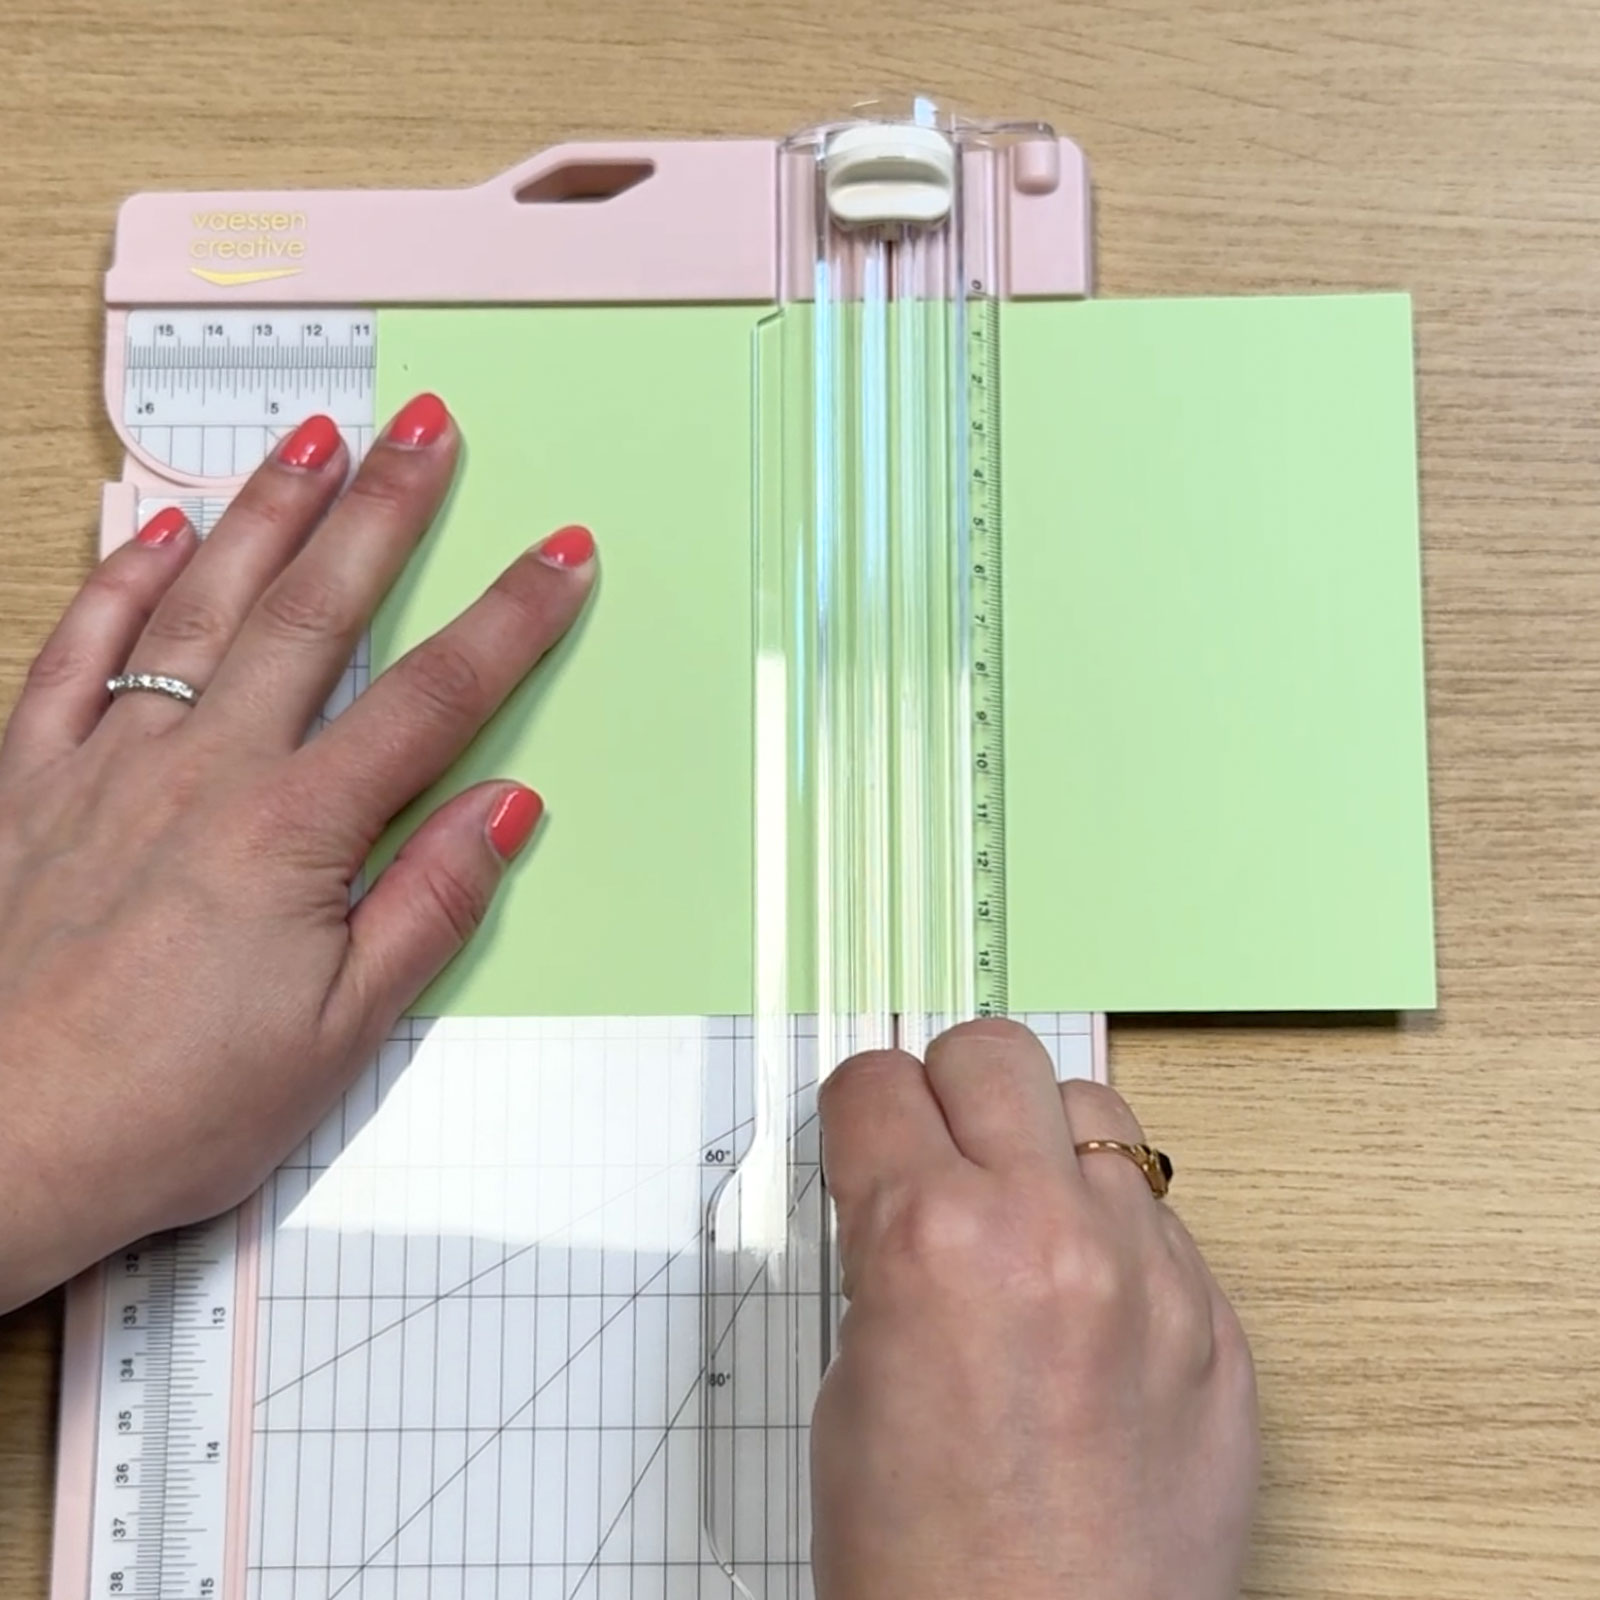
Score the green paper along the long side at 4.1 inches (10.5 cm). Fold the paper to create a card of 5.8 x 4.1 inches (14.8 x 10.5 cm).
9
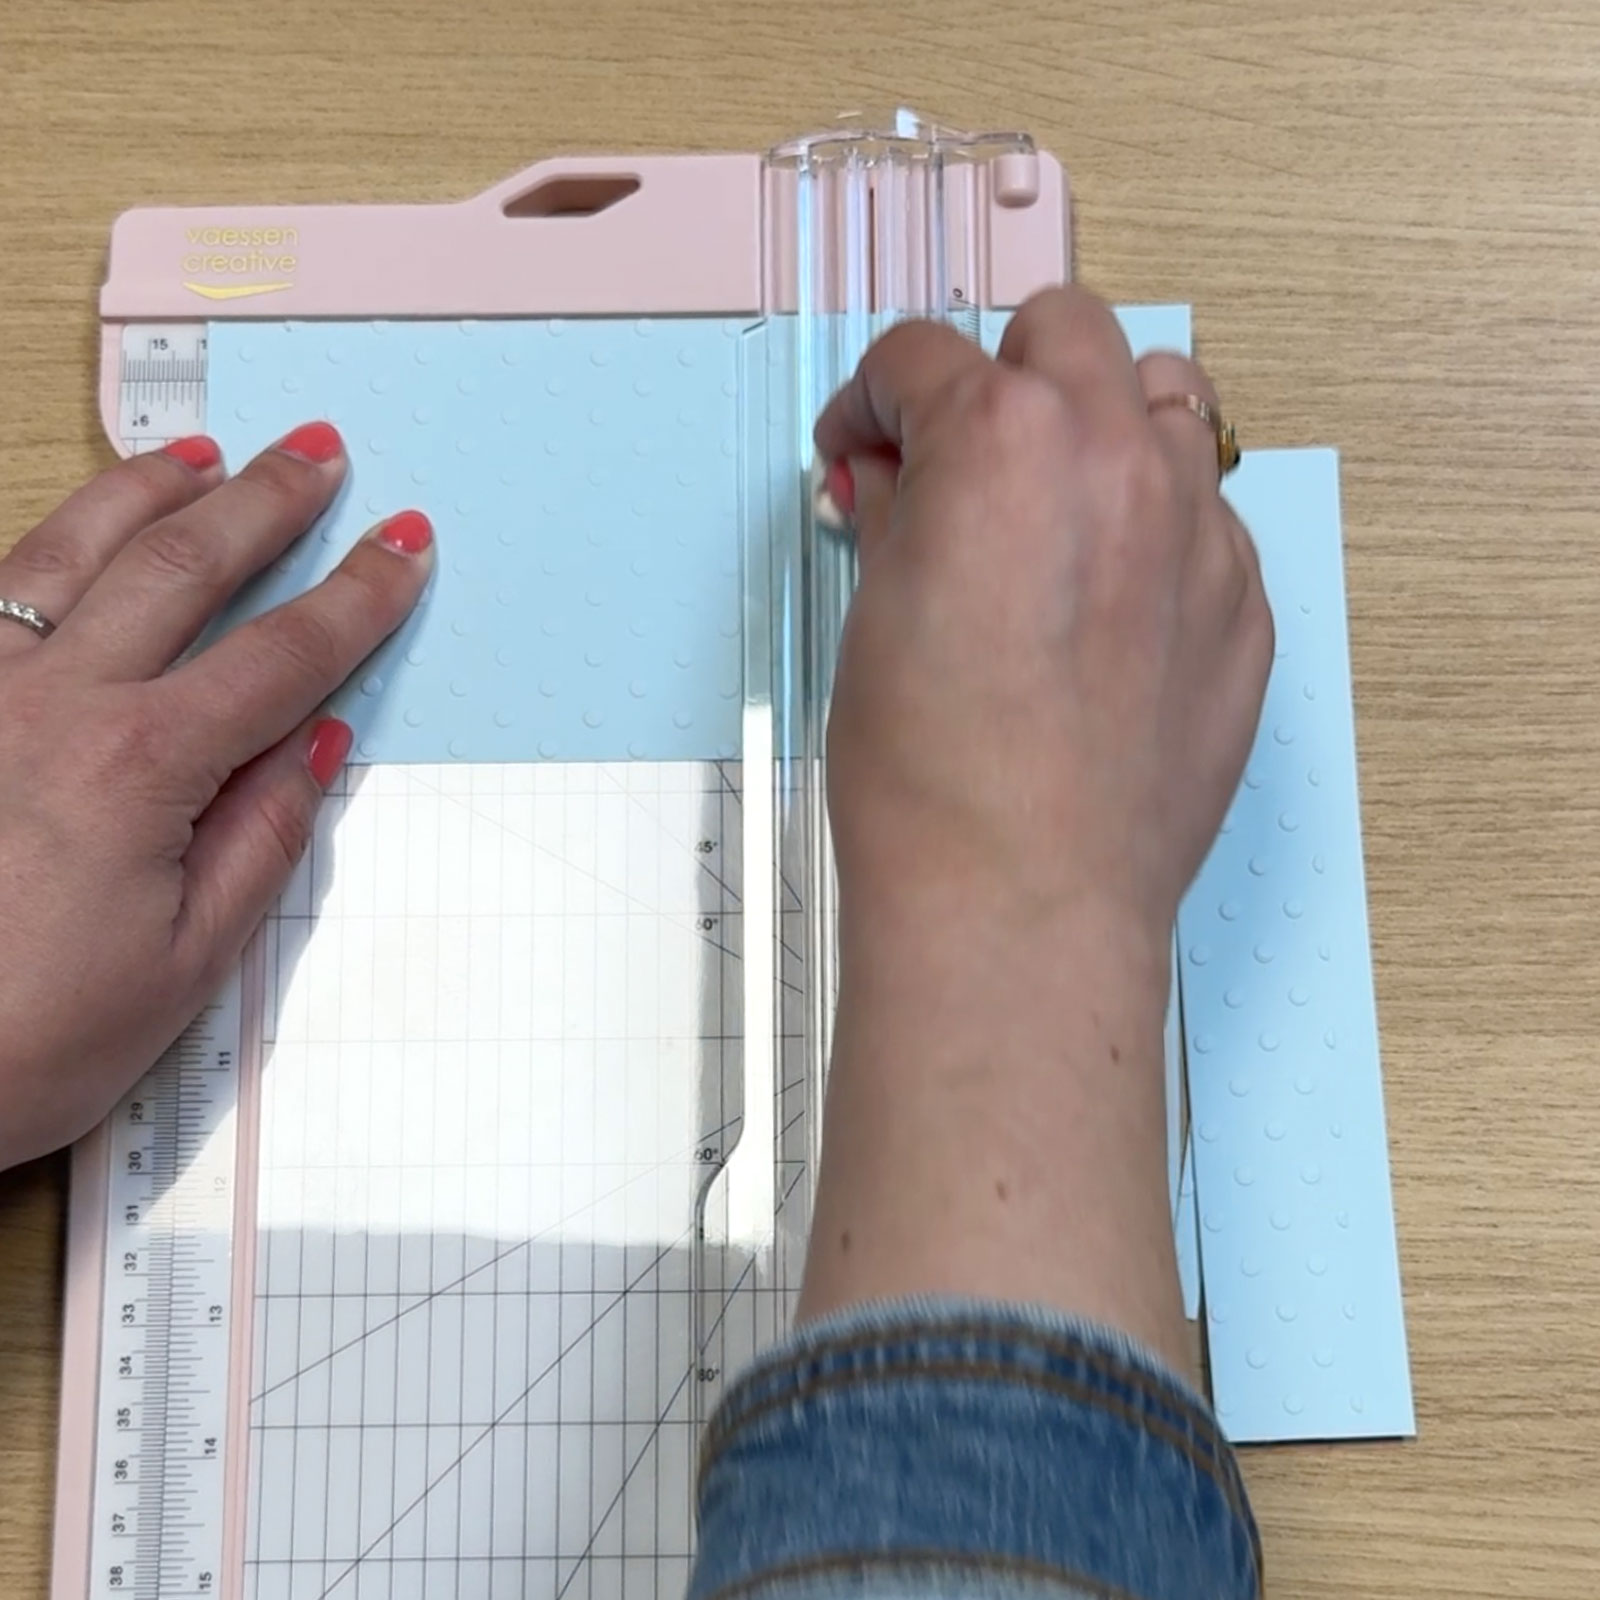
Cut a piece measuring 5.4 x 3.7 inches (13.8 x 9.5 cm) from the blue embossed paper.
10
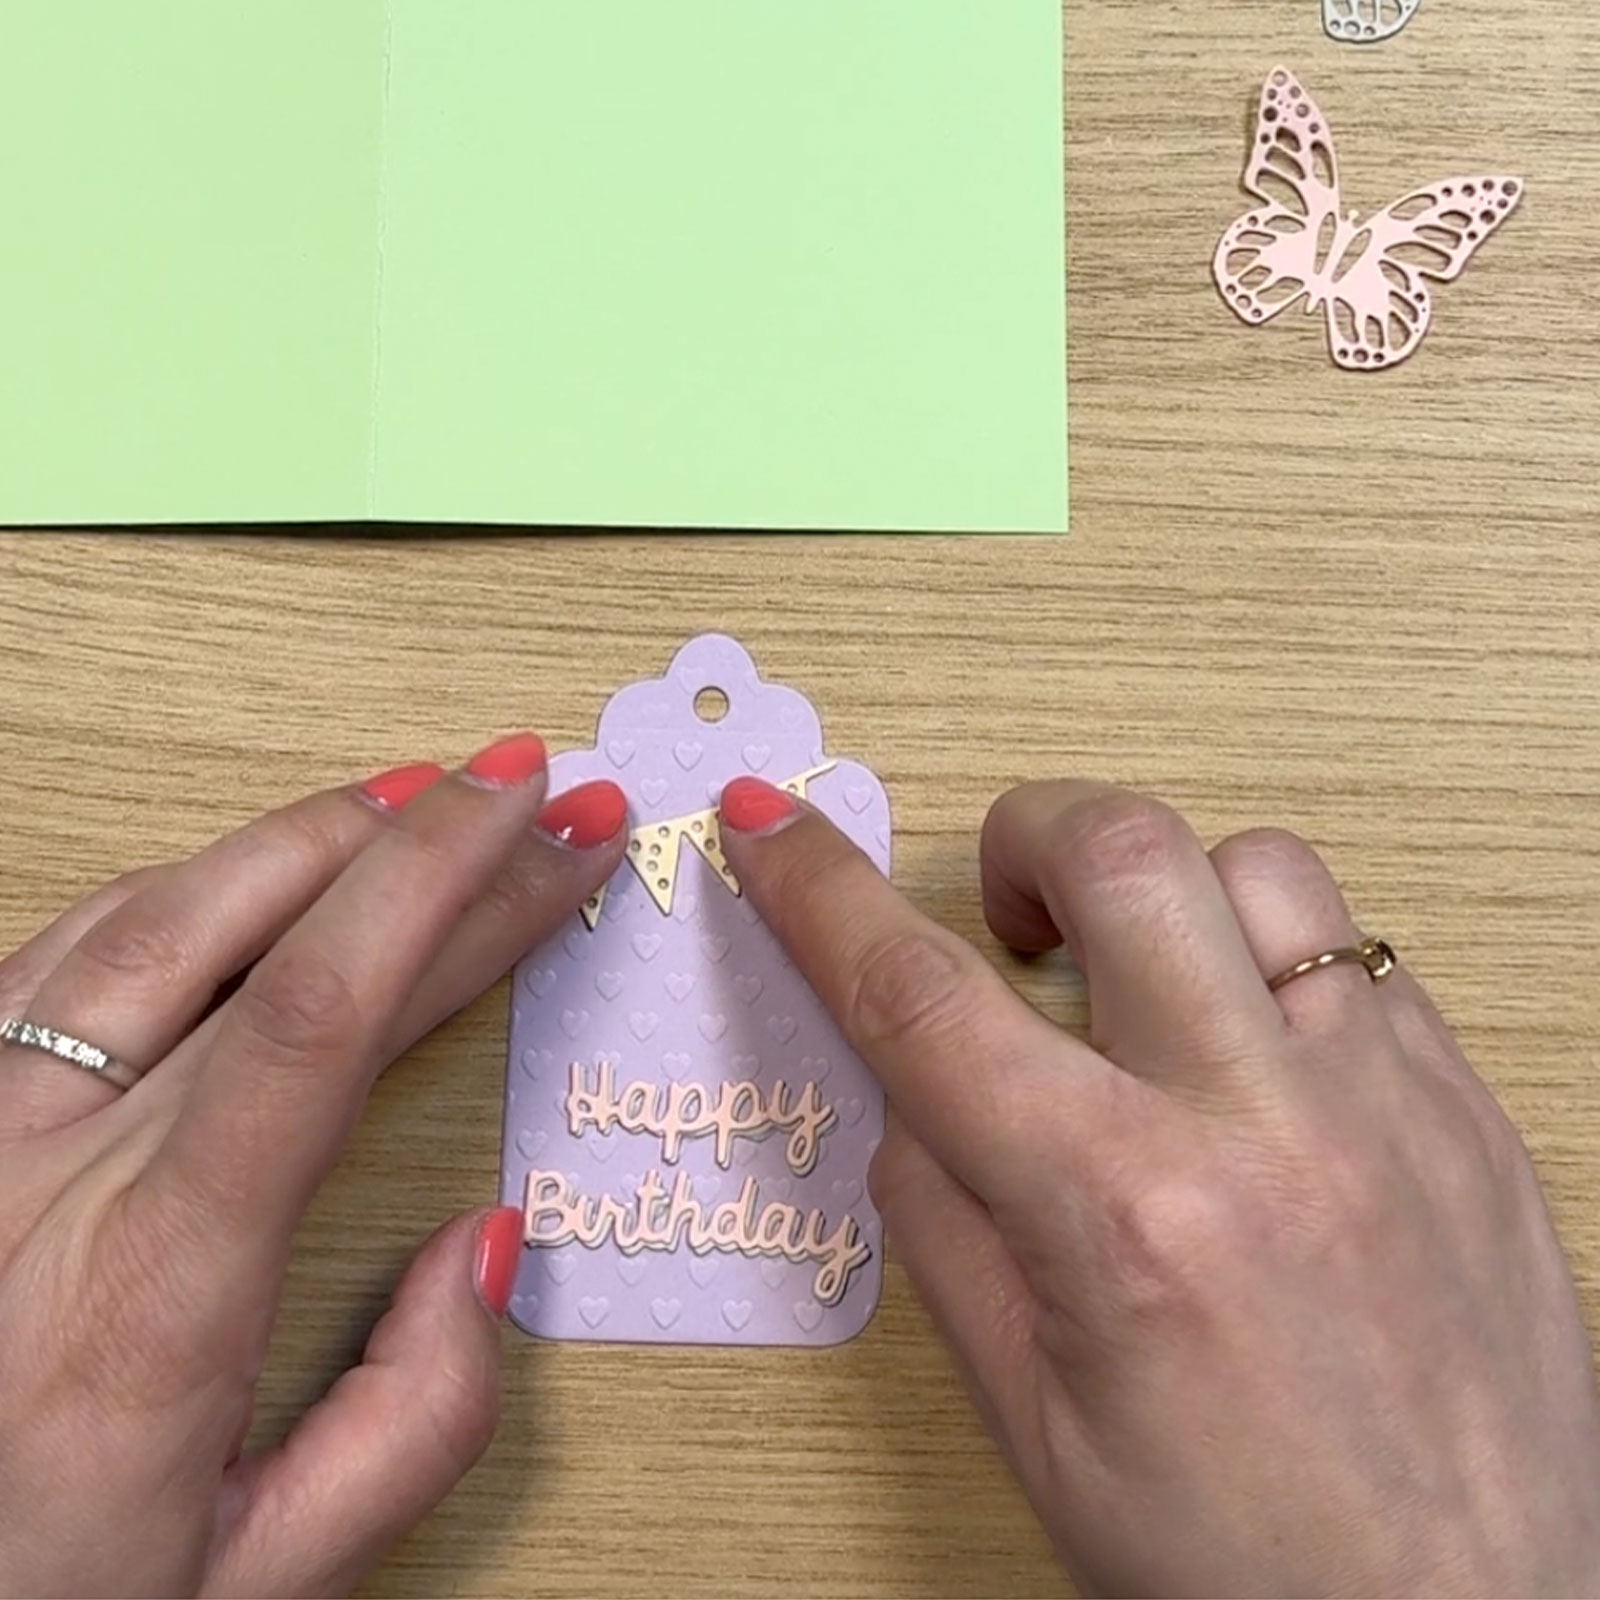
Attach the text and the bunting banner to the purple label.
11
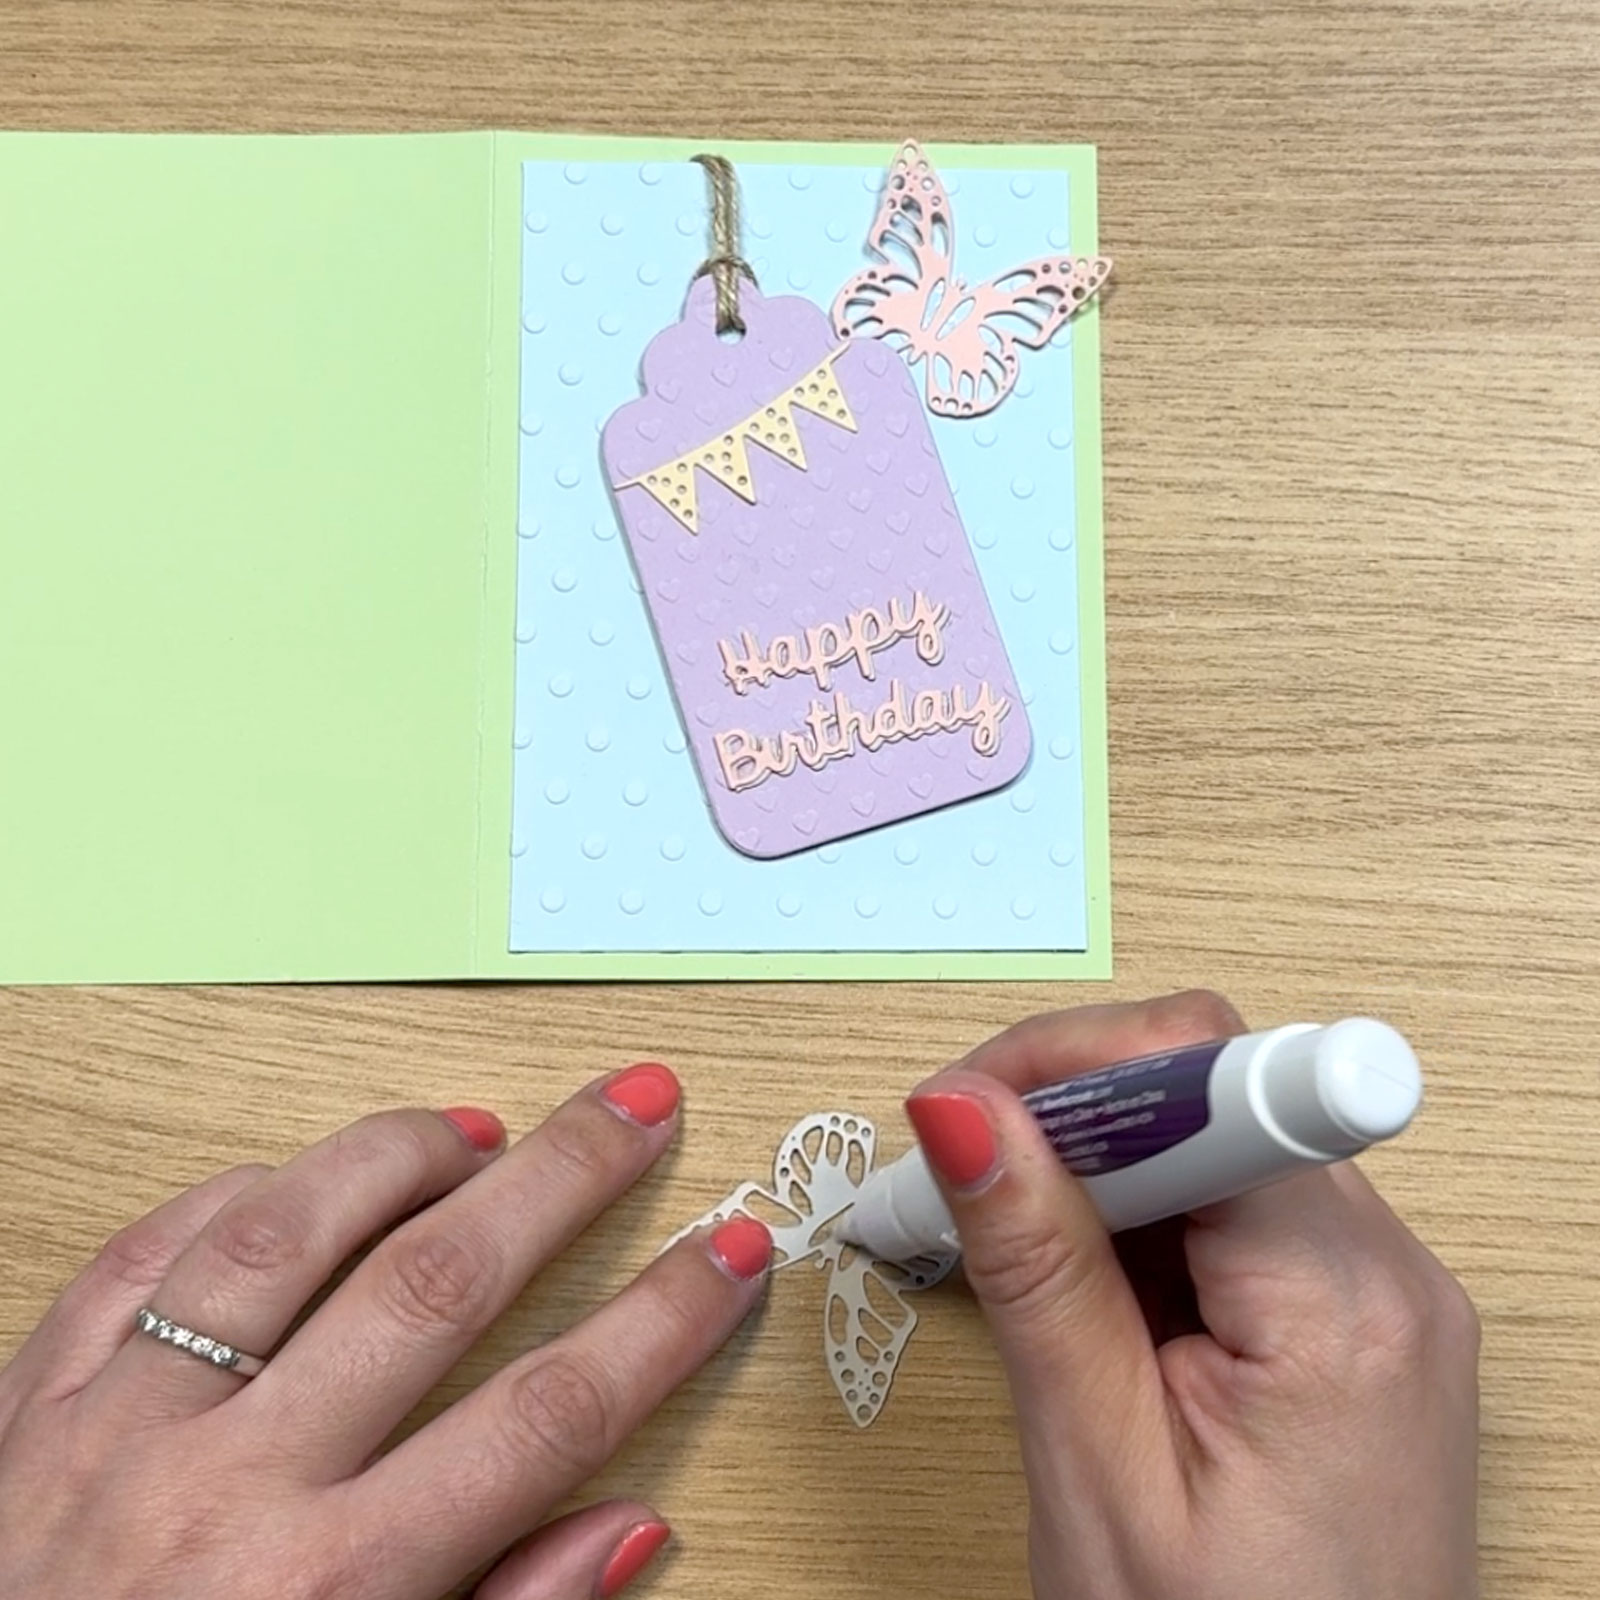
Cut a piece of jute twine of 3.9 inches (10 cm) and tie it through the top of the label. Add foam tape to the back of the label.
12
Attach the label to the blue paper and secure the twine to the back. Then attach the blue paper to the green card base. Finally, glue the butterflies onto the card.