Create playful and artistic cards with this creative DIY. This project is perfect for card making lovers who enjoy experimenting with colours, patterns and techniques. Design your own unique cards and enjoy a relaxing creative moment while making personalised greetings for any occasion.
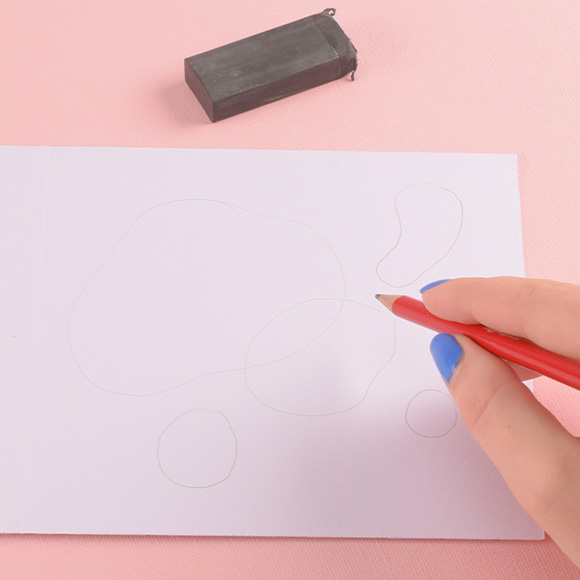
Use a sturdy double card for this DIY to prevent it from warping with the paint. Draw various shapes on the card, varying the sizes. Let some of the shapes overlap for a fun and playful effect.
2
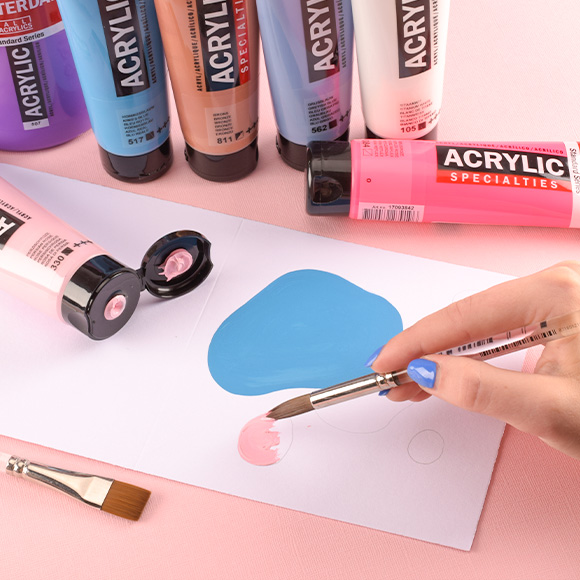
Take a brush and fill in the shapes with acrylic paint. Make sure the paint covers well. If one layer isn’t enough, don’t worry; just add another coat until the shapes really stand out.
3
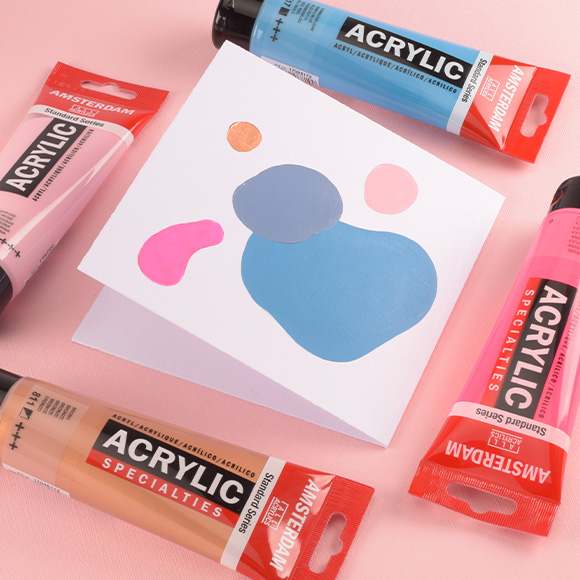
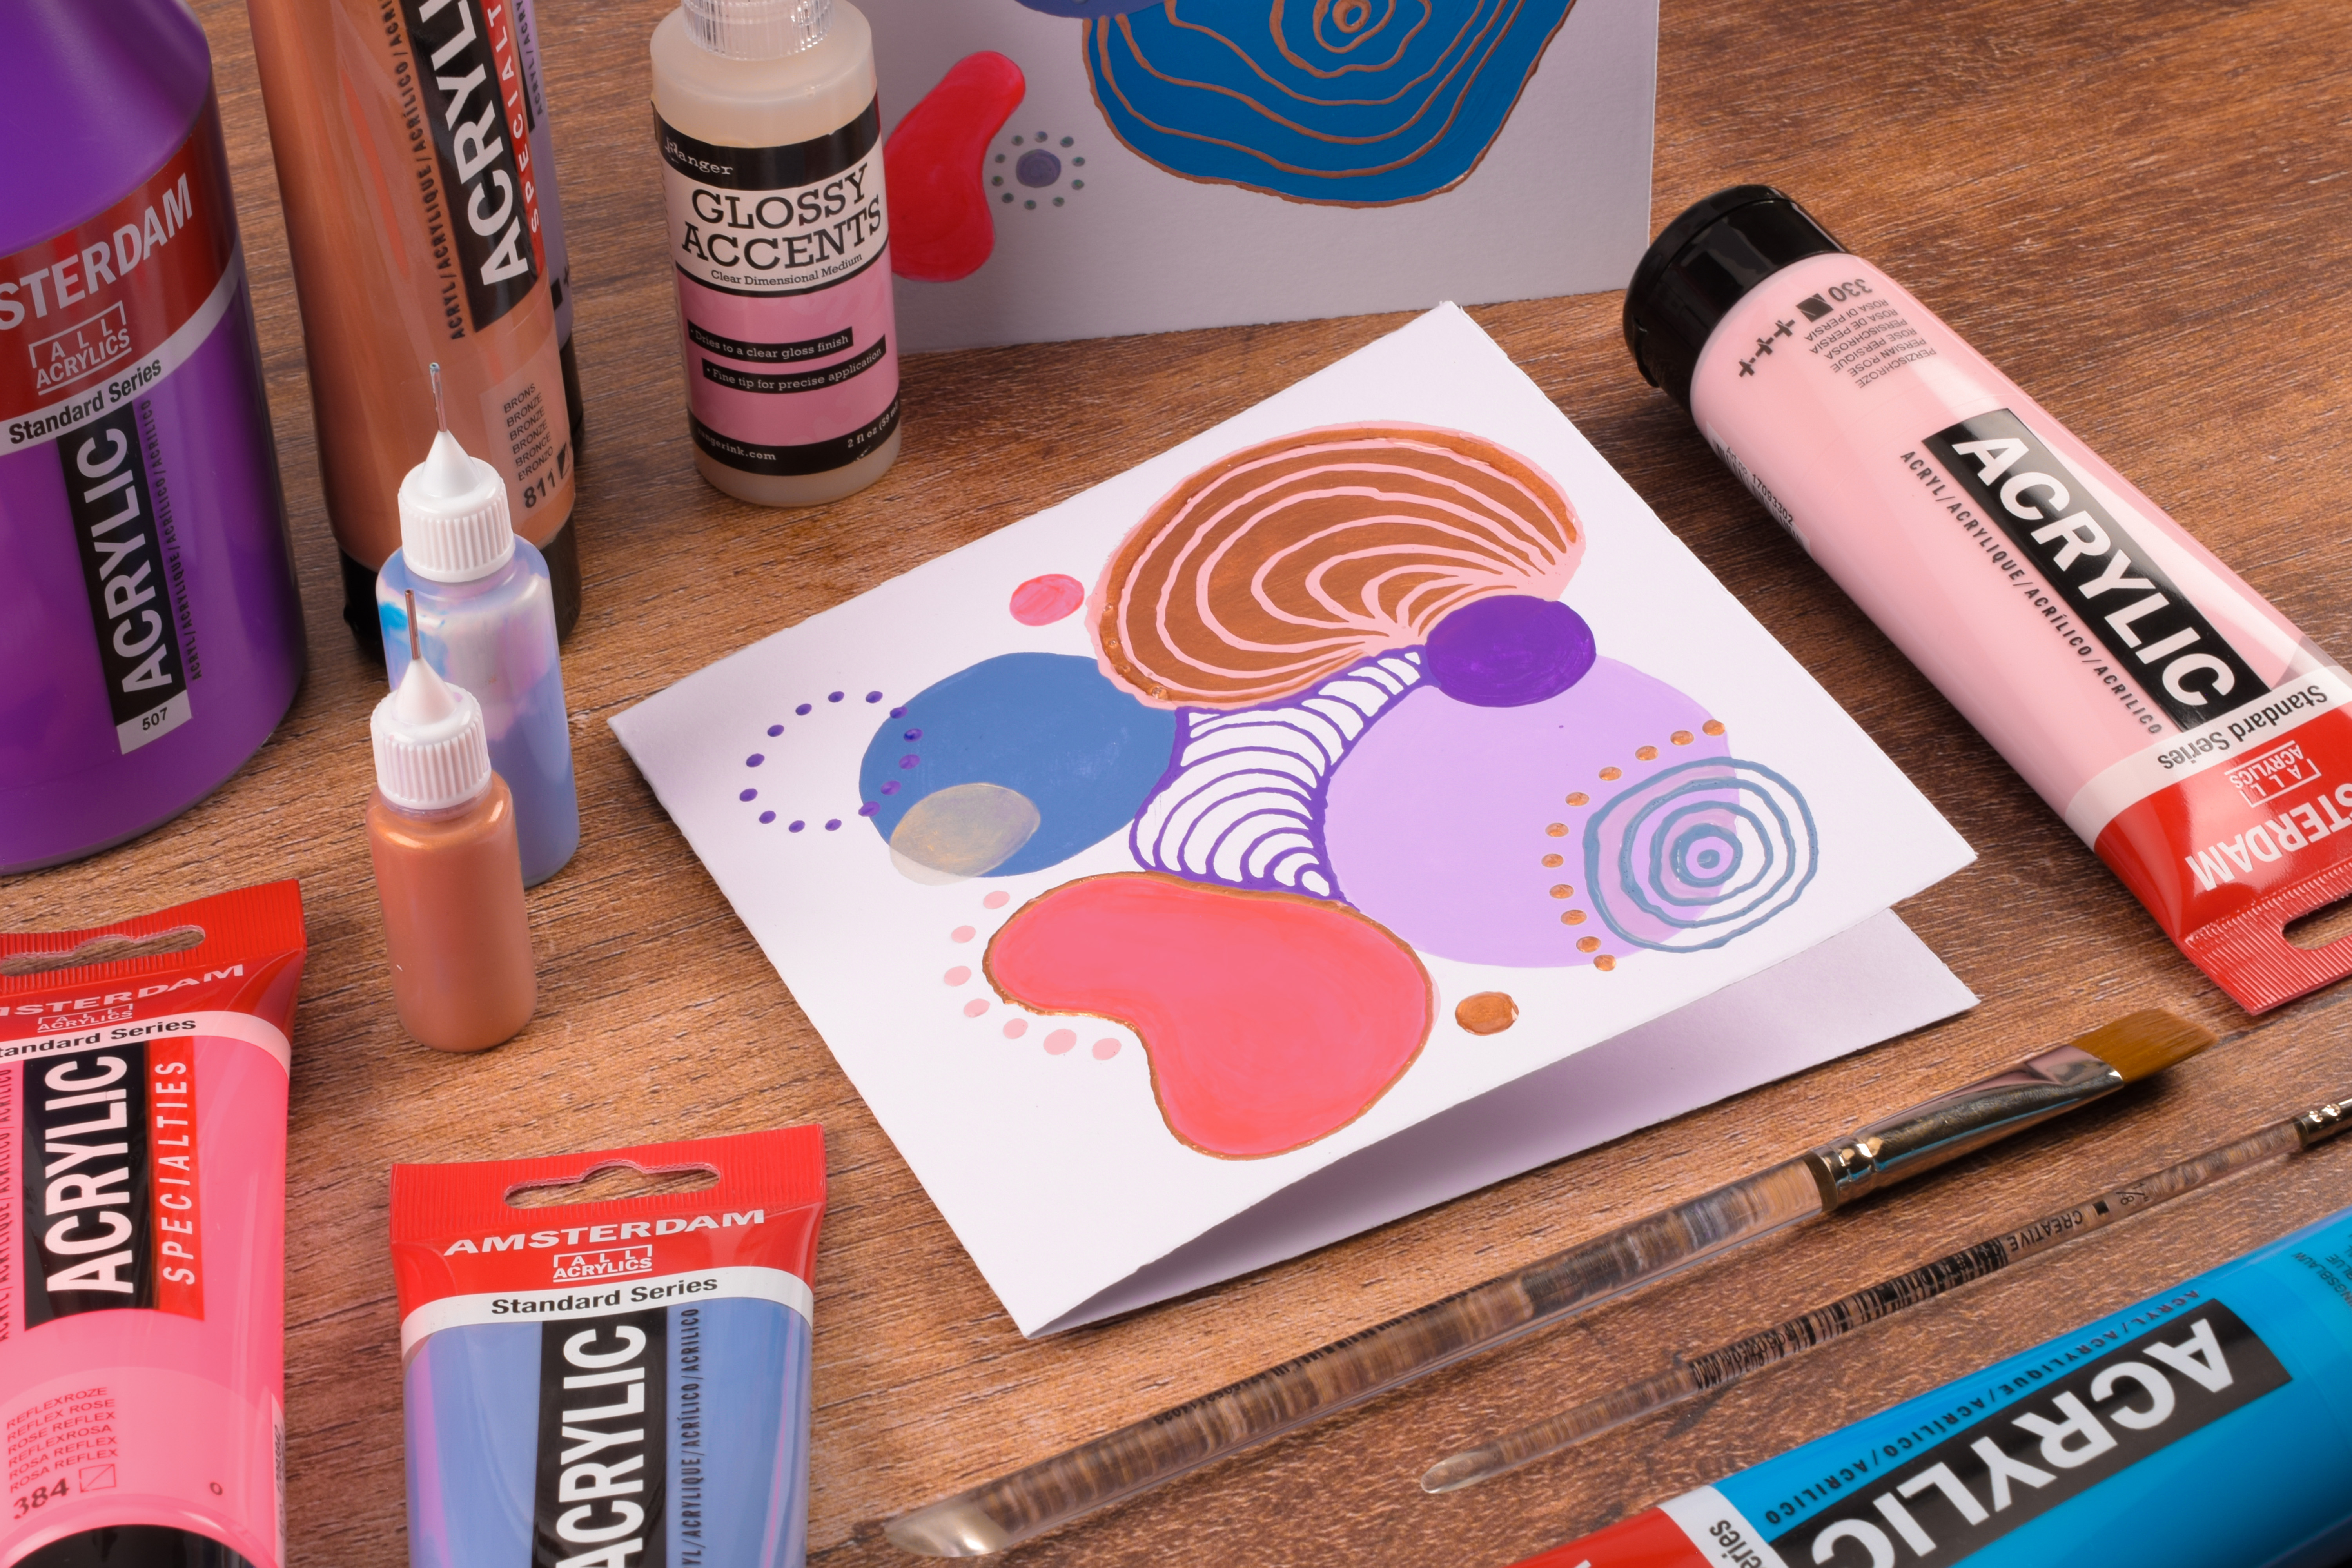
Choose contrasting colours that really pop! Try matte shades, metallic copper, and bright neon pink. This will make the shapes jump off the card!
4
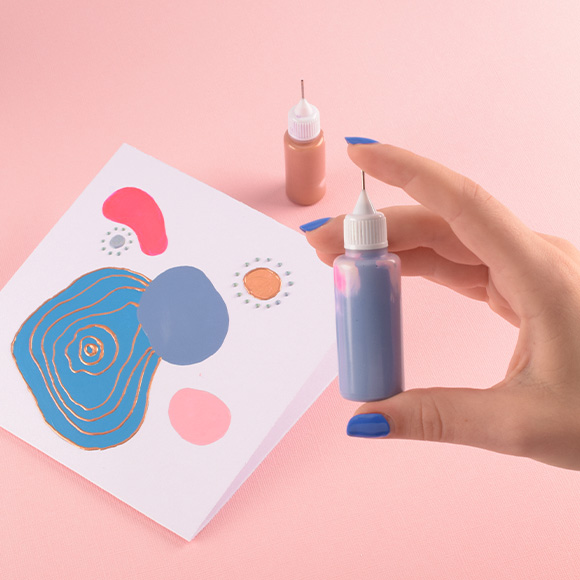
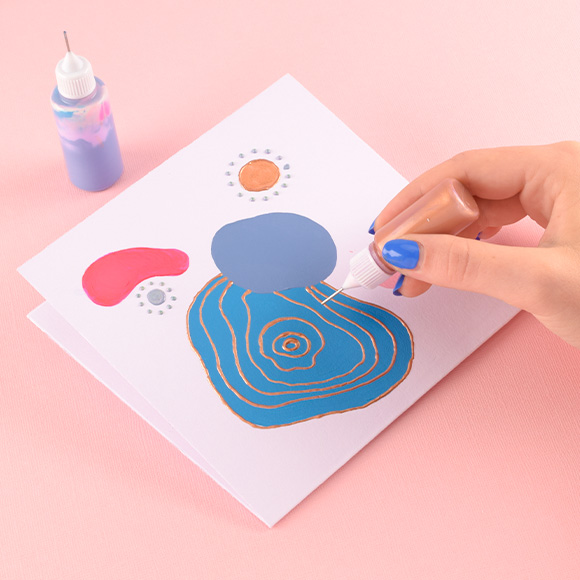
Fill a small bottle with a fine tip with diluted acrylic paint (for this you mix the paint with a bit of water). This makes it easier to add smooth lines and fine details.
5
Give the card a playful look with lines, dots, or other patterns you like. Experiment with contrasting colours for extra flair and let your imagination run wild—you can really go in any direction.
6
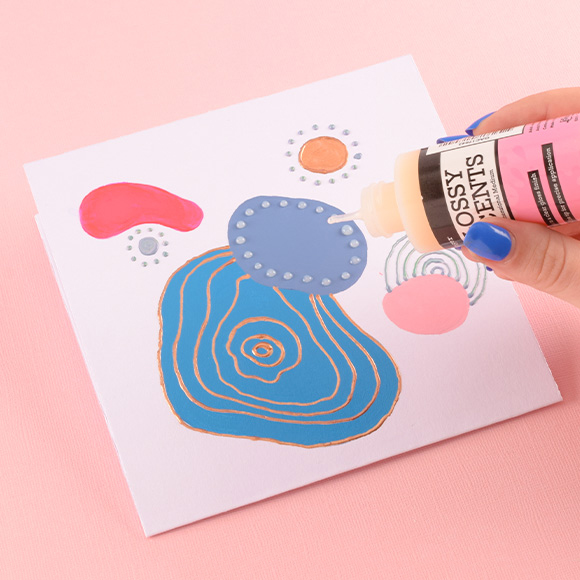
Add some glossy finish to parts of your card for a shiny look. This gives it that little extra something!
7
Tip: Did your card warp a bit after drying? No worries, it’s easy to fix! Let the paint dry completely first, then lightly moisten the card with a cloth or spray bottle (but not too wet!). Place the card unfolded between some sheets of paper and put a heavy book on top. Leave it for a day, and voilà, your card is nice and straight again!