Make a cheerful stork from paper and cardstock using simple shapes. This DIY is fun for children and perfect for spring, a birth or a baby shower. A lovely way to enjoy paper crafting and create a cute stork as a gift or festive decoration.
1
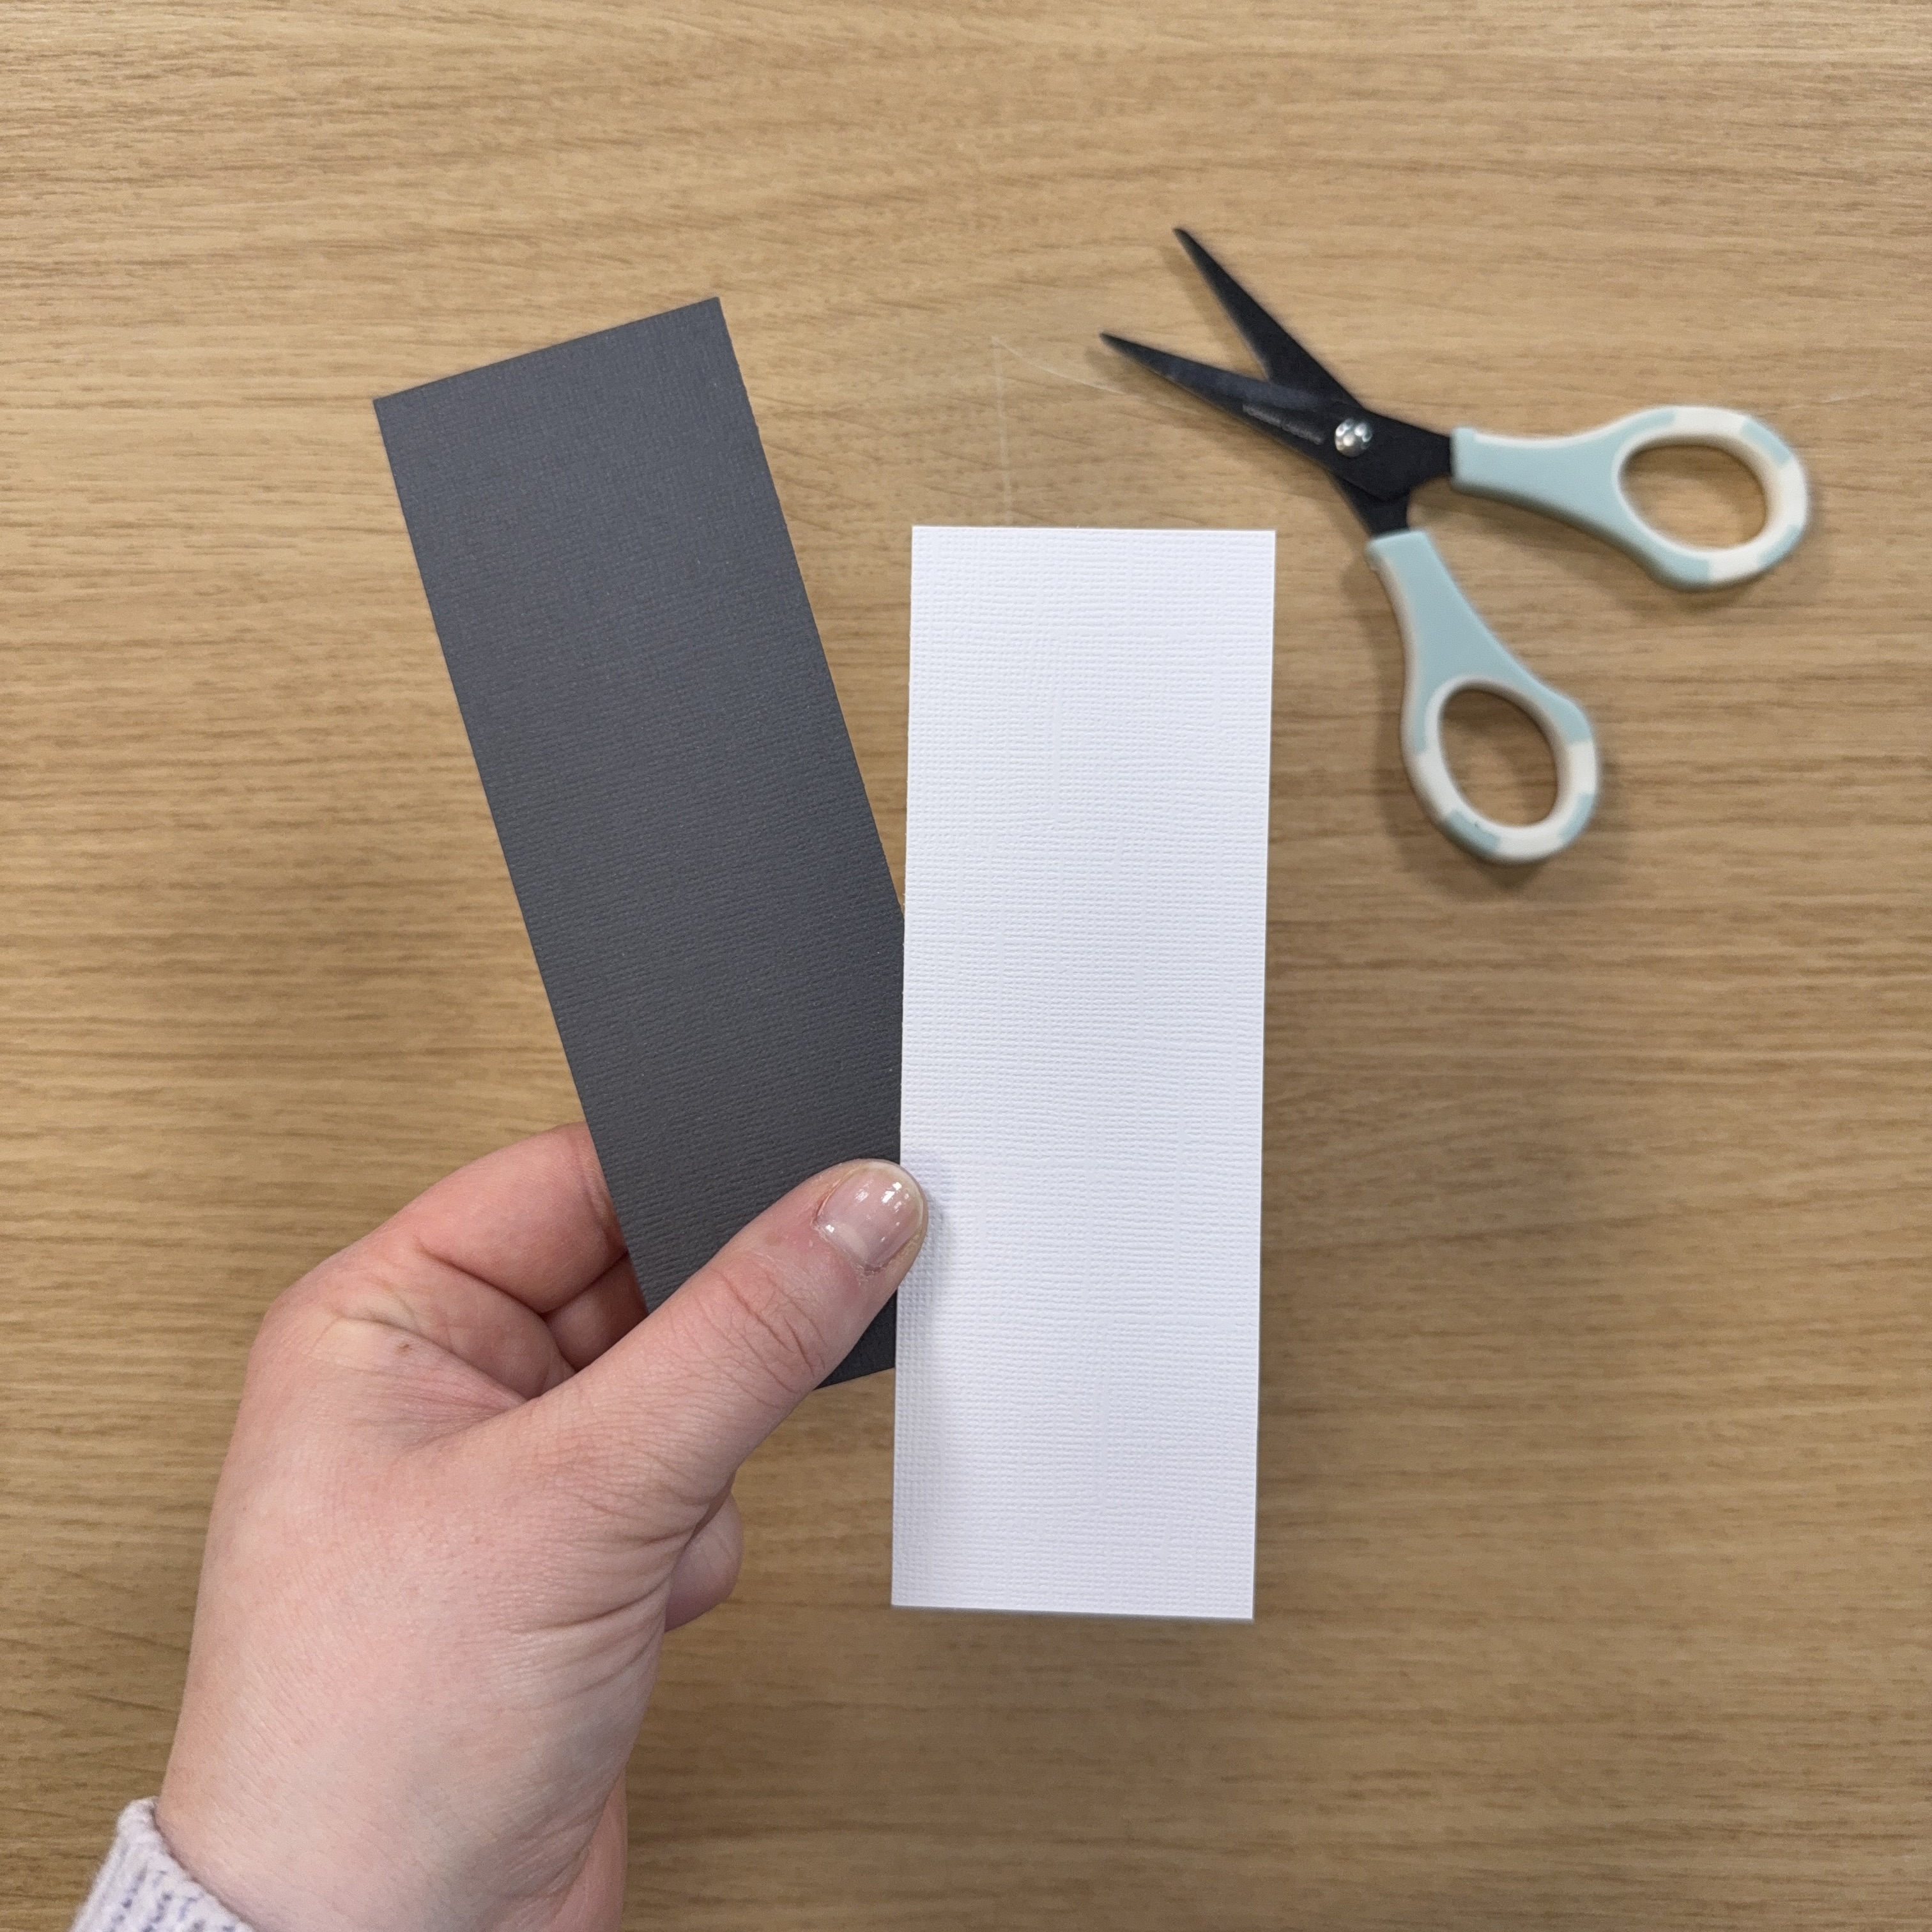
Cut or trim two strips measuring 2 x 6 inches (5 x 15 cm) from white and black cardstock.
2
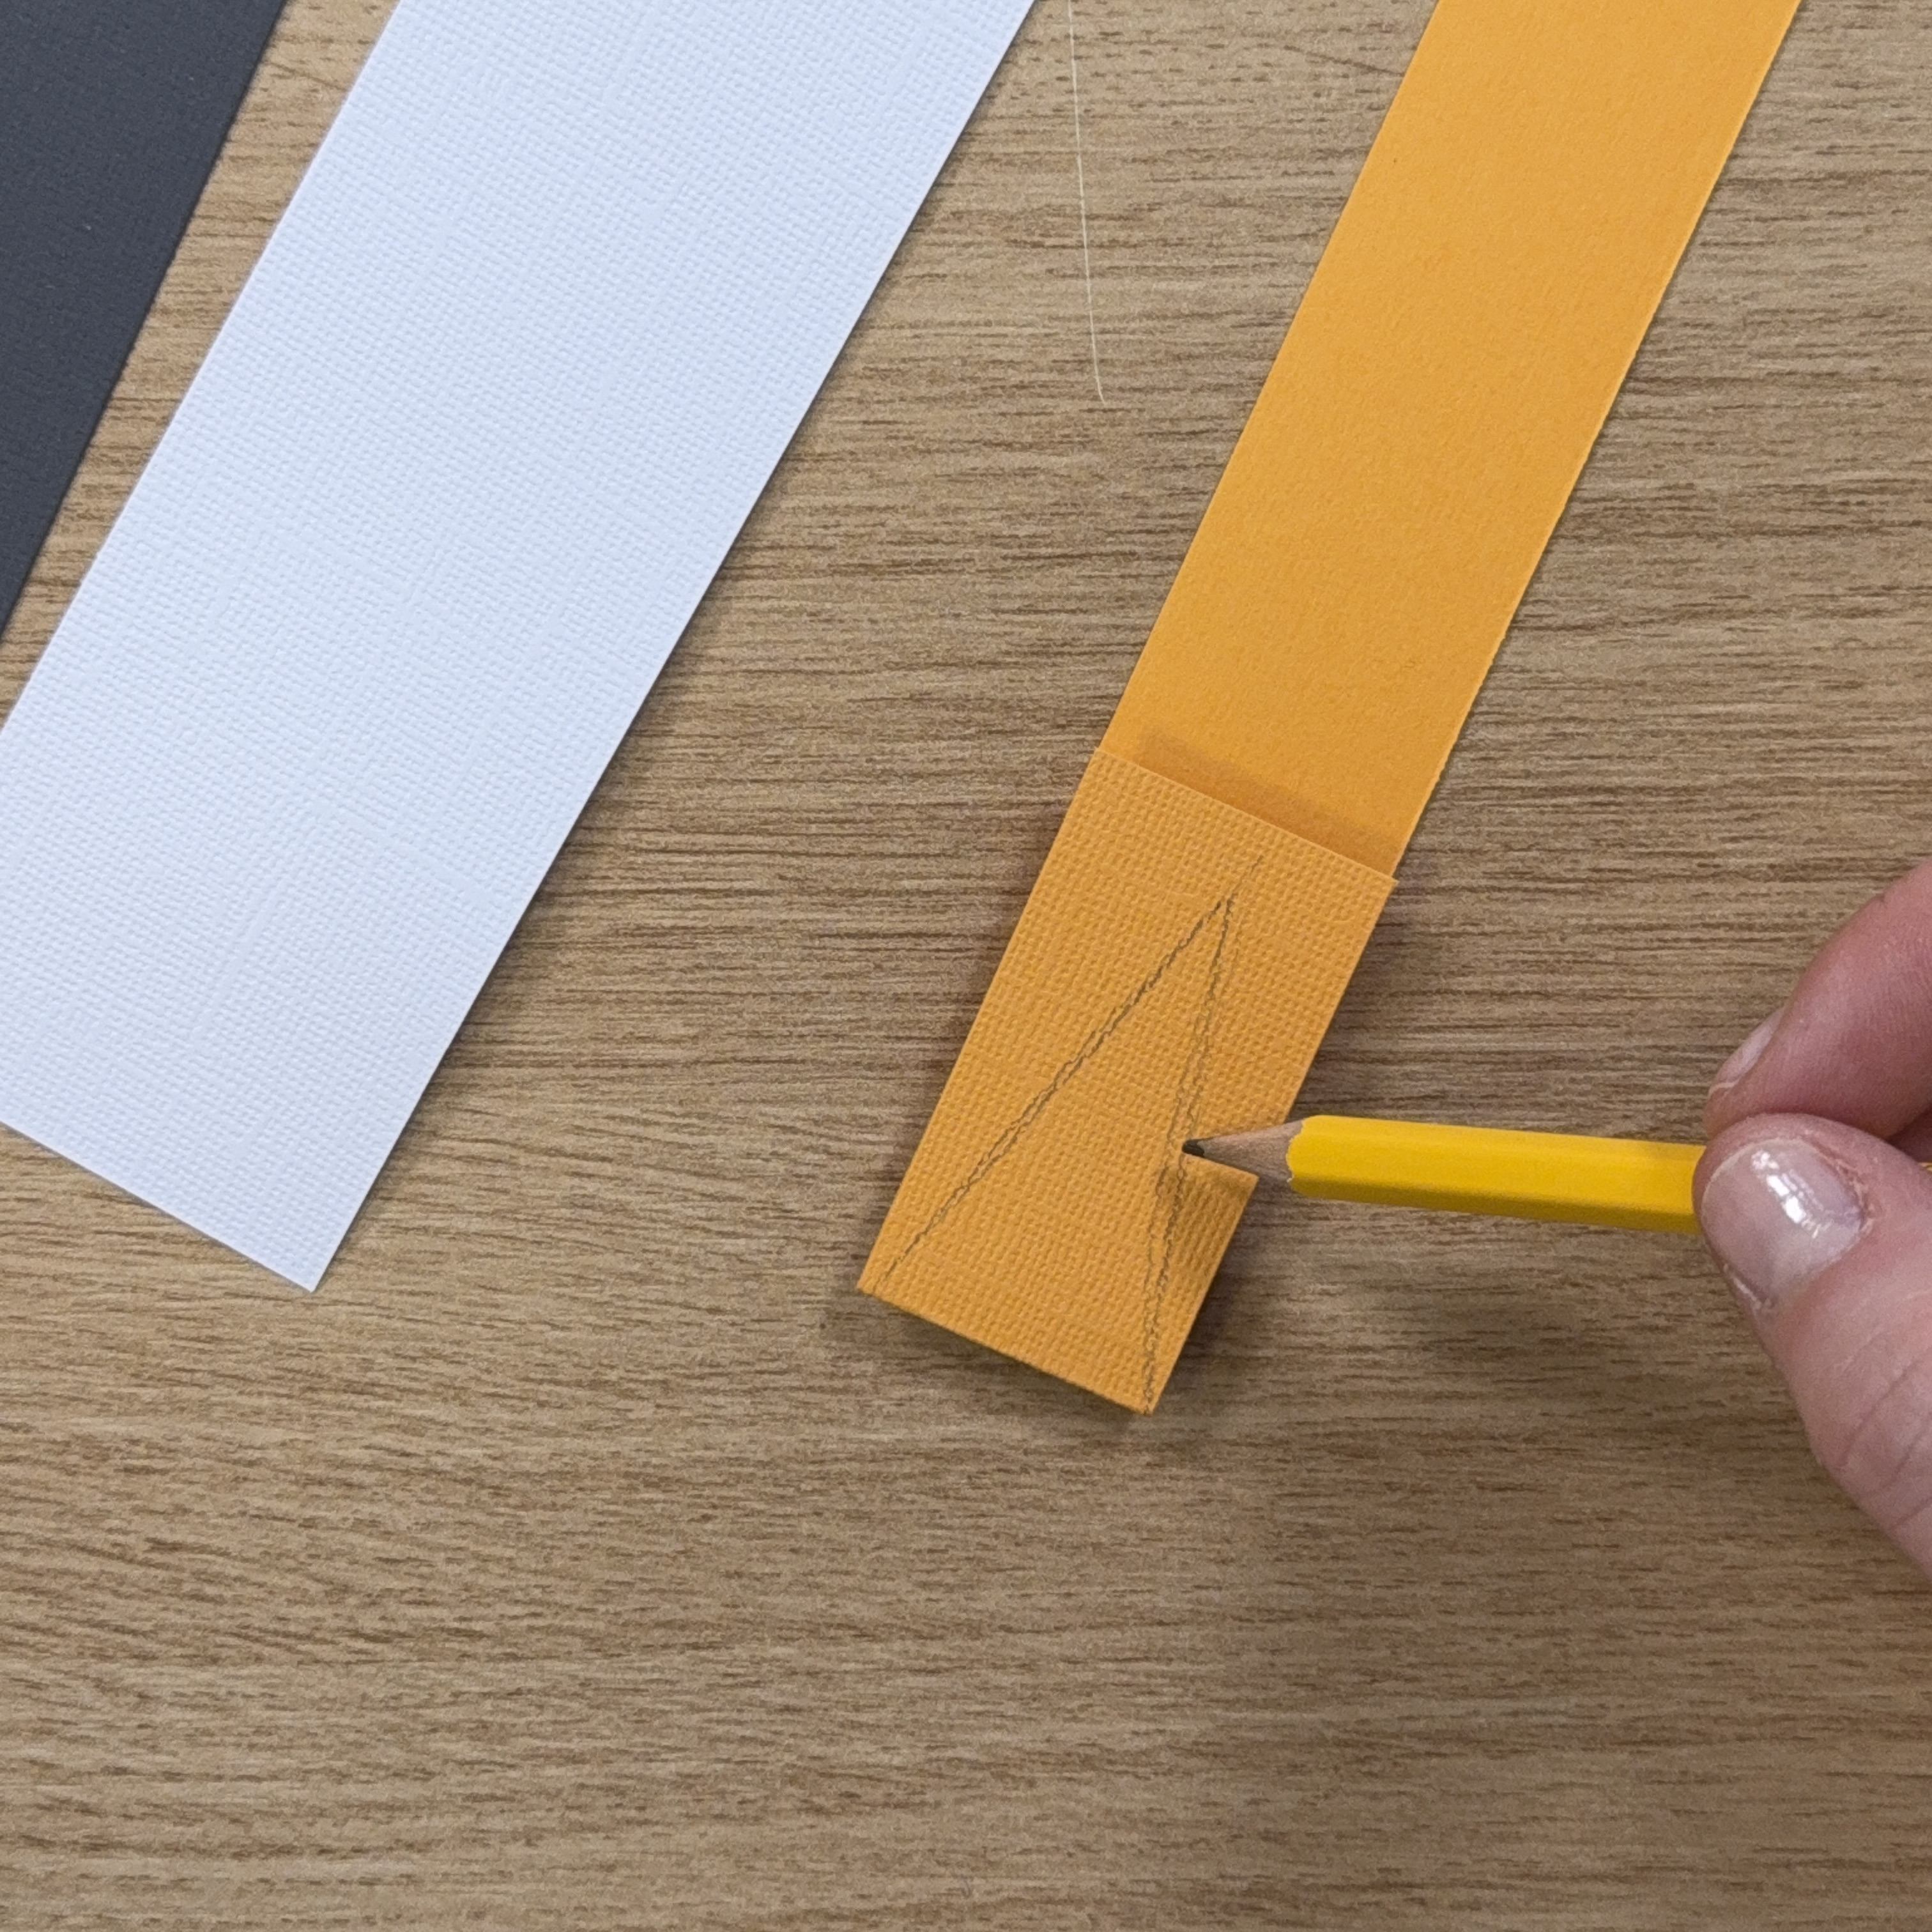
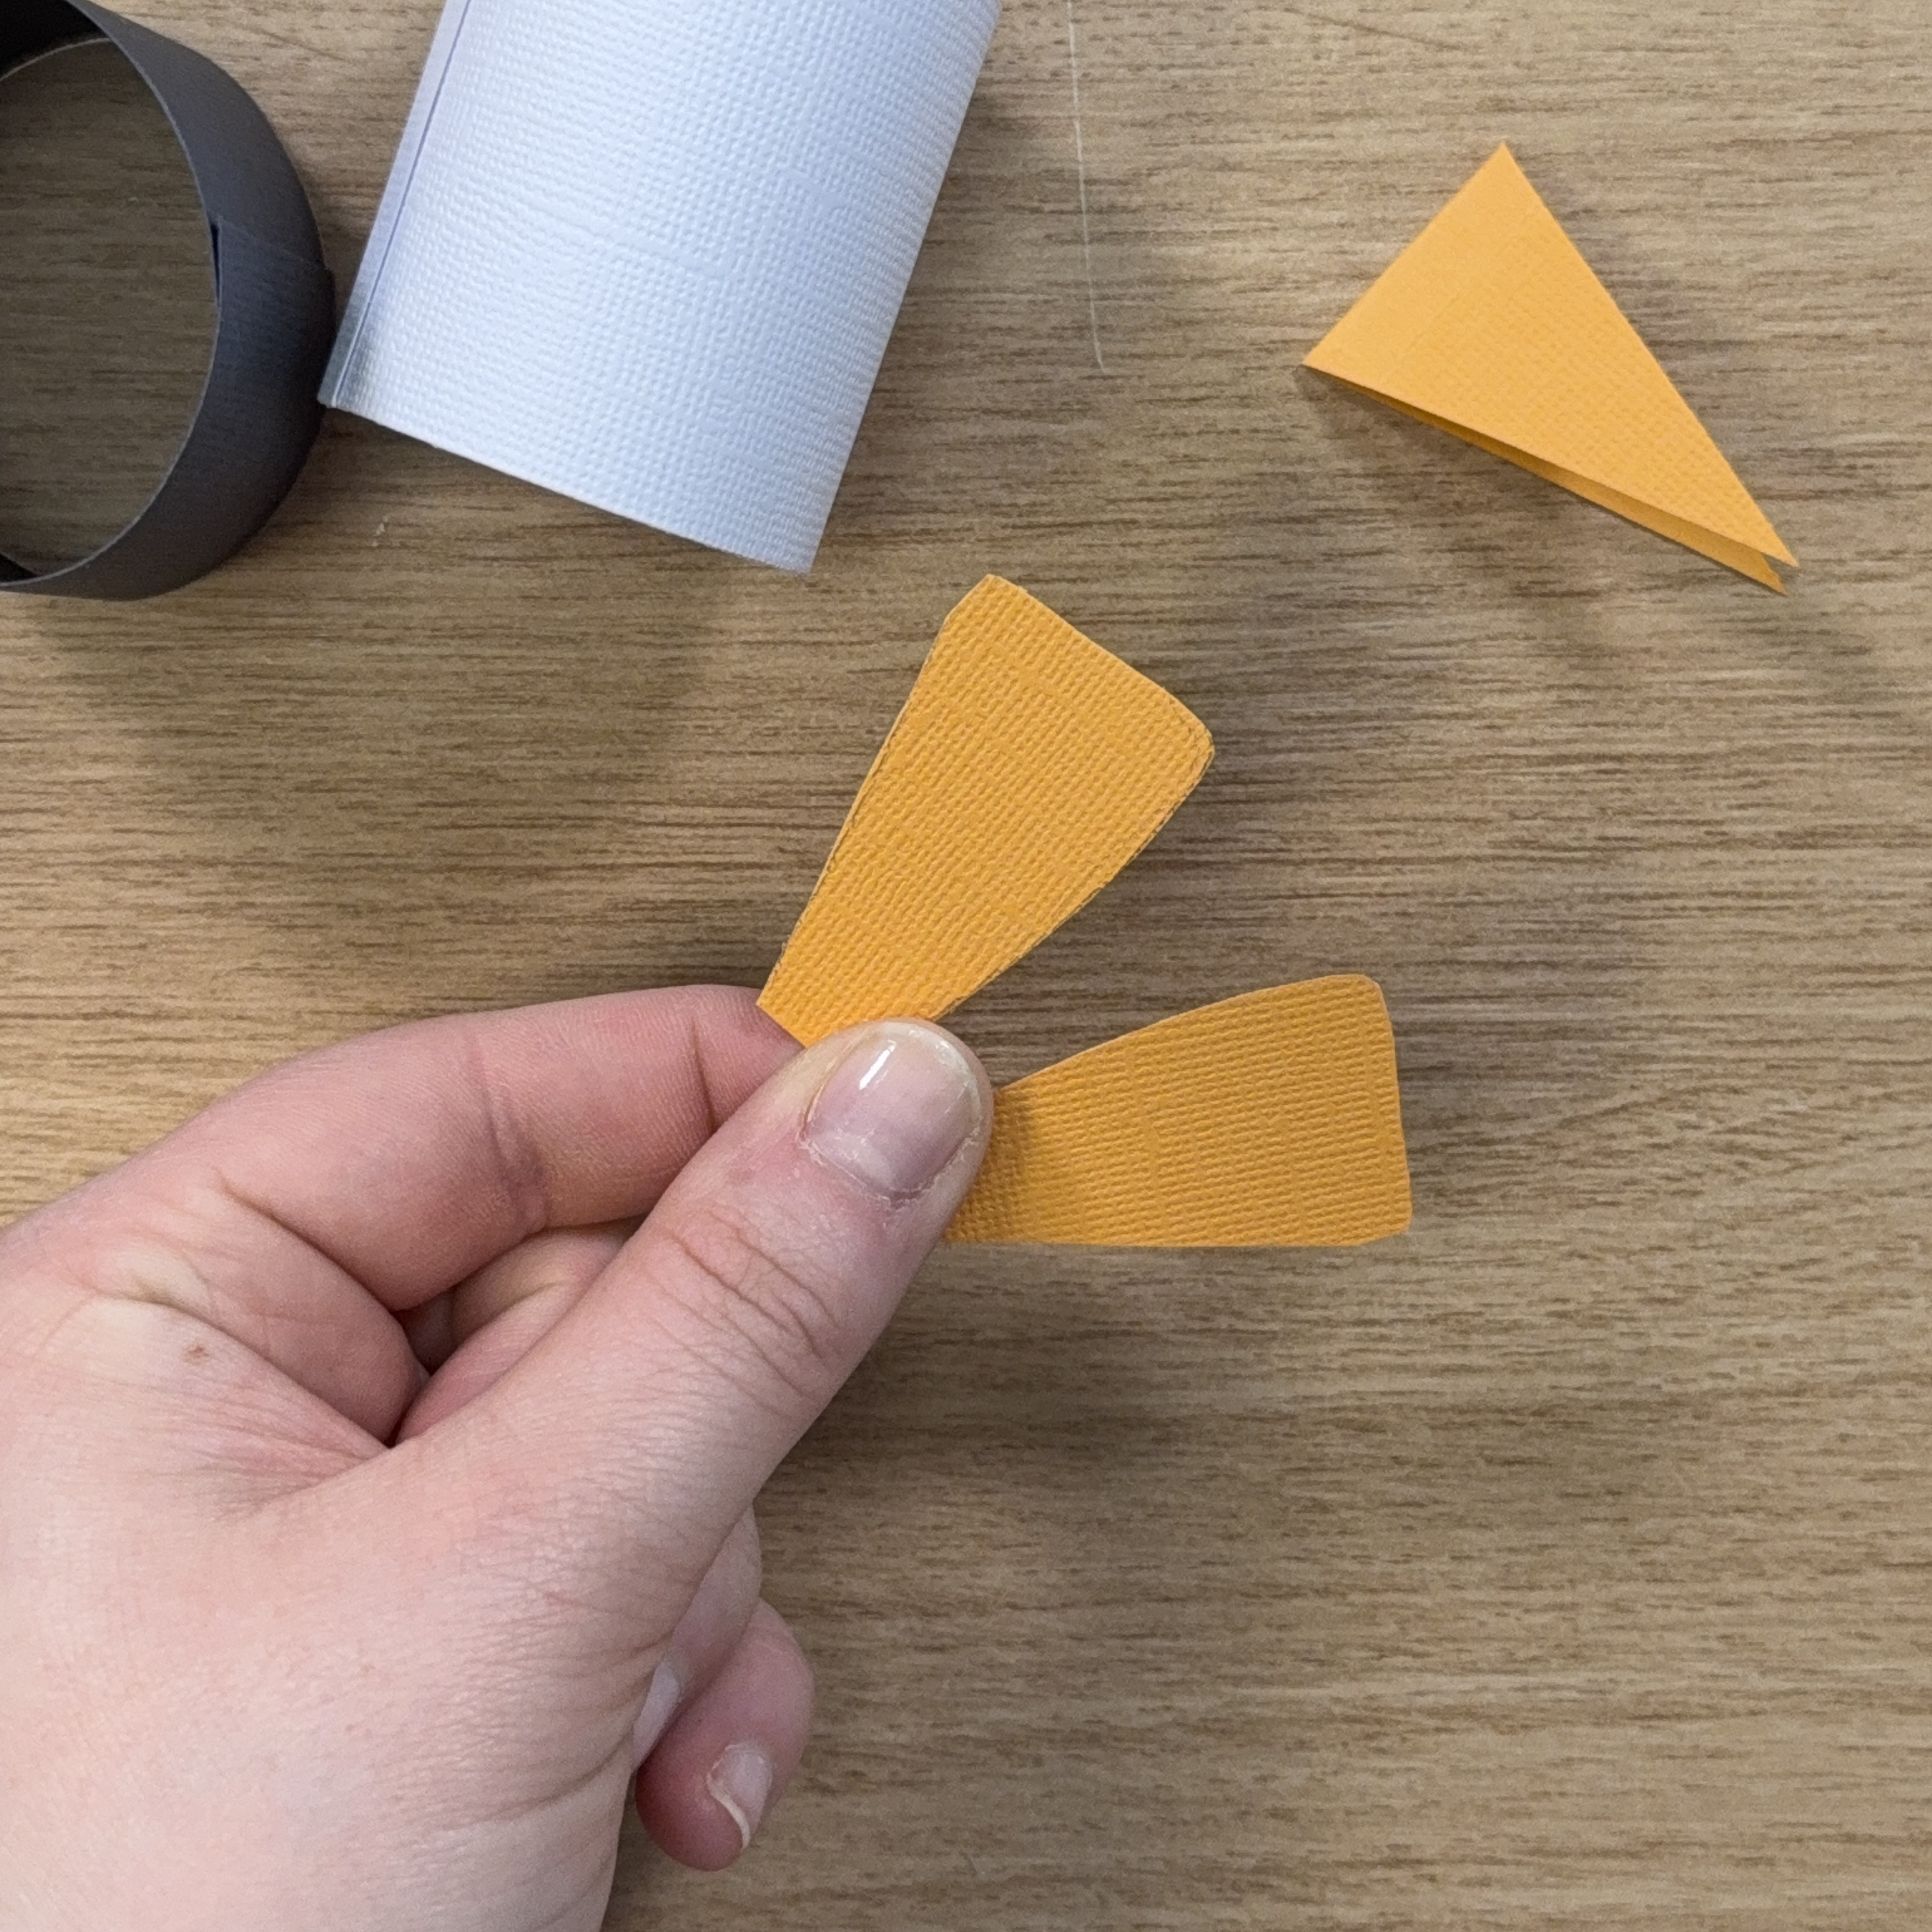
Cut a strip measuring 0.8 x 4 inches (2 x 10 cm) from orange cardstock. Fold it in half, draw a triangle on it and cut it out. This will become the beak.
3
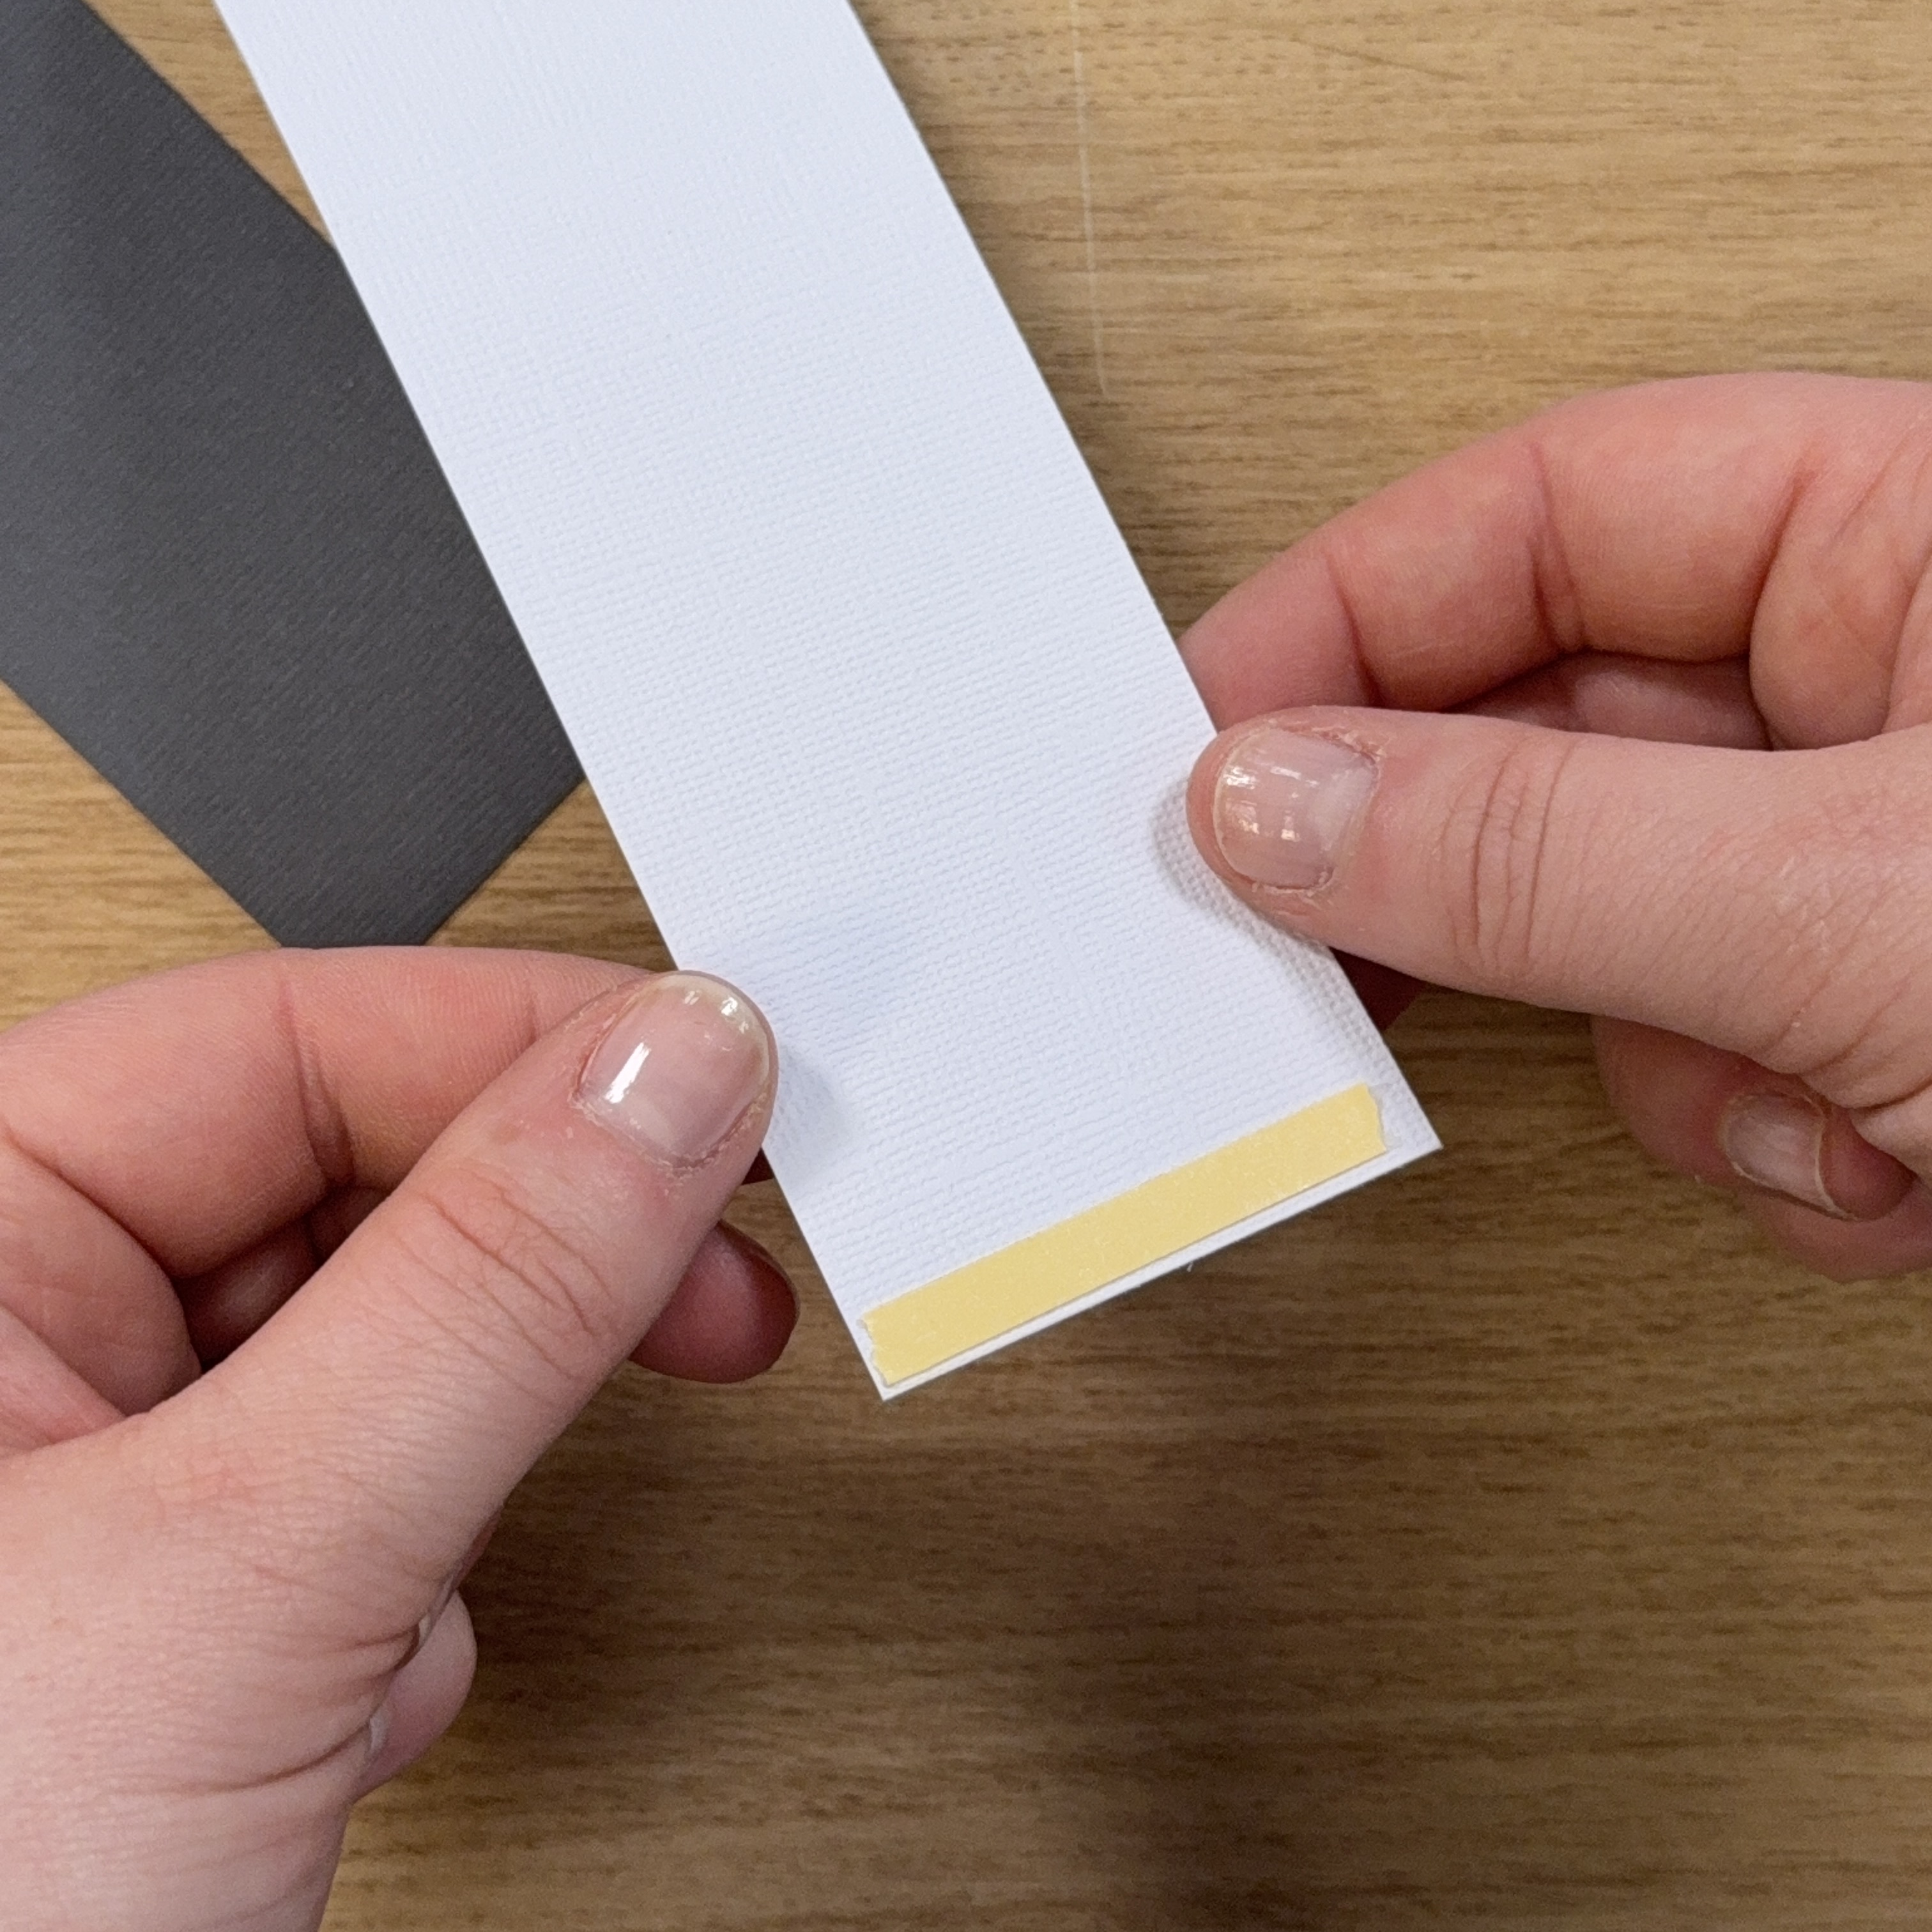
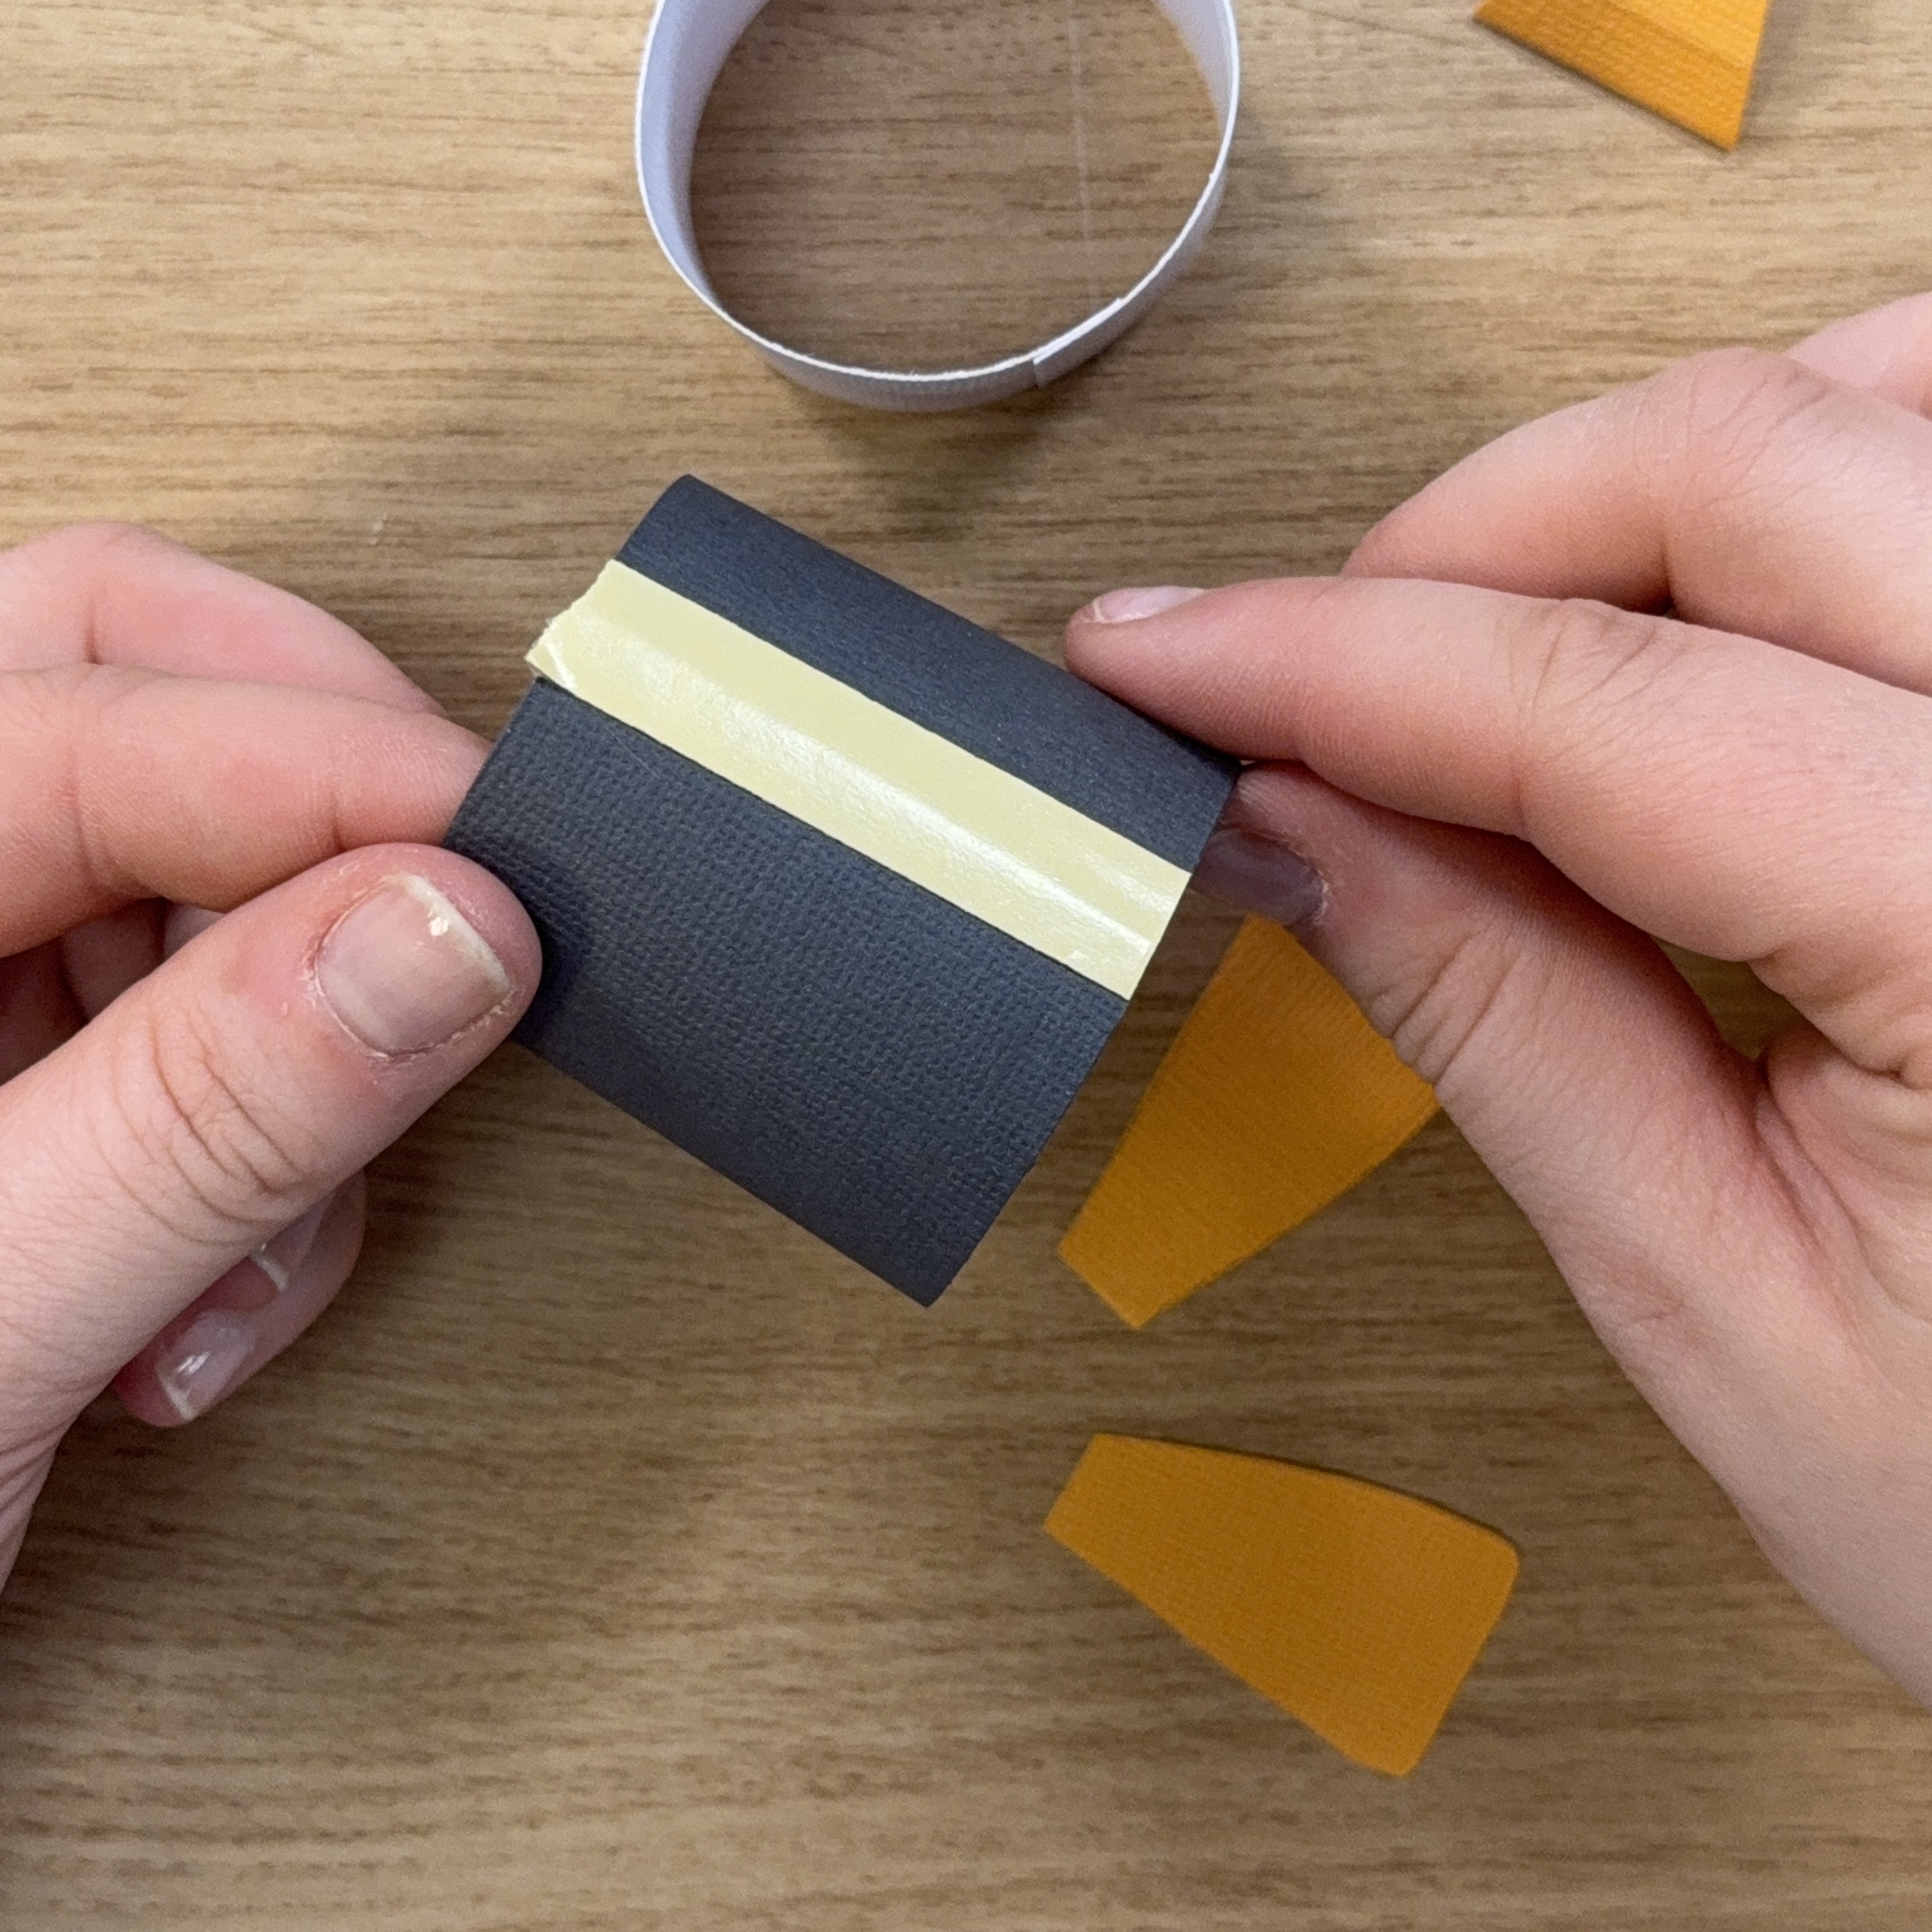
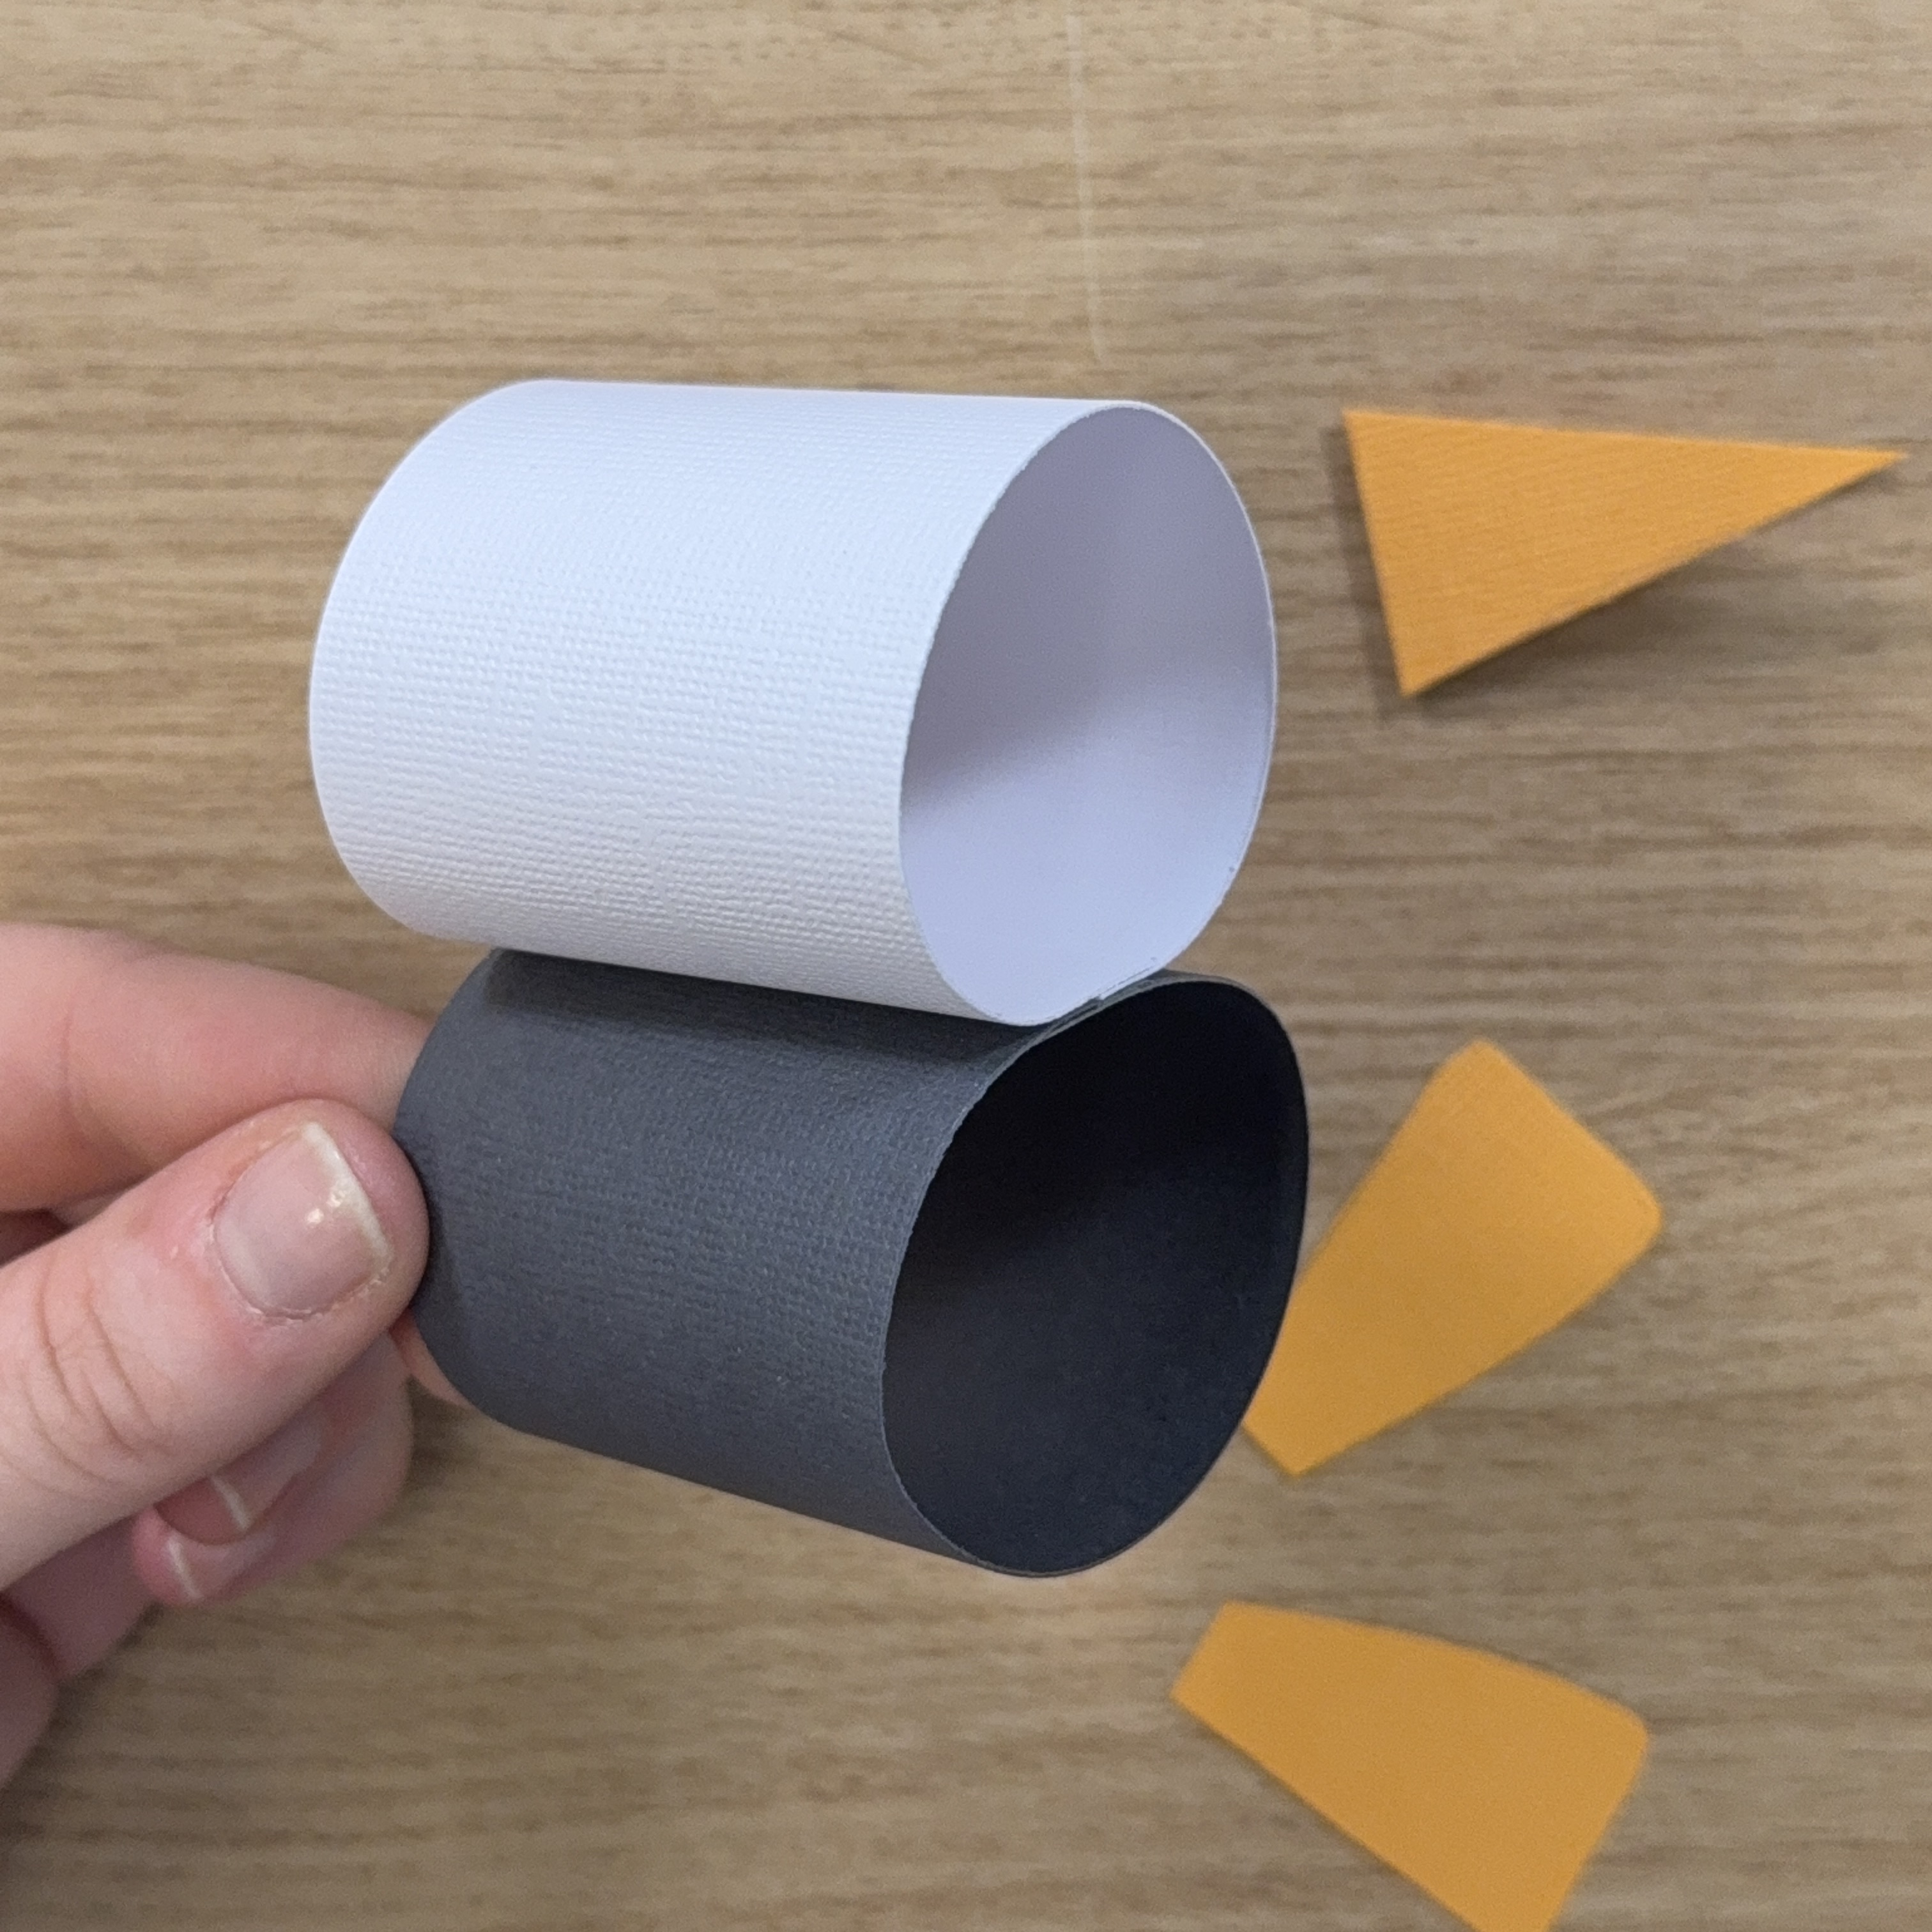
Apply double-sided tape to the short side of the white and black strips and roll both strips into tubes.
4
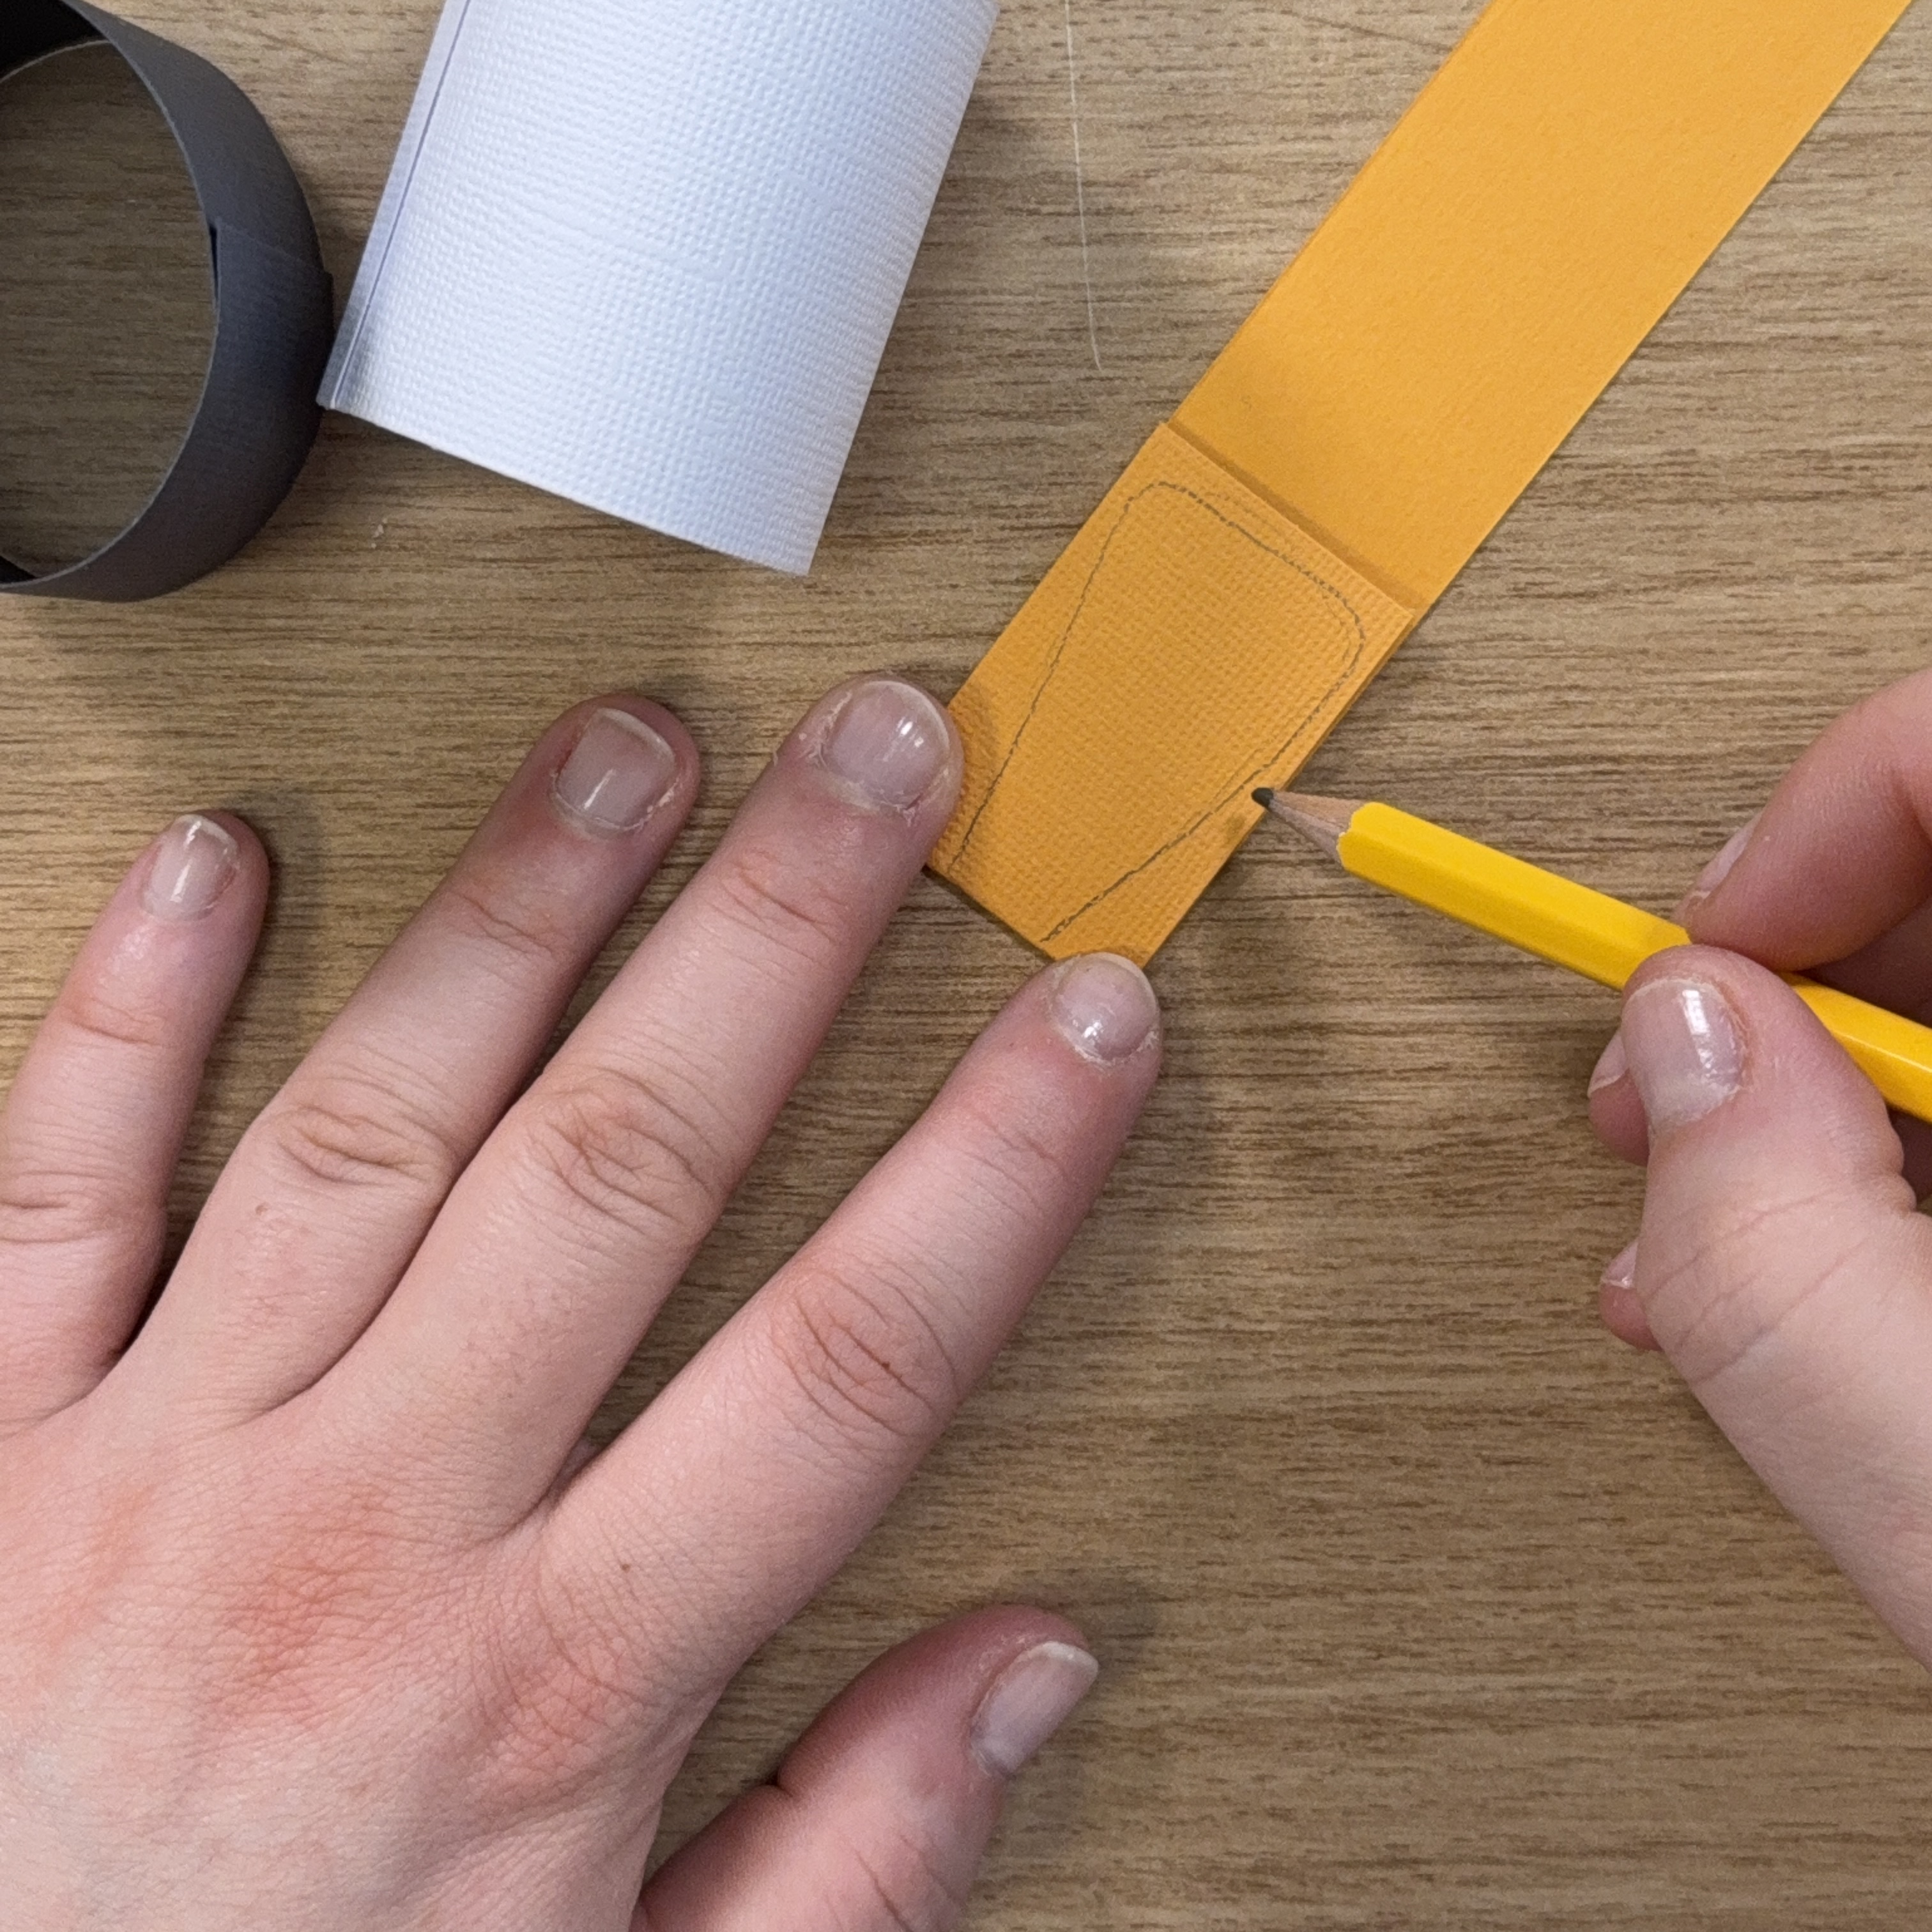
Draw two feet on the same orange cardstock as the beak.
5
Cut out the feet.
6
Apply double-sided tape to the outside of the black tube.
7
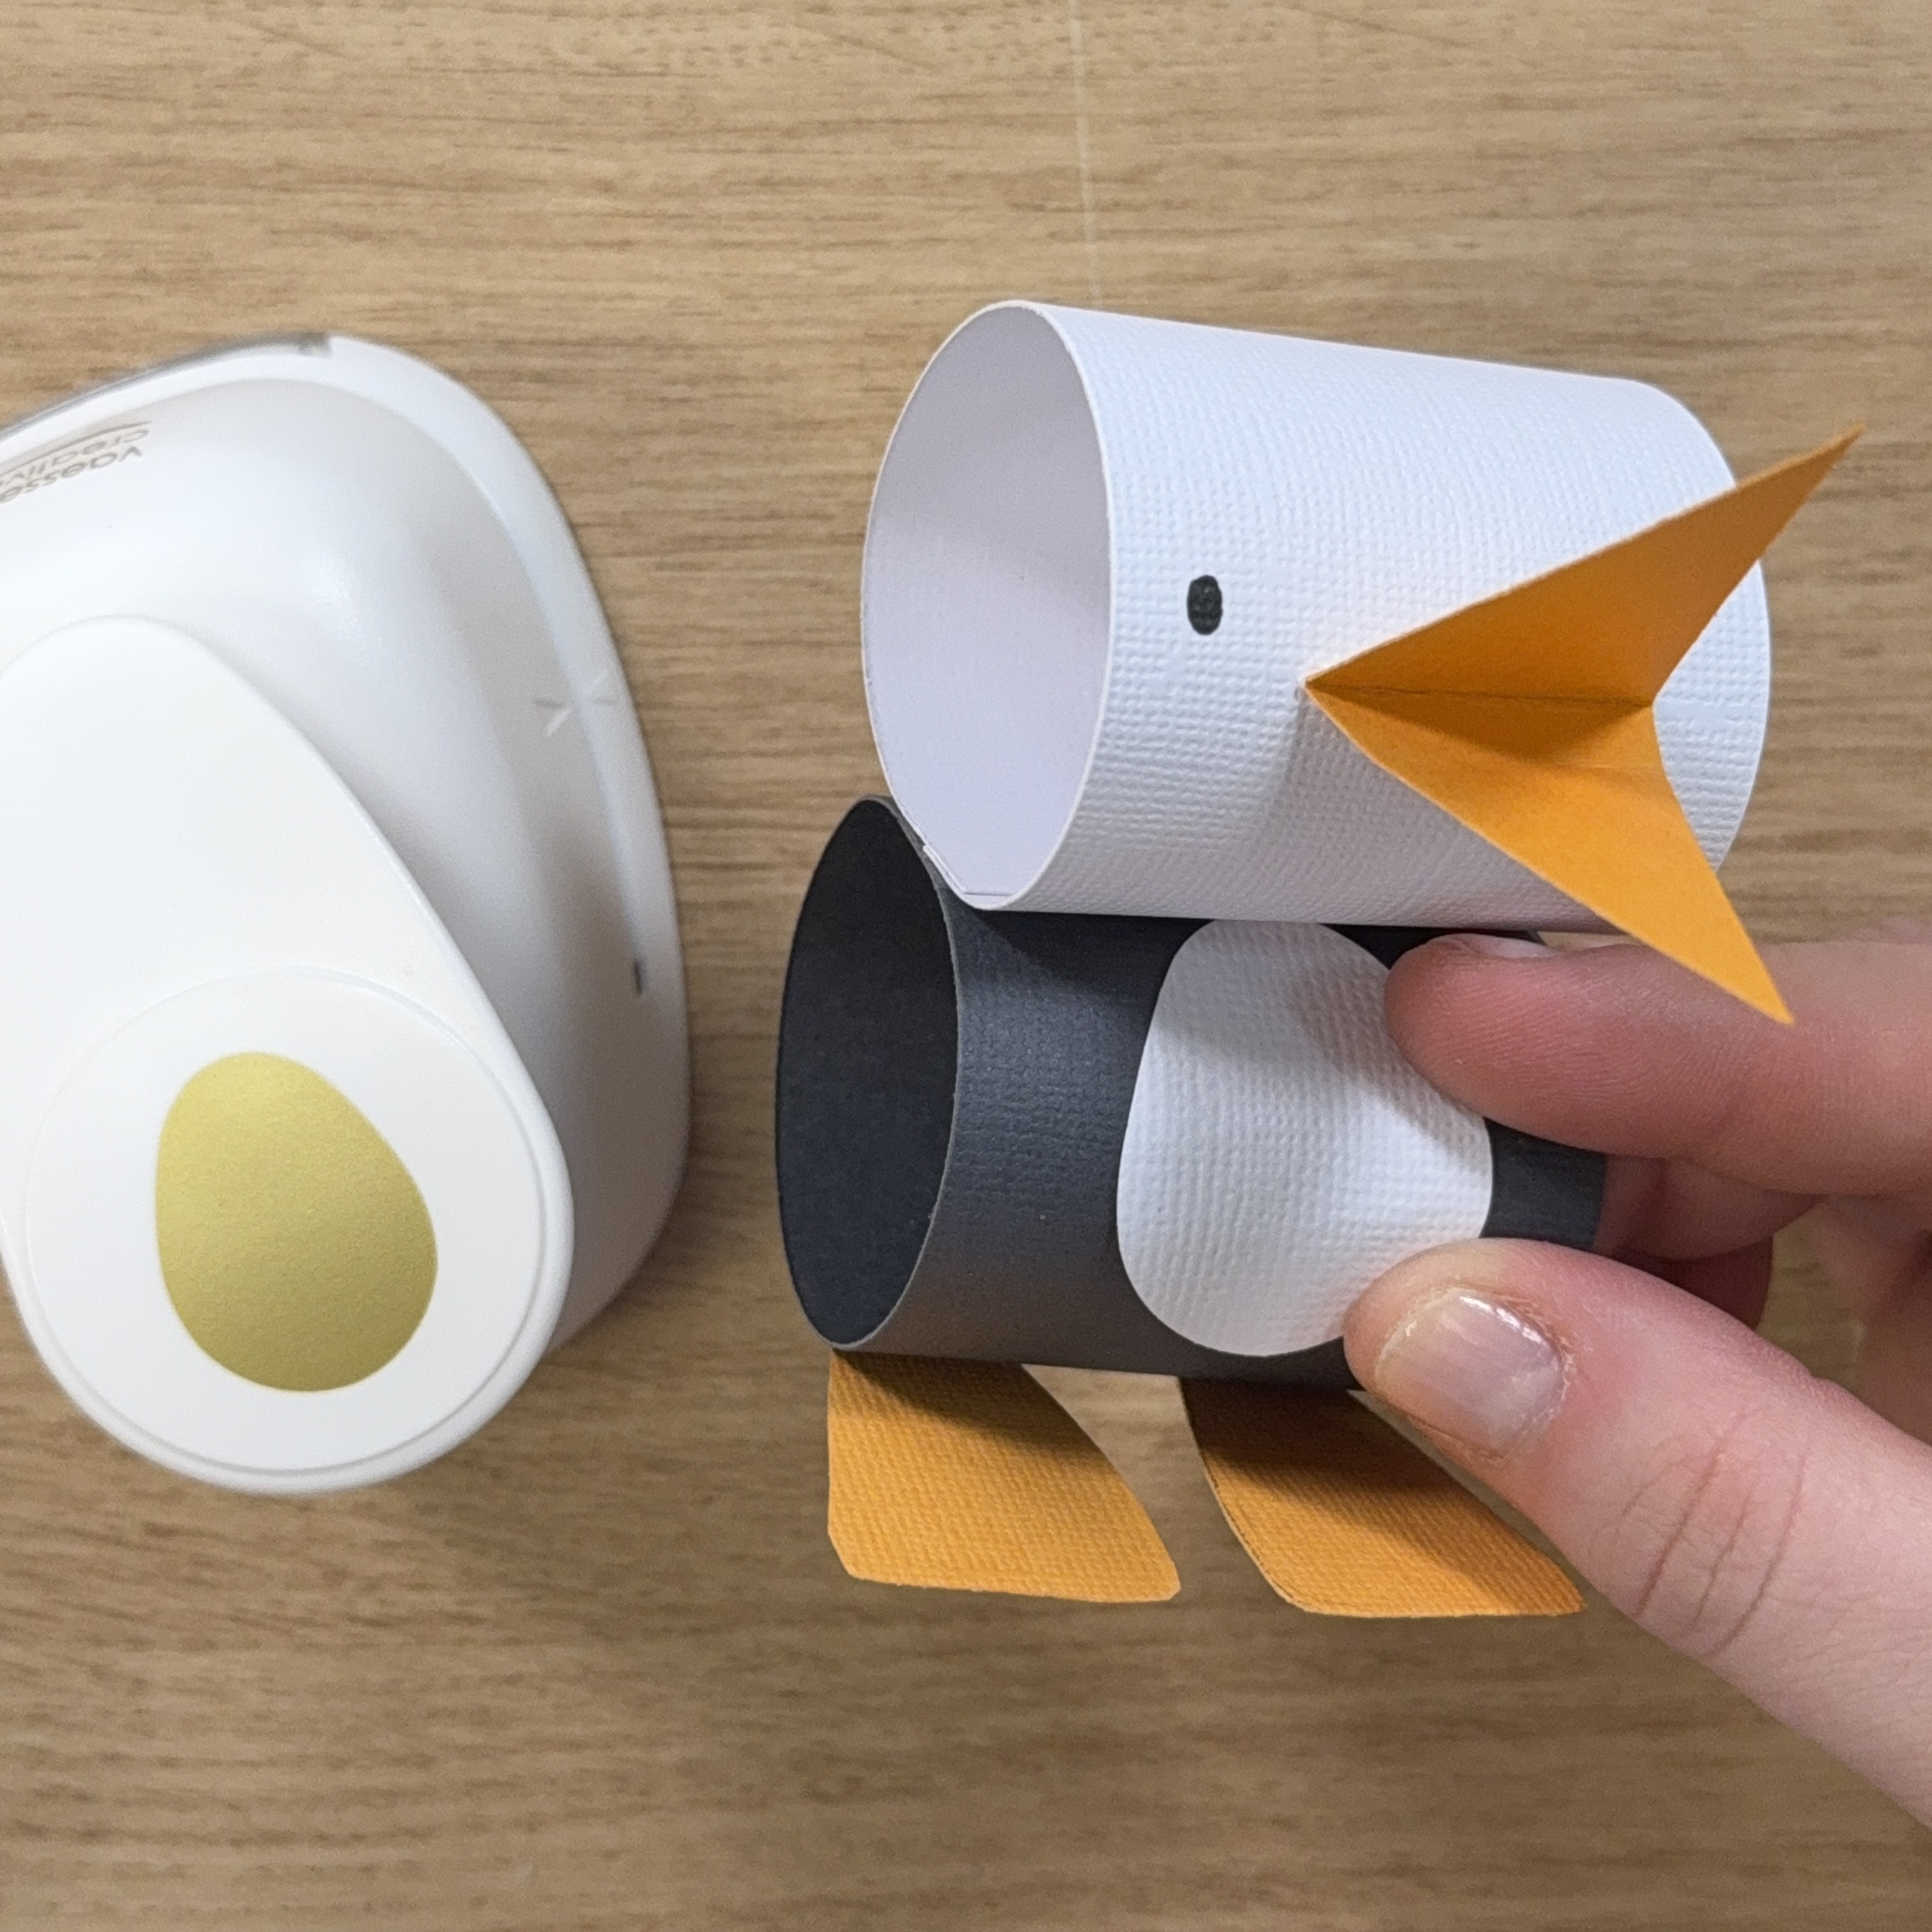
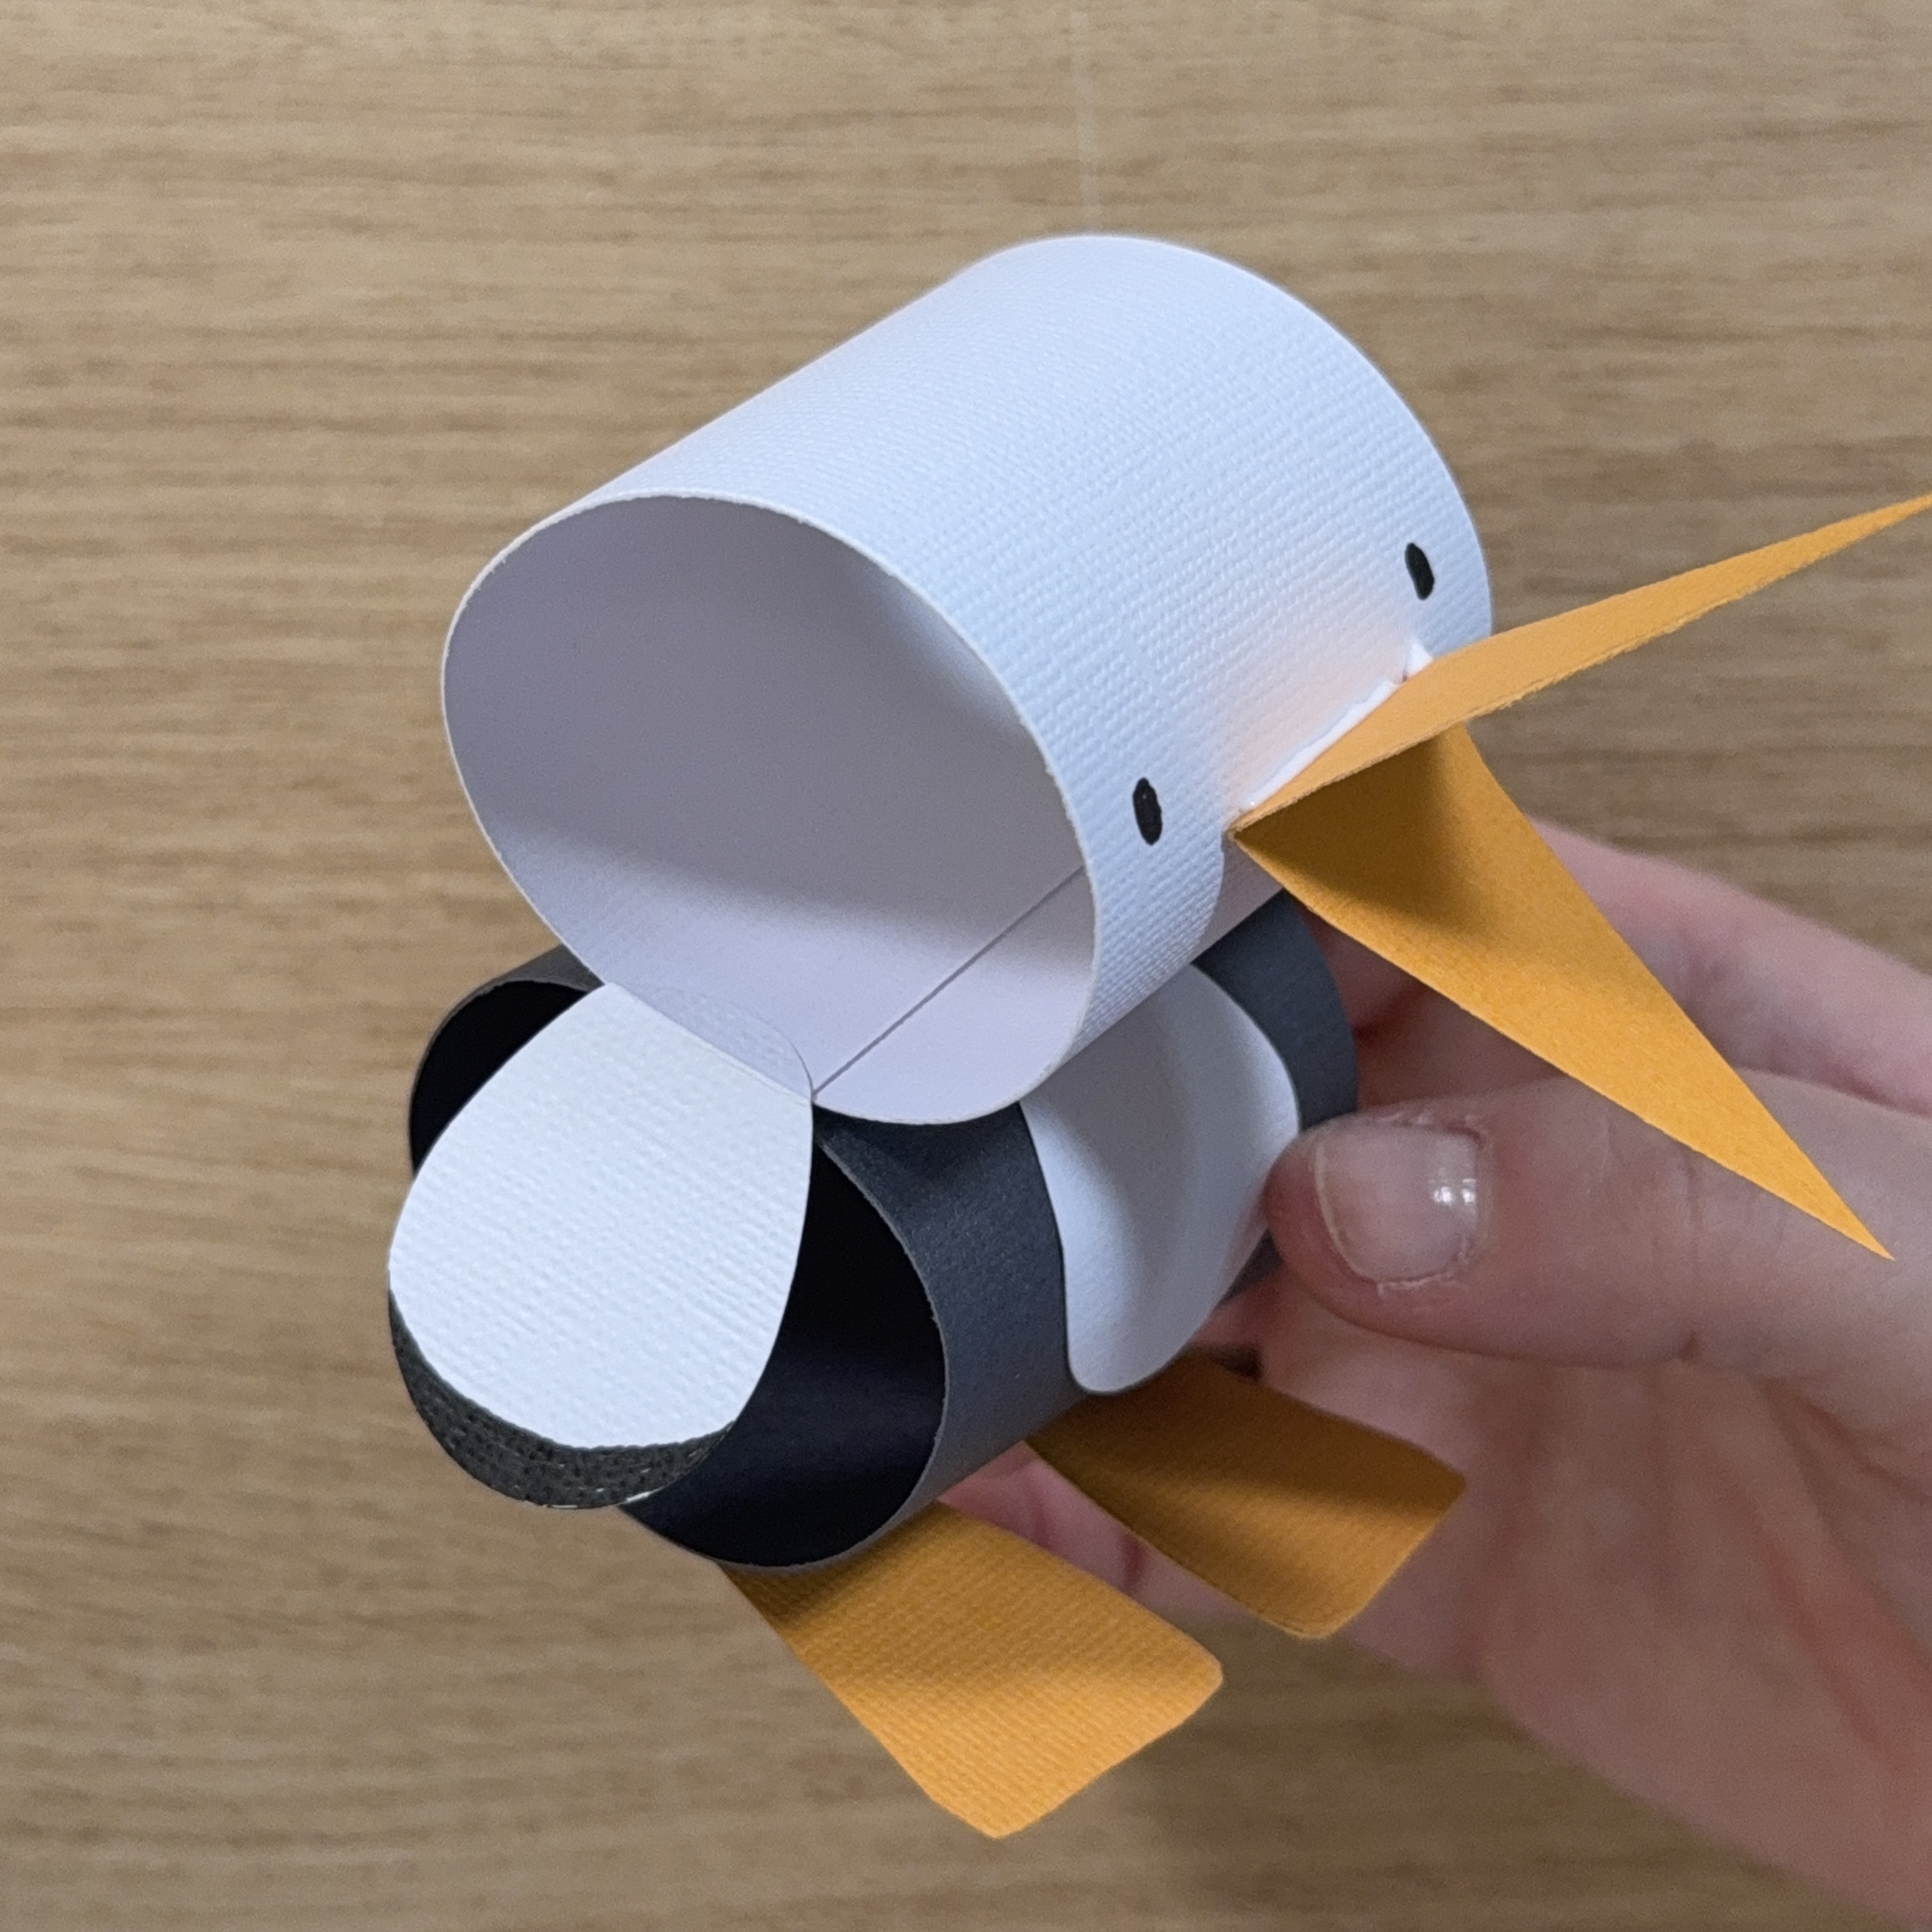
Attach the white tube to the black tube to create the stork’s body.
8
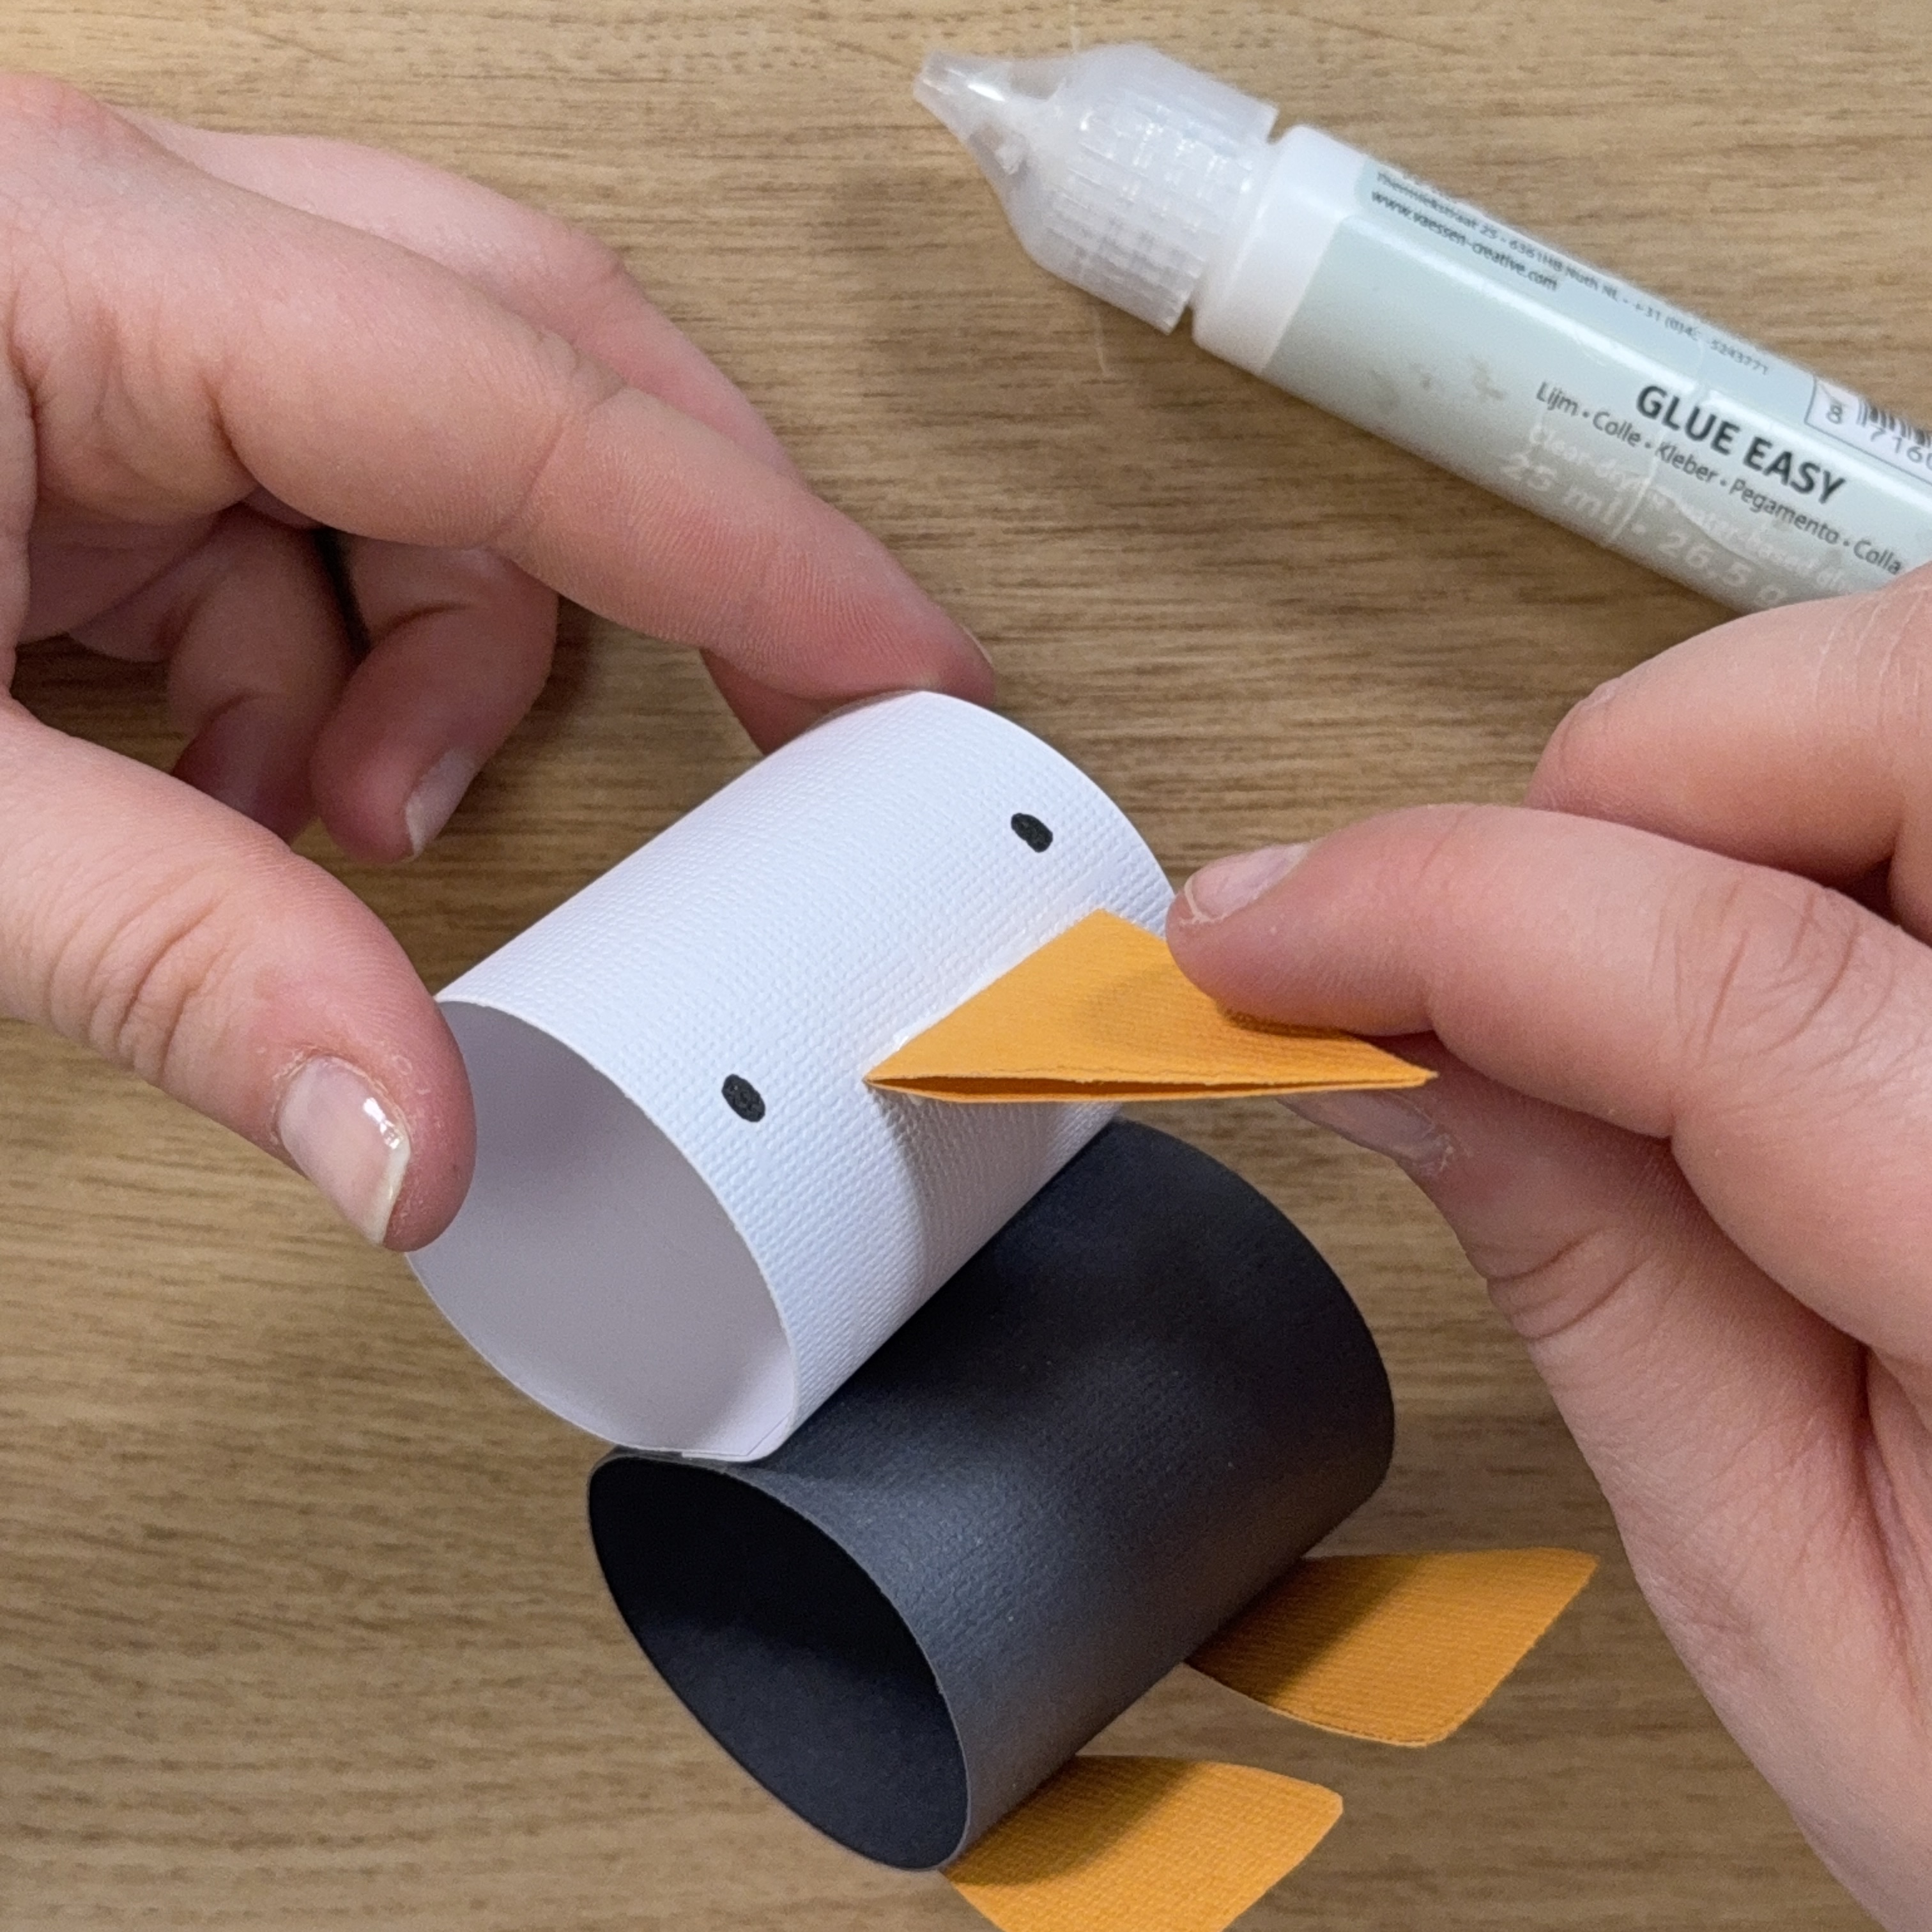
Draw the eyes on the white tube and attach the beak. Glue the feet onto the black tube.
9
For extra detail, attach a white egg shape to the black tube as a belly.
10
Punch out two more egg shapes. Fold the top of both shapes slightly inward and colour the bottom black. These will become the stork’s wings.