Would you like to create your own giftwrapping? In this DIY, you will learn how to fold an envelope from paper using a circle cutter as the base. By adding handmade confetti and decorative details, you transform simple paper into charming packaging. Perfect for anyone who enjoys crafting and making personalised gifts.
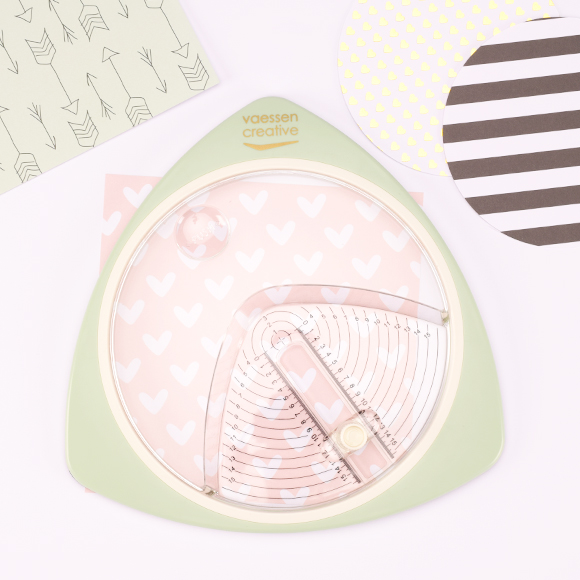
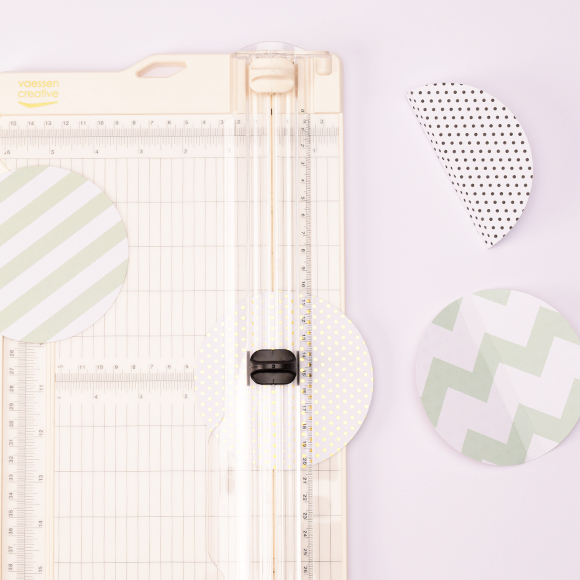
Choose various sheets of Love-it paper and cut out 4 circles using a circle cutter. We opted for a diameter of 12 cm.
2
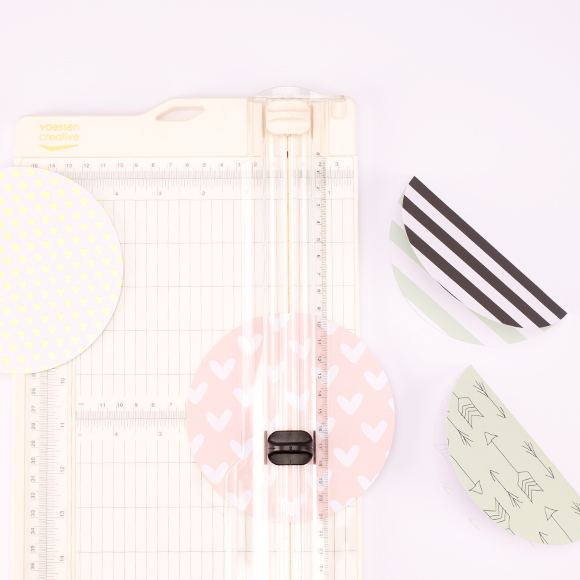
Fold the circles in half. Create a neat fold line by first scoring the paper with a cutting ruler, precisely in the middle at 6 cm.
3
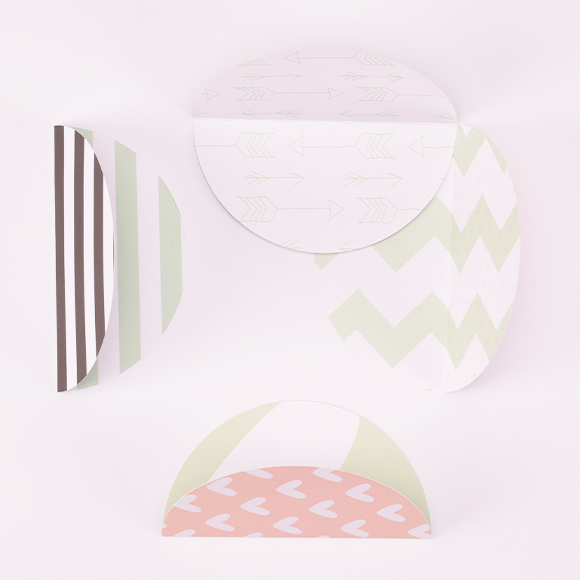
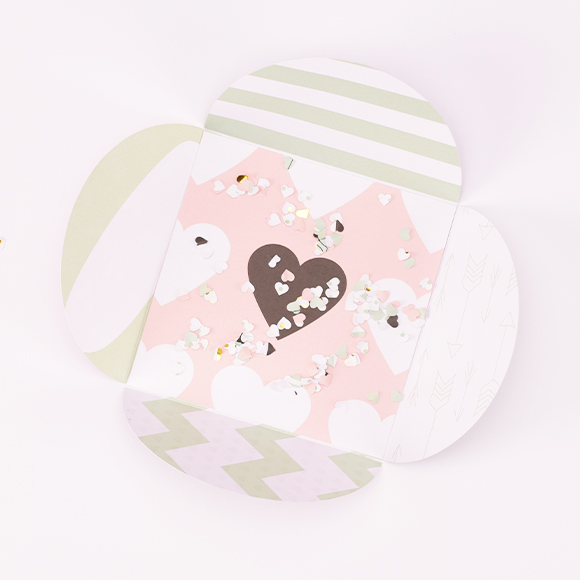
Arrange the circles in a staggered manner, with the fold lines perpendicular to each other, forming a square. Use a pencil to mark the overlap, indicating where to glue the circles together.
4
Glue the circles together. To complete the envelope, you can attach a square piece of cardstock measuring 12 x 12 cm.
5
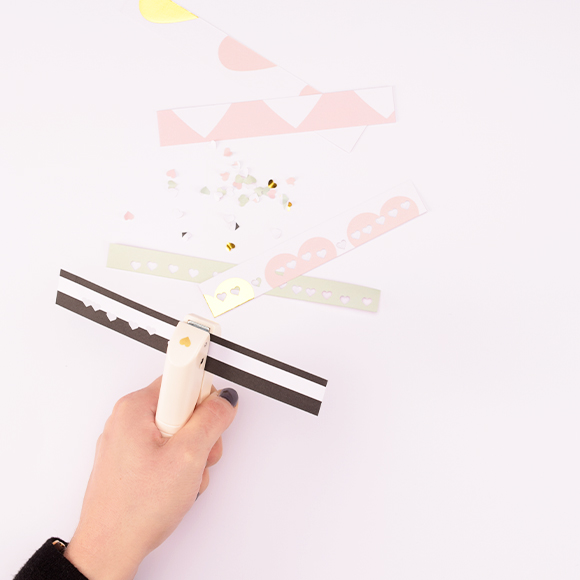
Grab some paper scraps and a hole punch. Use the punch to create a good amount of shapes that can serve as confetti.
6
Add the confetti to the envelope before folding it for an additional surprise effect.
7
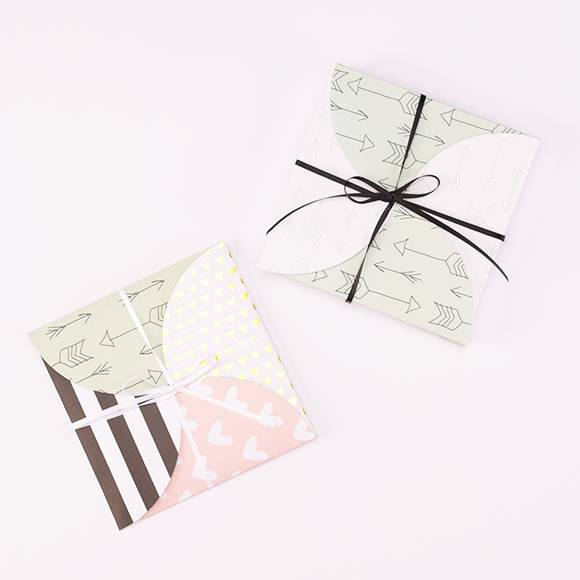
Insert a card or gift into the envelope and fold it closed. Optionally, seal the top with adhesive to prevent the confetti from spilling out. Complete the look with a bow made of satin ribbon or bakerstwine.
8
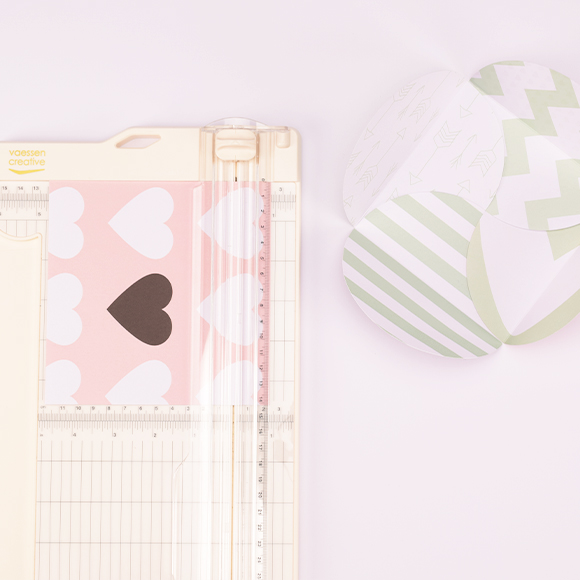
If you prefer a slightly thicker envelope, replace step 2 with this step. Determine the desired thickness, e.g., 1 cm, and score the paper using a cutting ruler at 5 and 6 cm. The short side will form the bottom. Proceed from step 3 onwards; the remaining steps remain the same.