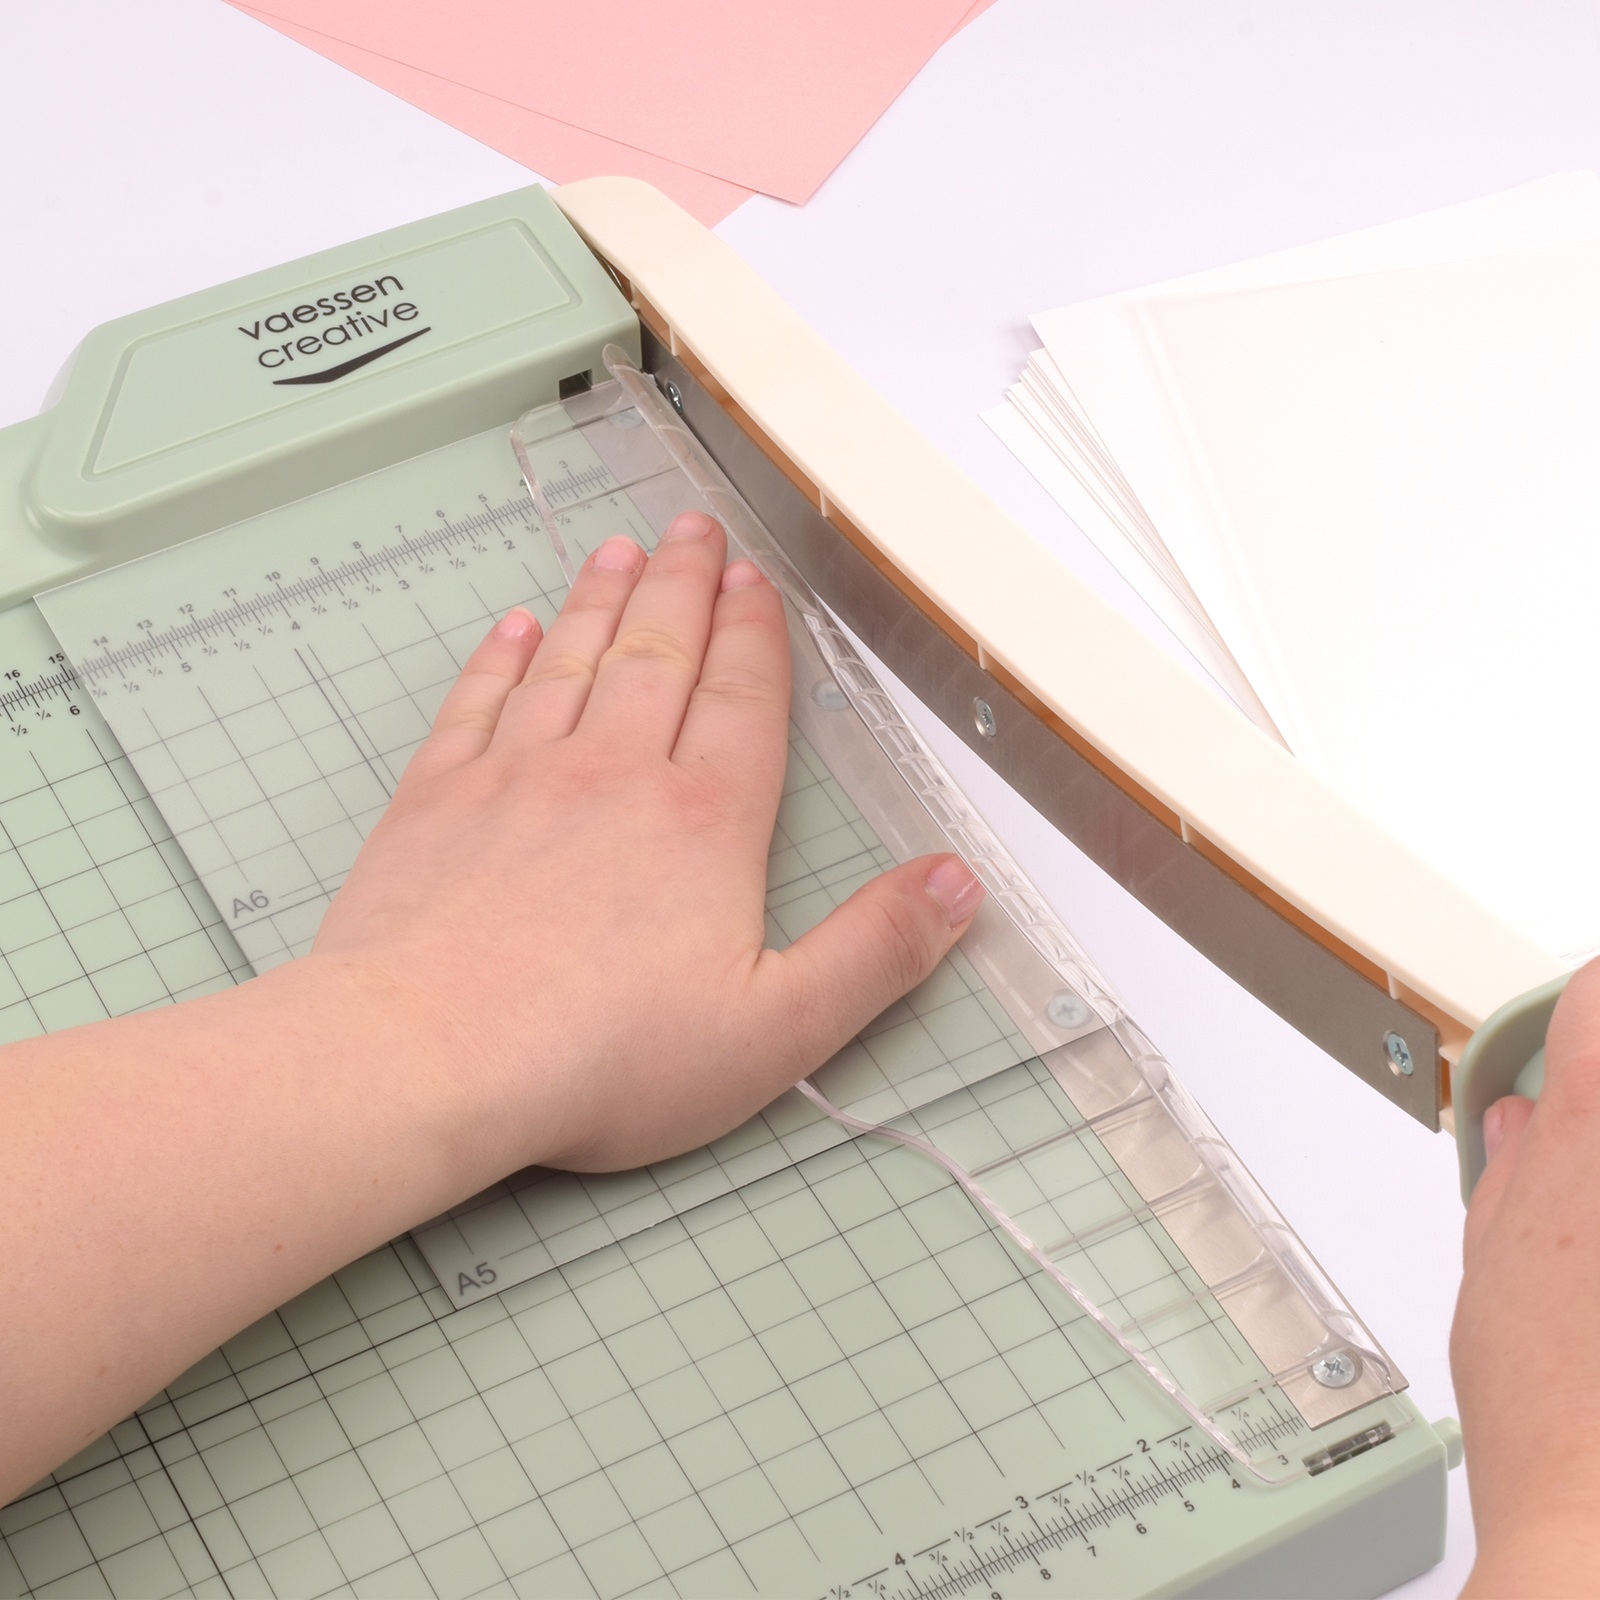
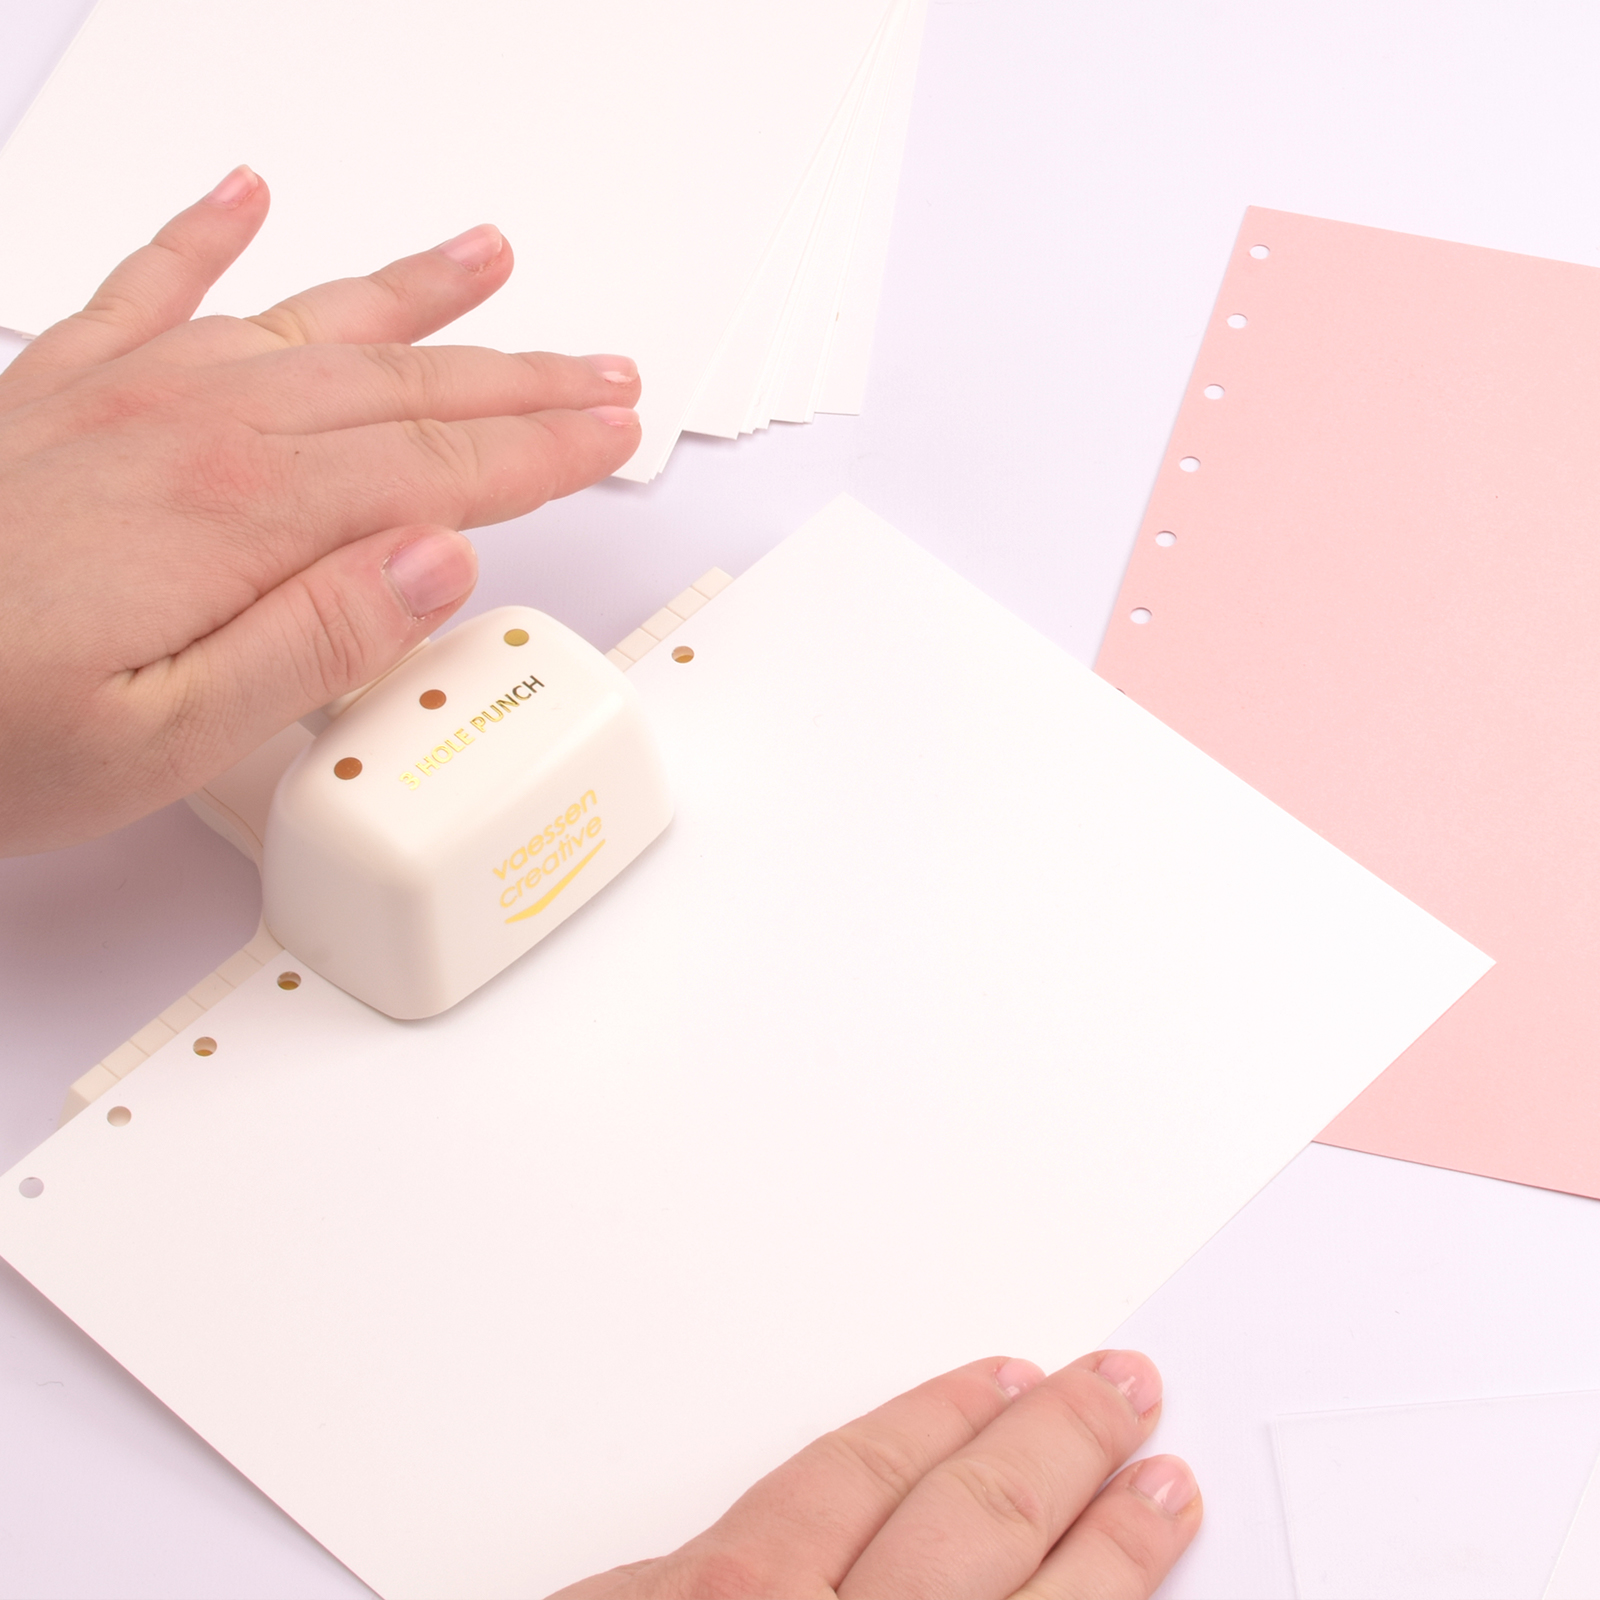
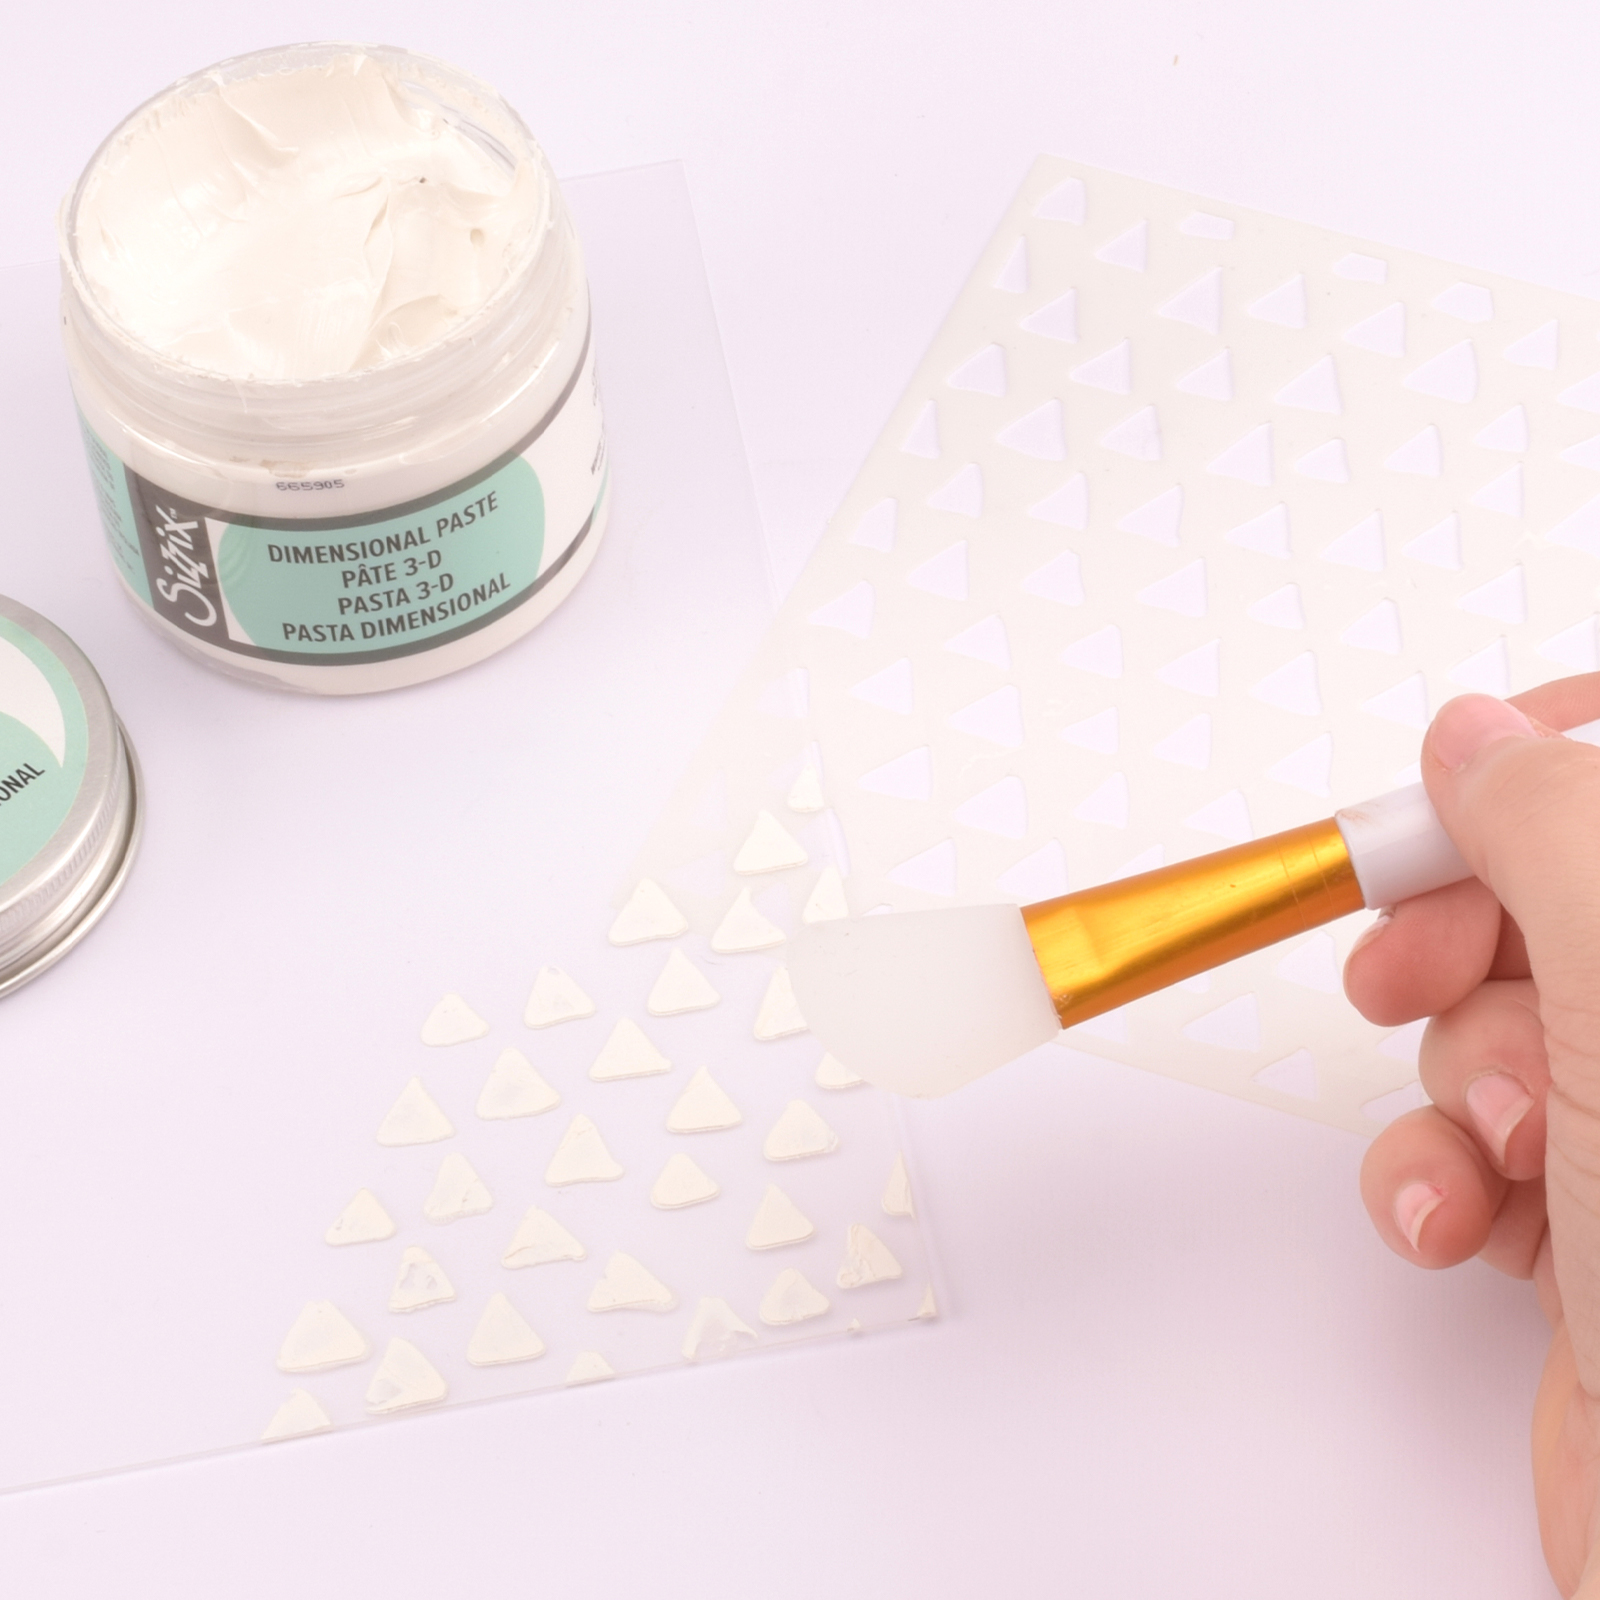
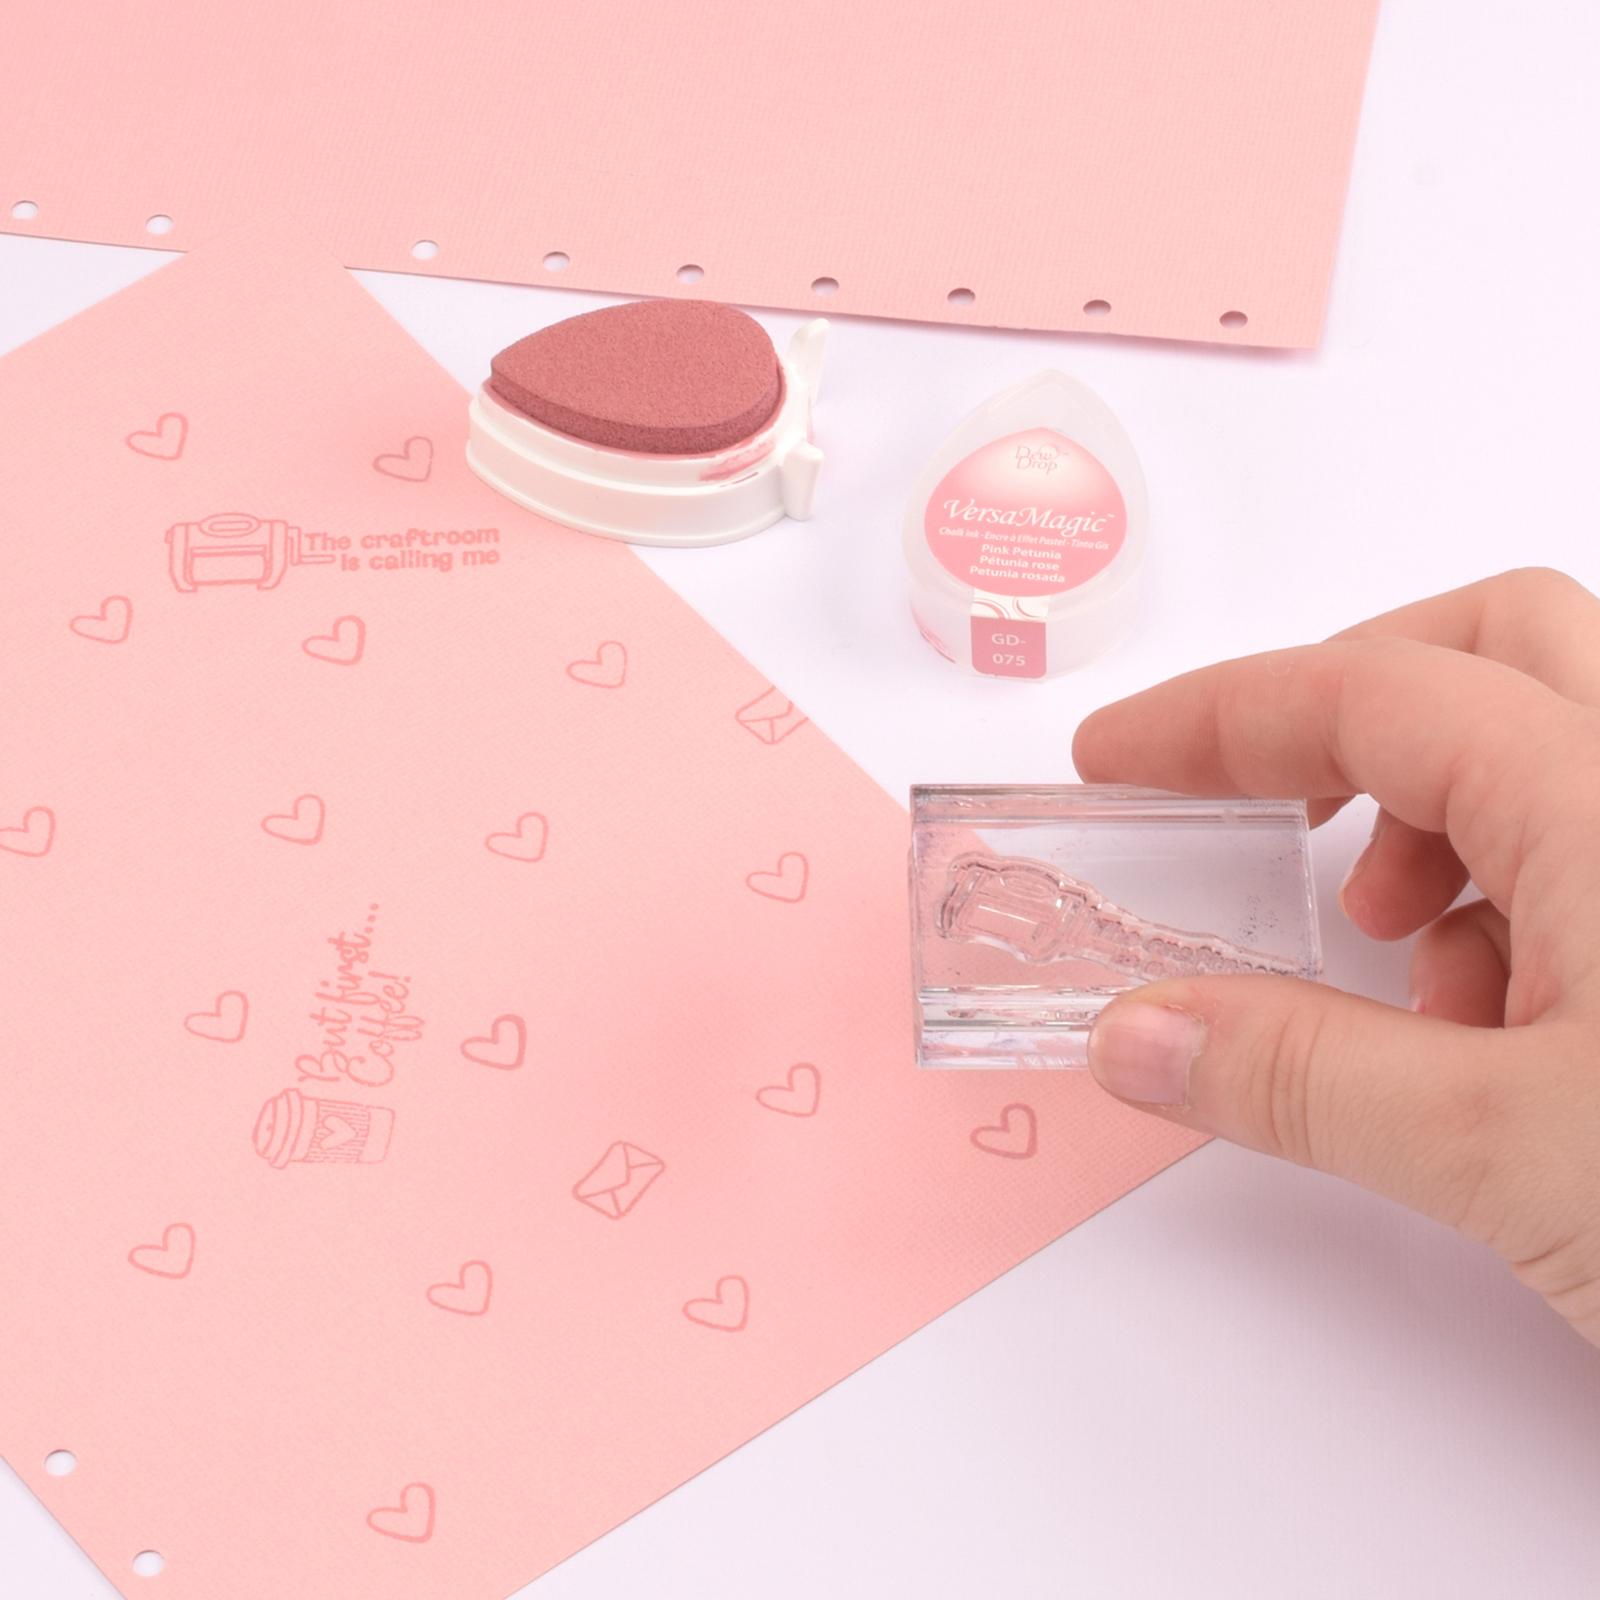
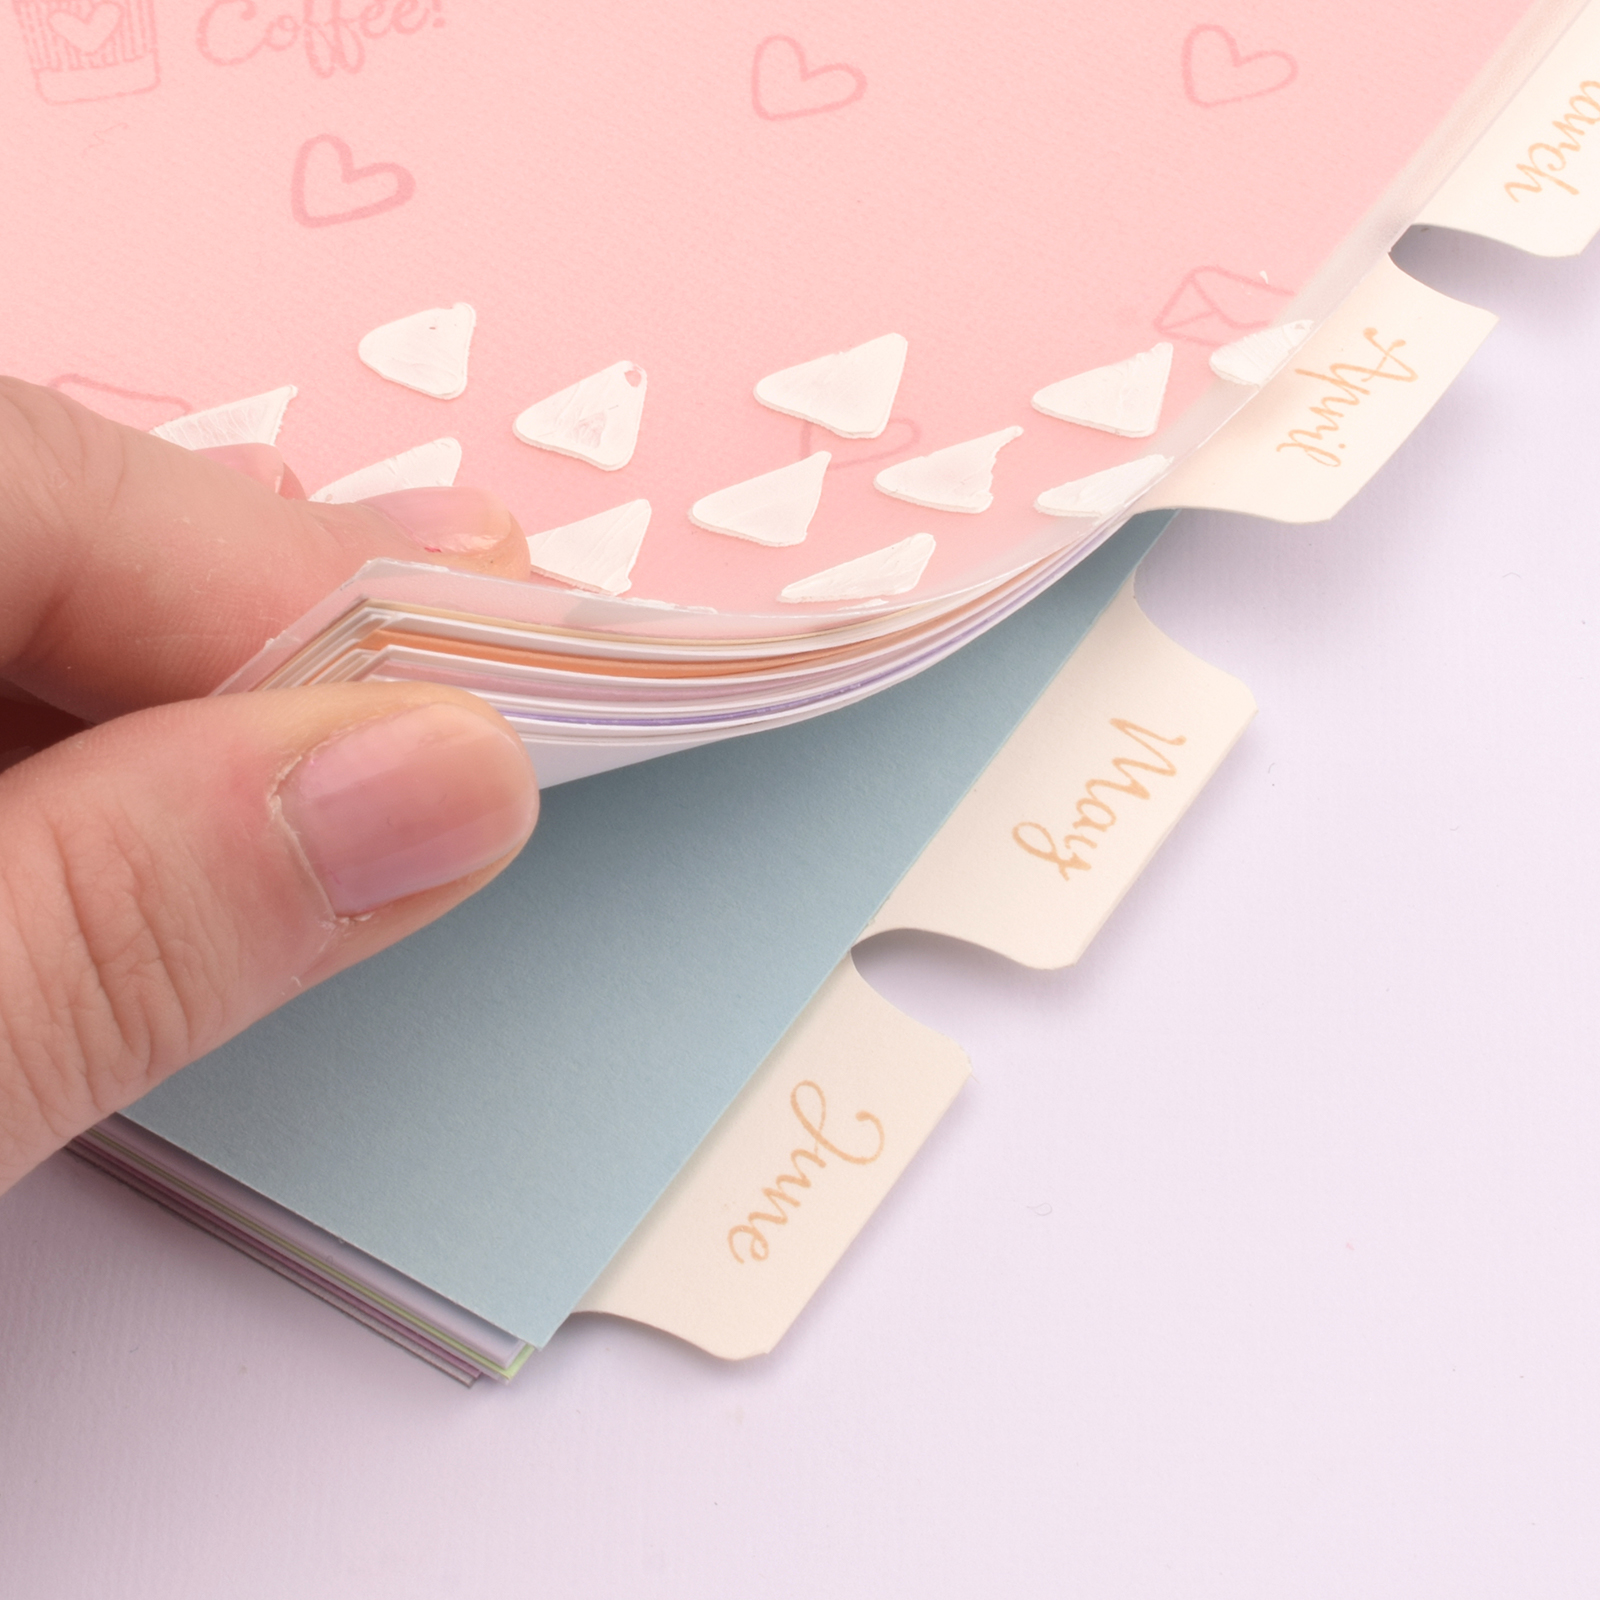
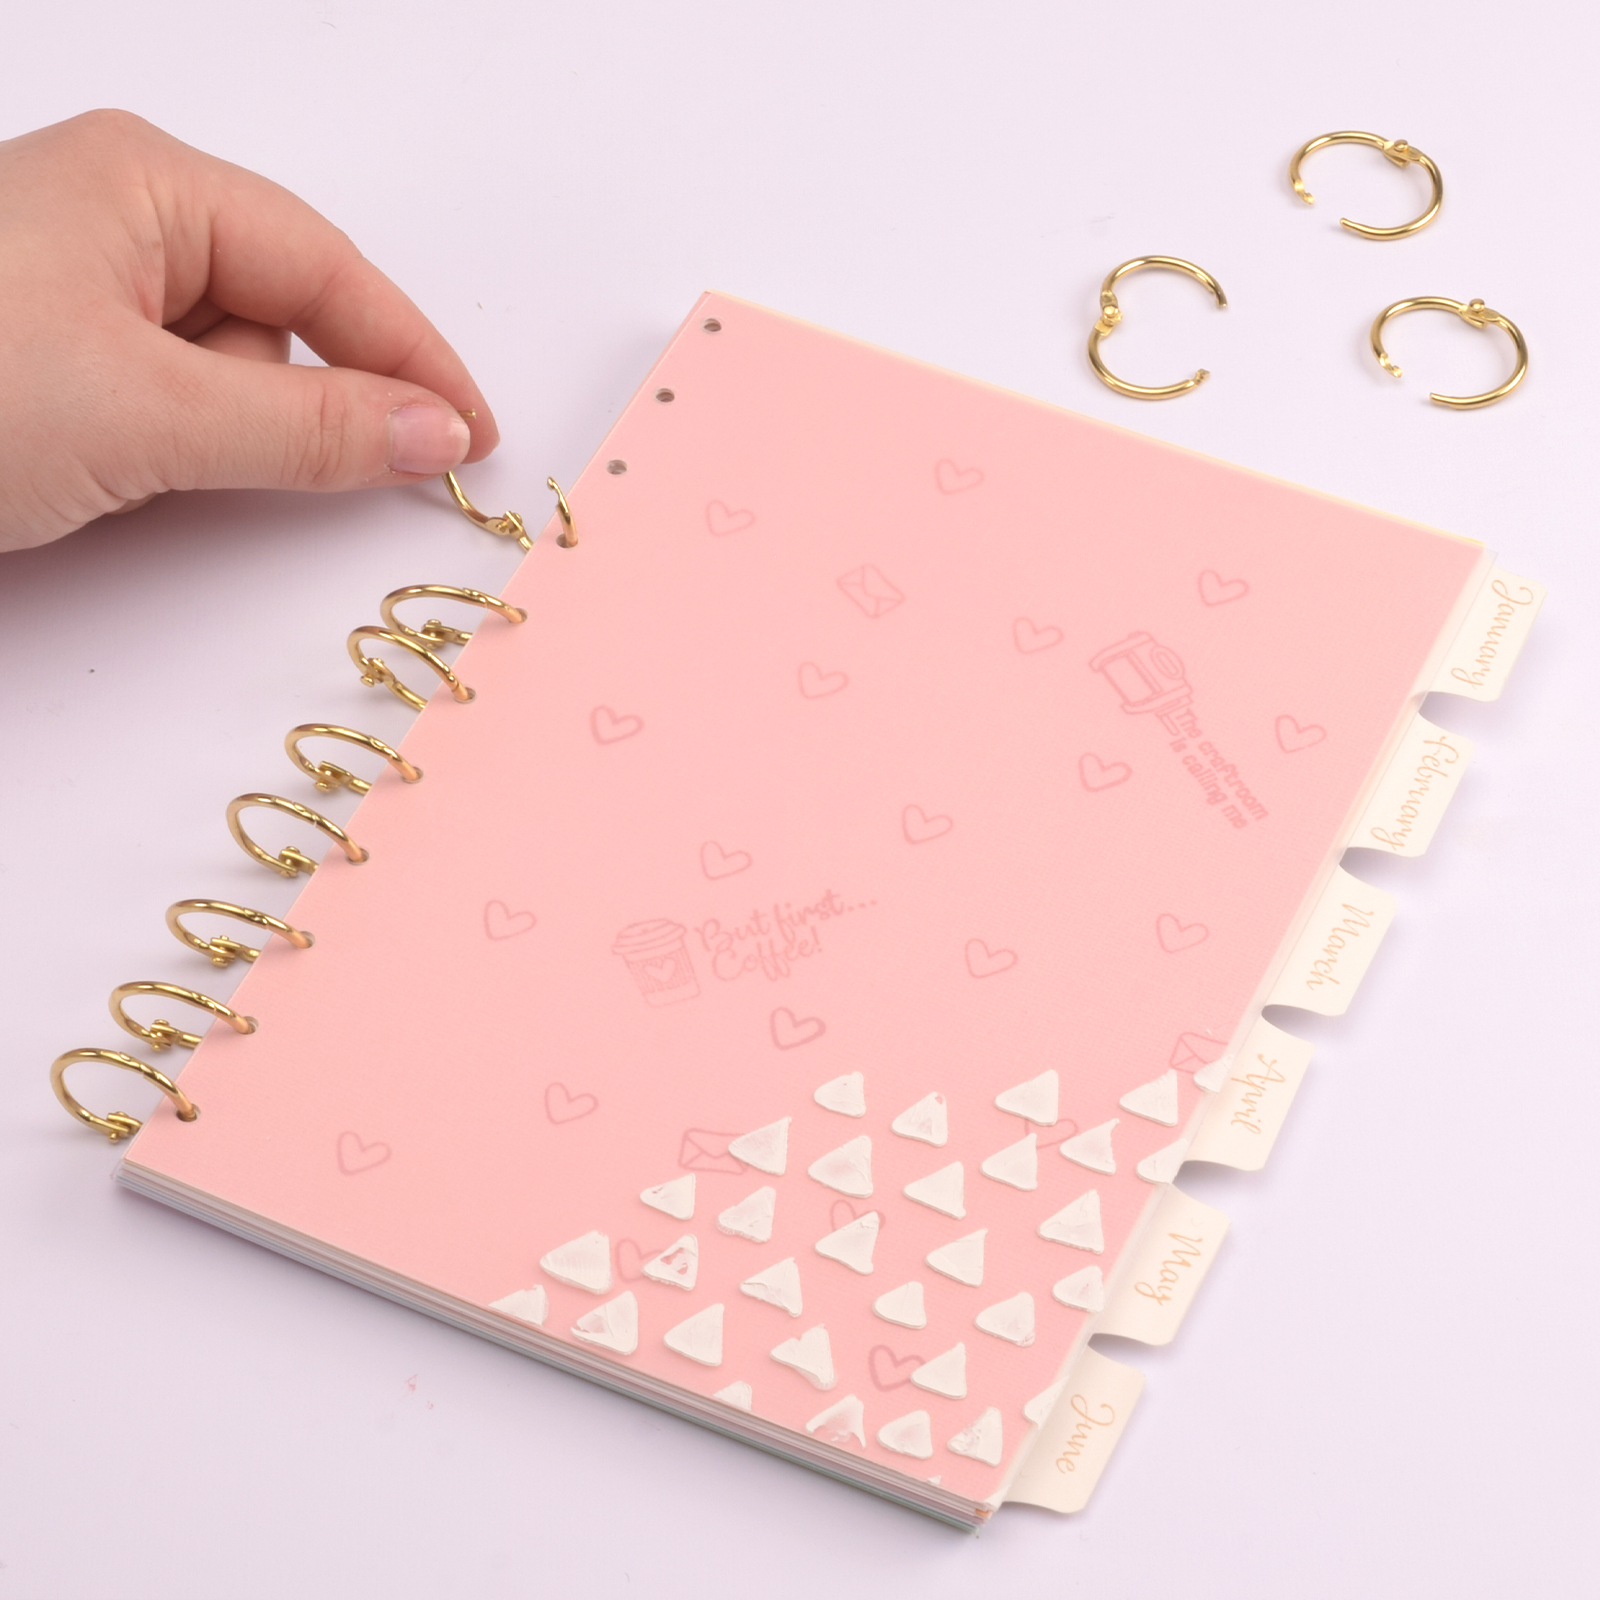
Want more structure in your day? Create your own DIY planner by crafting with paper. With just a few materials and 7 simple steps, you’ll make a planner that’s both practical and beautifully personal.
1
Cut several sheets of white cardstock, two sheets of coloured cardstock, and one sheet of matte foil into A5 size.
2
Punch holes in all the sheets so they can be bundled with book bindings later.
3
Use a stencil and texture paste on the foil sheet to decorate it. Let it dry thoroughly.
4
Decorate the coloured cardstock with stamps.
5
Use the whale-tail tab punch to make tabs and stamp them with the names of the months.
6
Tape the tabs to the white cardstock (or make coloured tabs and pages to distinguish the months from each other).