This handmade calendar brings joy all year round. Choose your favourite colours and enjoy crafting with paper. In 12 simple steps you create a personal design for your desk or as a gift.
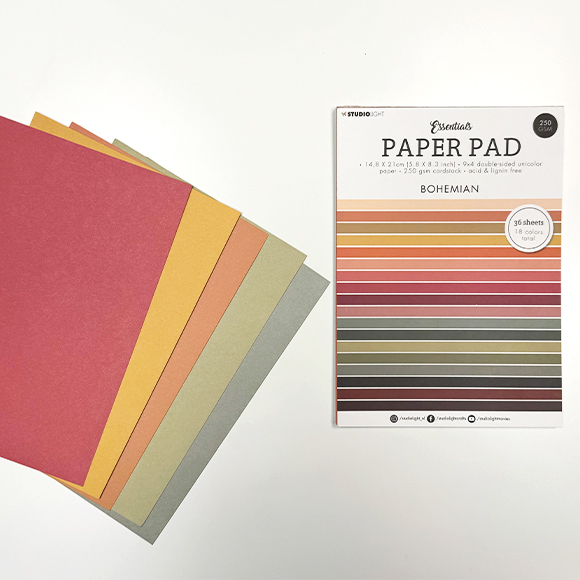
Select 12 different colours of paper from the paper pad, using a different colour for each month.
2
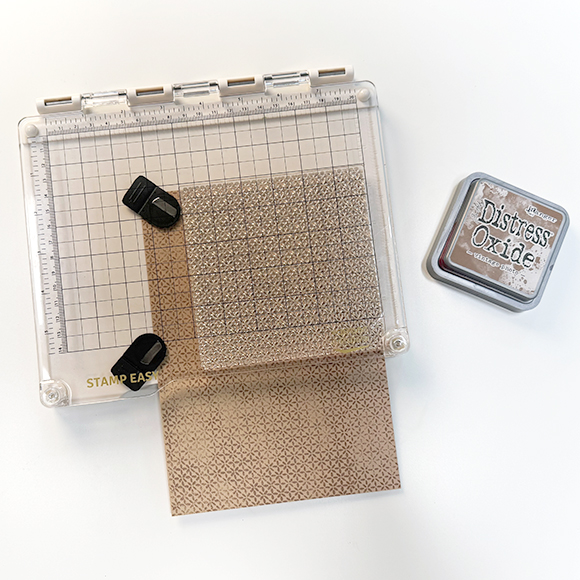
Use the background stamp, stamping tool, and an ink colour of your choice. Stamp the pattern on each sheet until it's completely covered.
3
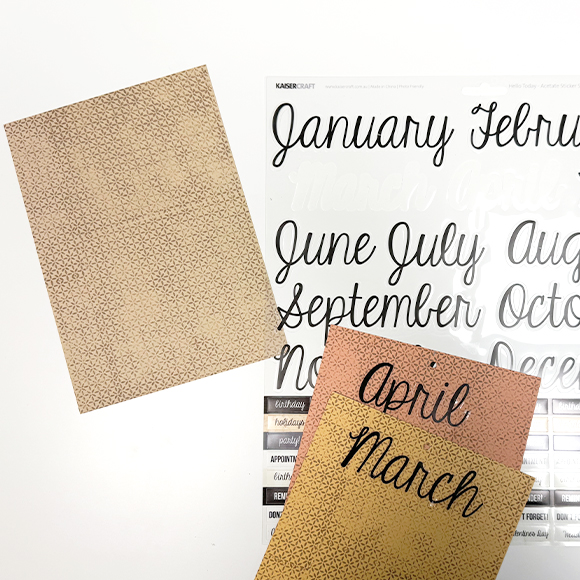
Use the Kaisercraft sticker sheet to affix the month stickers onto the 12 sheets.
4
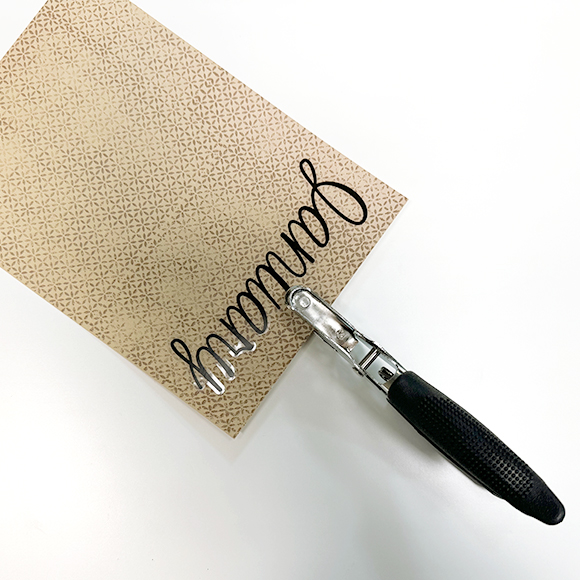
Use a hand punch to create a hole in the middle at the top of each sheet. Tip: to ensure every hole is in the same location, place a previously punched sheet over the sheet to be punched, or mark the spot with a pencil.
5
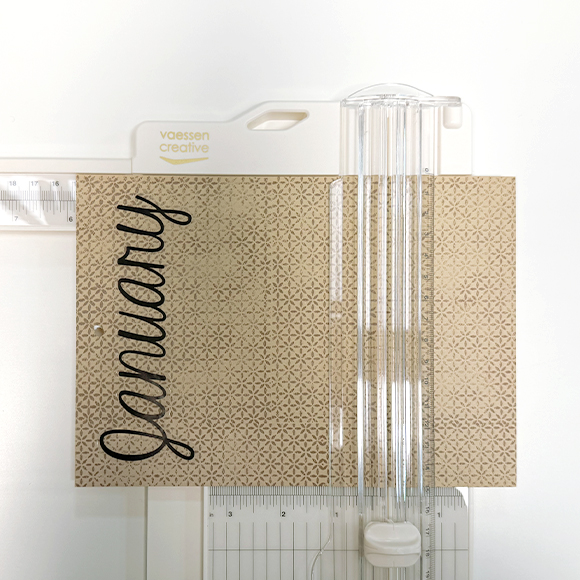
Next, cut all the sheets into a square of 5.8 x 5.8 inches (14.8 x 14.8 cm).
6
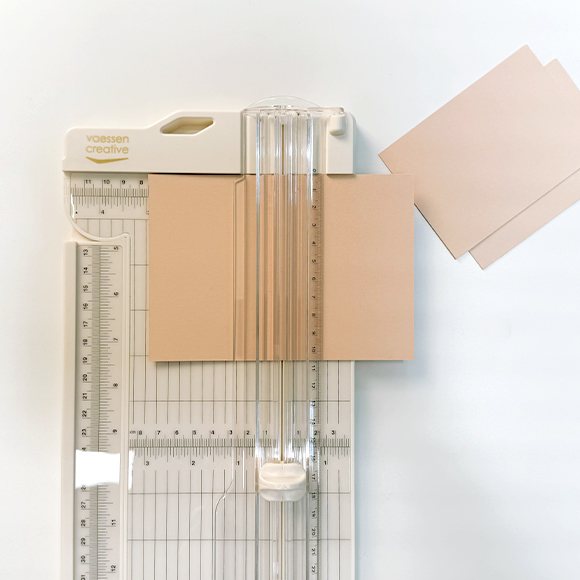
Choose another 3 (different) sheets of paper and cut them into 4 equal pieces of 4.1 x 2.9 inches (10.5 x 7.4 cm) each.
7
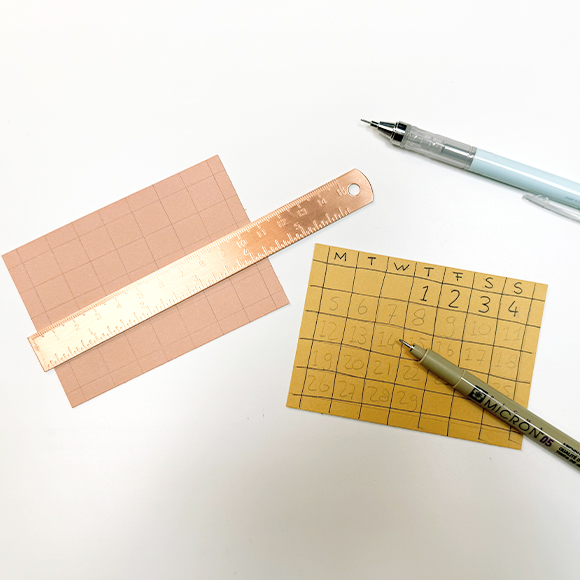
Create the calendar grid on the small sheets. You can first sketch it and then trace it with a fine liner or start directly with a fine liner.
8
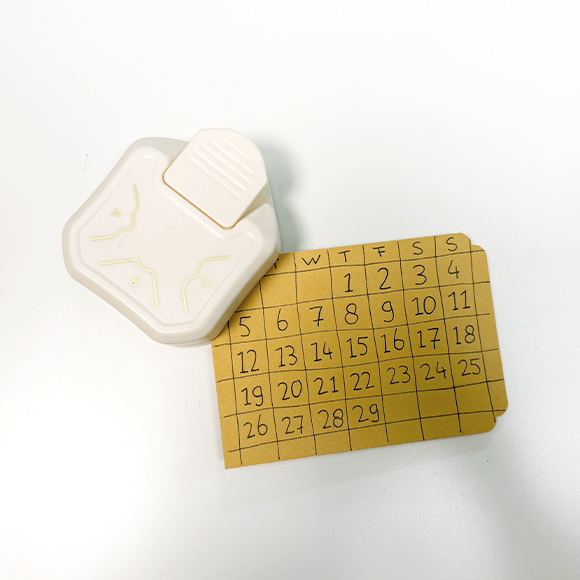
Punch the corners of the small sheets with a 3-in-1 corner punch.
9
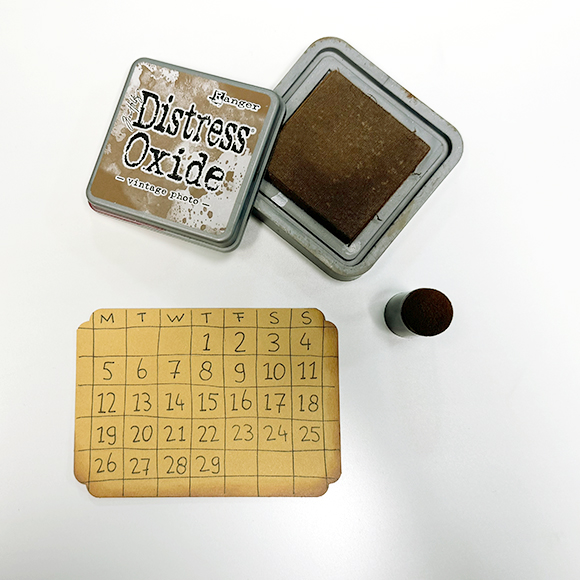
Use a dauber along the edges of the paper to give it a vintage look. Then, attach the calendar grids to the respective months.
10
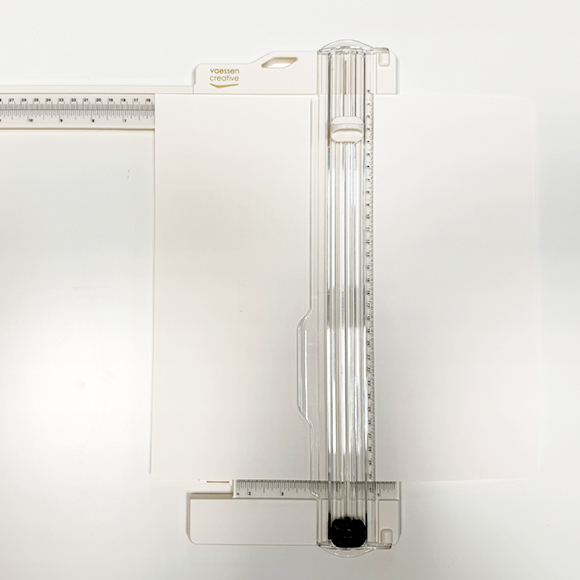
Now, create the stand for the calendar. Take a sheet of white cardstock paper measuring 12 x 12 inches (30.5 x 30.5 cm) and cut it exactly in half.
11
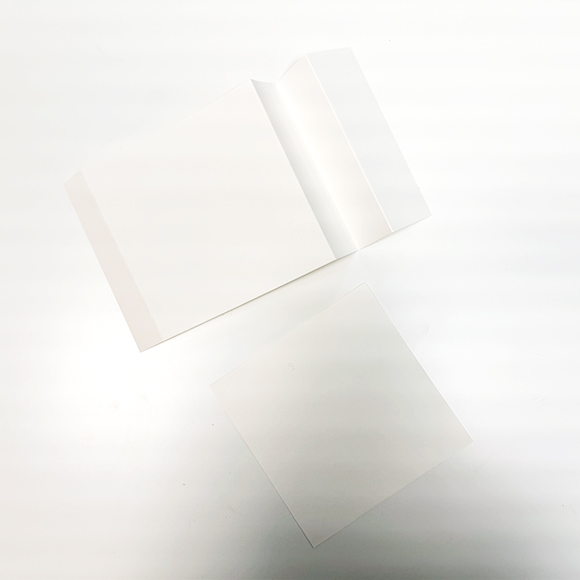
Cut one half of the paper into a square of 6 x 6 inches (15.2 x 15.2 cm). Score the other half at 4 places: 1.9, 3.5, 5.1 and 11.1 inches (5, 9, 13, and 28.2 cm). Fold the first three score lines in a zigzag pattern. Then, glue both sheets together.
12
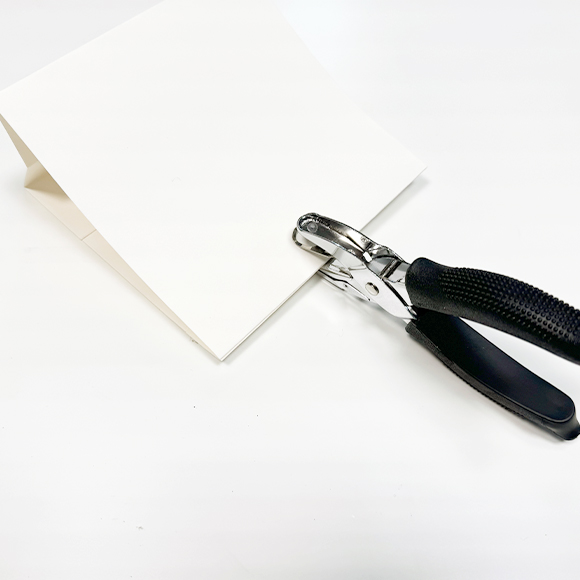
Punch a hole in the stand, insert a binding ring and hang all months on it. Your calendar is ready!