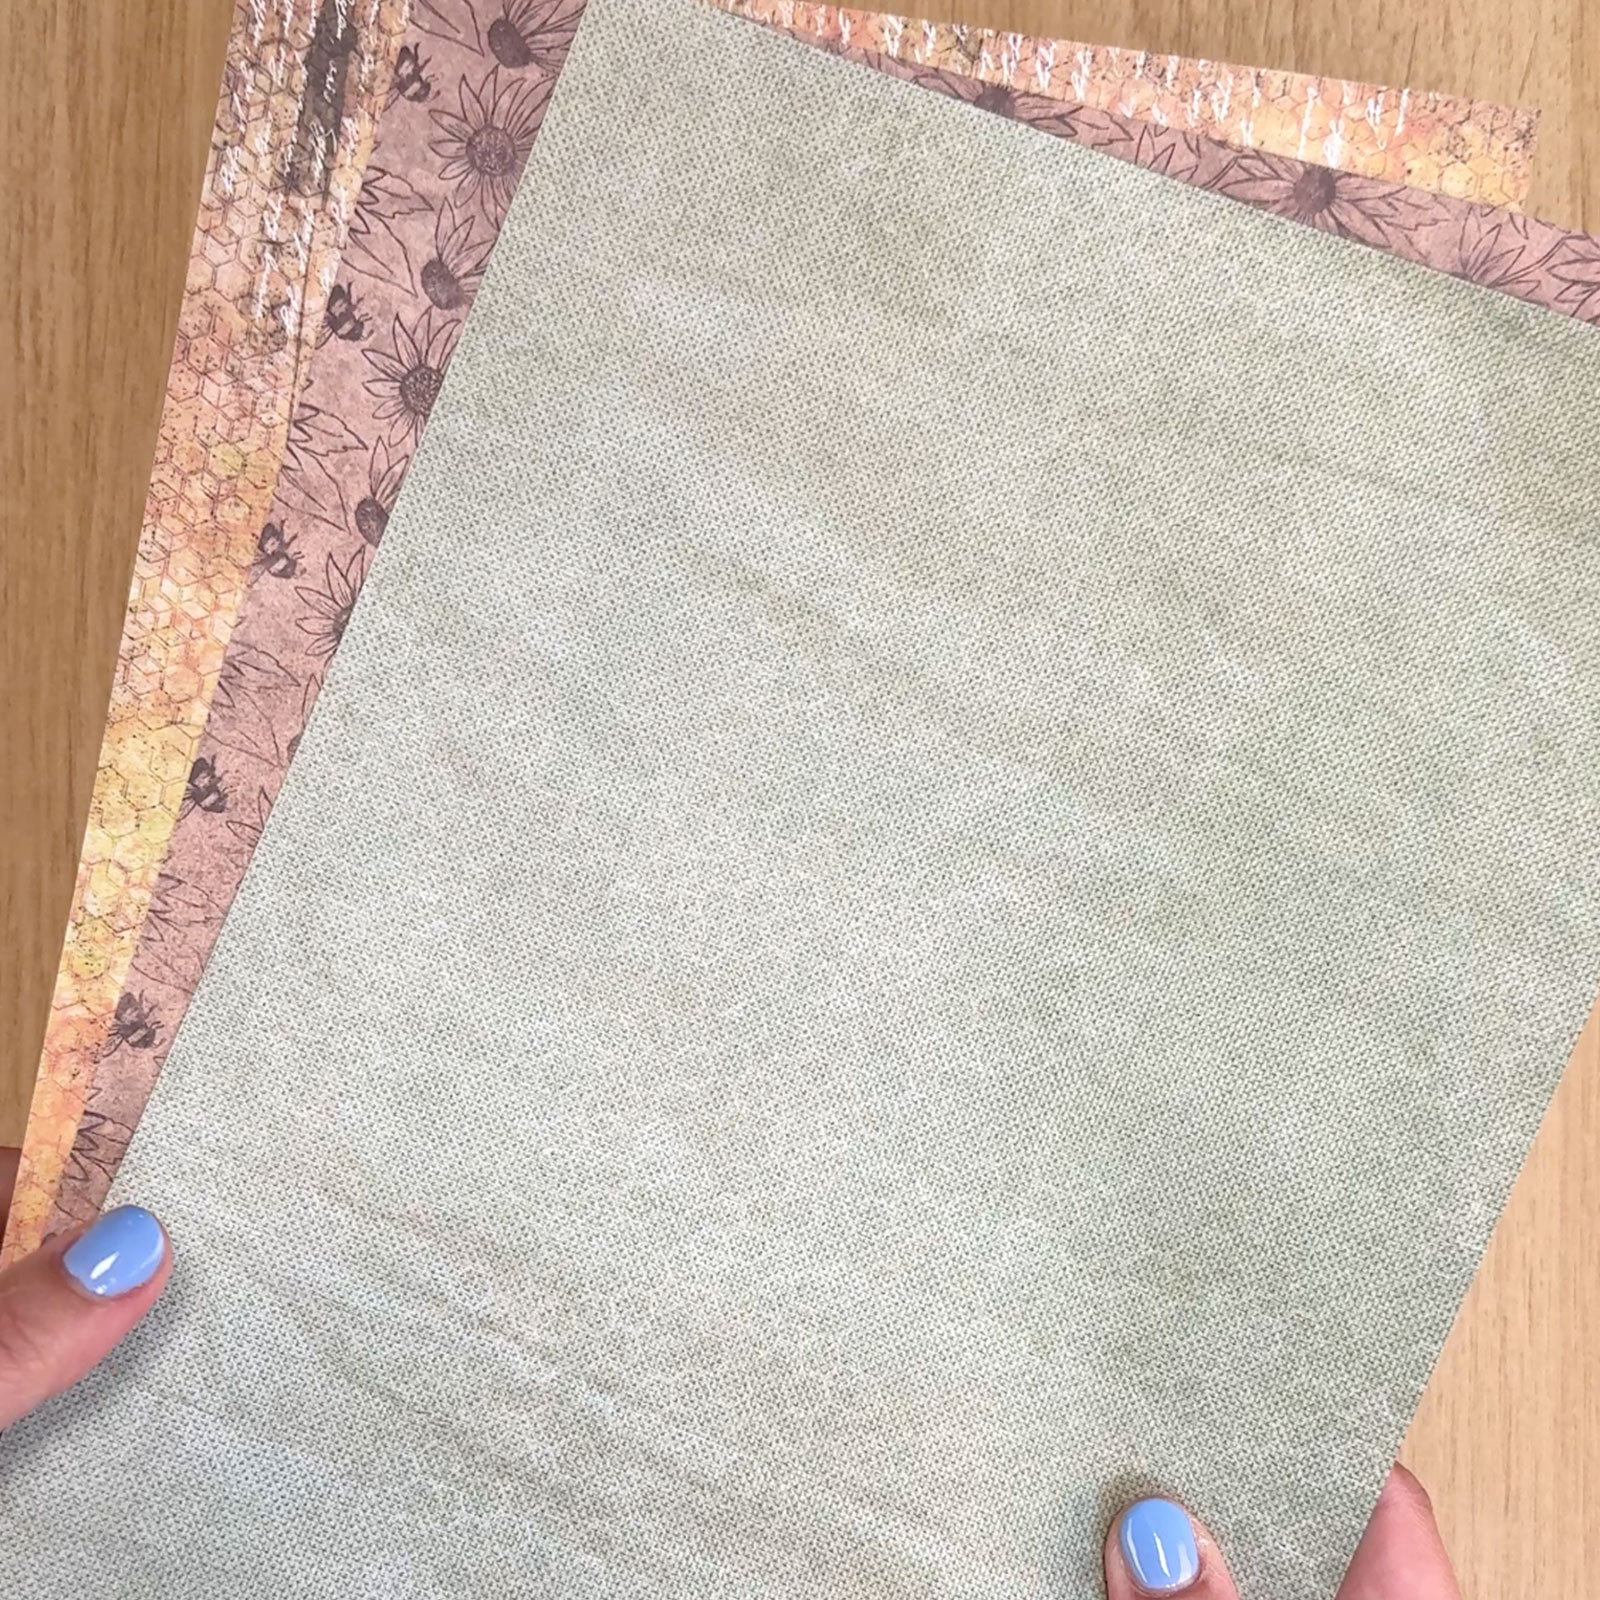
Take the Designer Paper Pad from the Studio Light Sweet Bee collection and choose three pretty sheets. In this example, a brown, yellow, and green sheet are used.
2
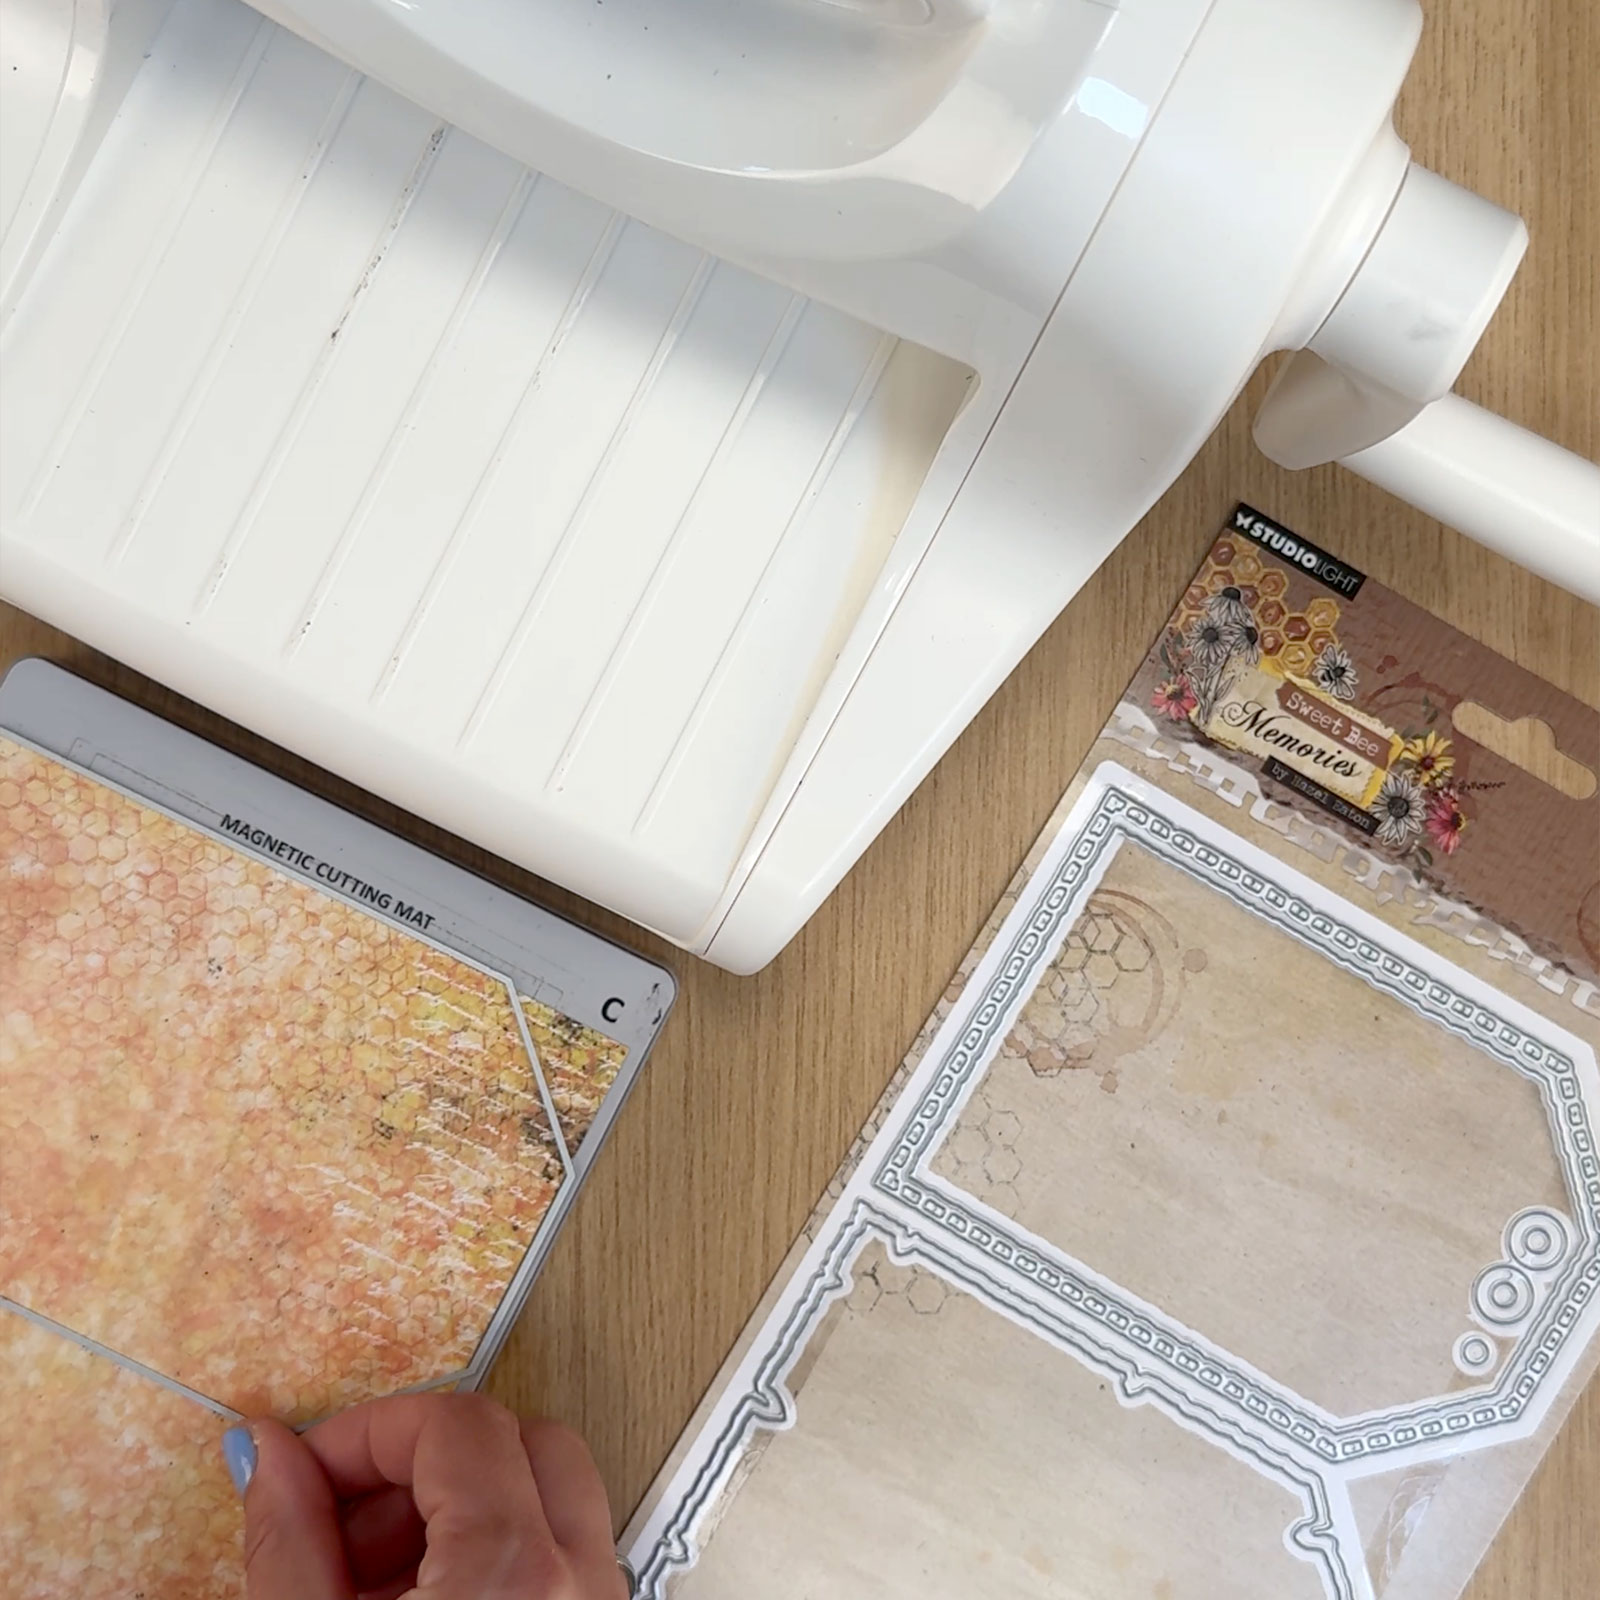
Use the yellow sheet and place the largest die from the Tag Folding Card set on top. Run it through your die-cutting machine.
3
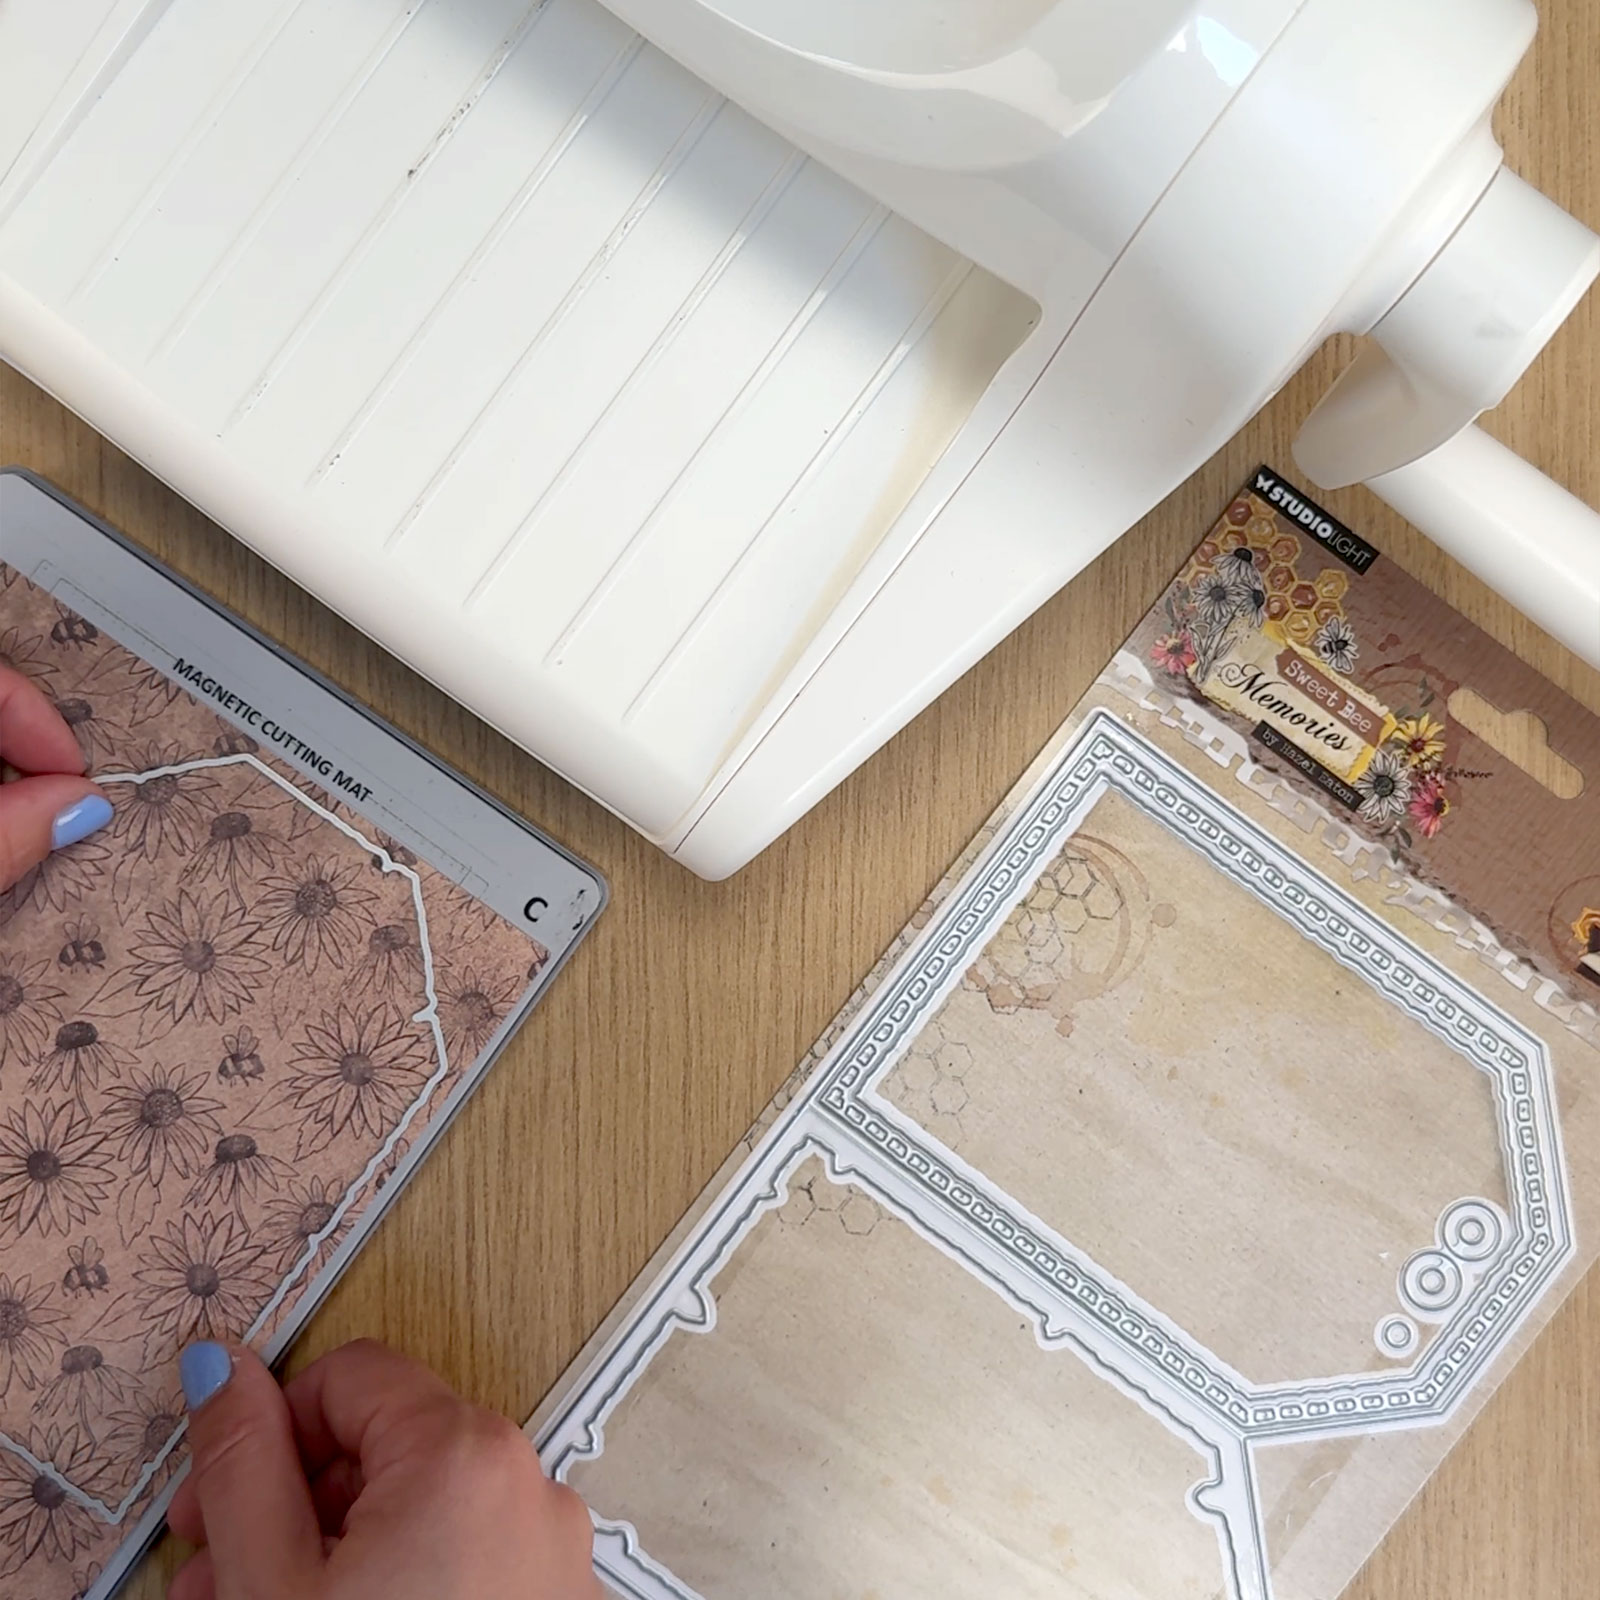
Now use the largest deckle edge die with the brown paper and cut it out.
4
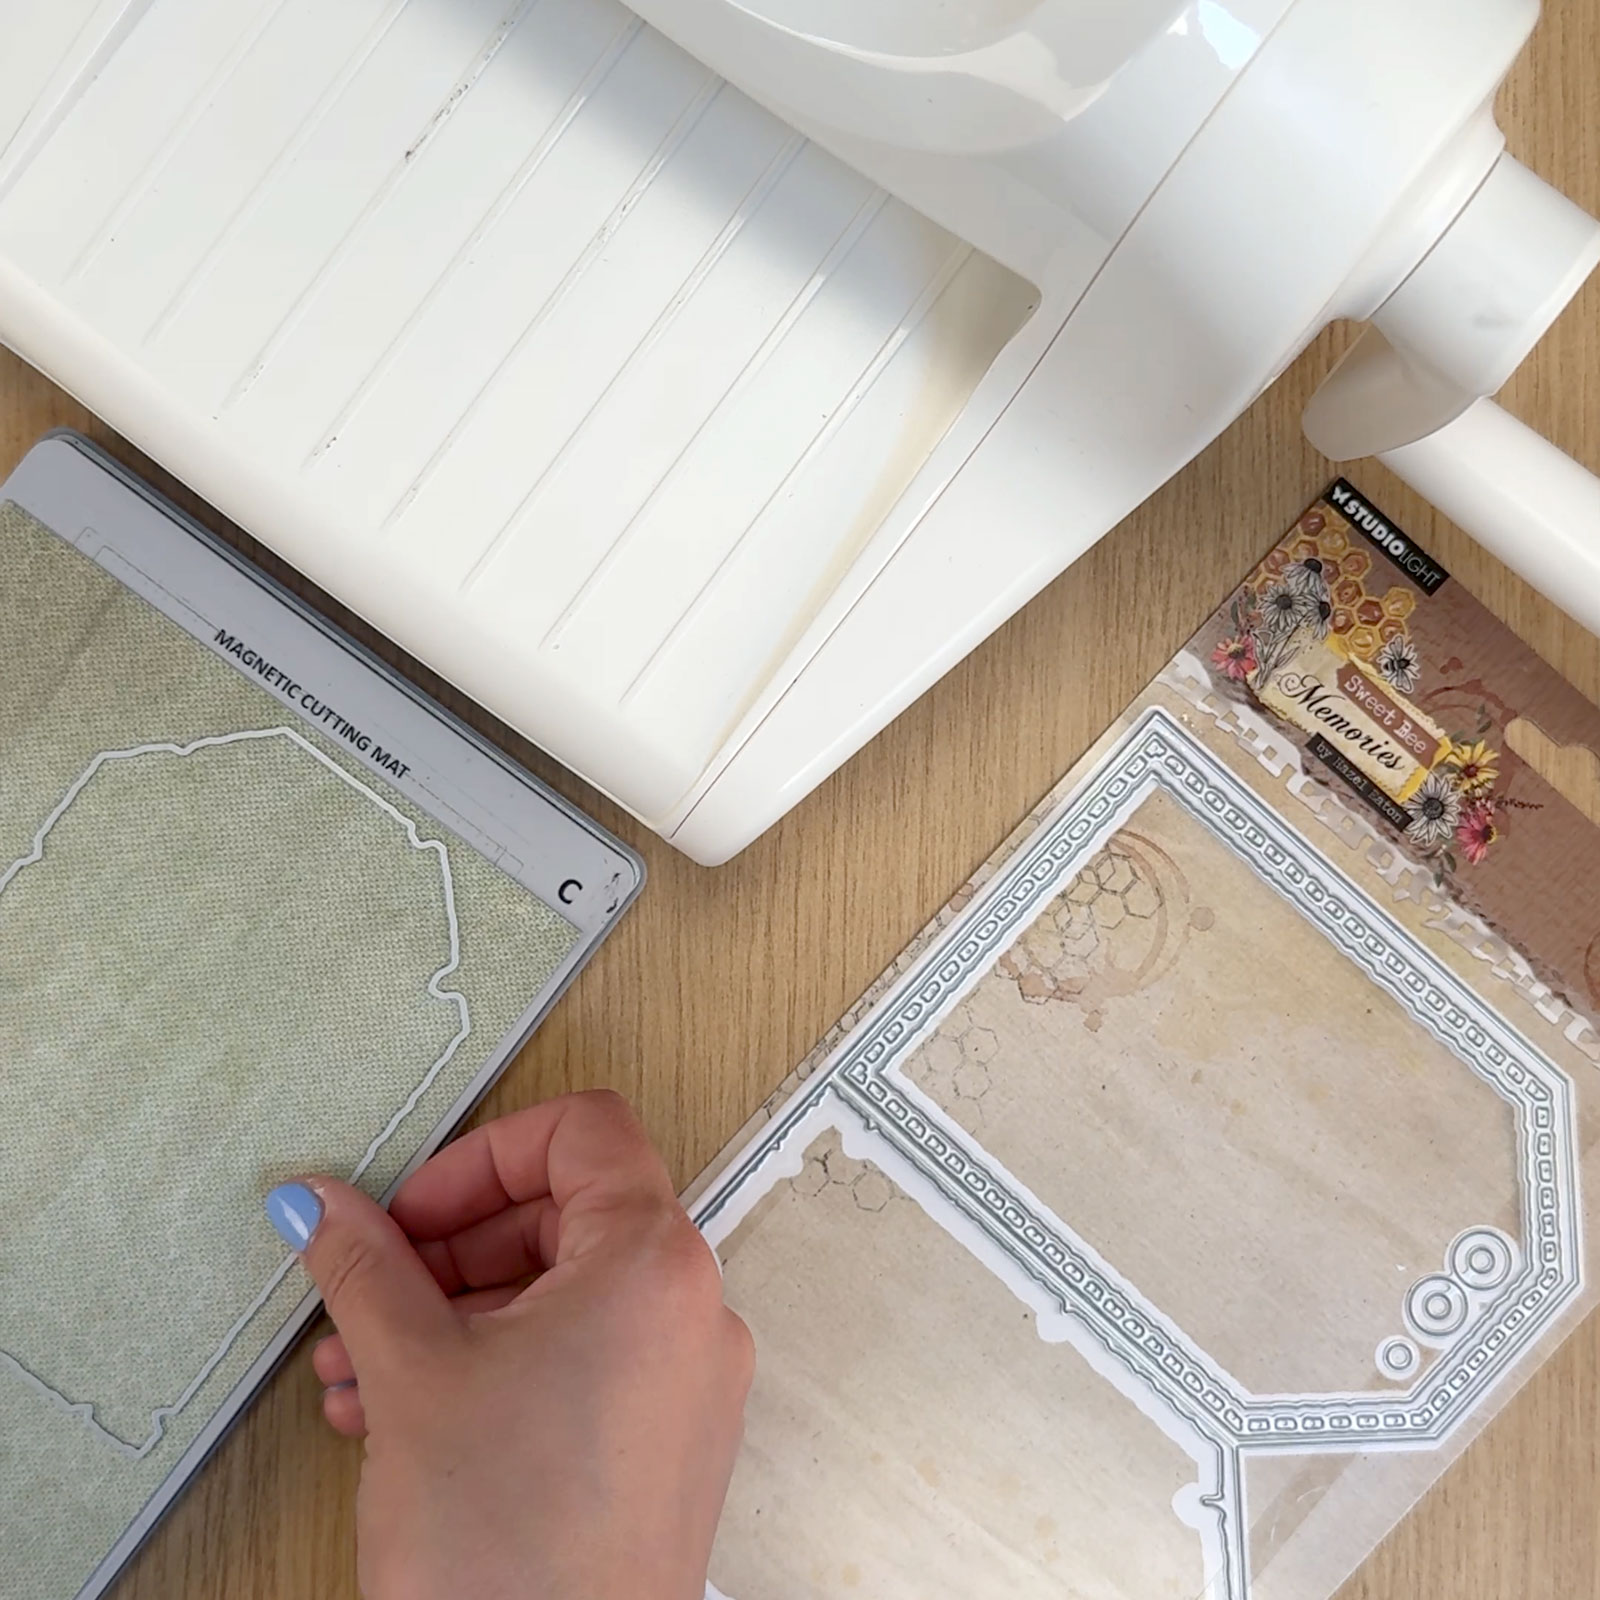
Do the same with the green paper, using the smaller deckle edge die.
5
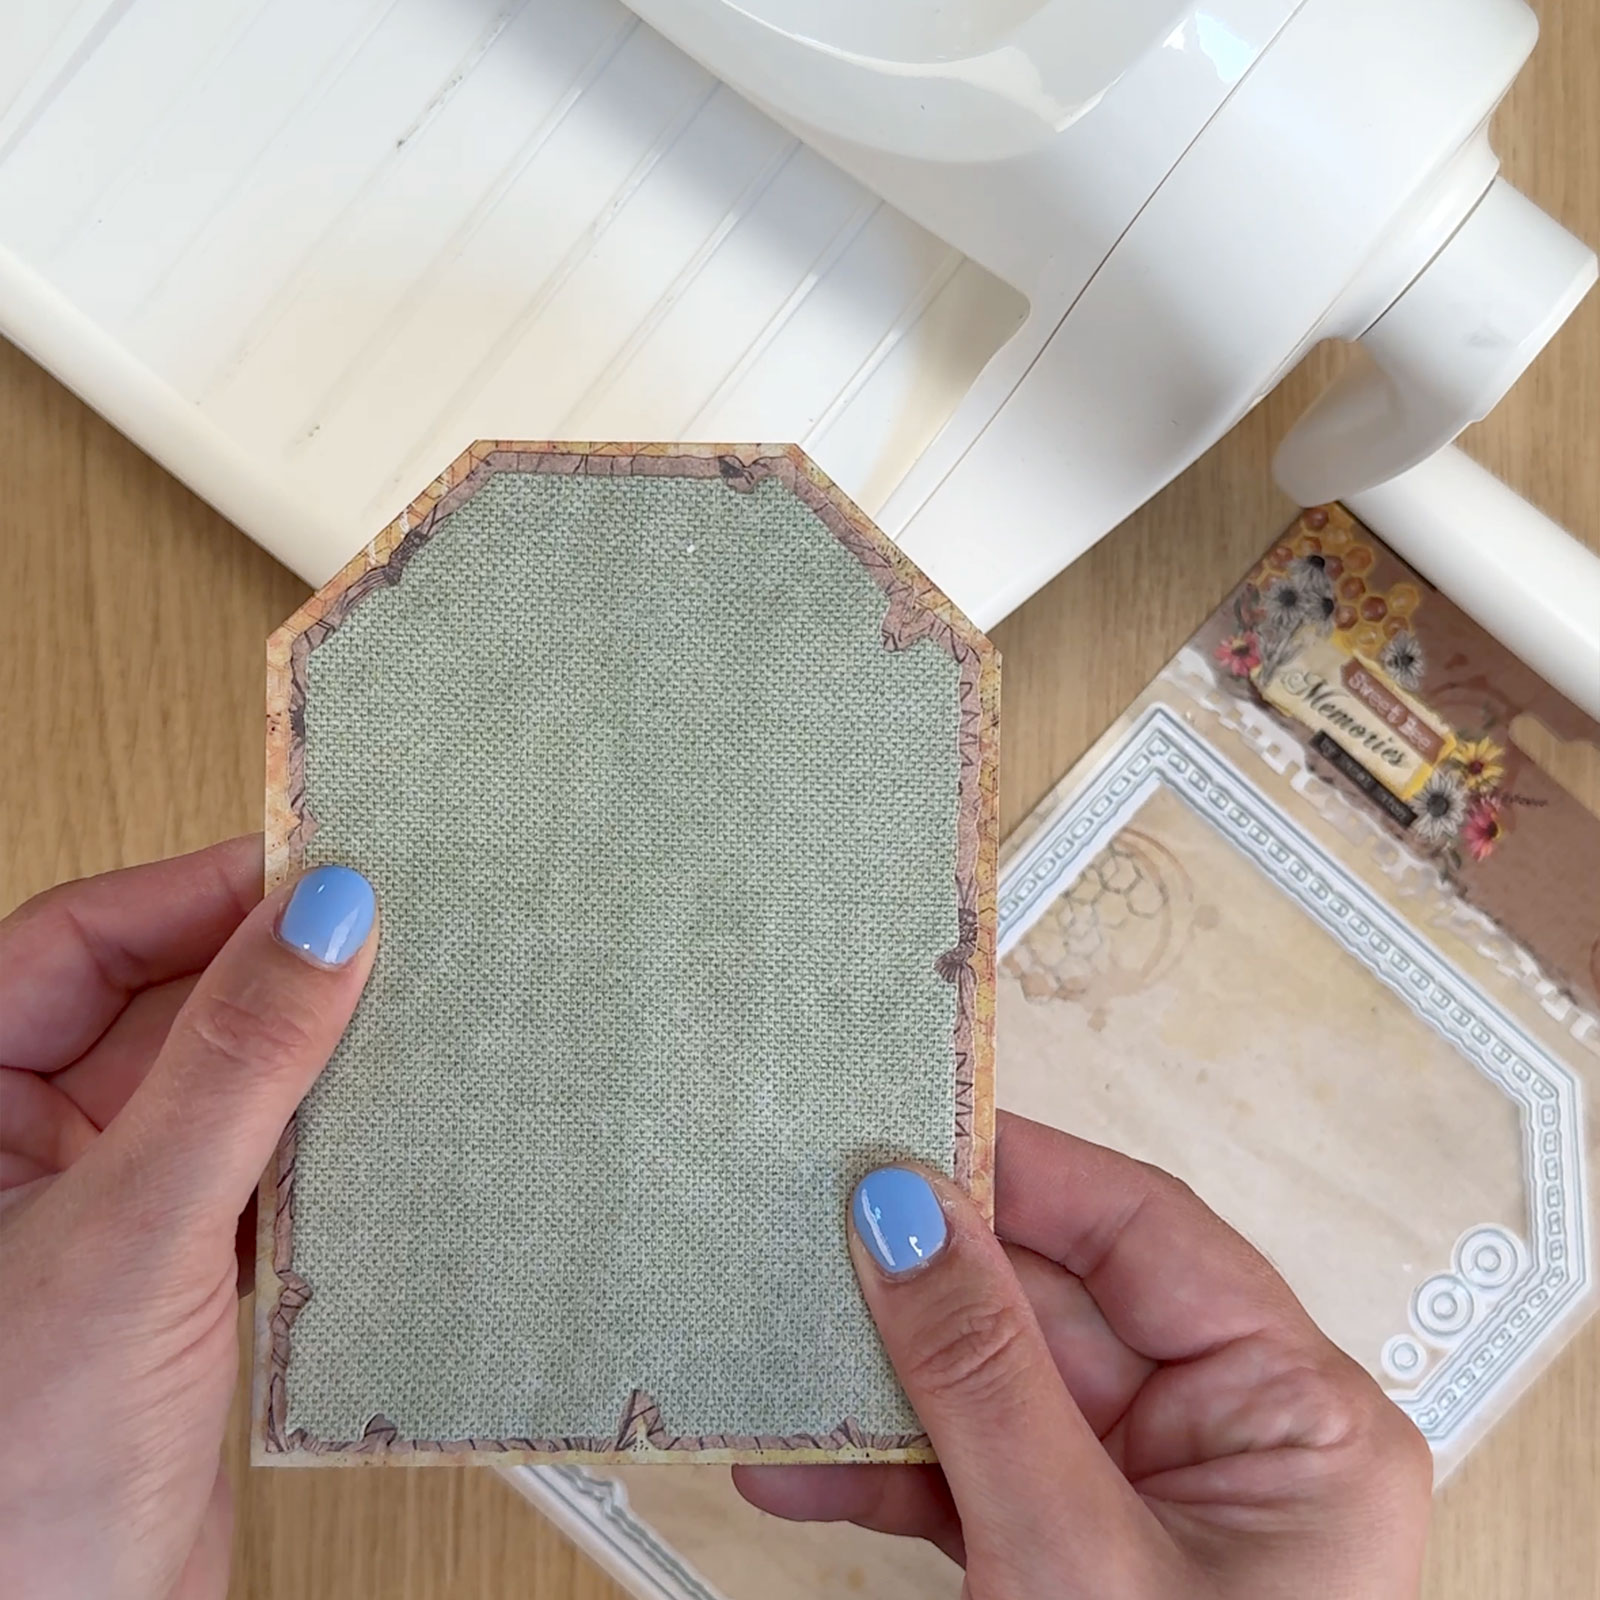
Stack the three die-cut shapes on top of each other. The result should look like the example in the photo. Continue with the green layer.
6
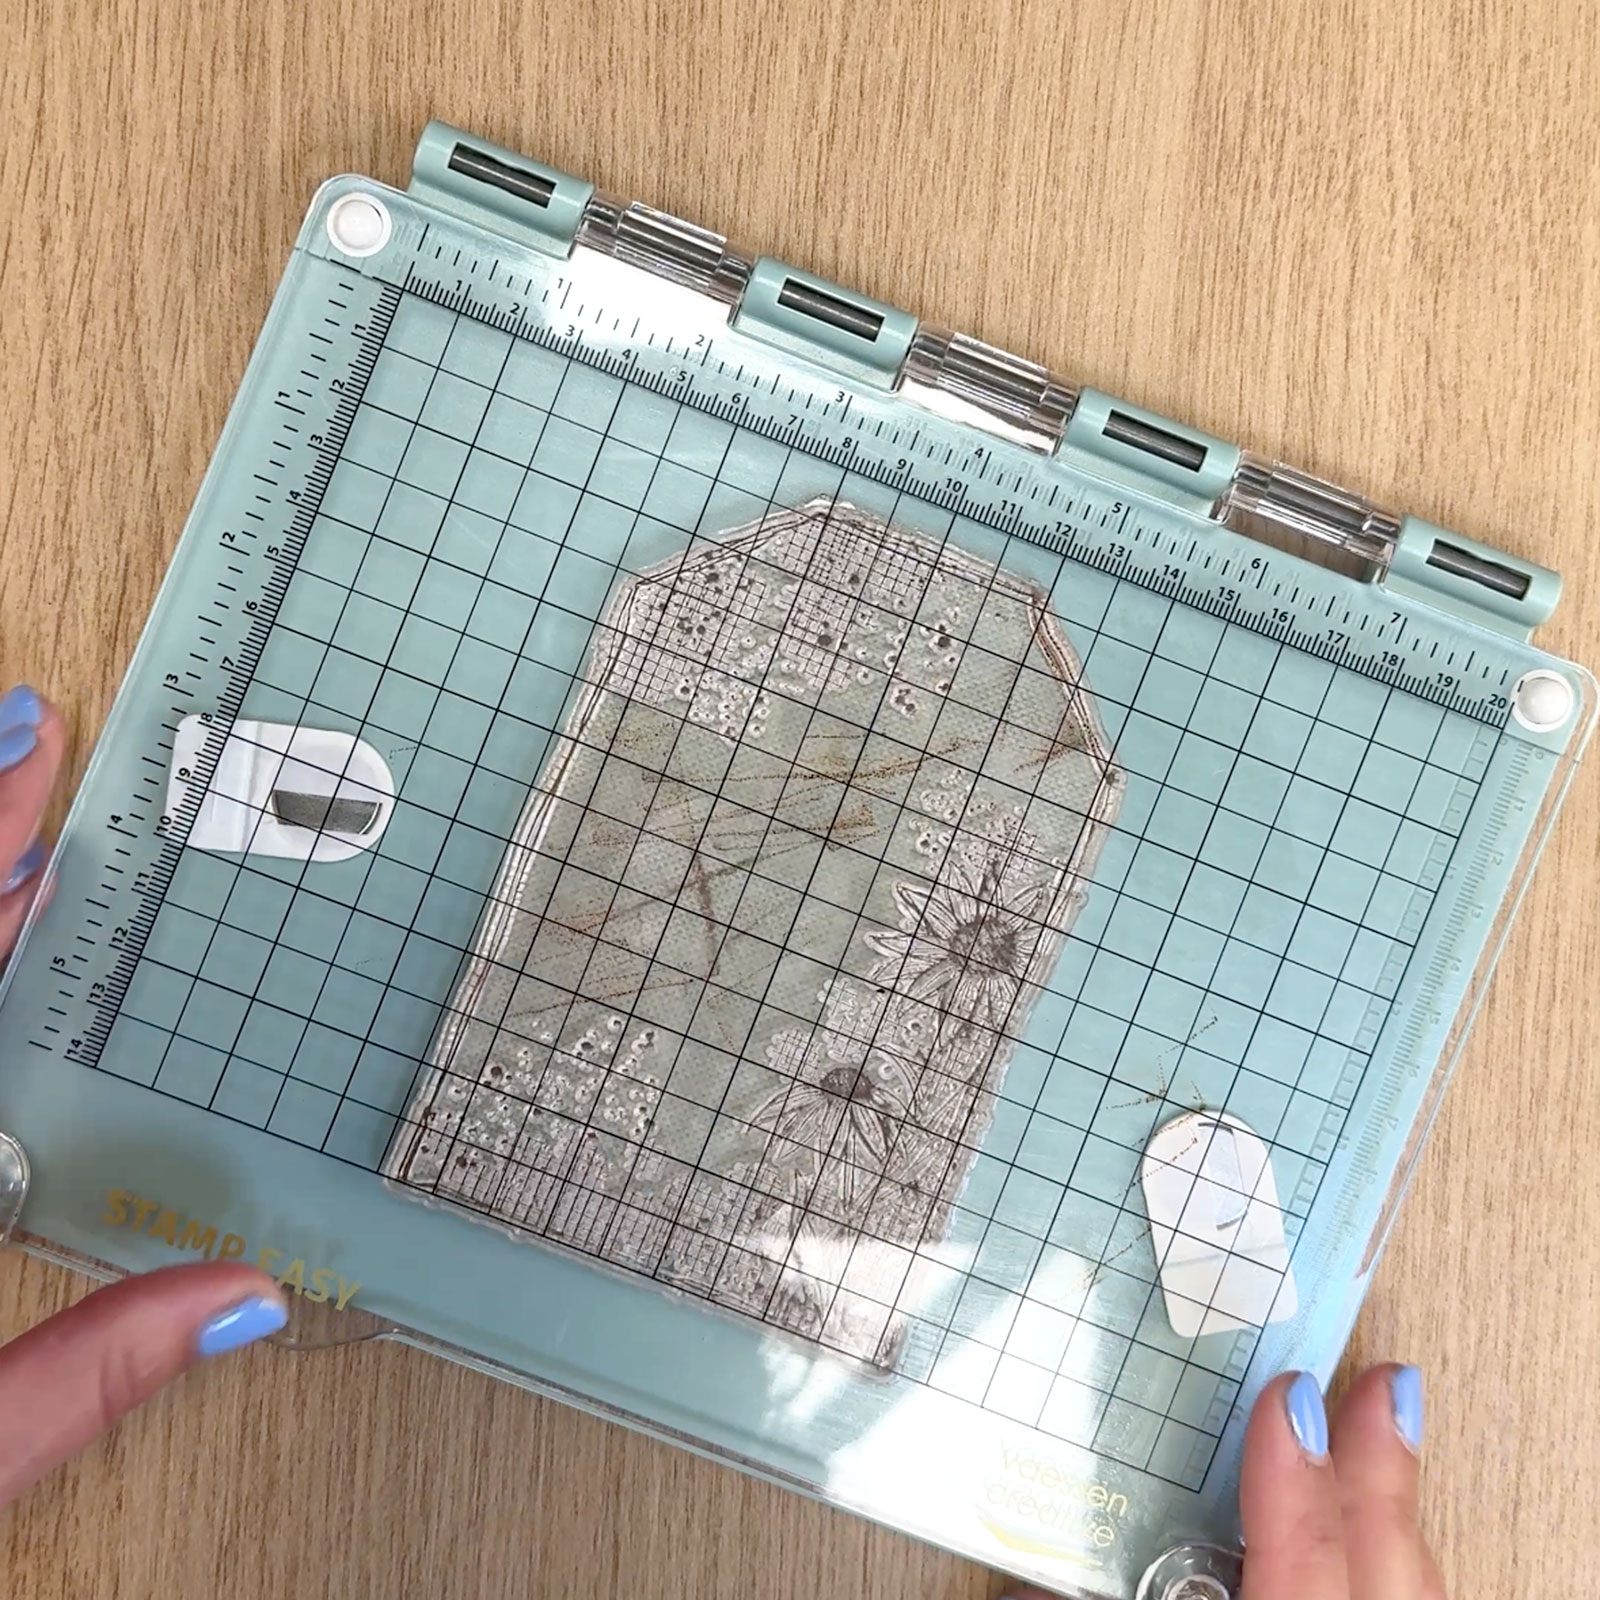
Place the green paper in the Stamp Easy and position the Tag Florals stamp neatly on top. Ink the stamp and stamp it onto the paper. Repeat if the print isn’t clear enough.
7
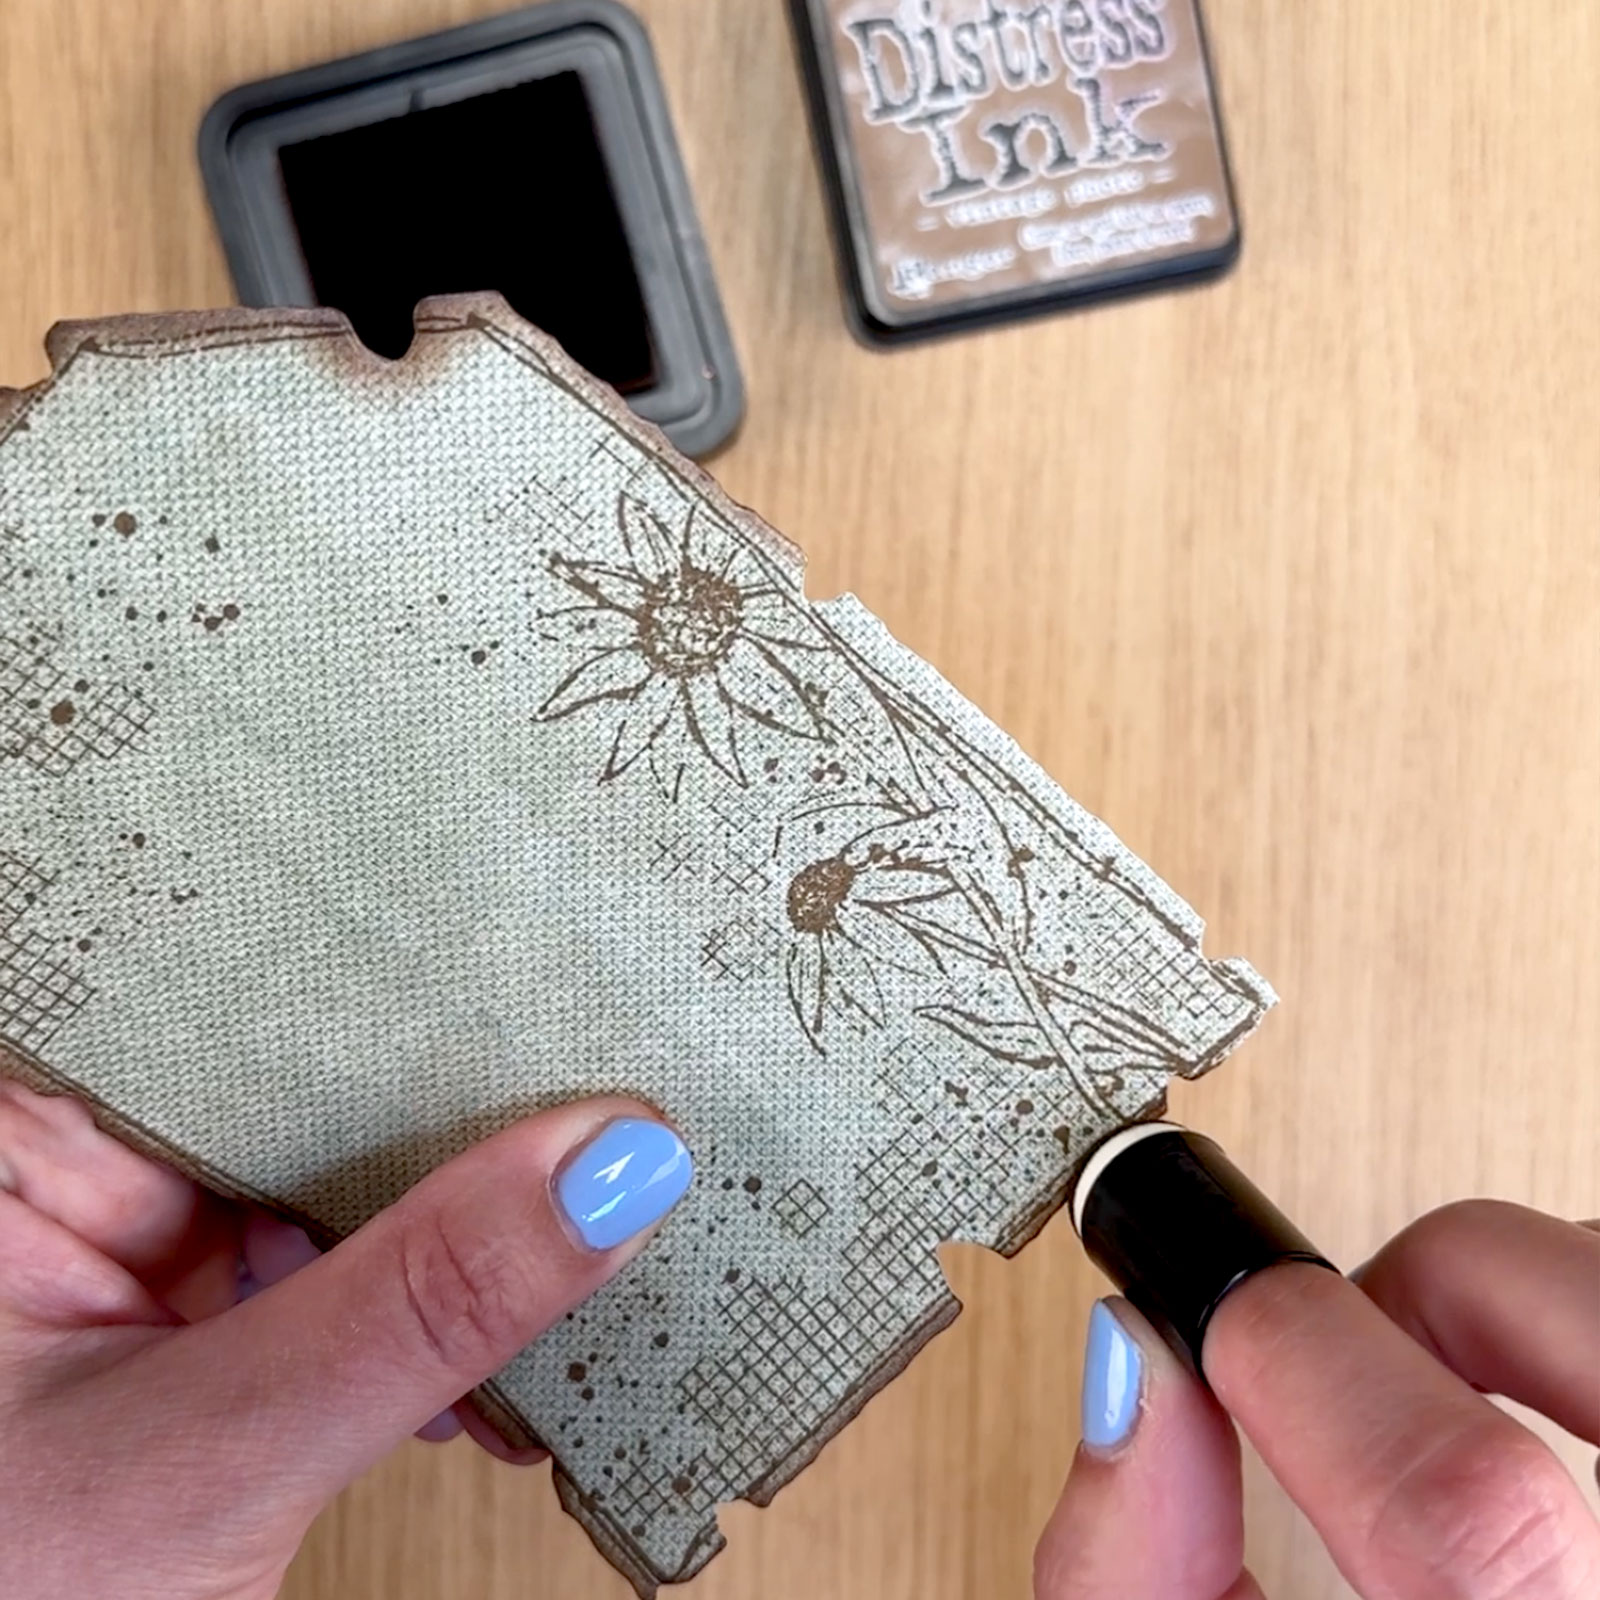
Use a finger dauber and the same ink colour to give the label edges a vintage look.
8
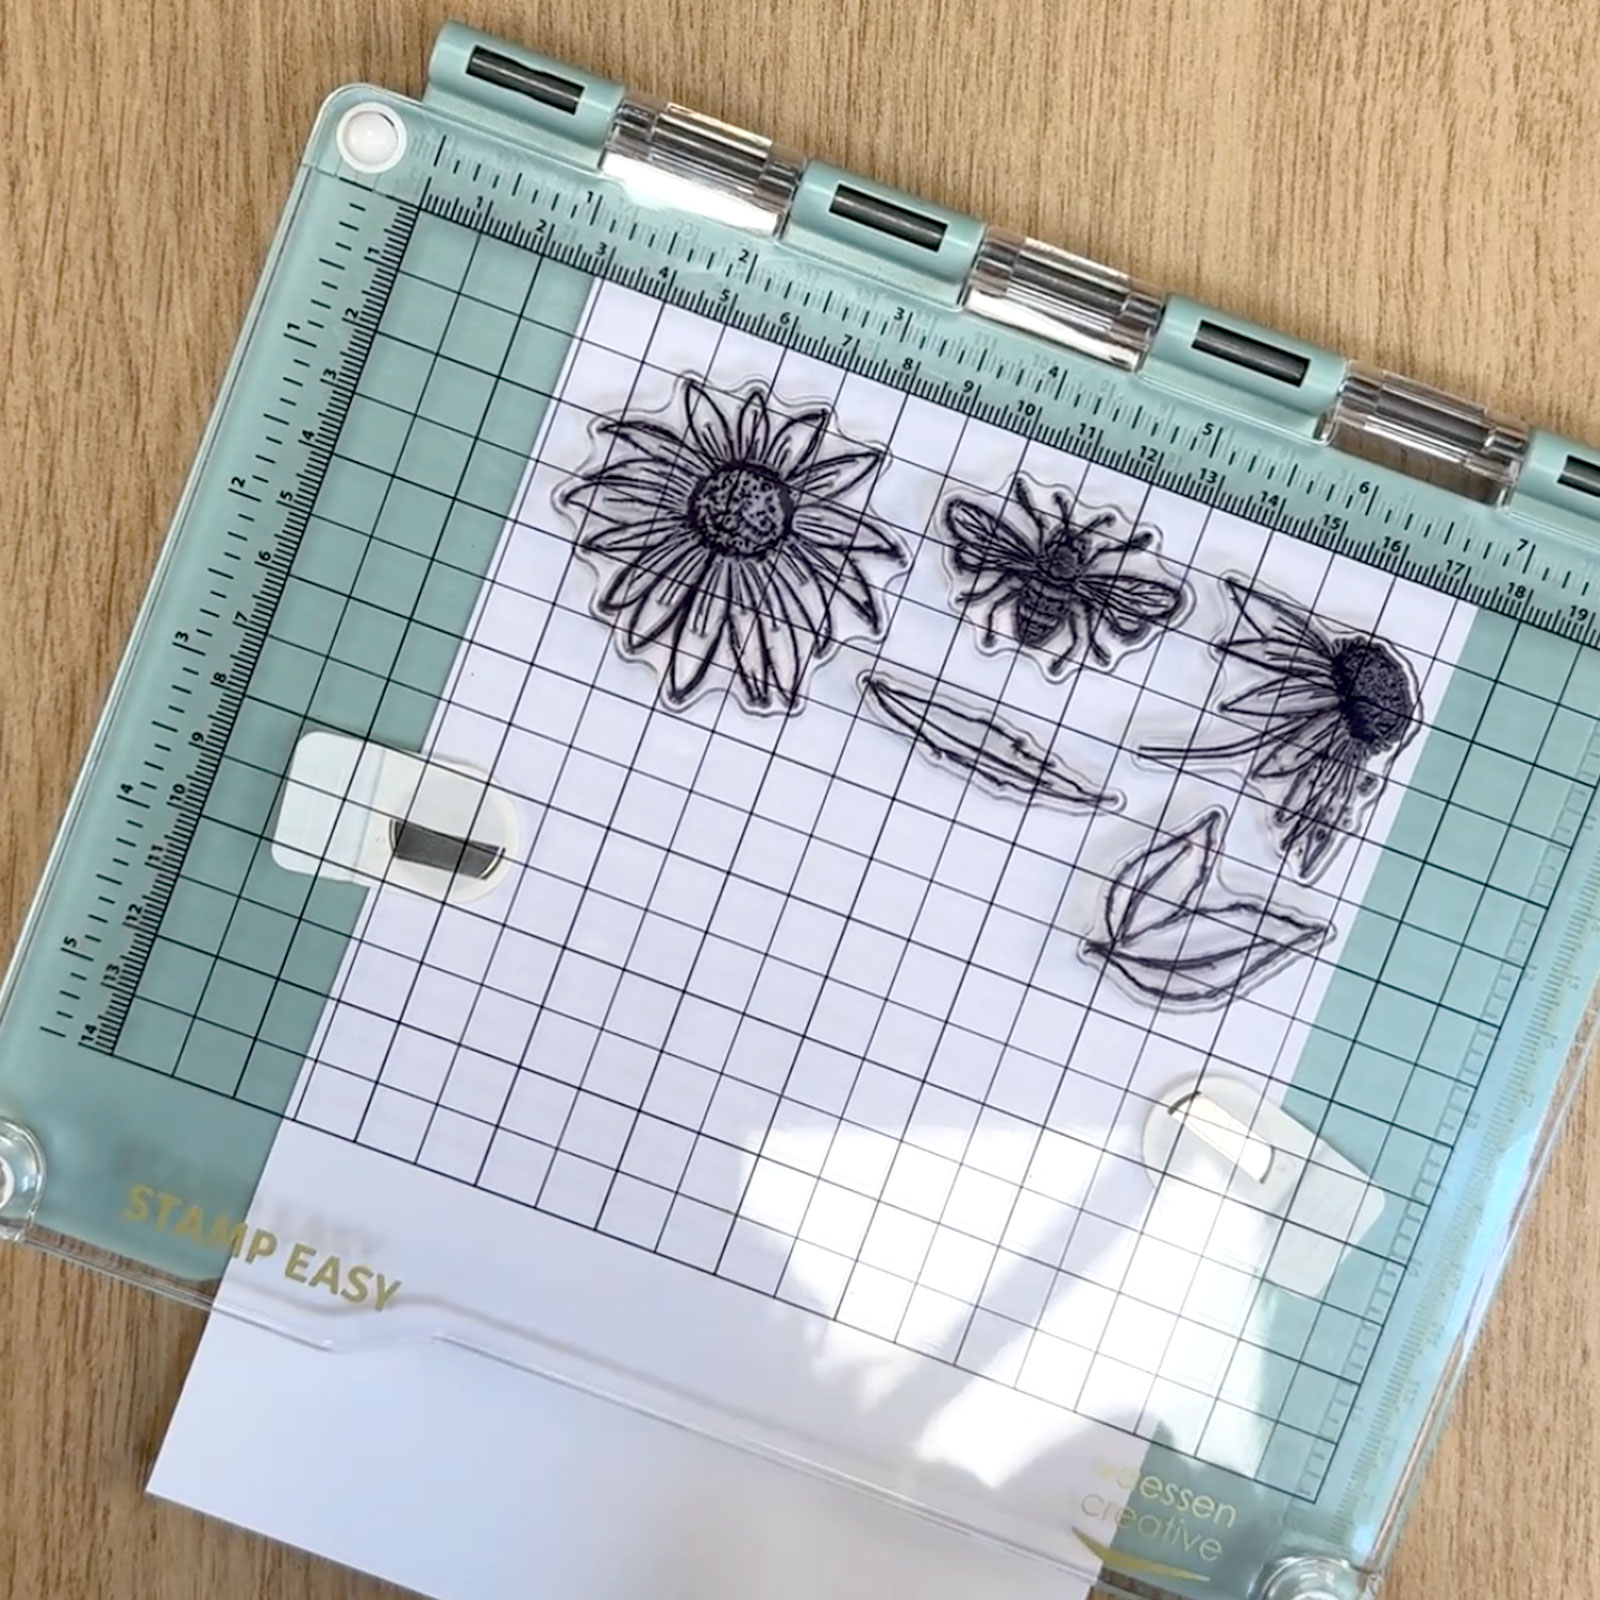
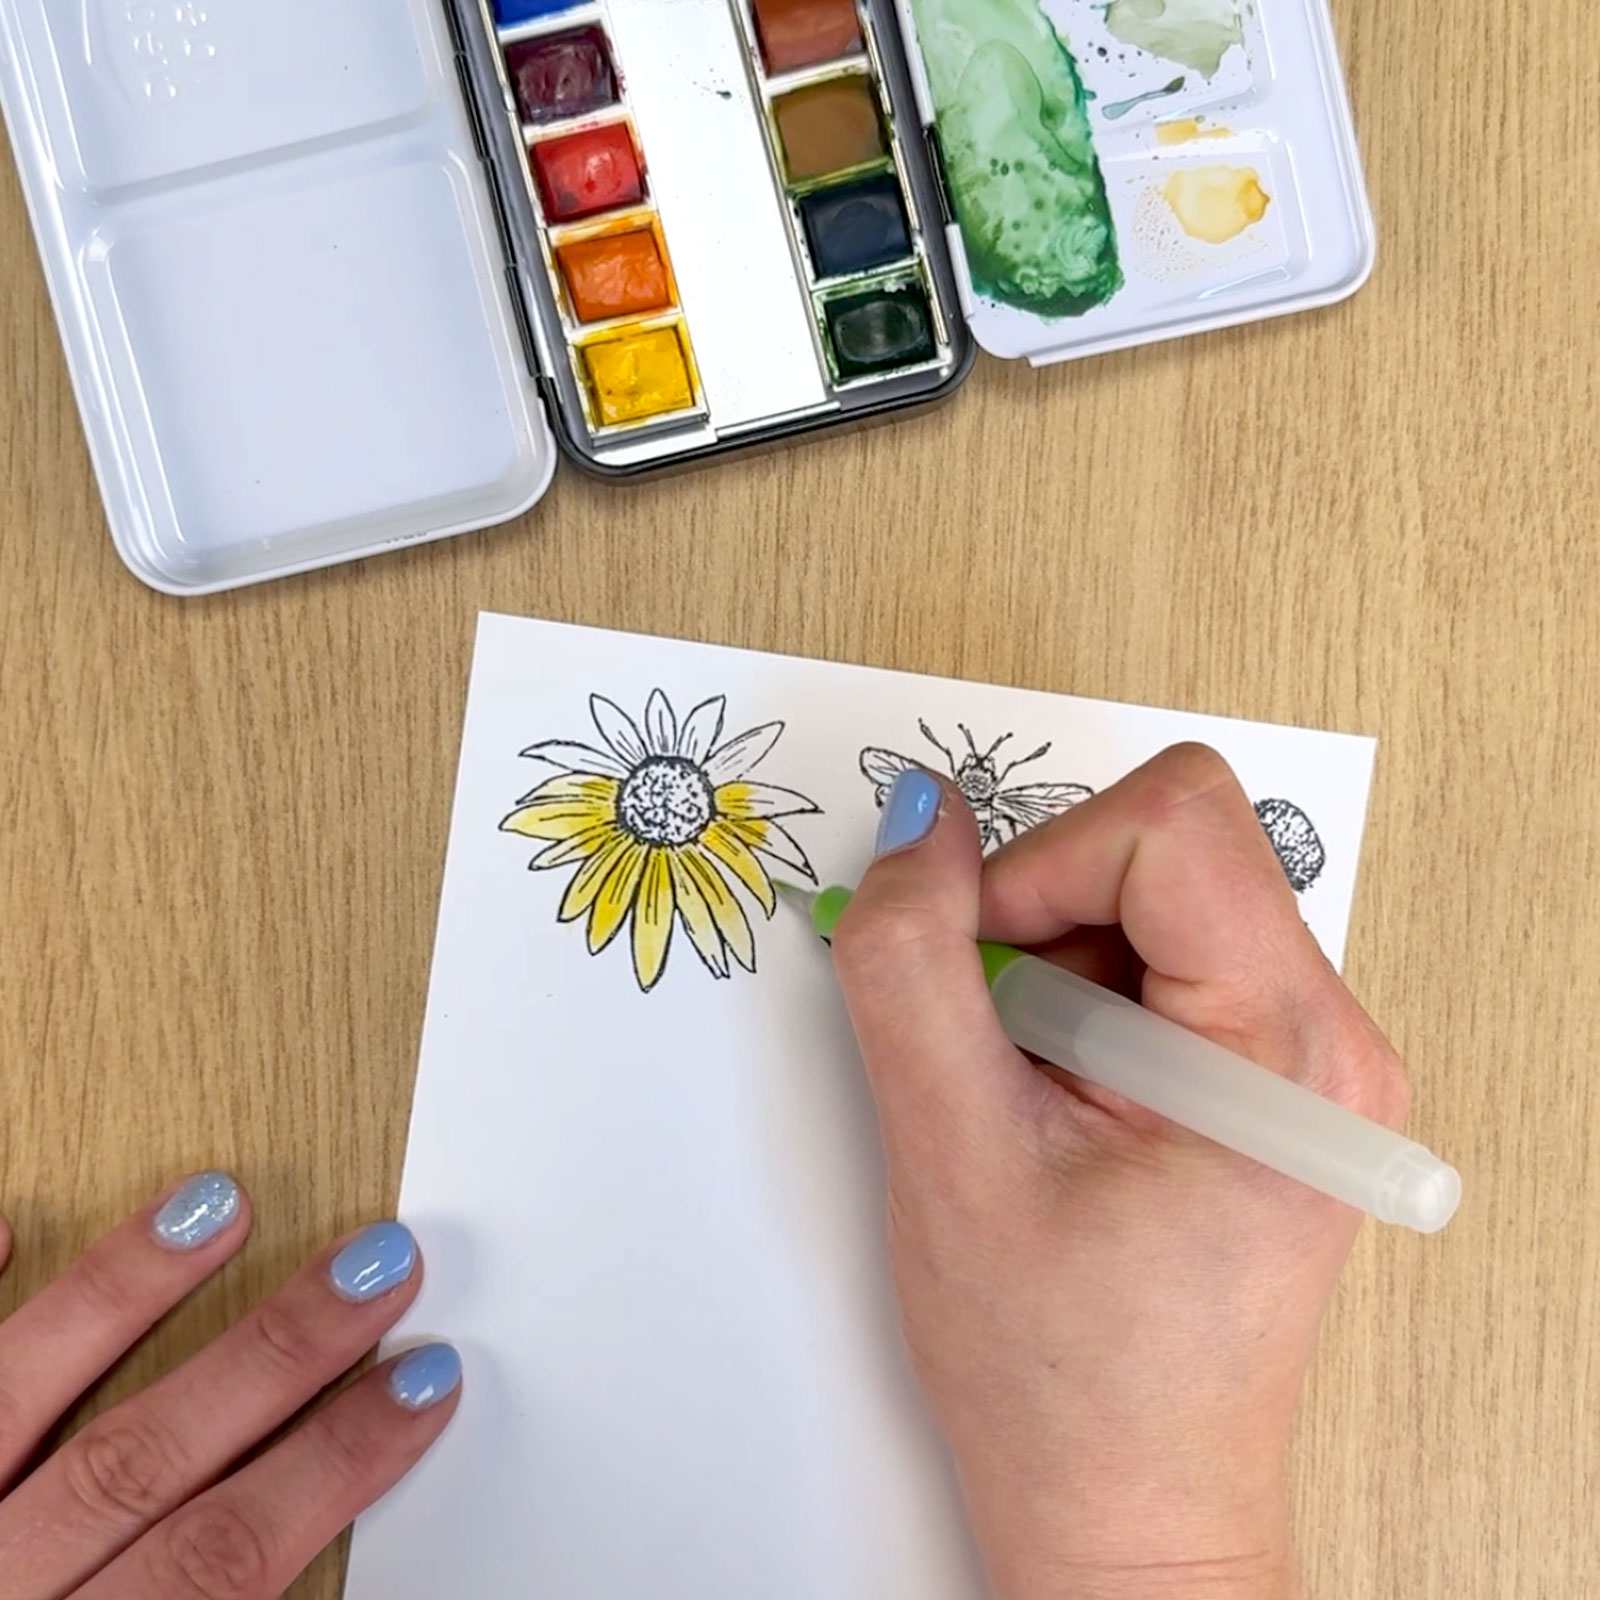
Place a sheet of watercolour paper in the Stamp Easy and stamp the Floral Bits using waterproof ink.
9
Let the ink dry completely. Then colour the stamped images with watercolour paint and a waterbrush in your favourite colours.
10
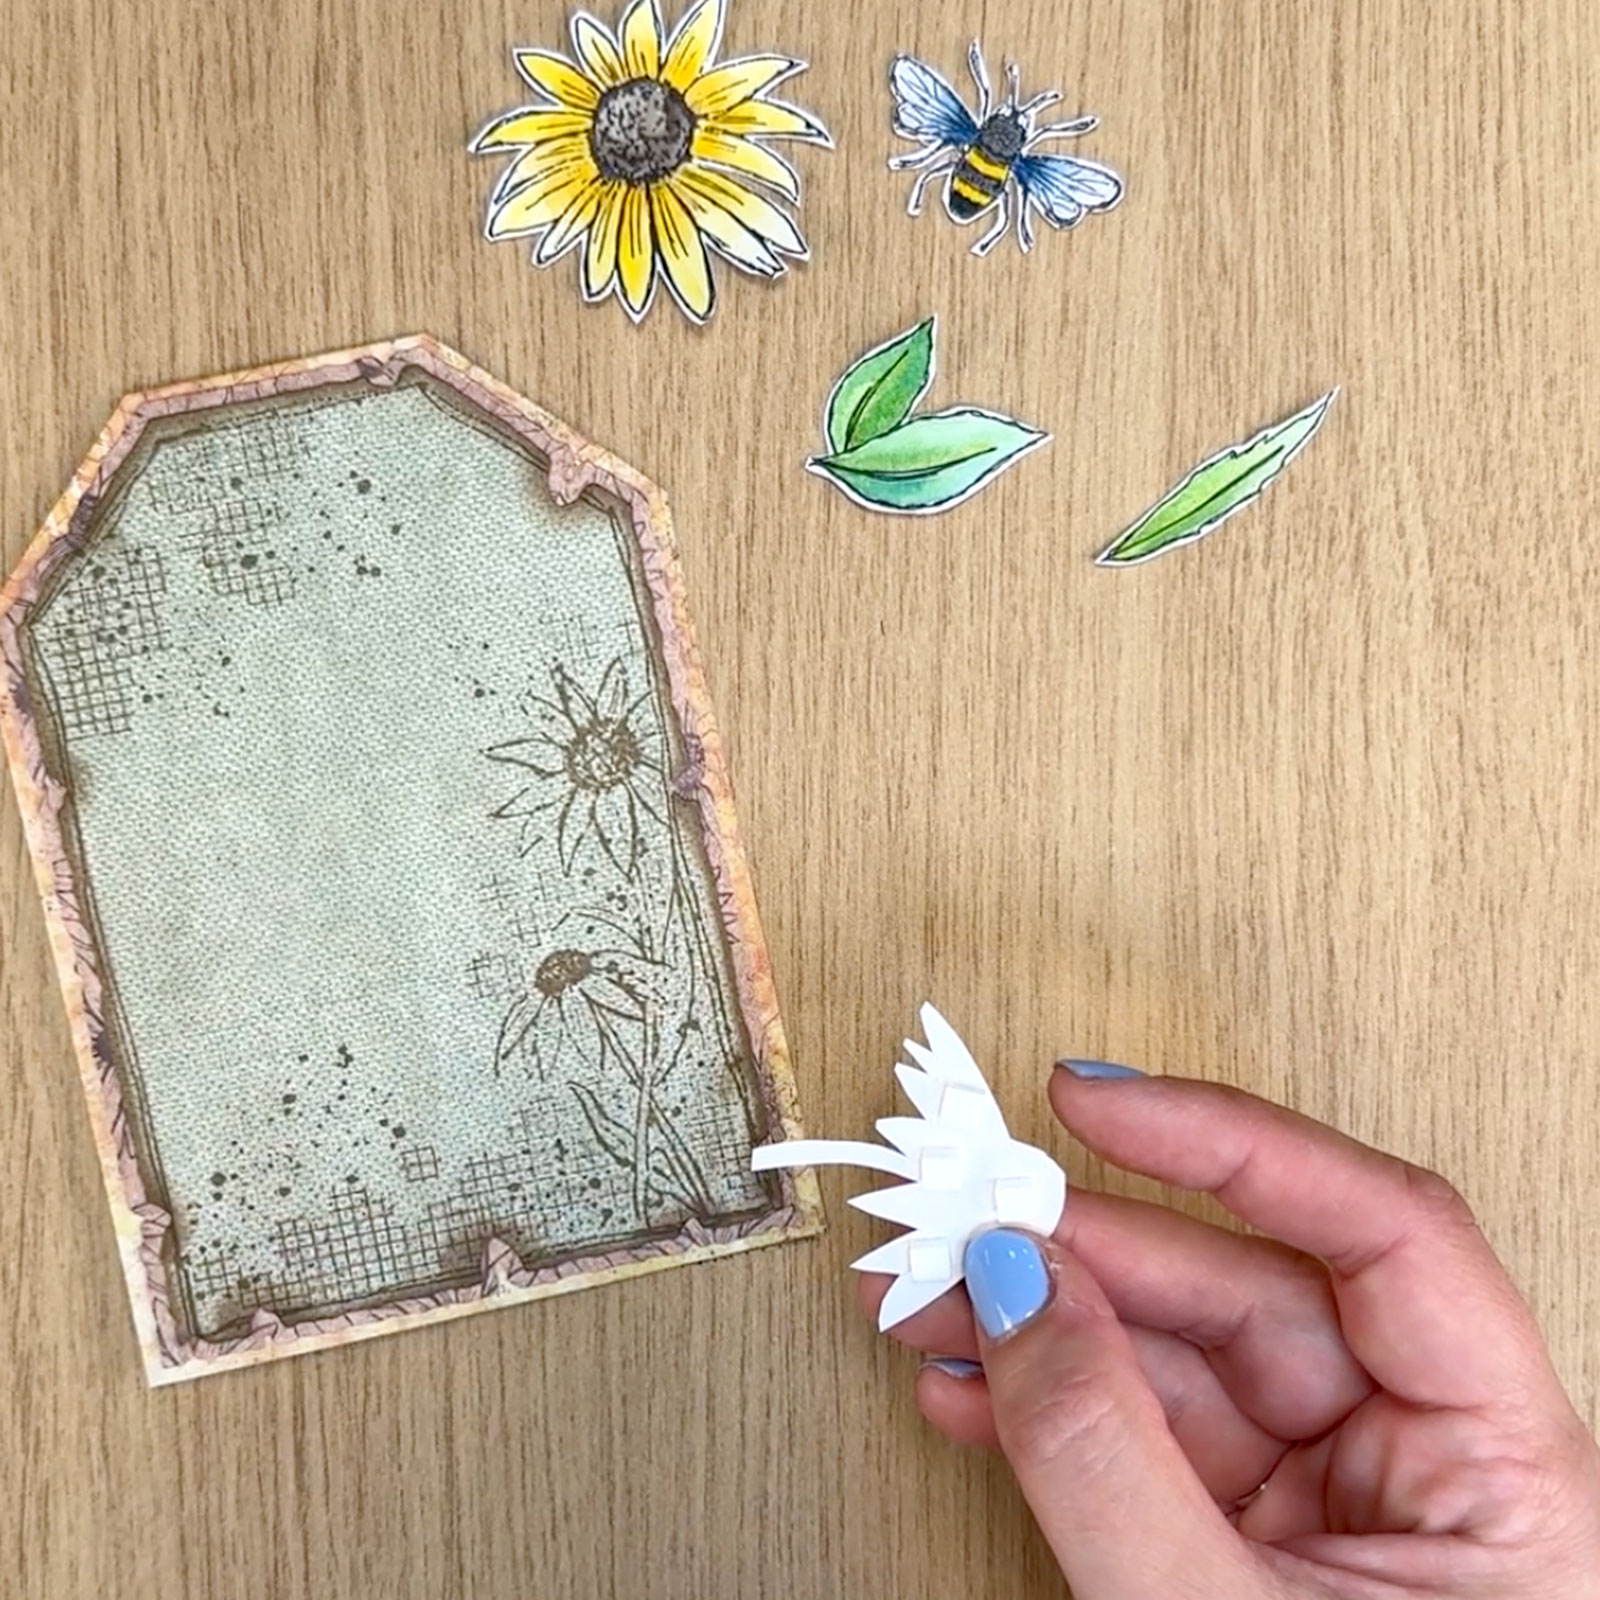
Cut out the coloured images neatly along the edges.
11
First, glue the three tags together using glue or double-sided tape. Then attach the cut-out images with foam tape to create a 3D effect.
12
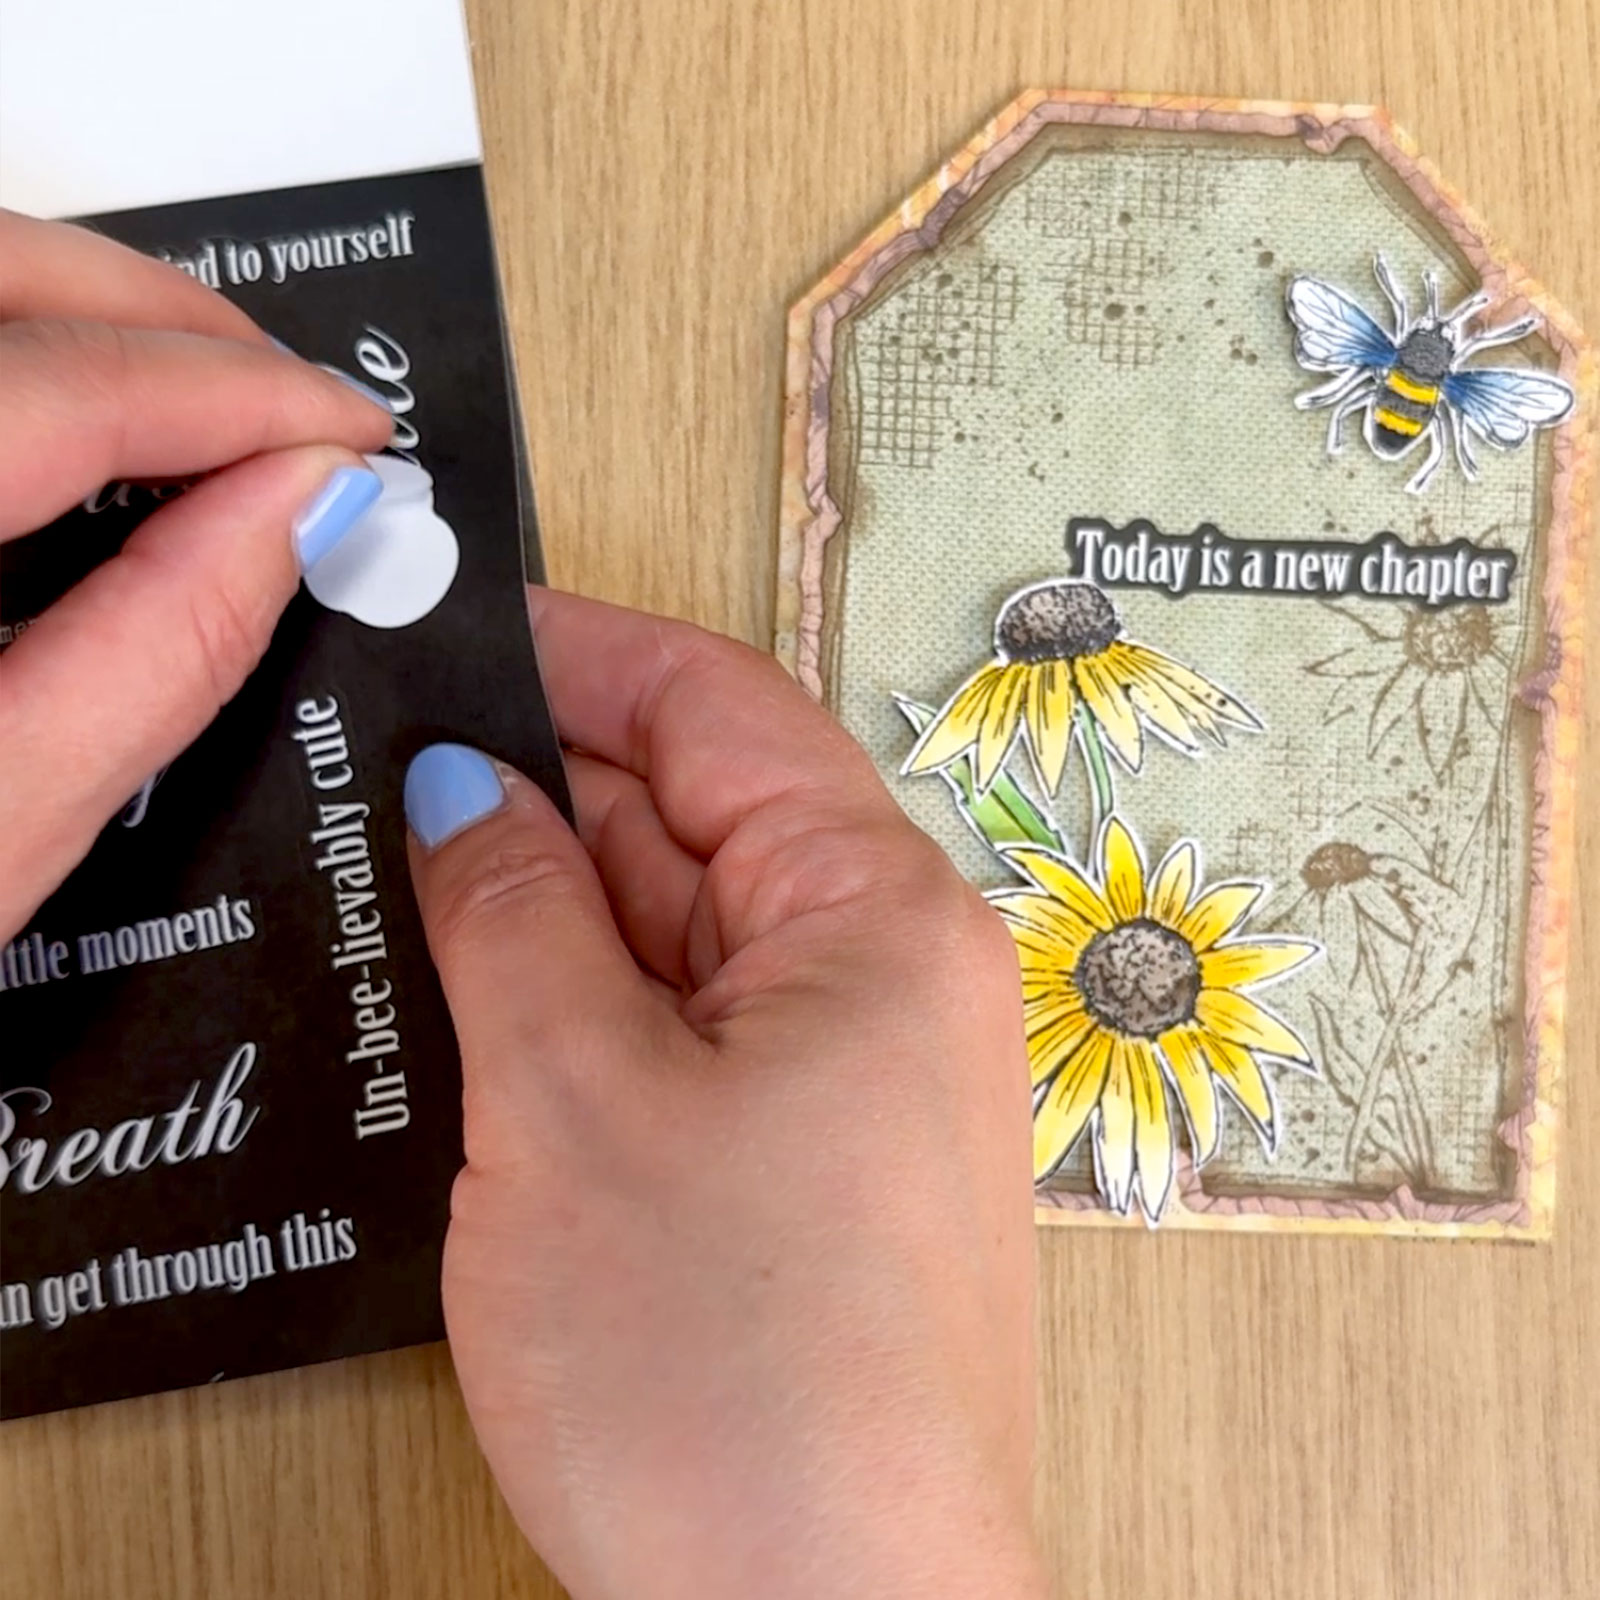
Finally, pick a few stickers with a positive message from the sticker pad and place them on the card.