Do you love paper crafting? Create a stylish Post-It cover using scrapbook paper and stamps. In 15 simple steps you’ll make a compact booklet to take with you or give as a gift.
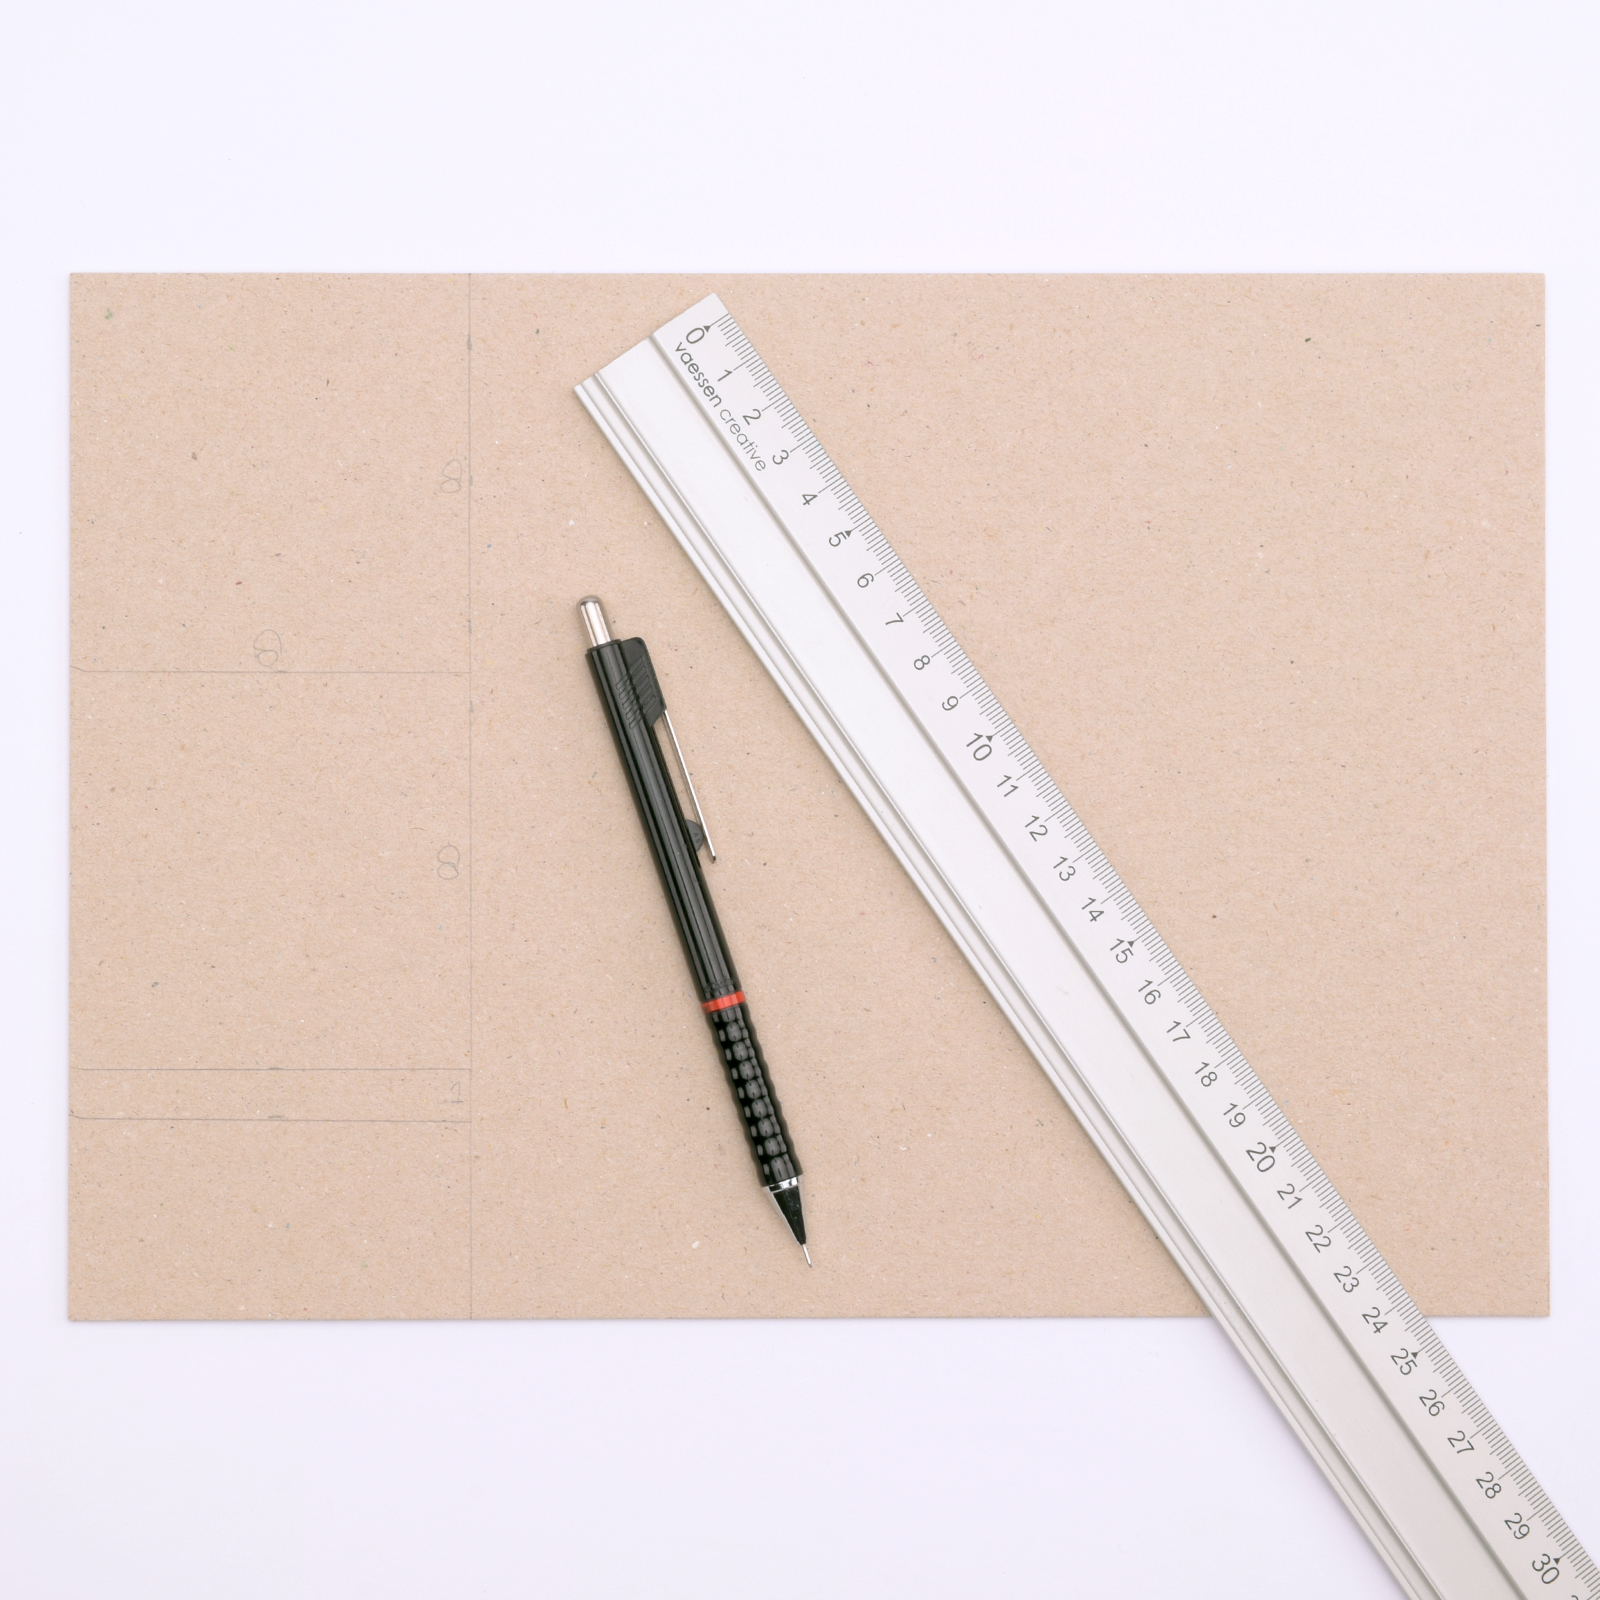
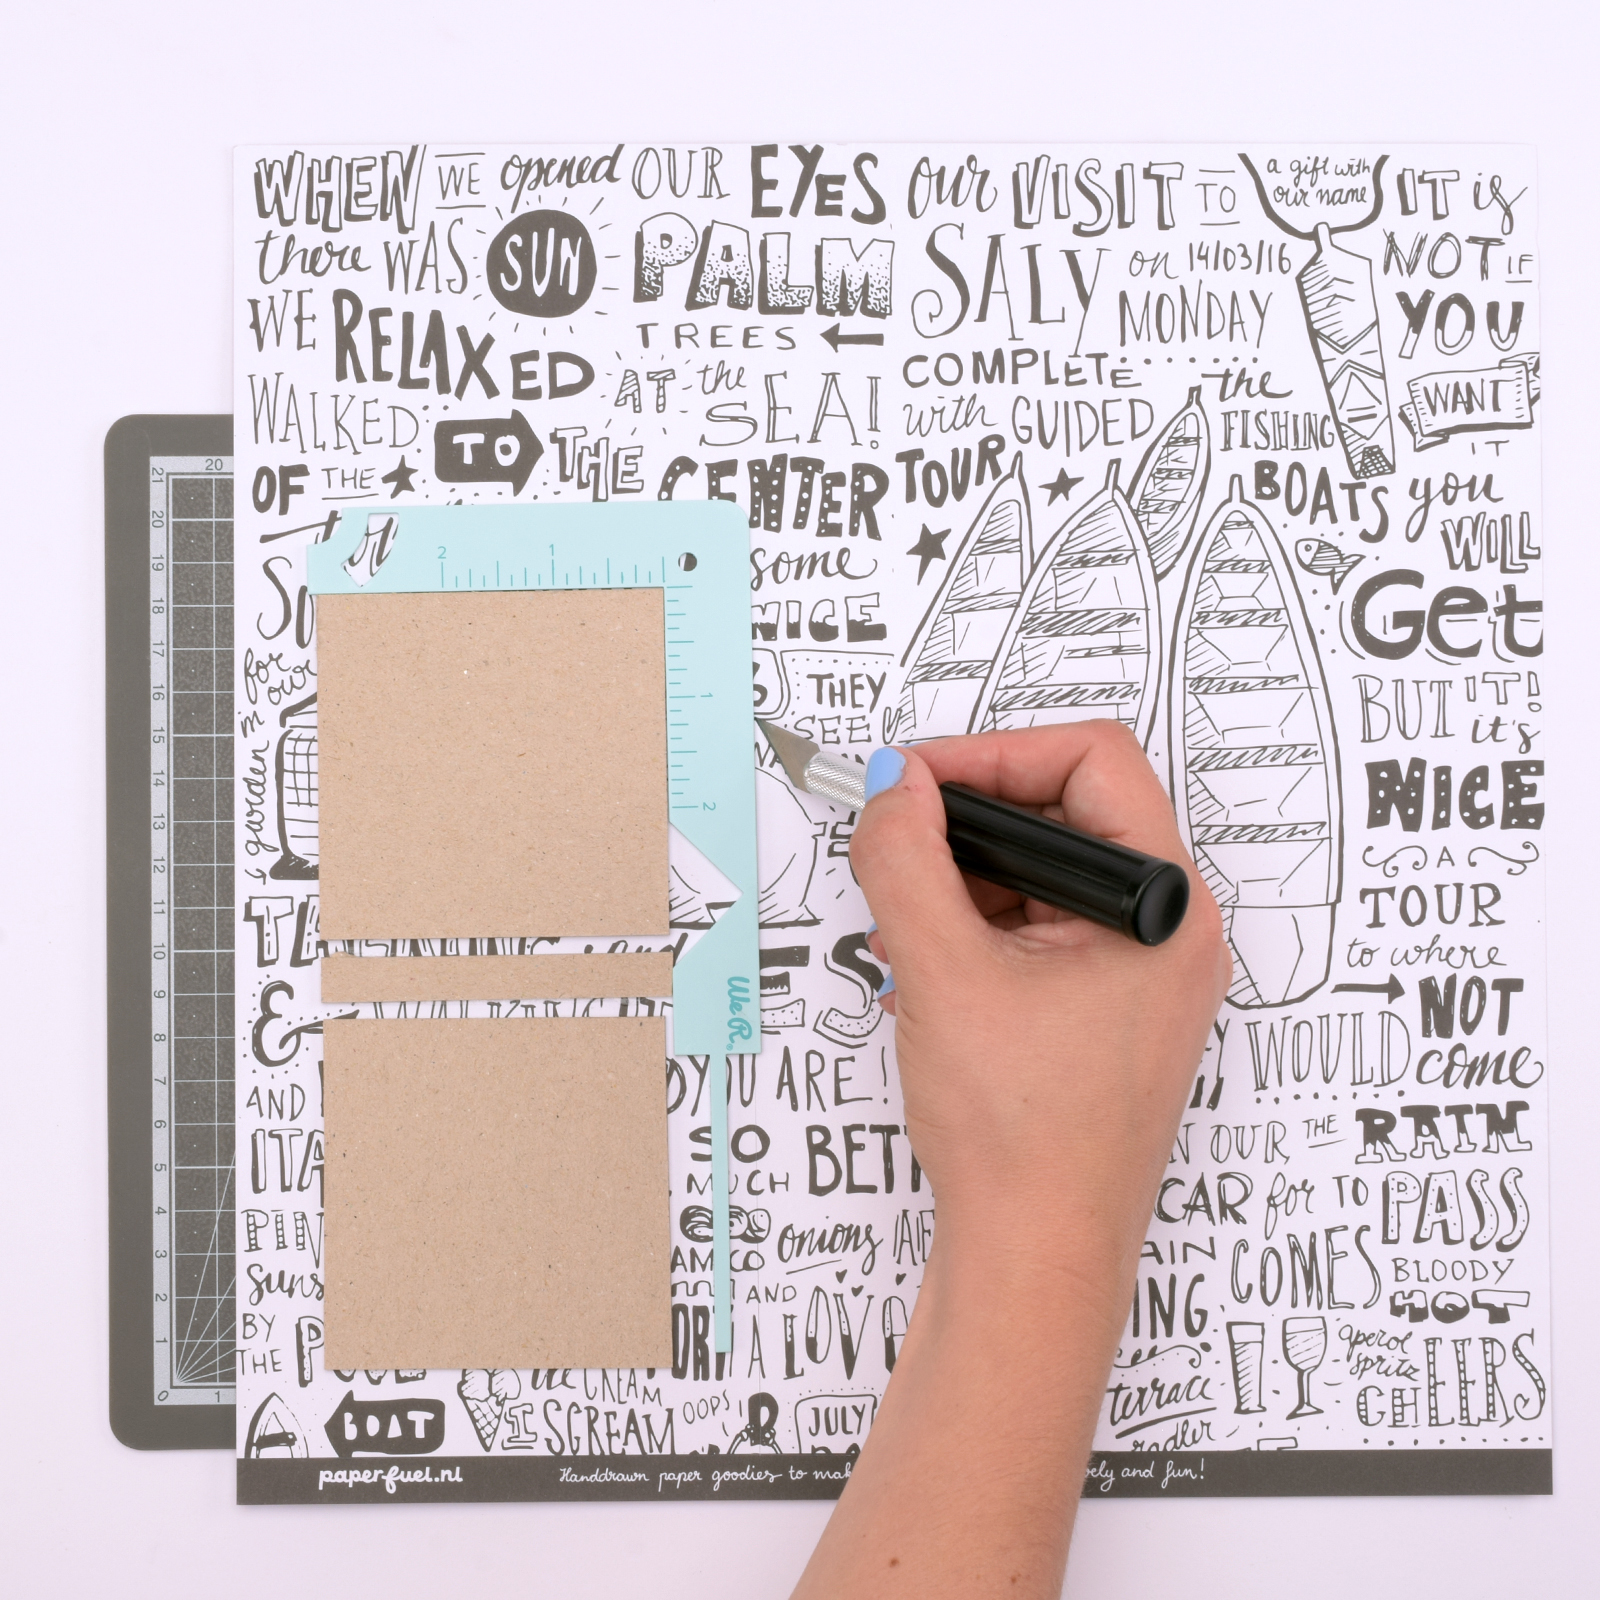
Take an A4 sheet of grey cardboard and draw two squares, each measuring 3.1 x 3.1 inches (8 x 8 cm), and one rectangle 0.4 of x 3.1 inches (1 x 8 cm).
2
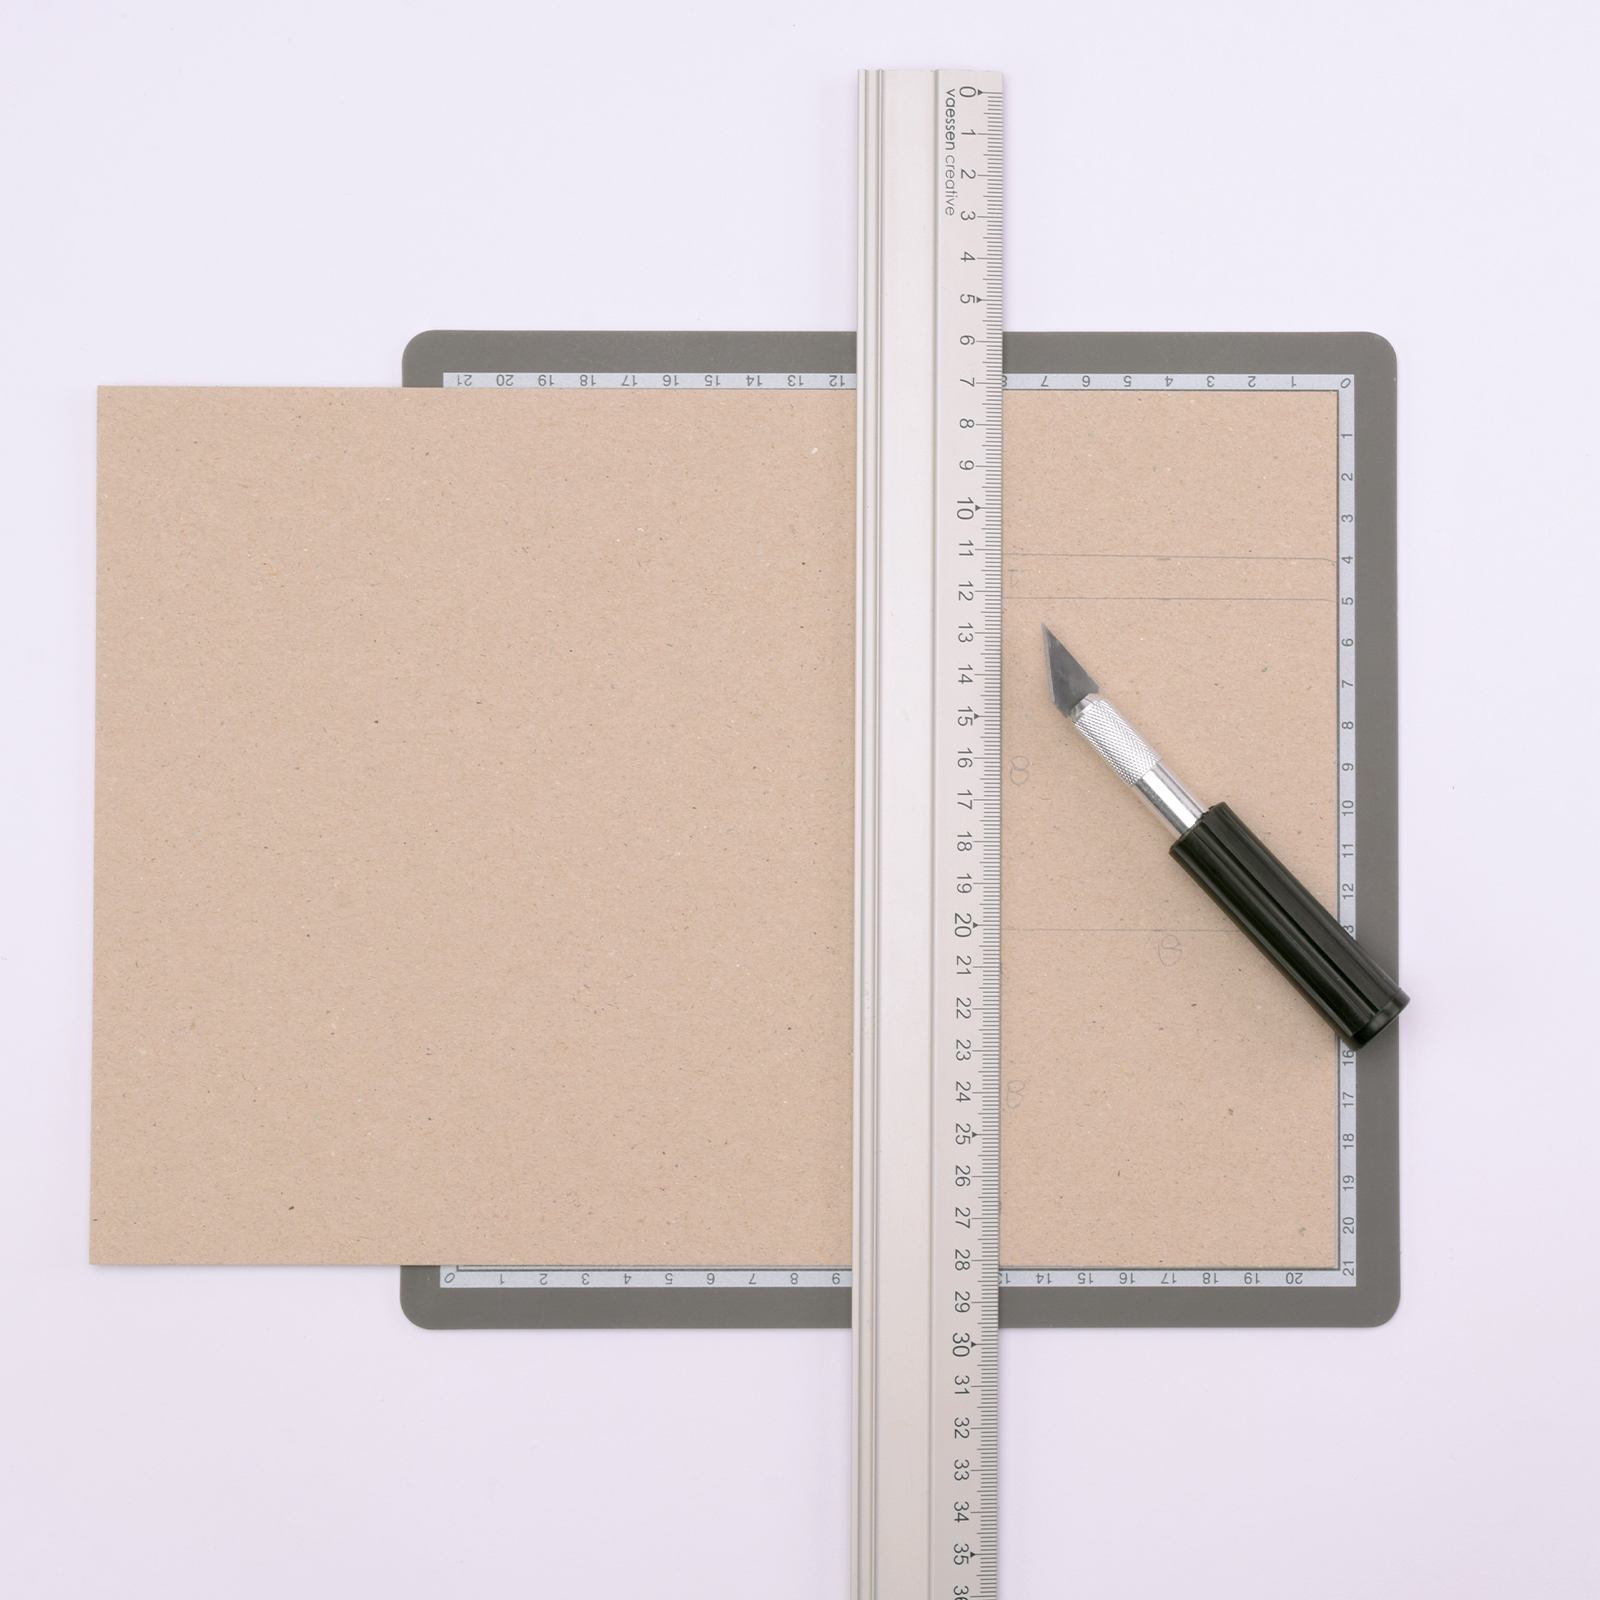
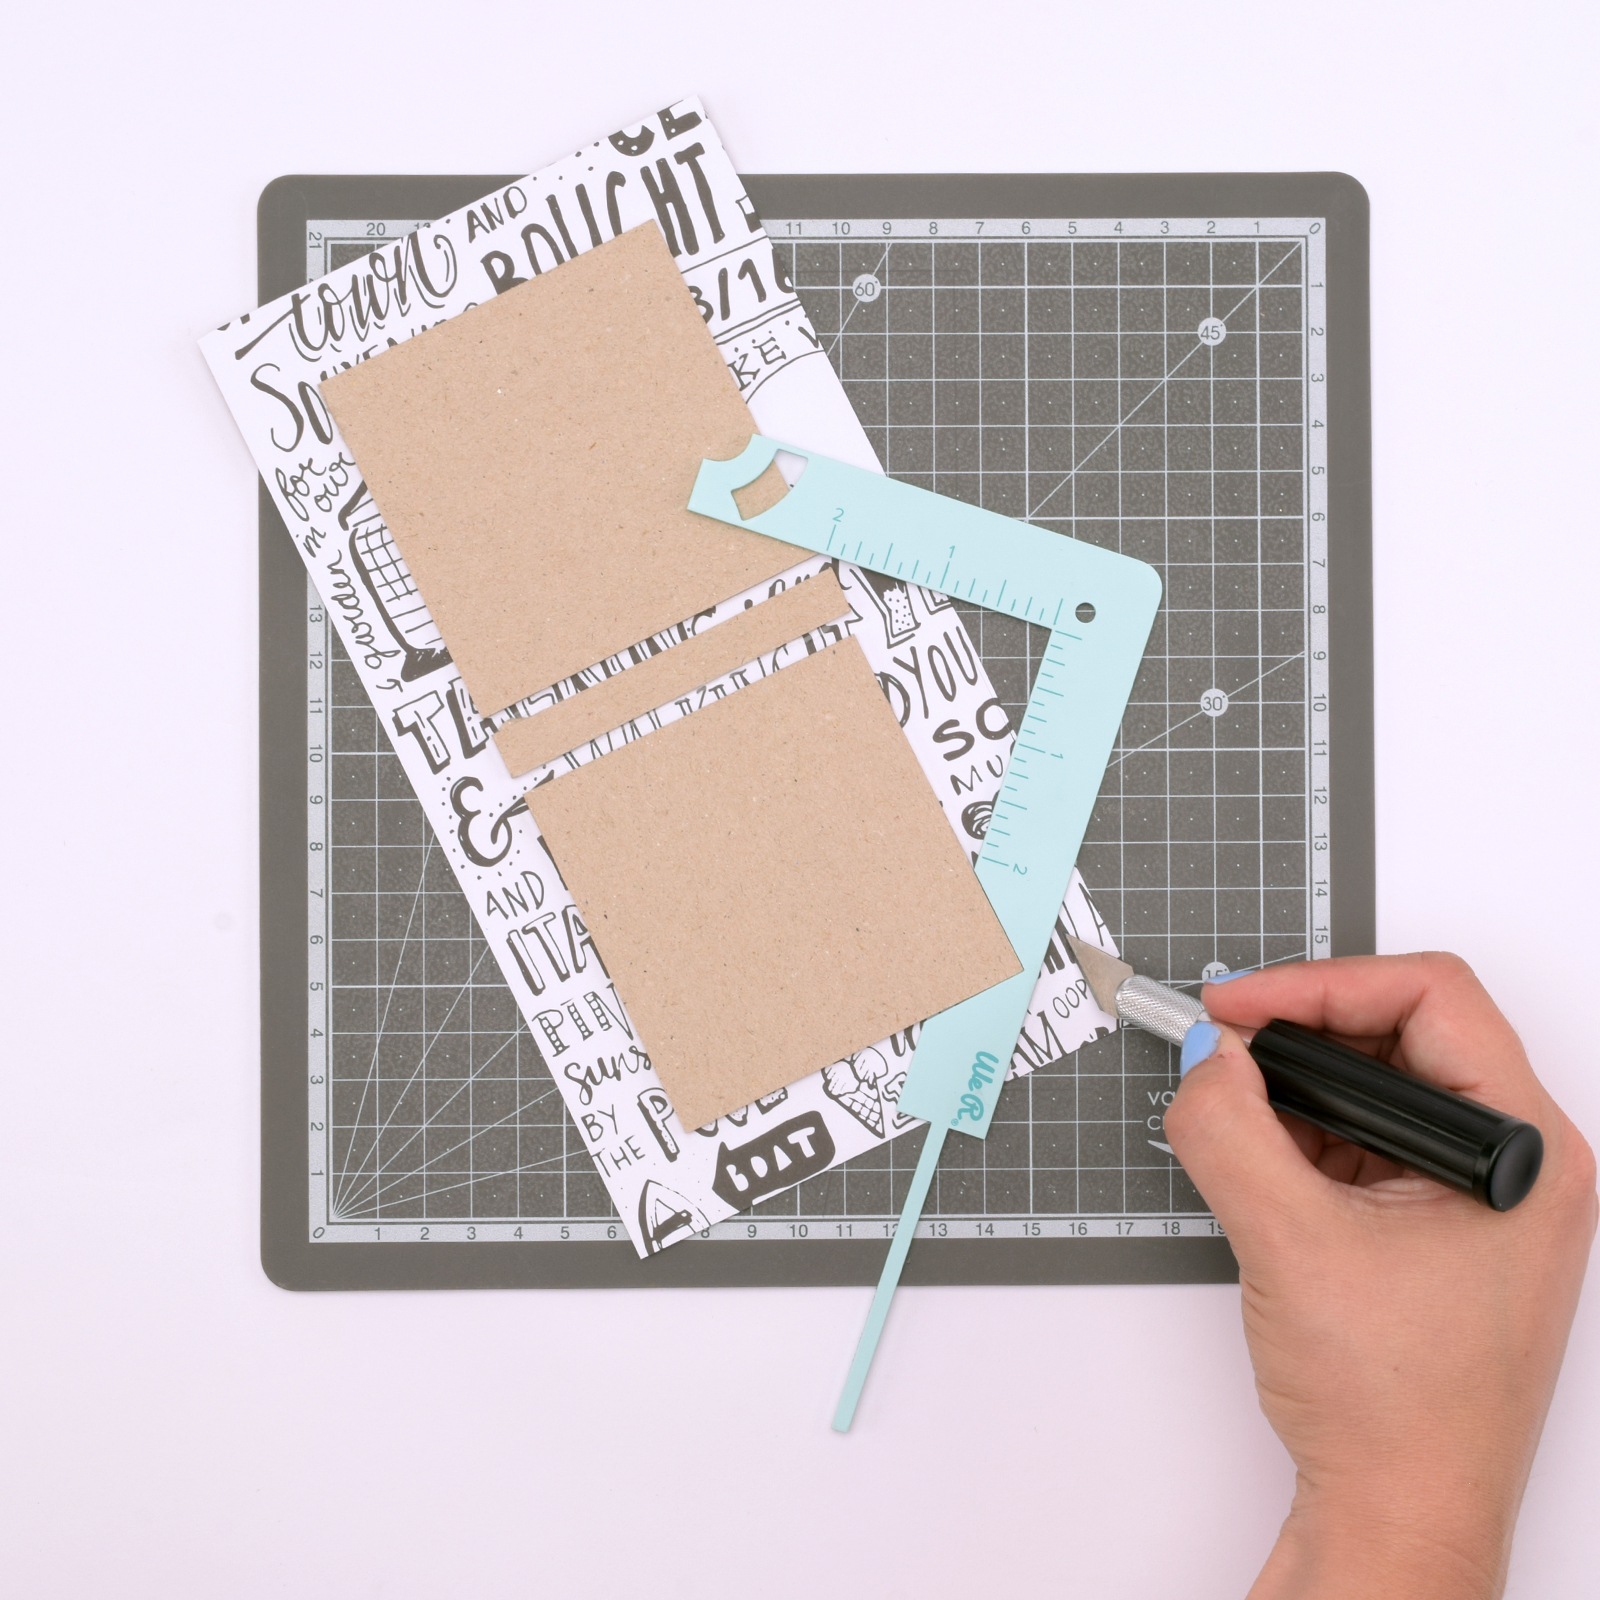
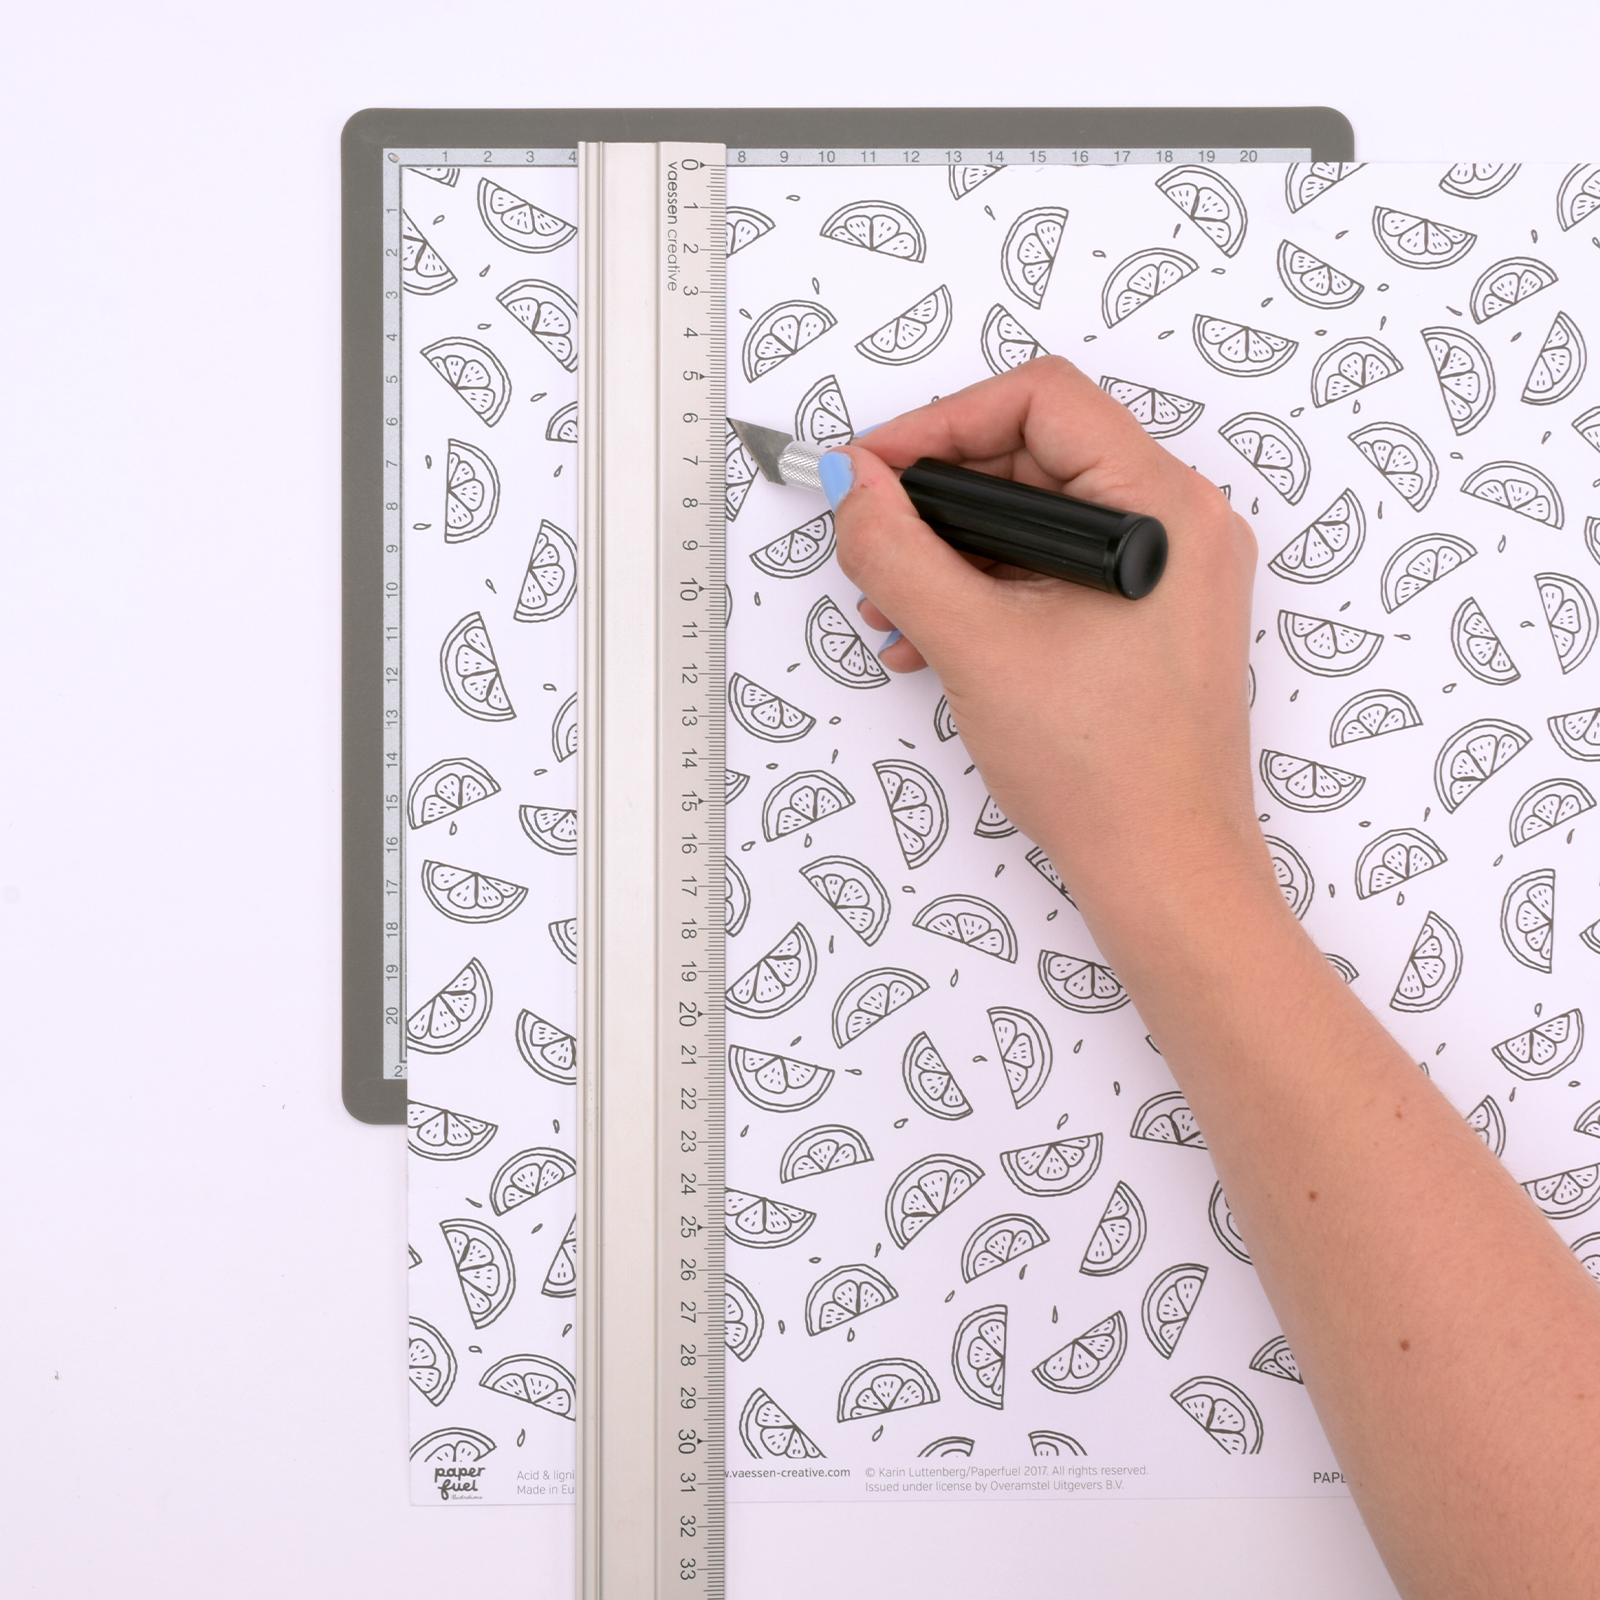
Place the cardboard on a cutting mat and use an aluminium ruler and craft knife to cut out the shapes.
3
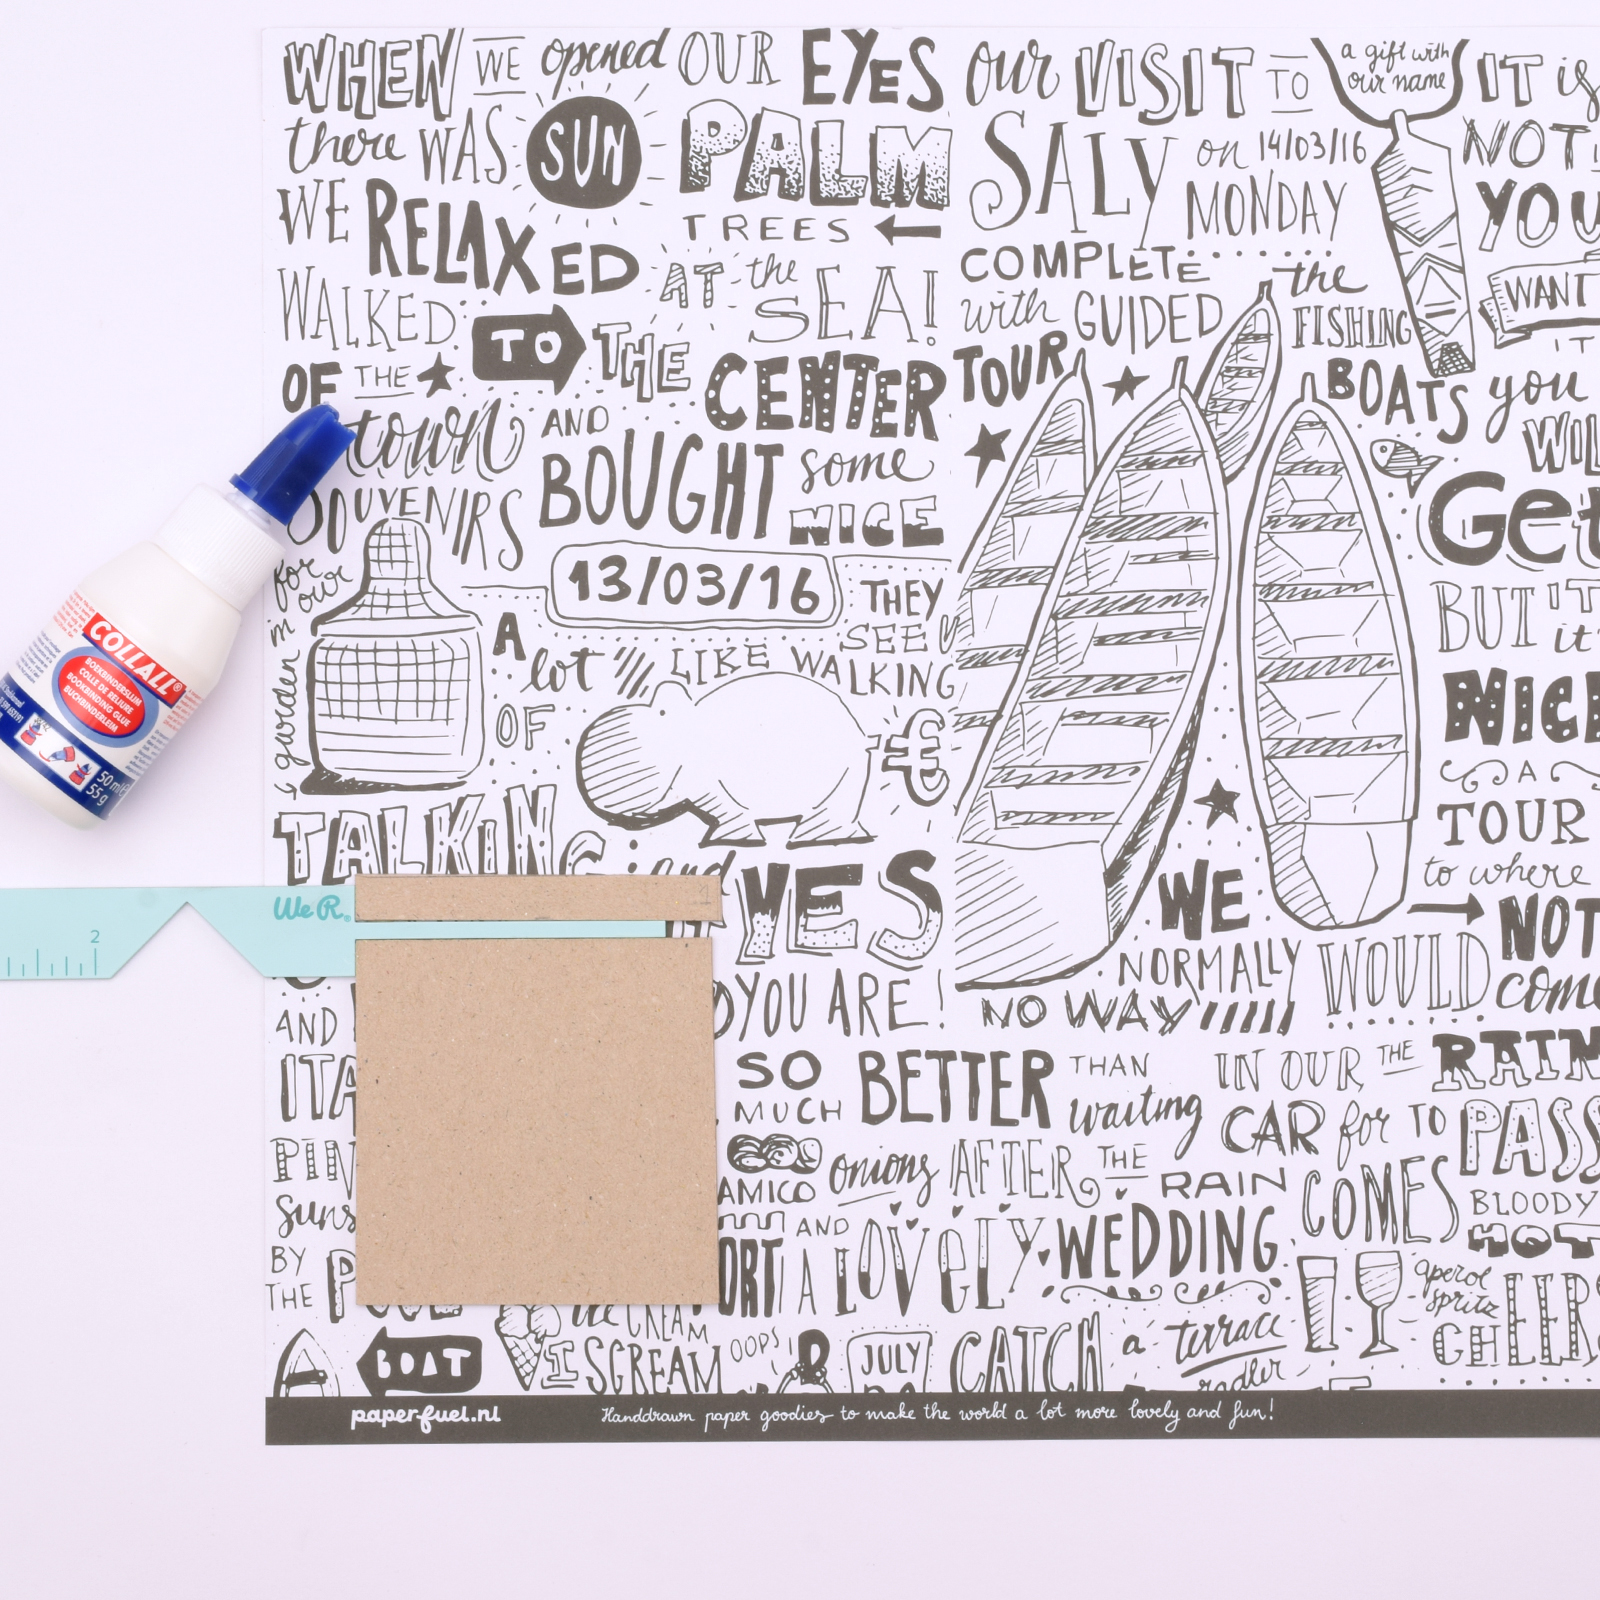
Take a sheet of scrapbook paper and align the We R Makers Book Cover Guide in a corner. Position one of the 3.1 x 3.1 inches (8 x 8 cm) cardboard squares on top and secure it with bookbinding glue.
4
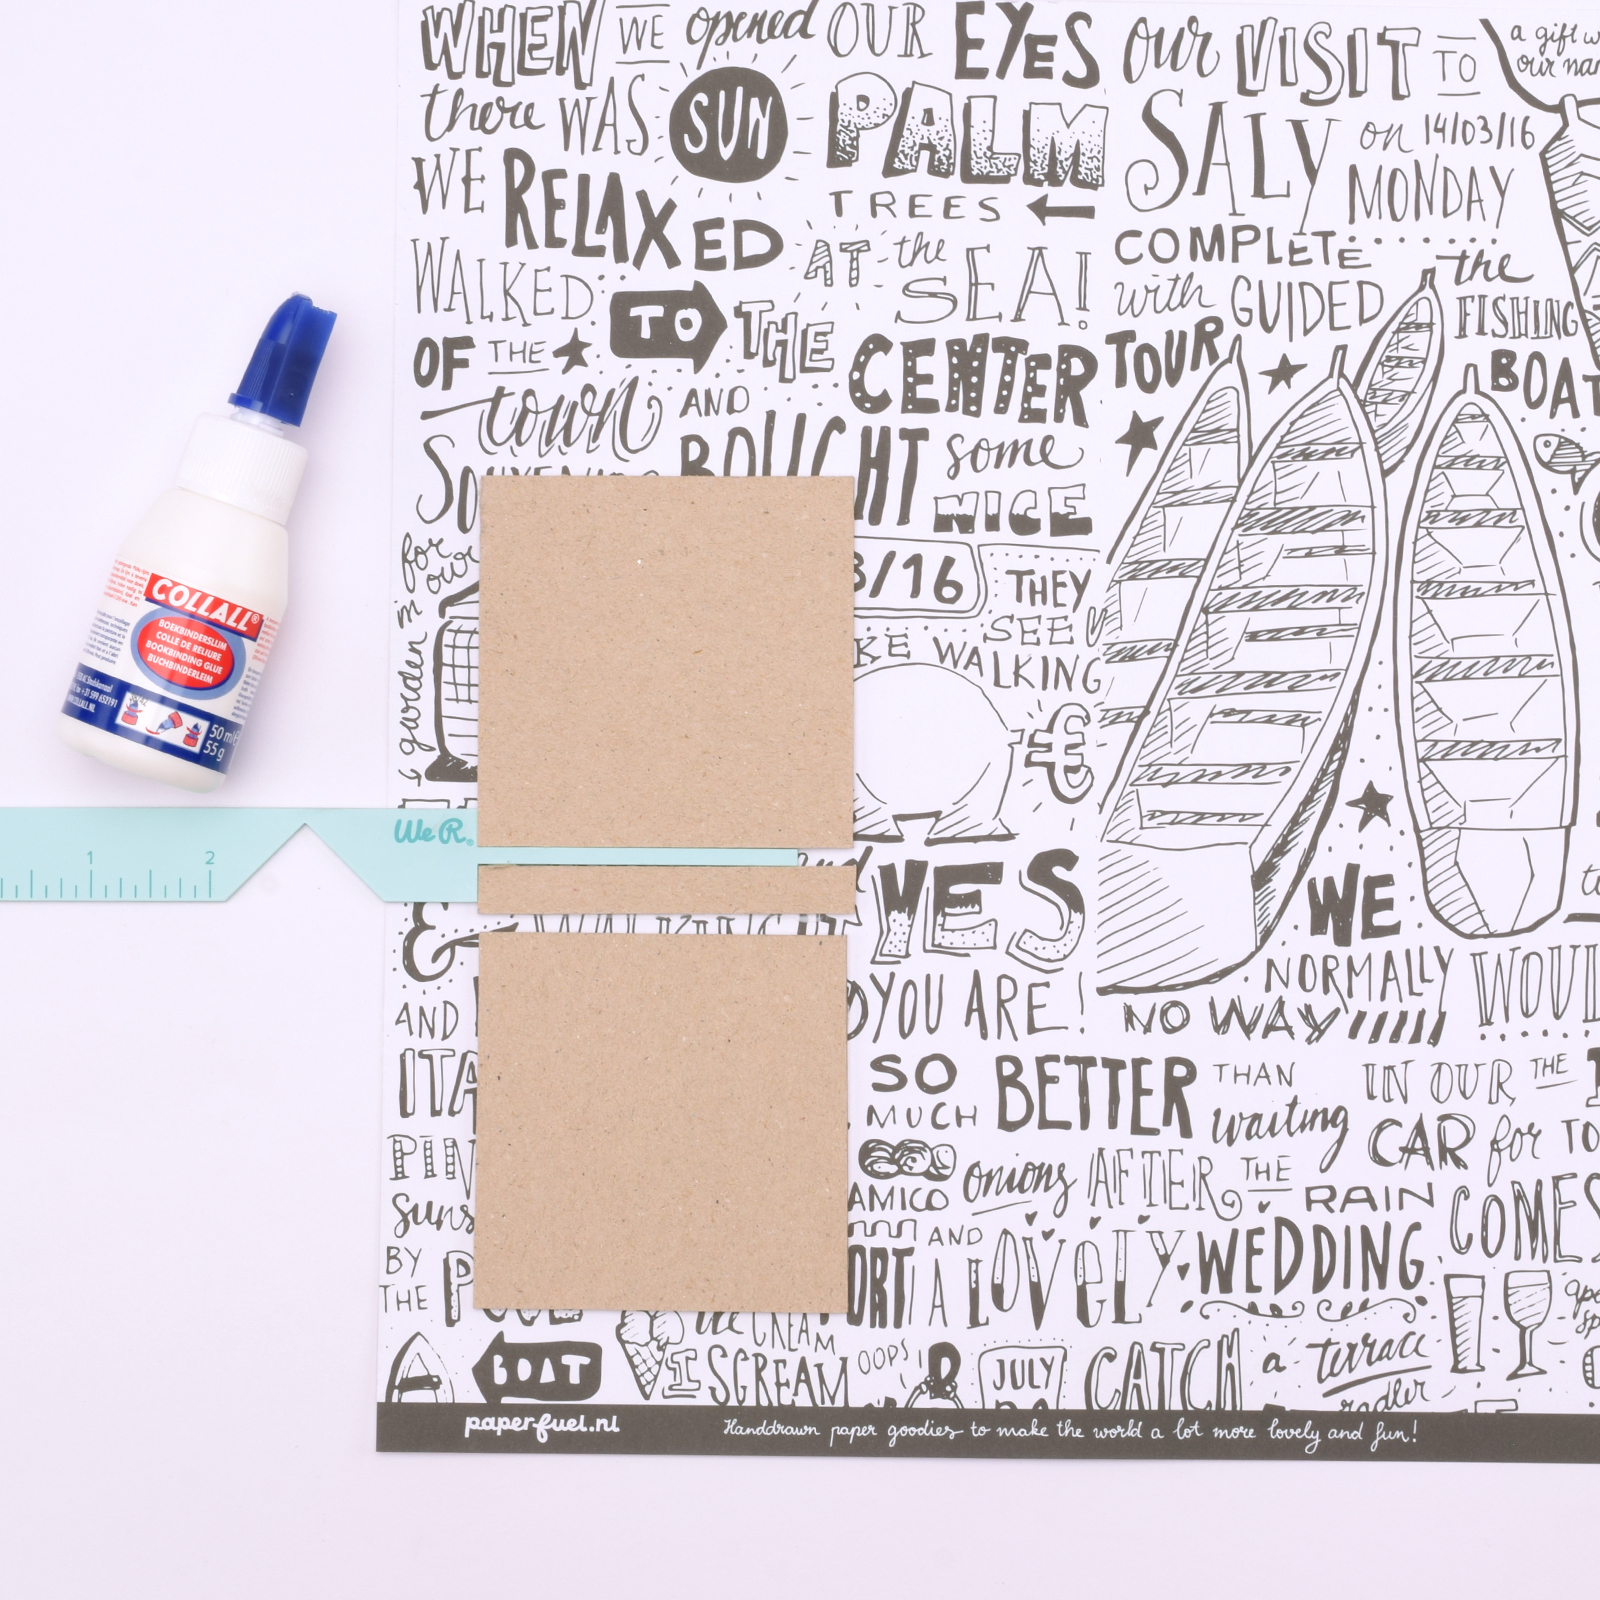
Rotate the Book Cover Guide 90 degrees and use the narrow section to align and attach the 0.4 x 3.1 inches (1 x 8 cm) cardboard piece.
5
Repeat this process for the remaining piece of cardboard.
6
Next, place the Book Cover Guide at a right angle to each corner and trim off any excess paper.
7
Use the Book Cover Guide’s notches to cut the corners of the paper at an angle.
8
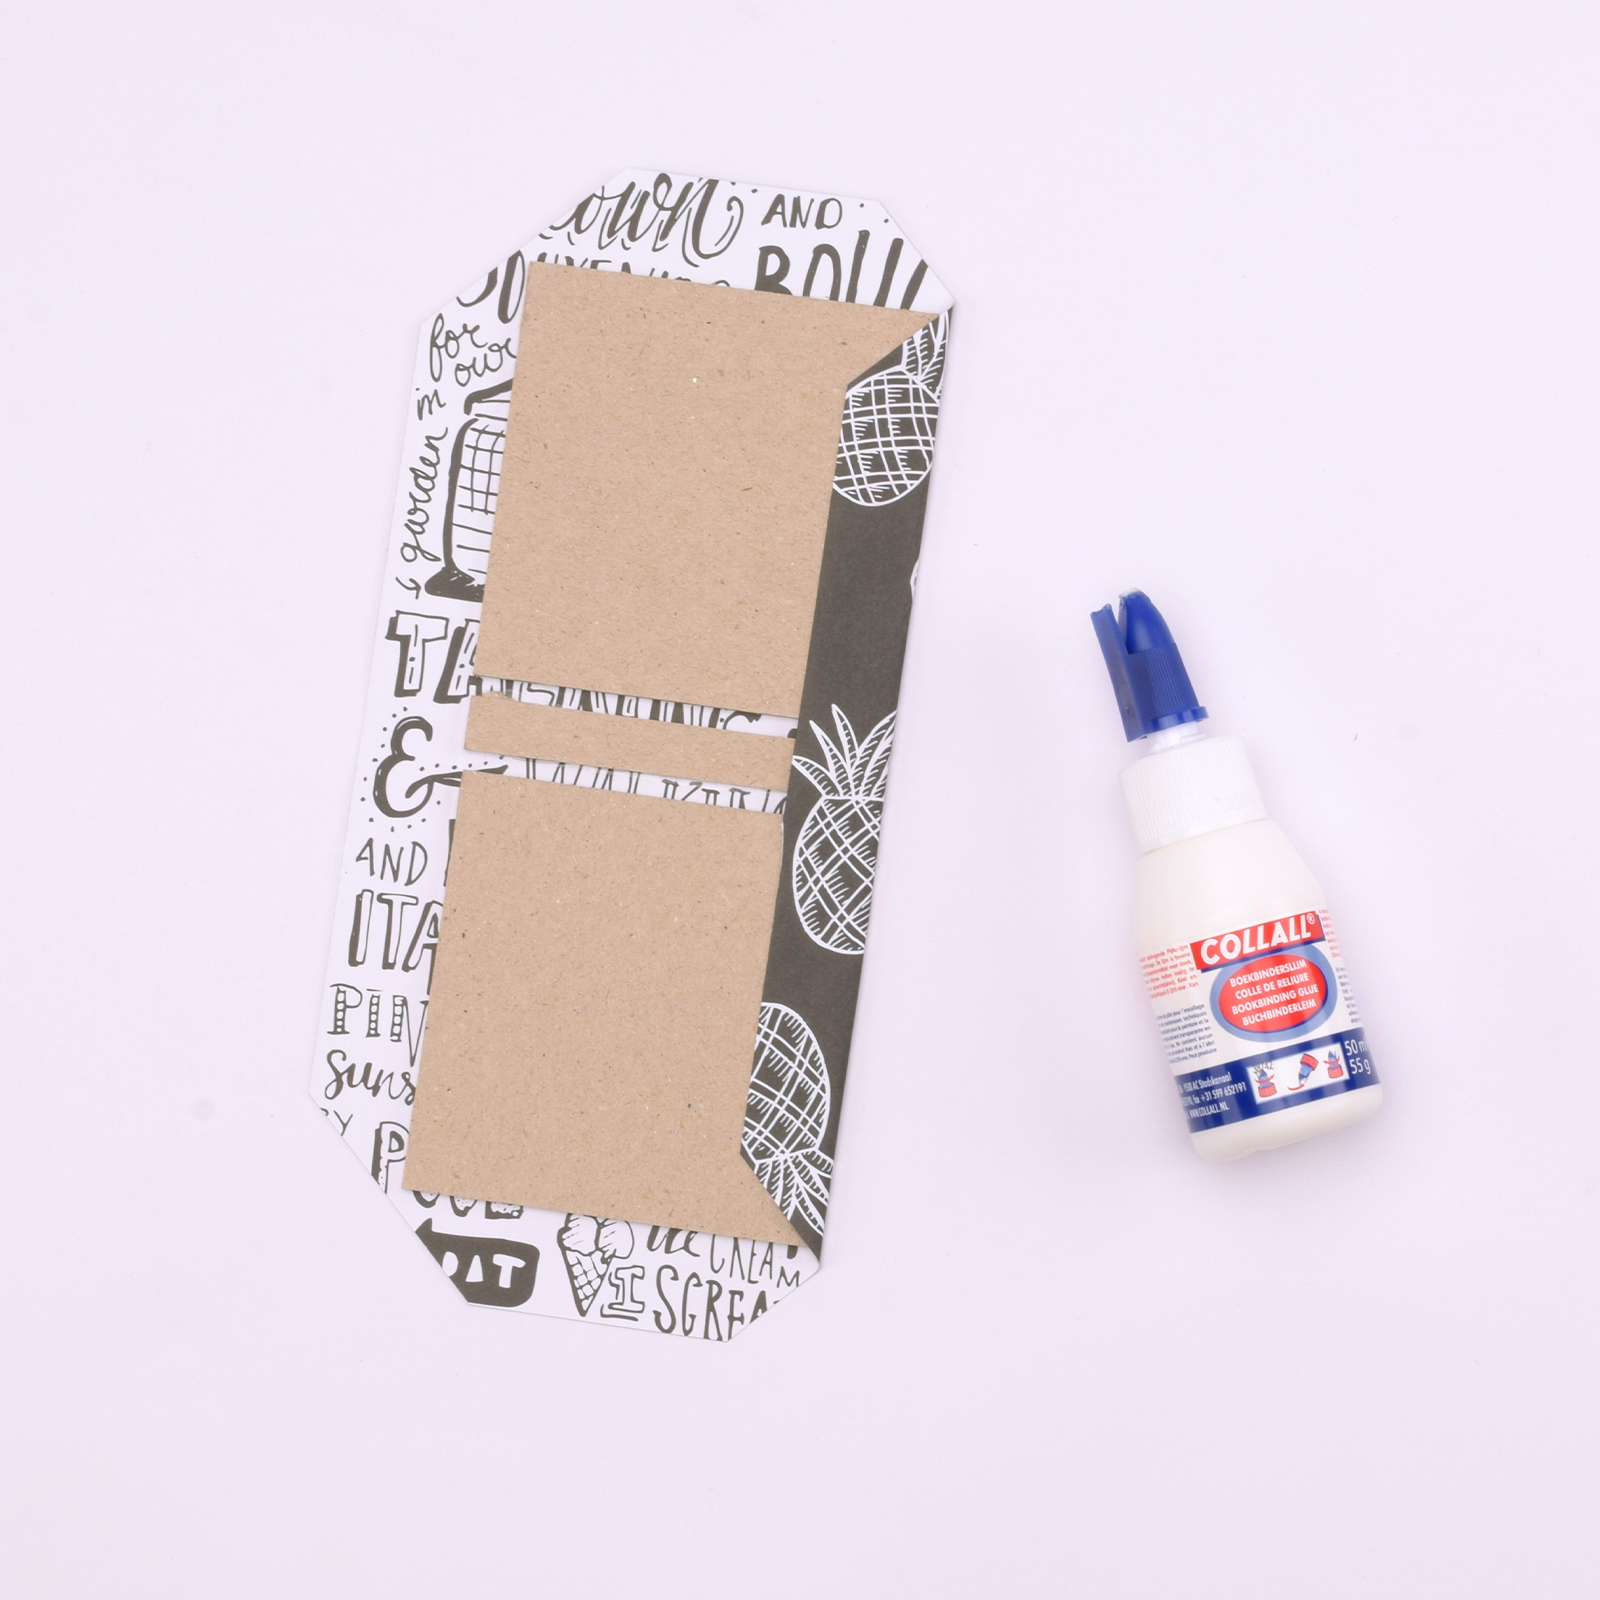
Fold all the paper flaps over and glue them down securely.
9
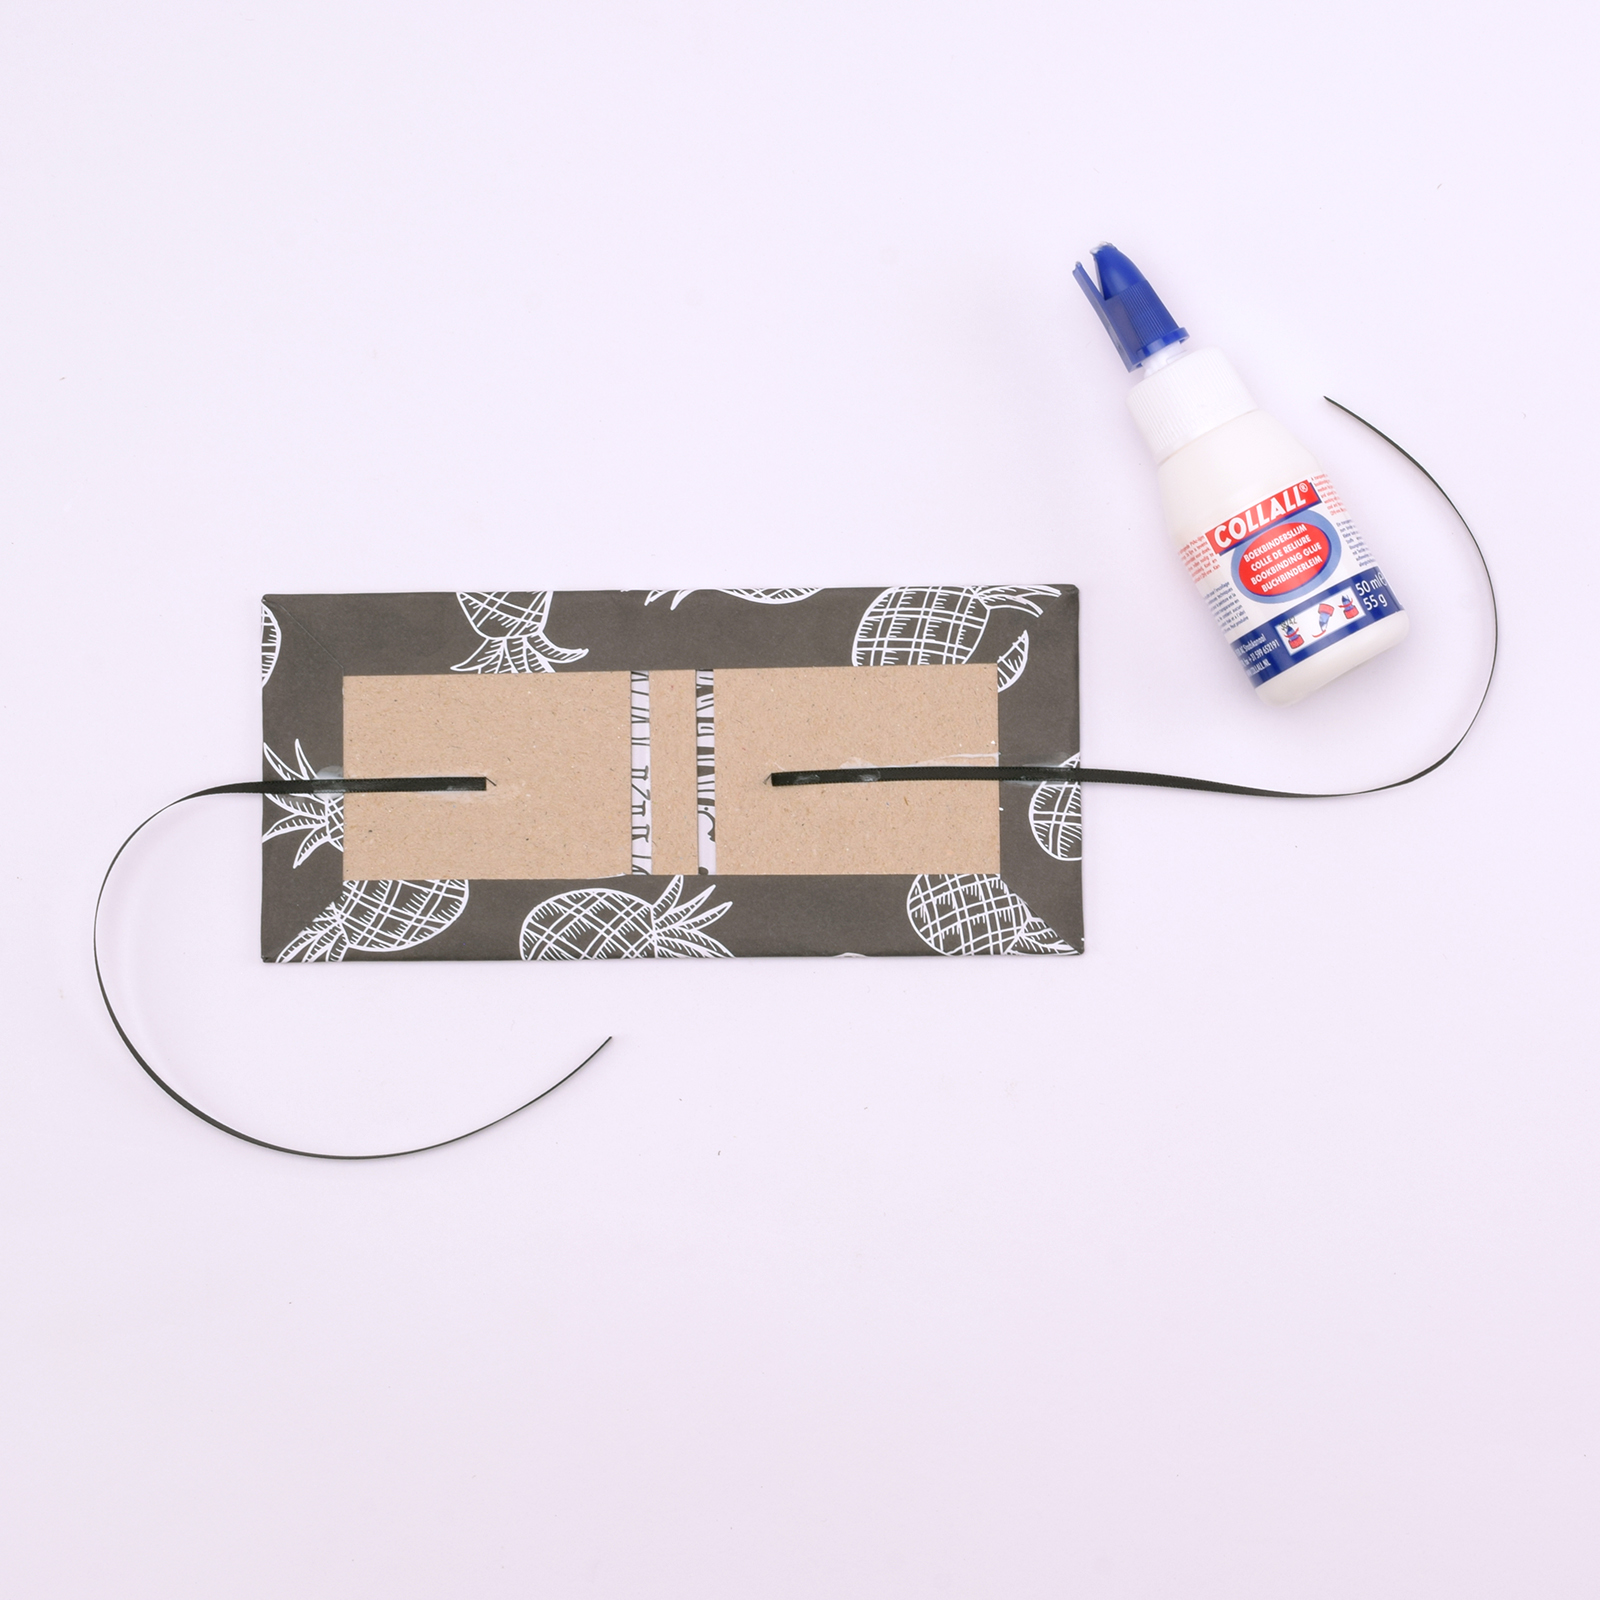
Take two pieces of black satin ribbon and attach them as shown in the photo.
10
Cut a rectangle measuring 2.9 x 6.9 inches (7.5 x 17.5 cm) from another sheet of scrapbook paper.
11
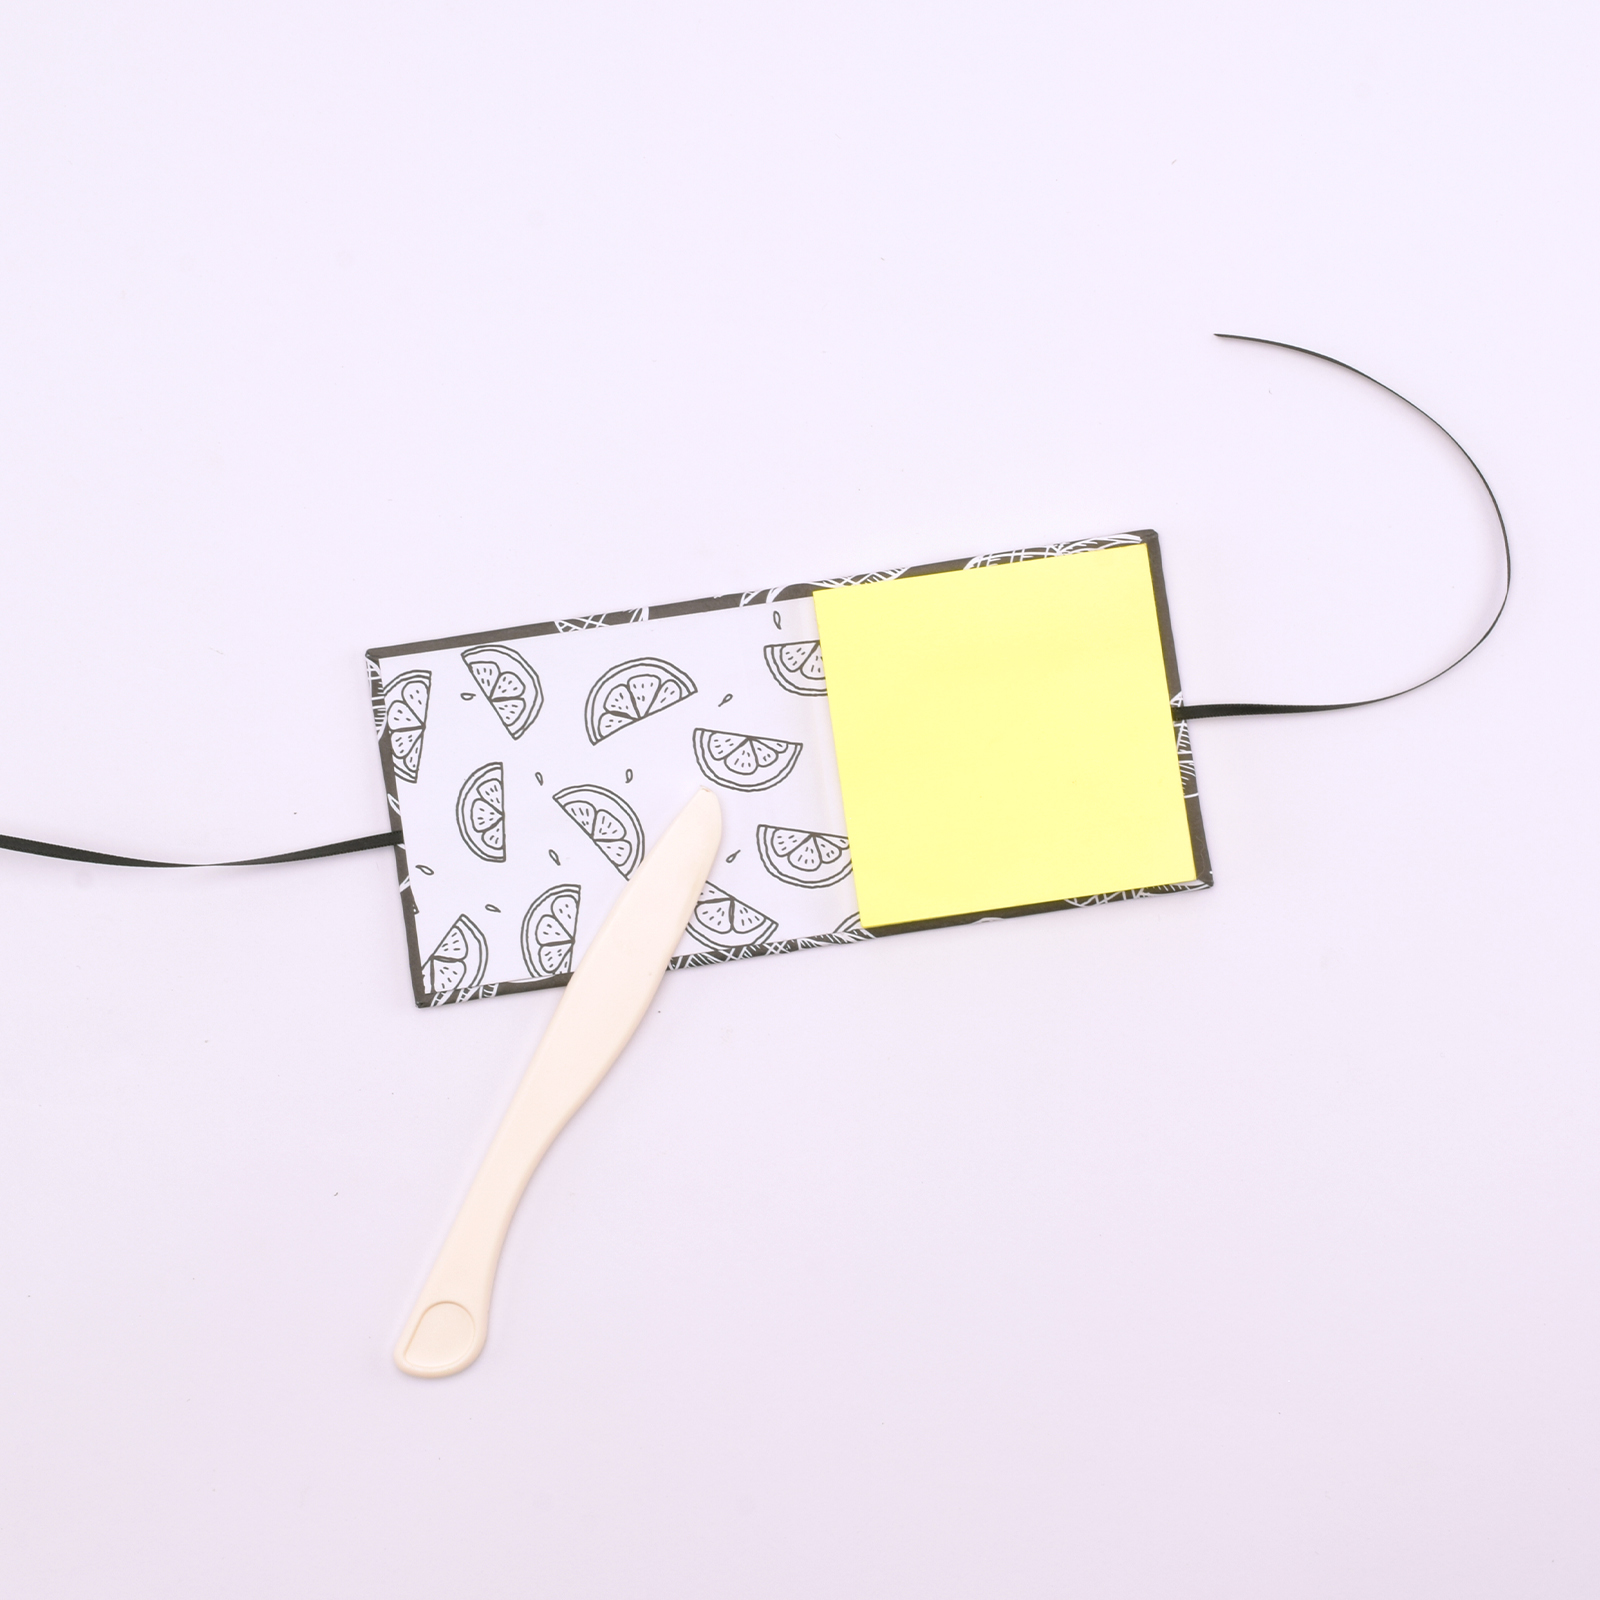
Glue this rectangle over the cardboard and ribbons, making sure to score the fold lines for a crisp finish. Then, attach a block of Post-Its.
12
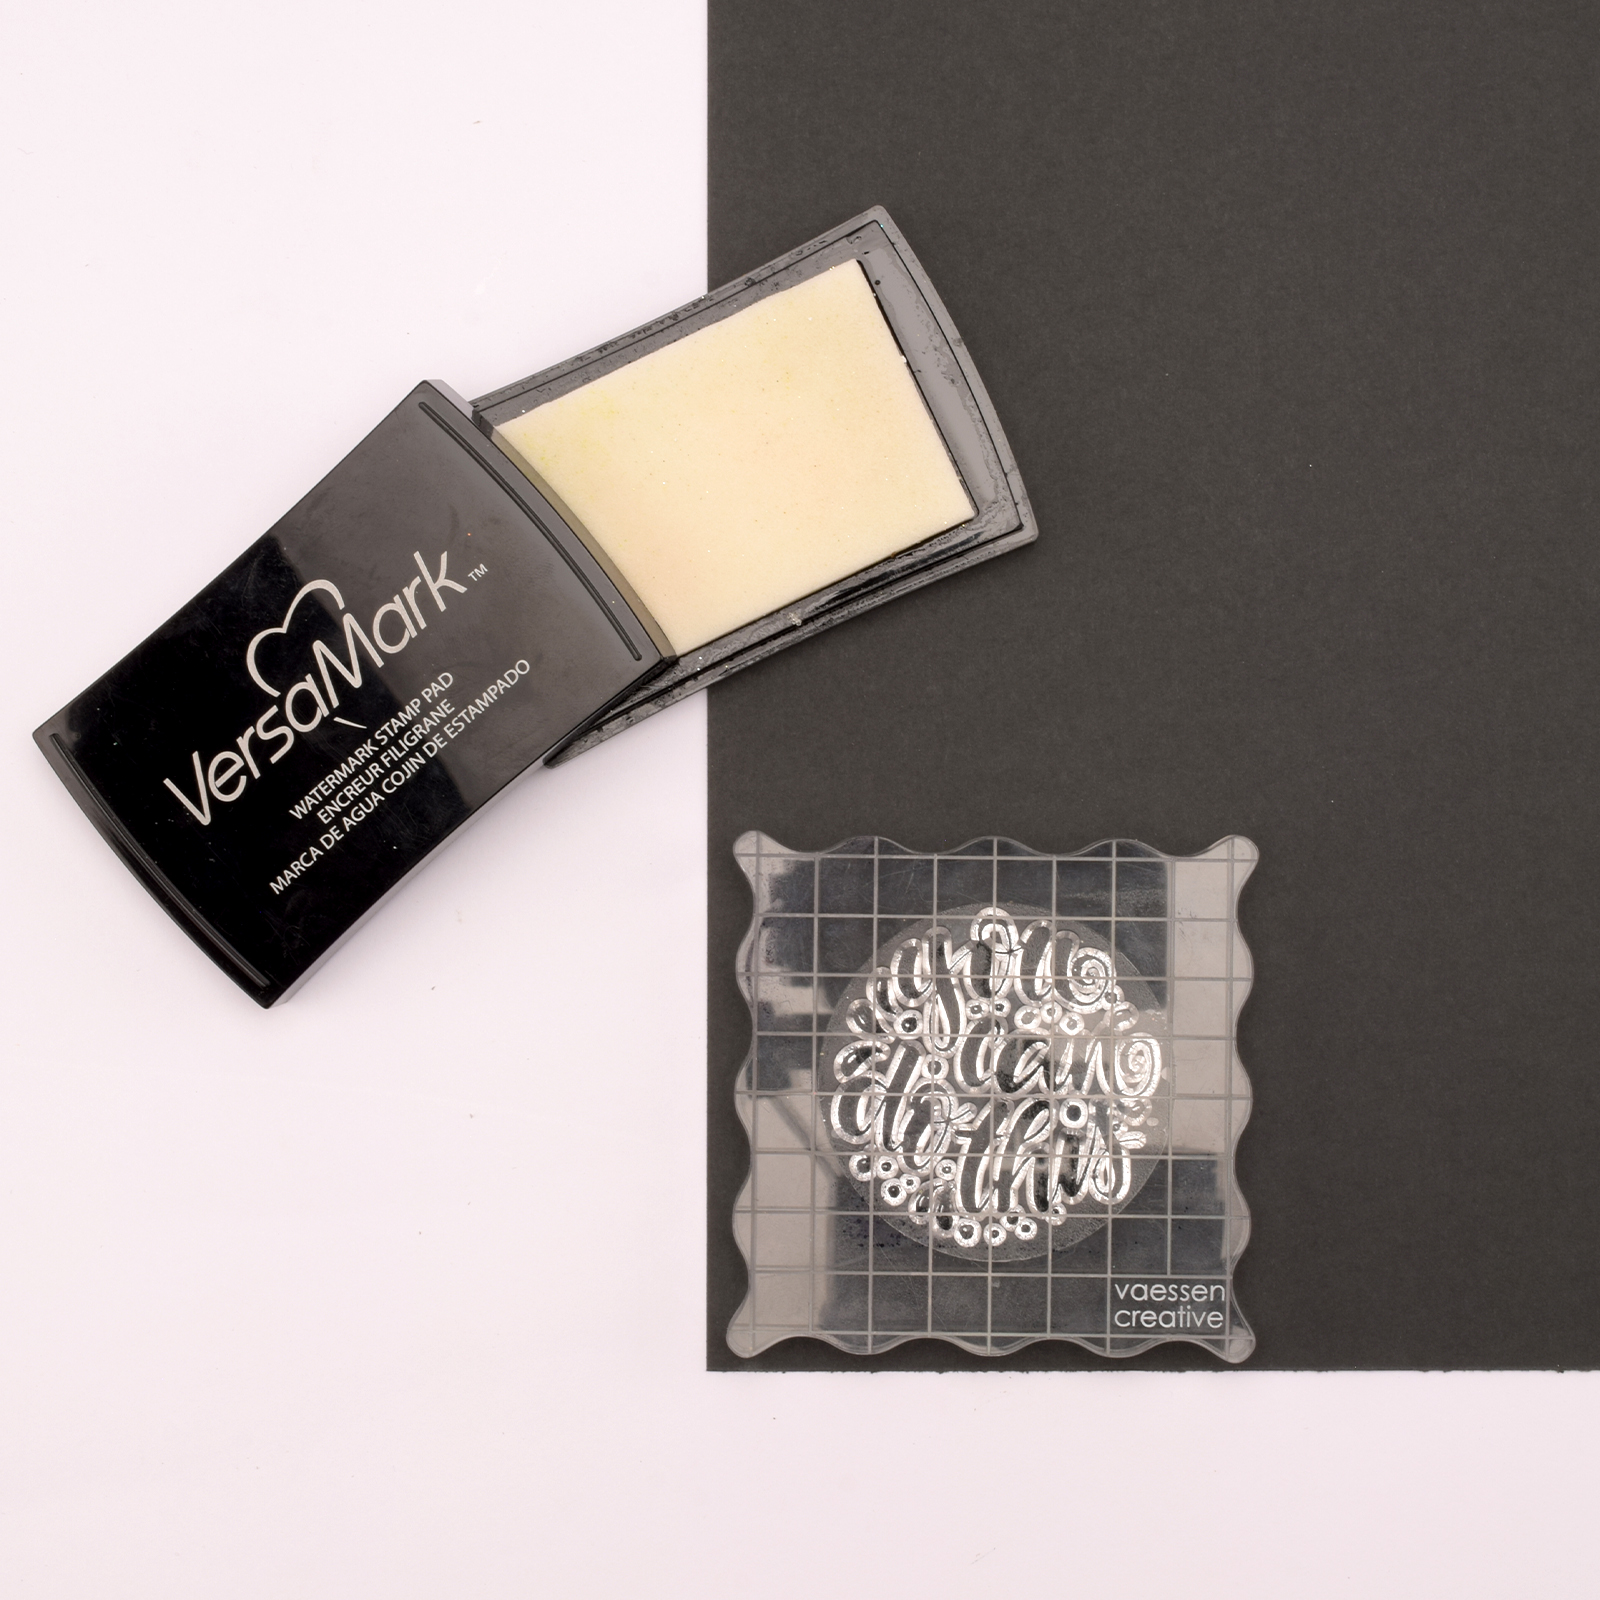
Grab a black sheet of cardstock and stamp a fun message on it using Versamark ink.
13
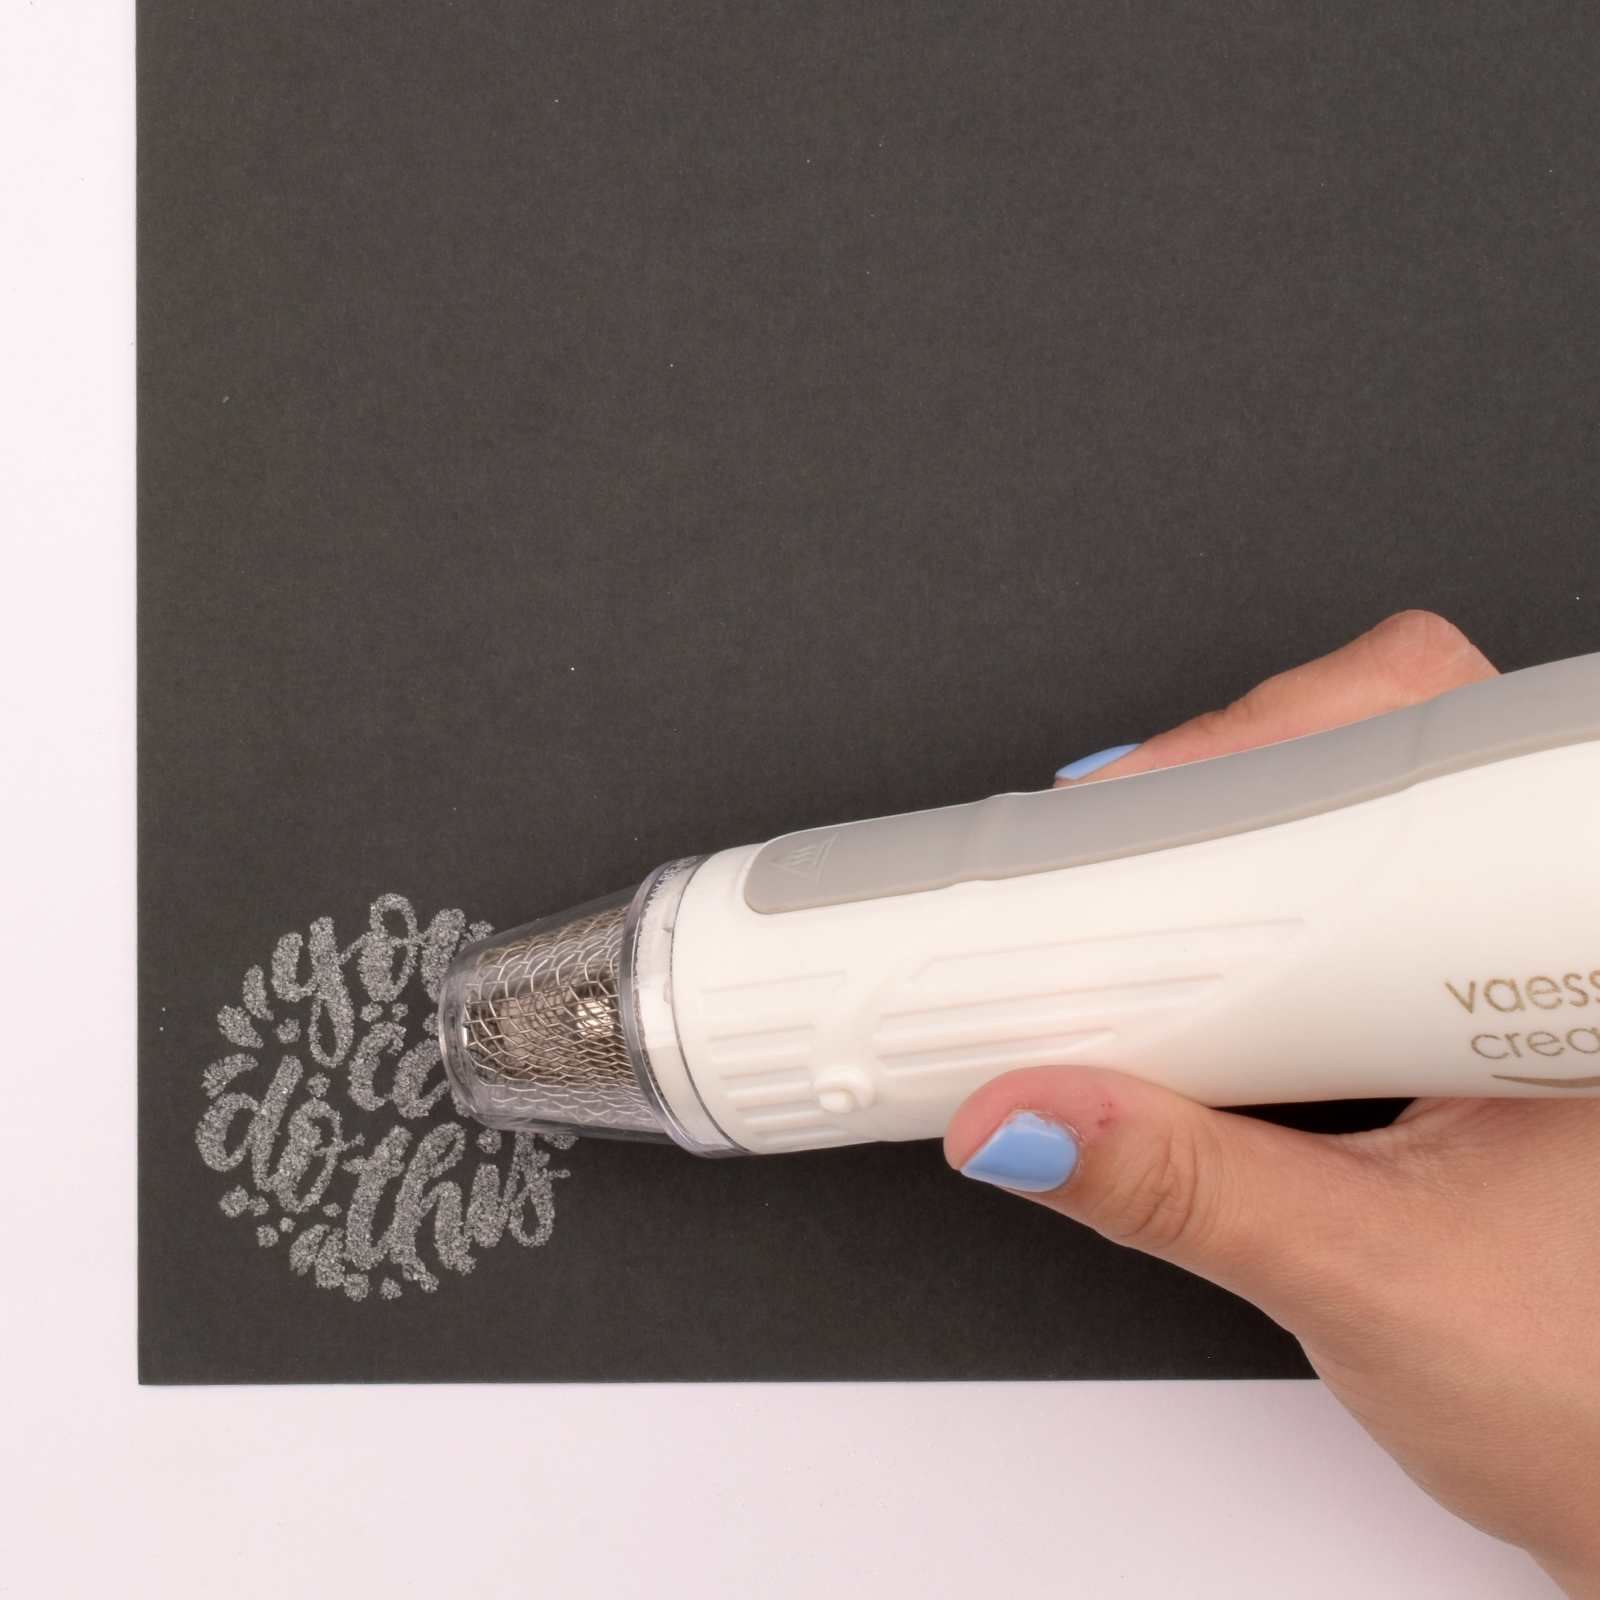
Sprinkle clear embossing powder over the stamped text and heat it with a heat tool until the powder turns fully transparent.
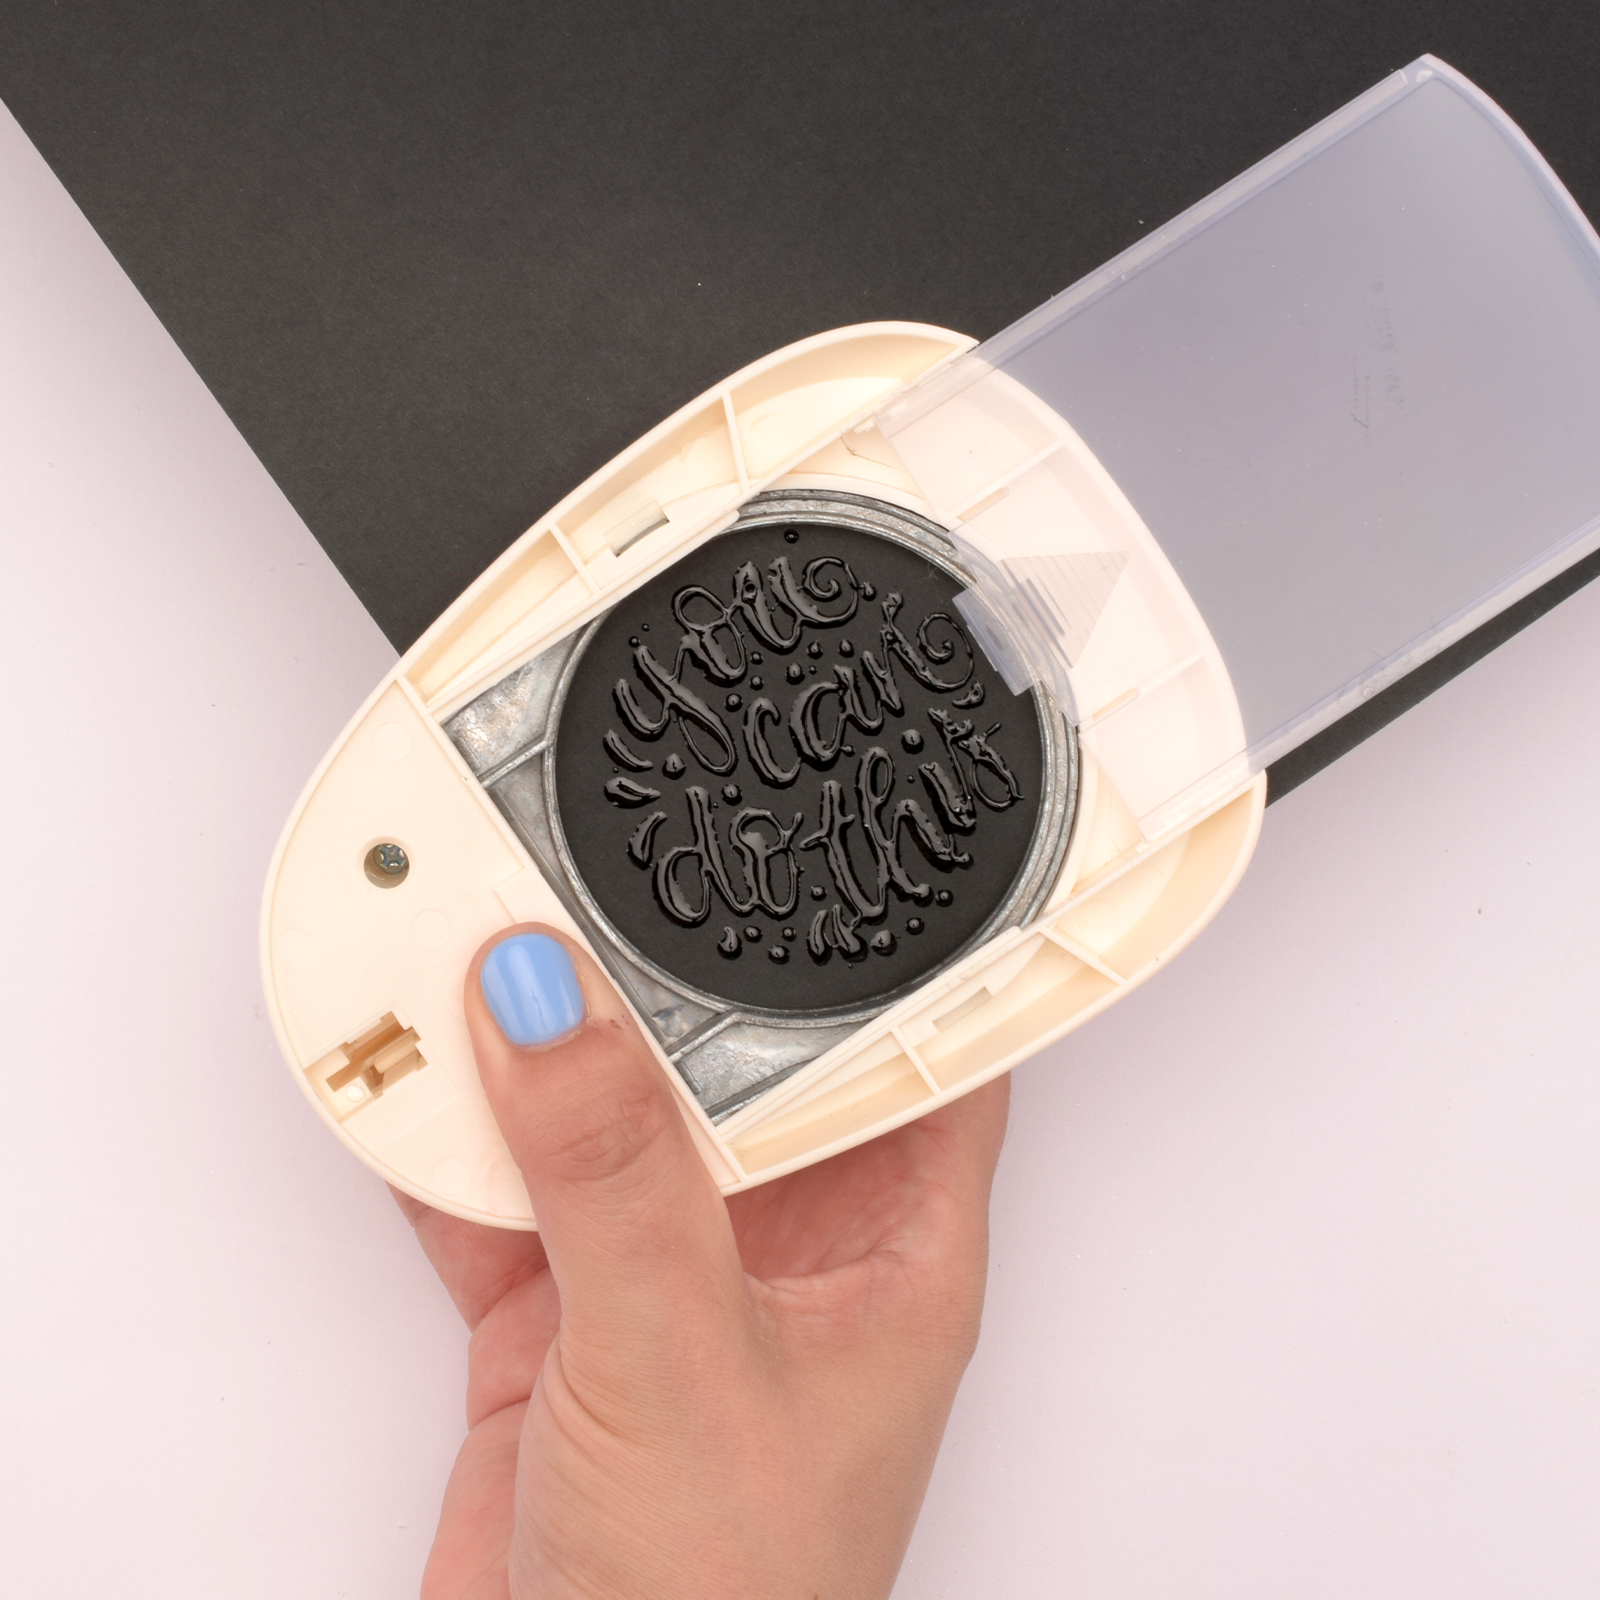
14
Use a circle punch to cut the text out precisely in the centre of a circle.
15
Punch another circle from white paper and glue the two circles slightly overlapping on the front cover.