Bring the festive spirit into your home with this fun Christmas DIY! Learn how to make your own Christmas trees using stamps and a die-cutting machine. Perfect as hanging decorations or for the Christmas tree.
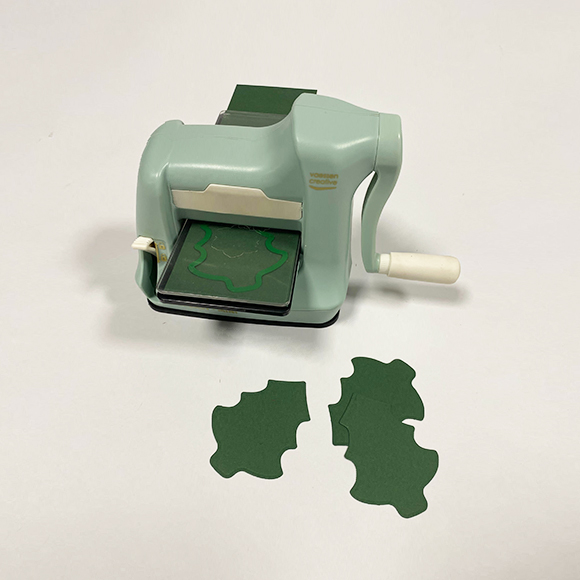
Use the Cut Easy Mini die-cutting machine to cut out 5 Christmas trees from Florence cardstock paper in the 'pine' colour. We recommend the dies from the 'Christmas Die and Stamp Shifters Tree set' by We R Makers.
2
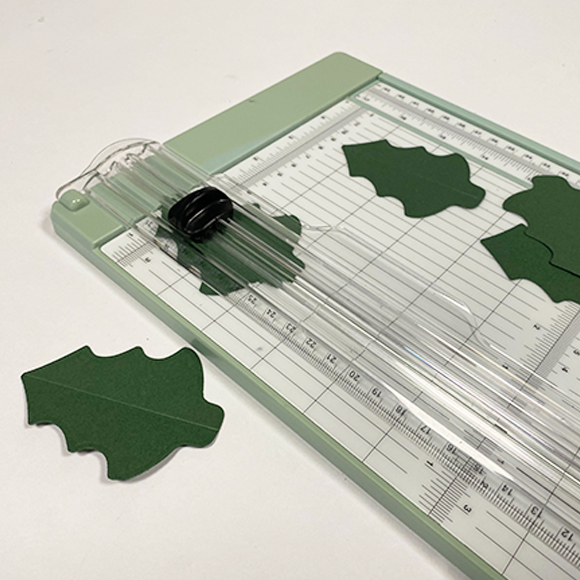
Score the trees from the top to the trunk using the scoring function on the paper cutter.
3
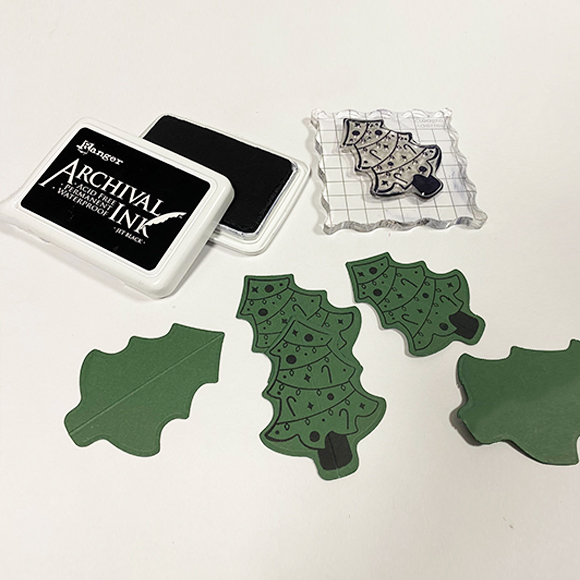
Stamp the trees using the corresponding stamps.
4
Infuse colour into the trees by colouring the accents with markers or gel pens.
5
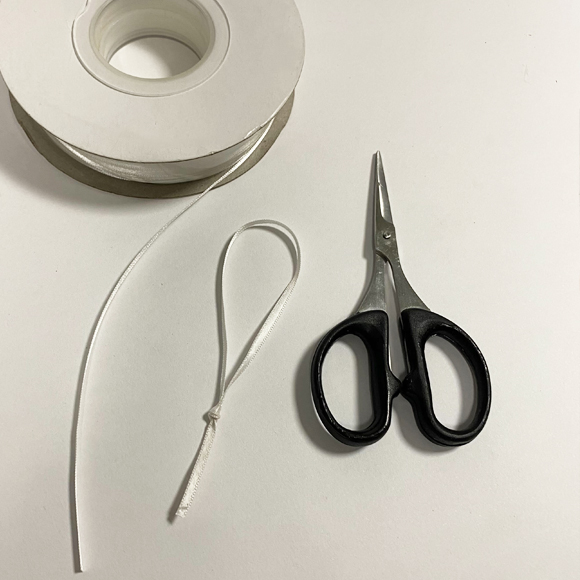
Cut a ribbon approximately 9 inches long and tie a knot in it.
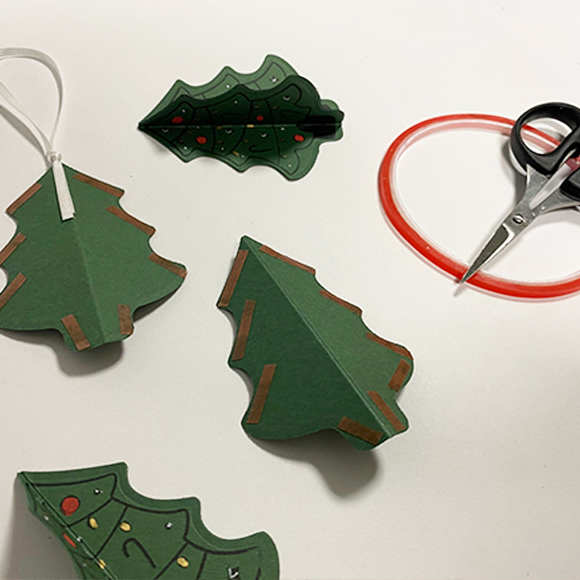
6
Apply double-sided tape along the edges of the trees. Stick the ribbon in place with the knot just over the edge and the loop facing upward. Then, adhere one half of a tree with the back against the back of another tree’s half. Continue this process until you’ve glued together all five Christmas trees into a 3D Christmas tree.